Houtman_imp
Road warrior
RUST in England ???GoldOxide_imp said:Smart Bazbro. Don't underestimate the rust.
Follow along with the video below to see how to install our site as a web app on your home screen.
Note: This feature may not be available in some browsers.

RUST in England ???GoldOxide_imp said:Smart Bazbro. Don't underestimate the rust.
RUST in England ???Houtman_imp said:RUST in England ???GoldOxide_imp said:Smart Bazbro. Don't underestimate the rust.
 .
. 
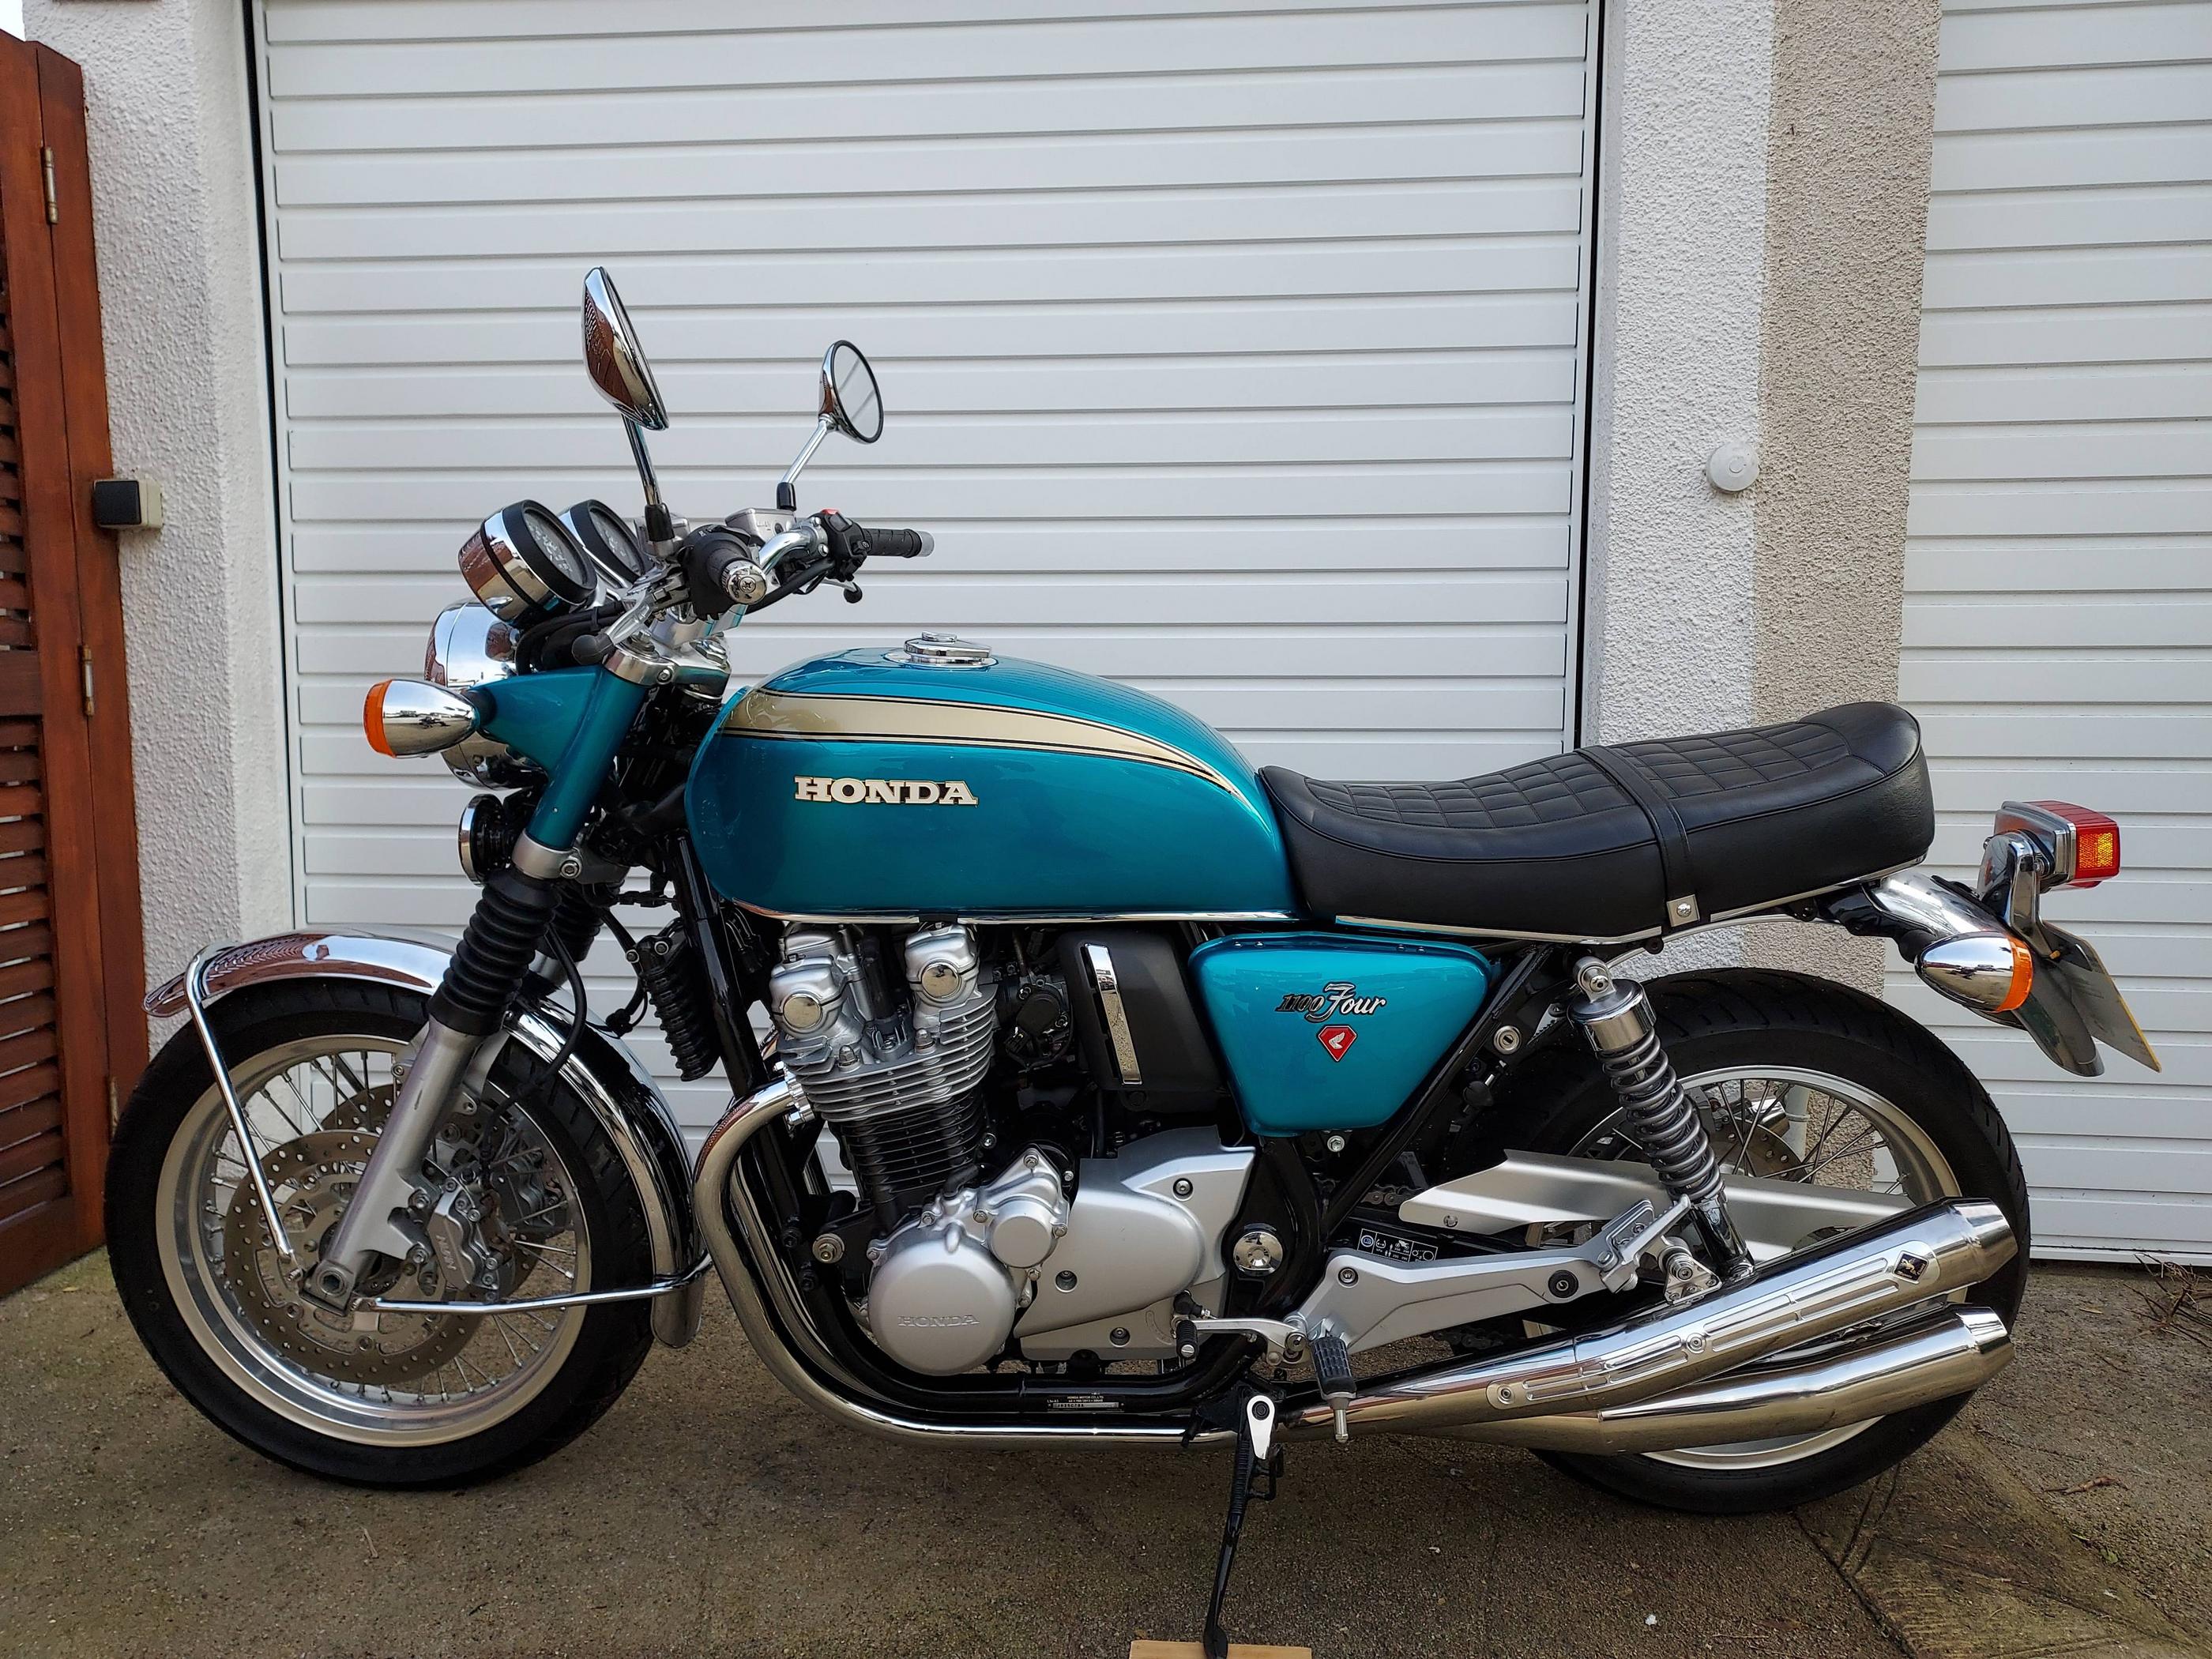
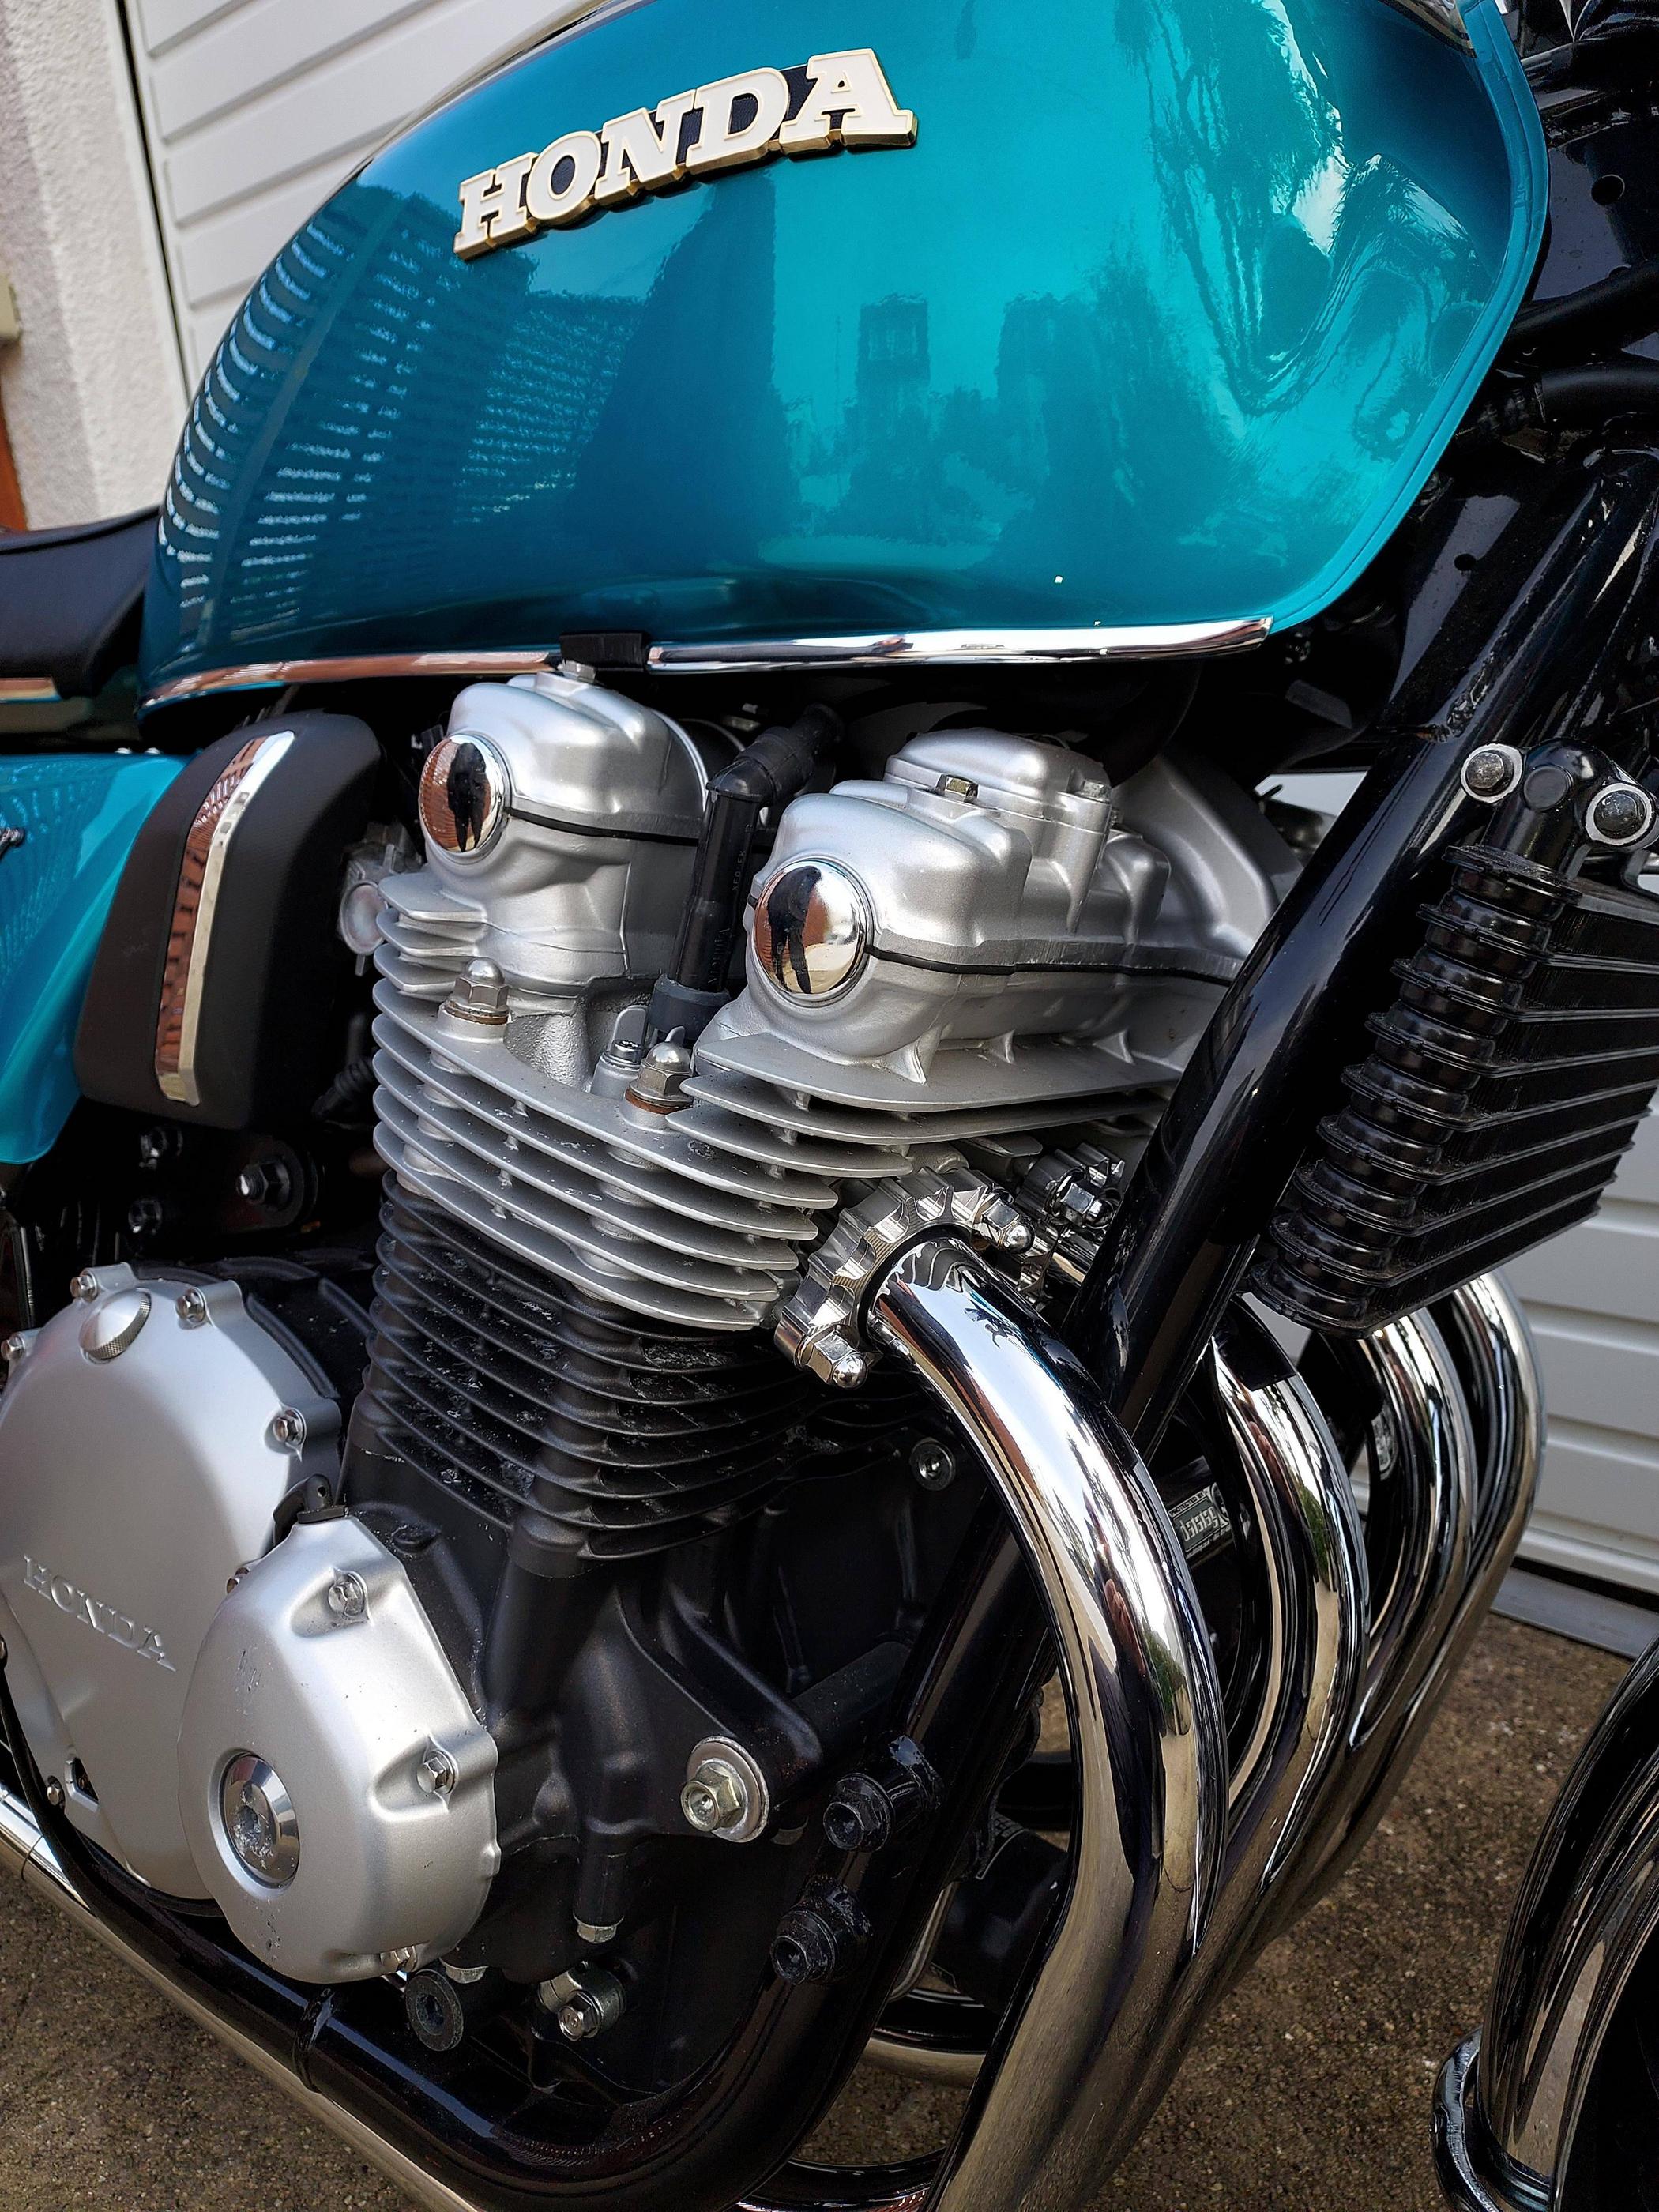
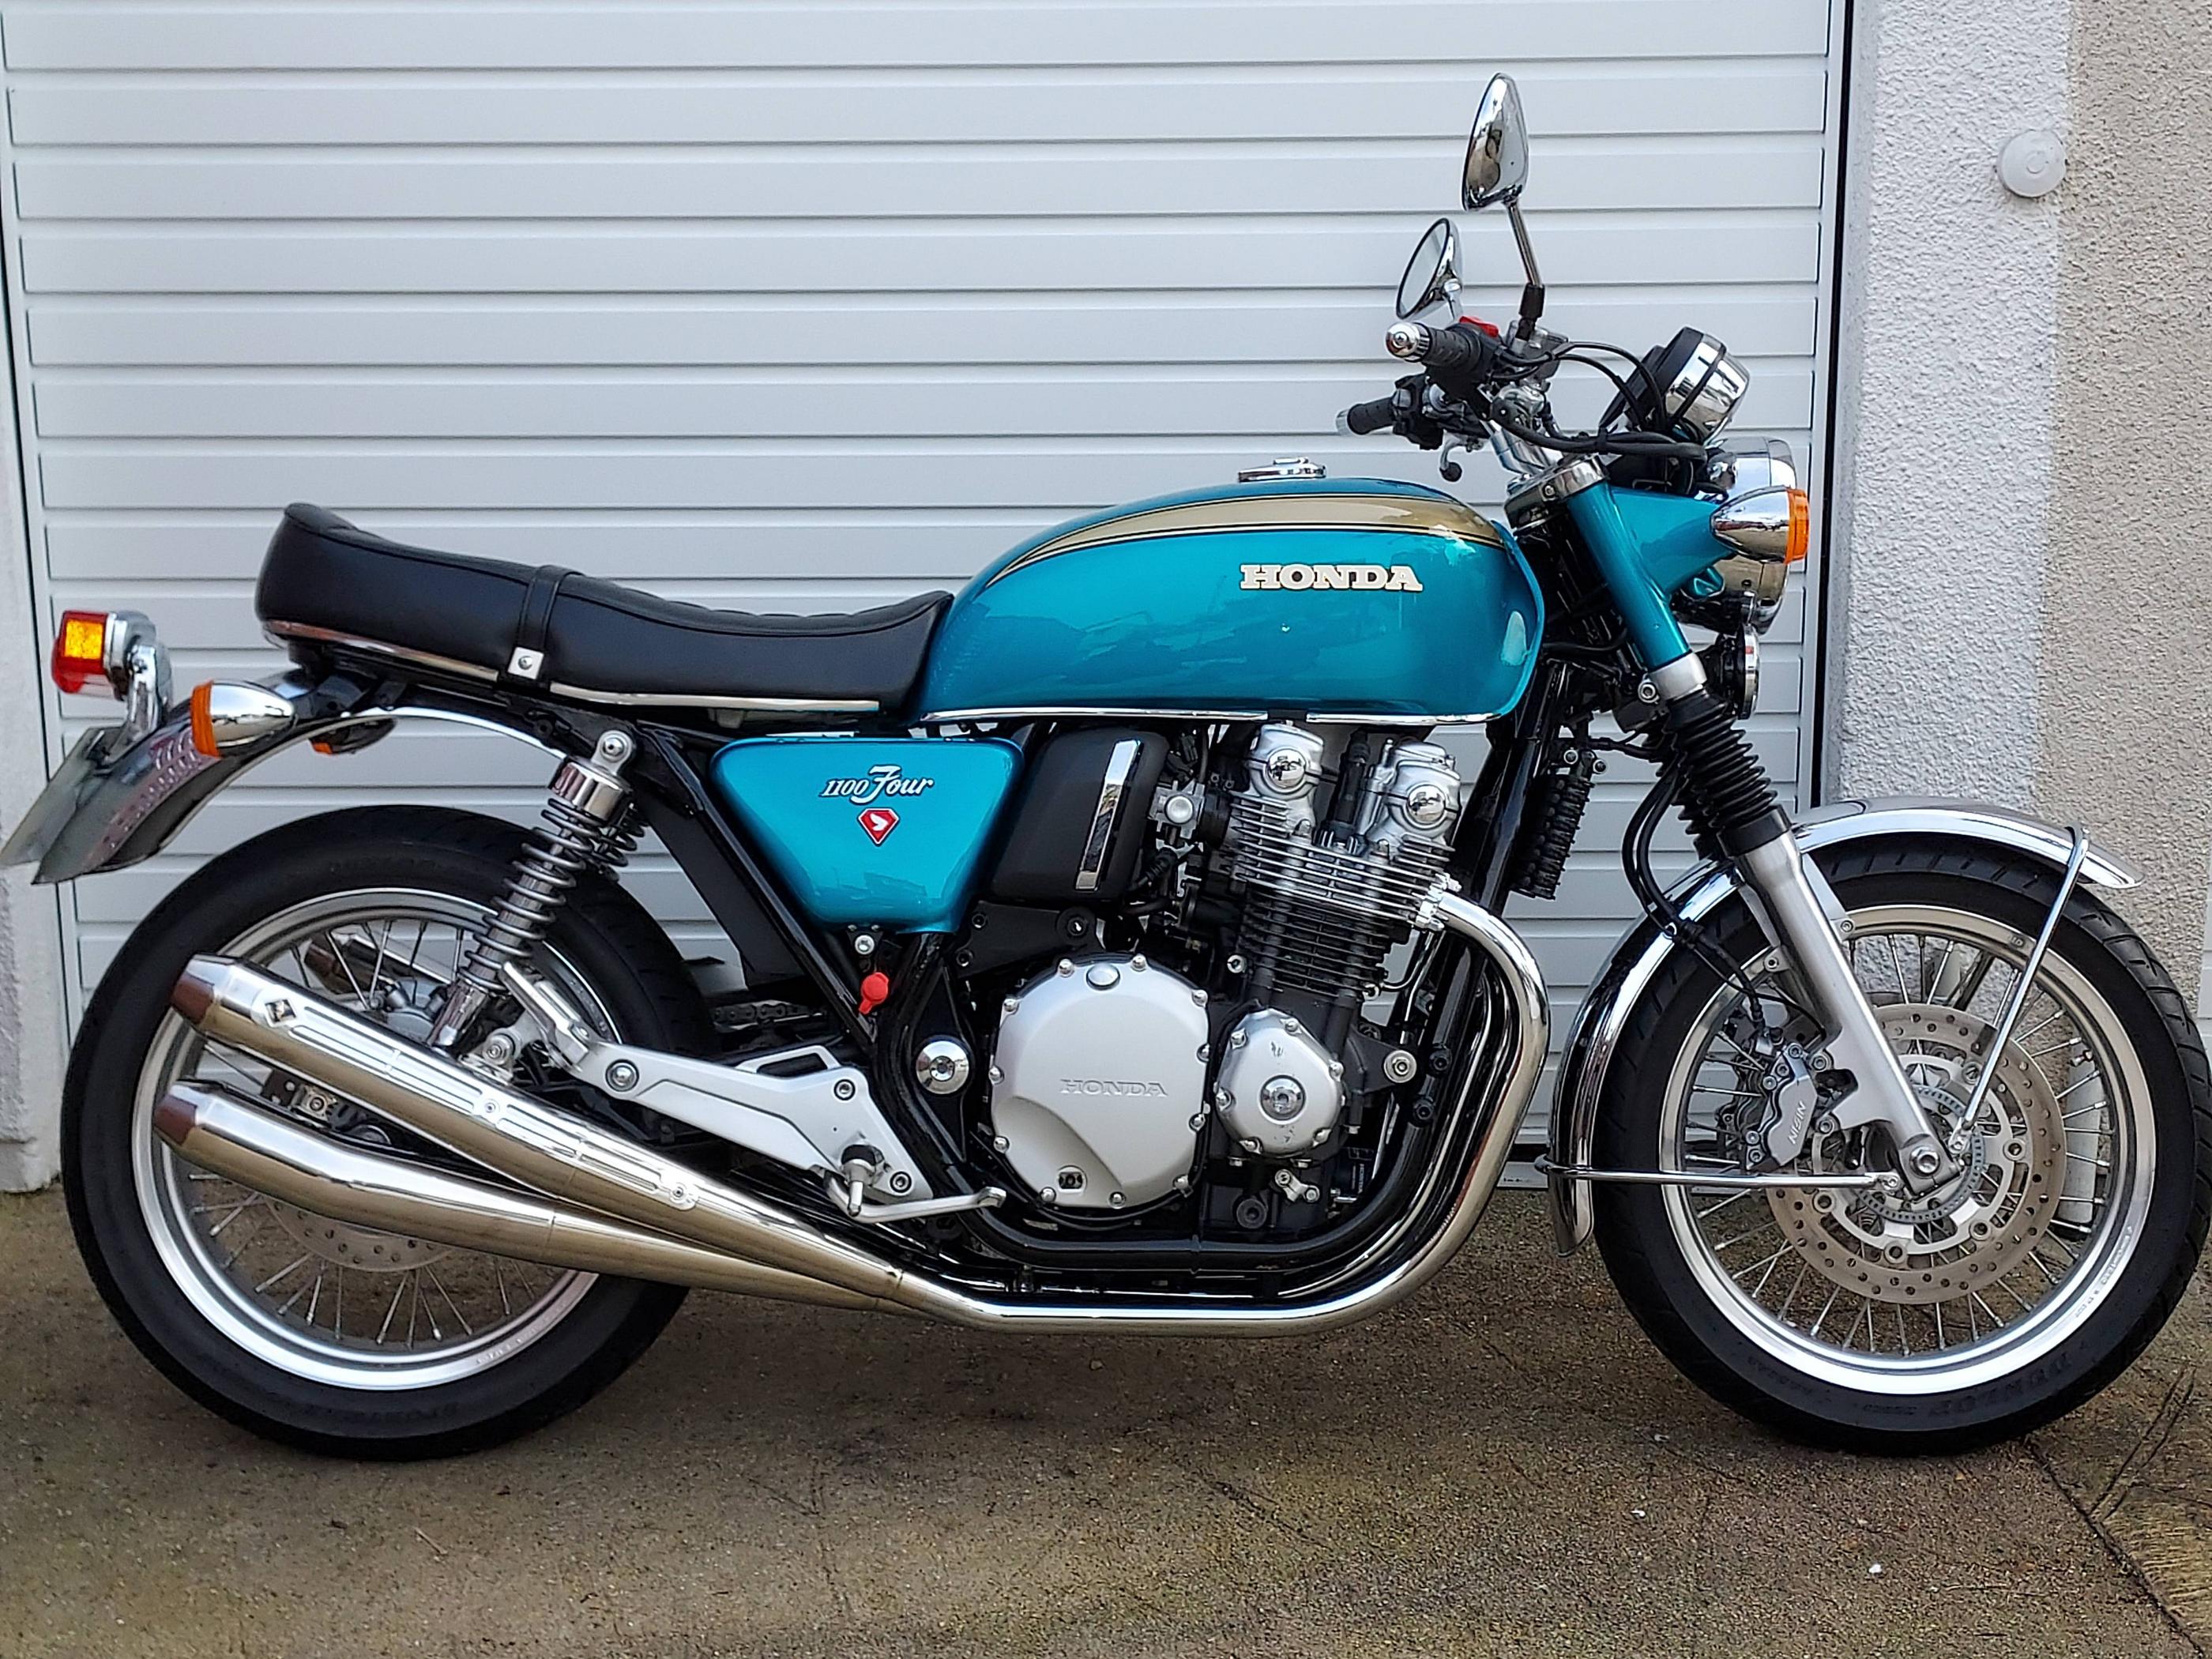
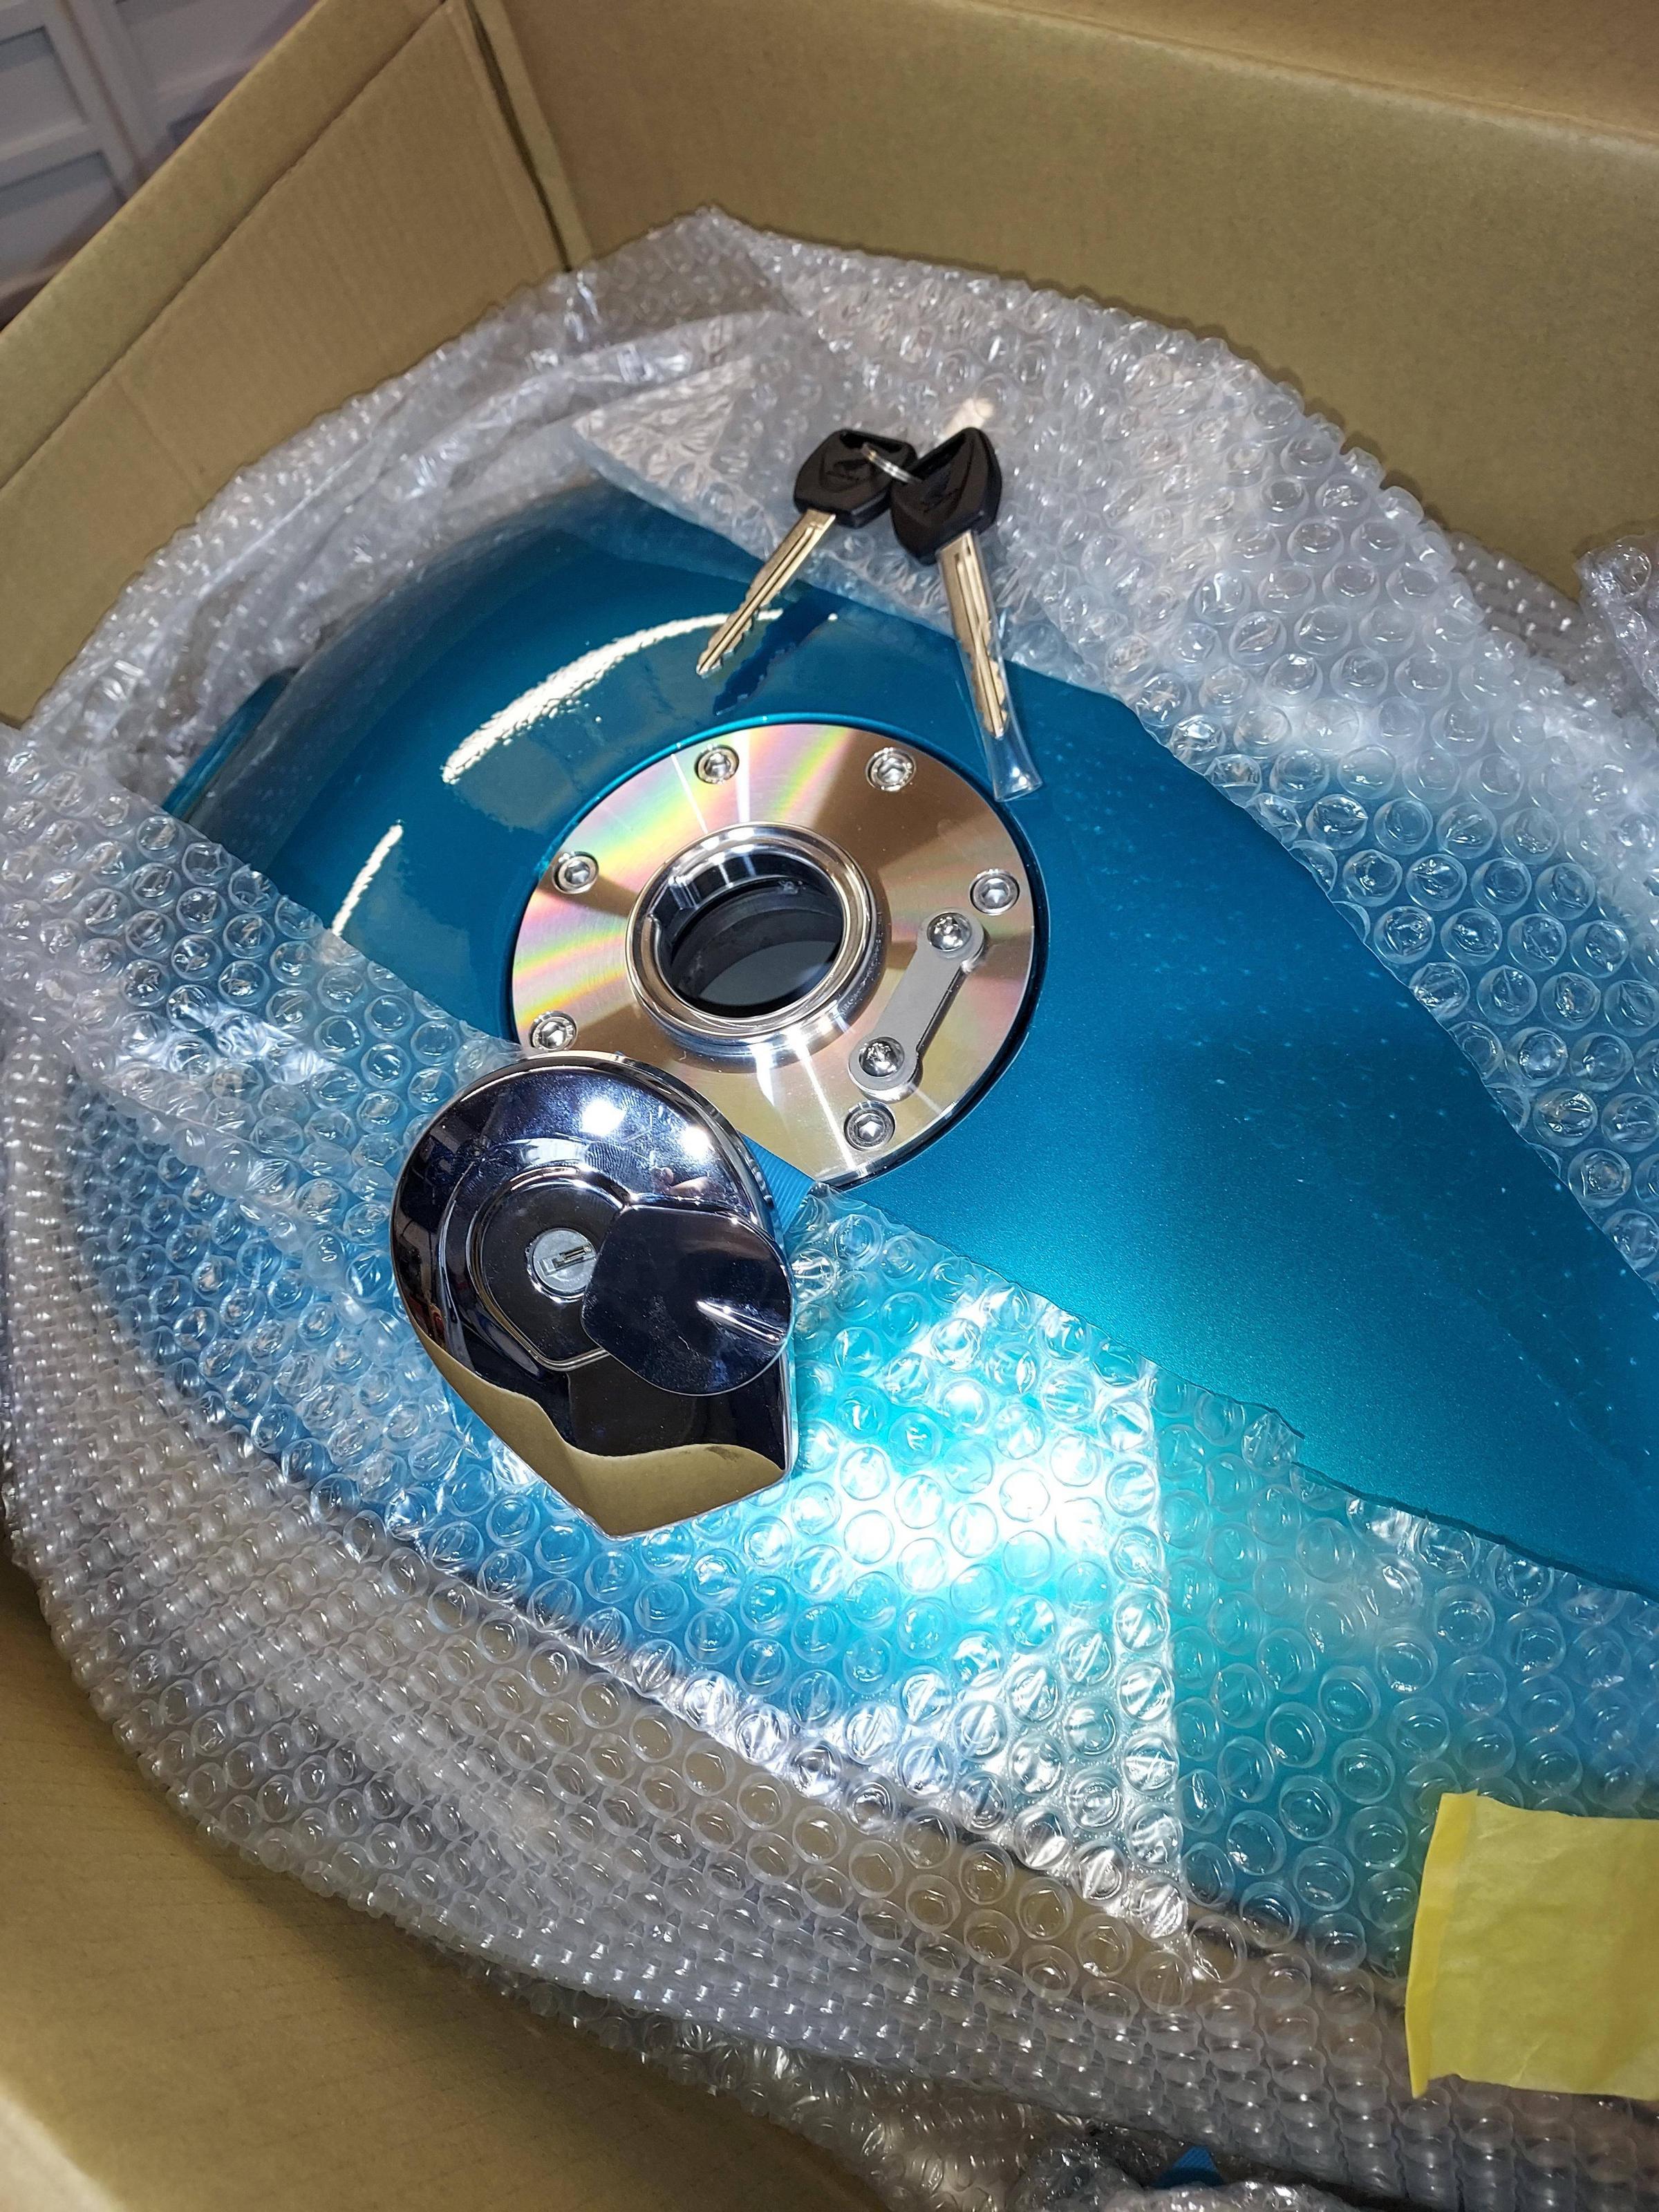
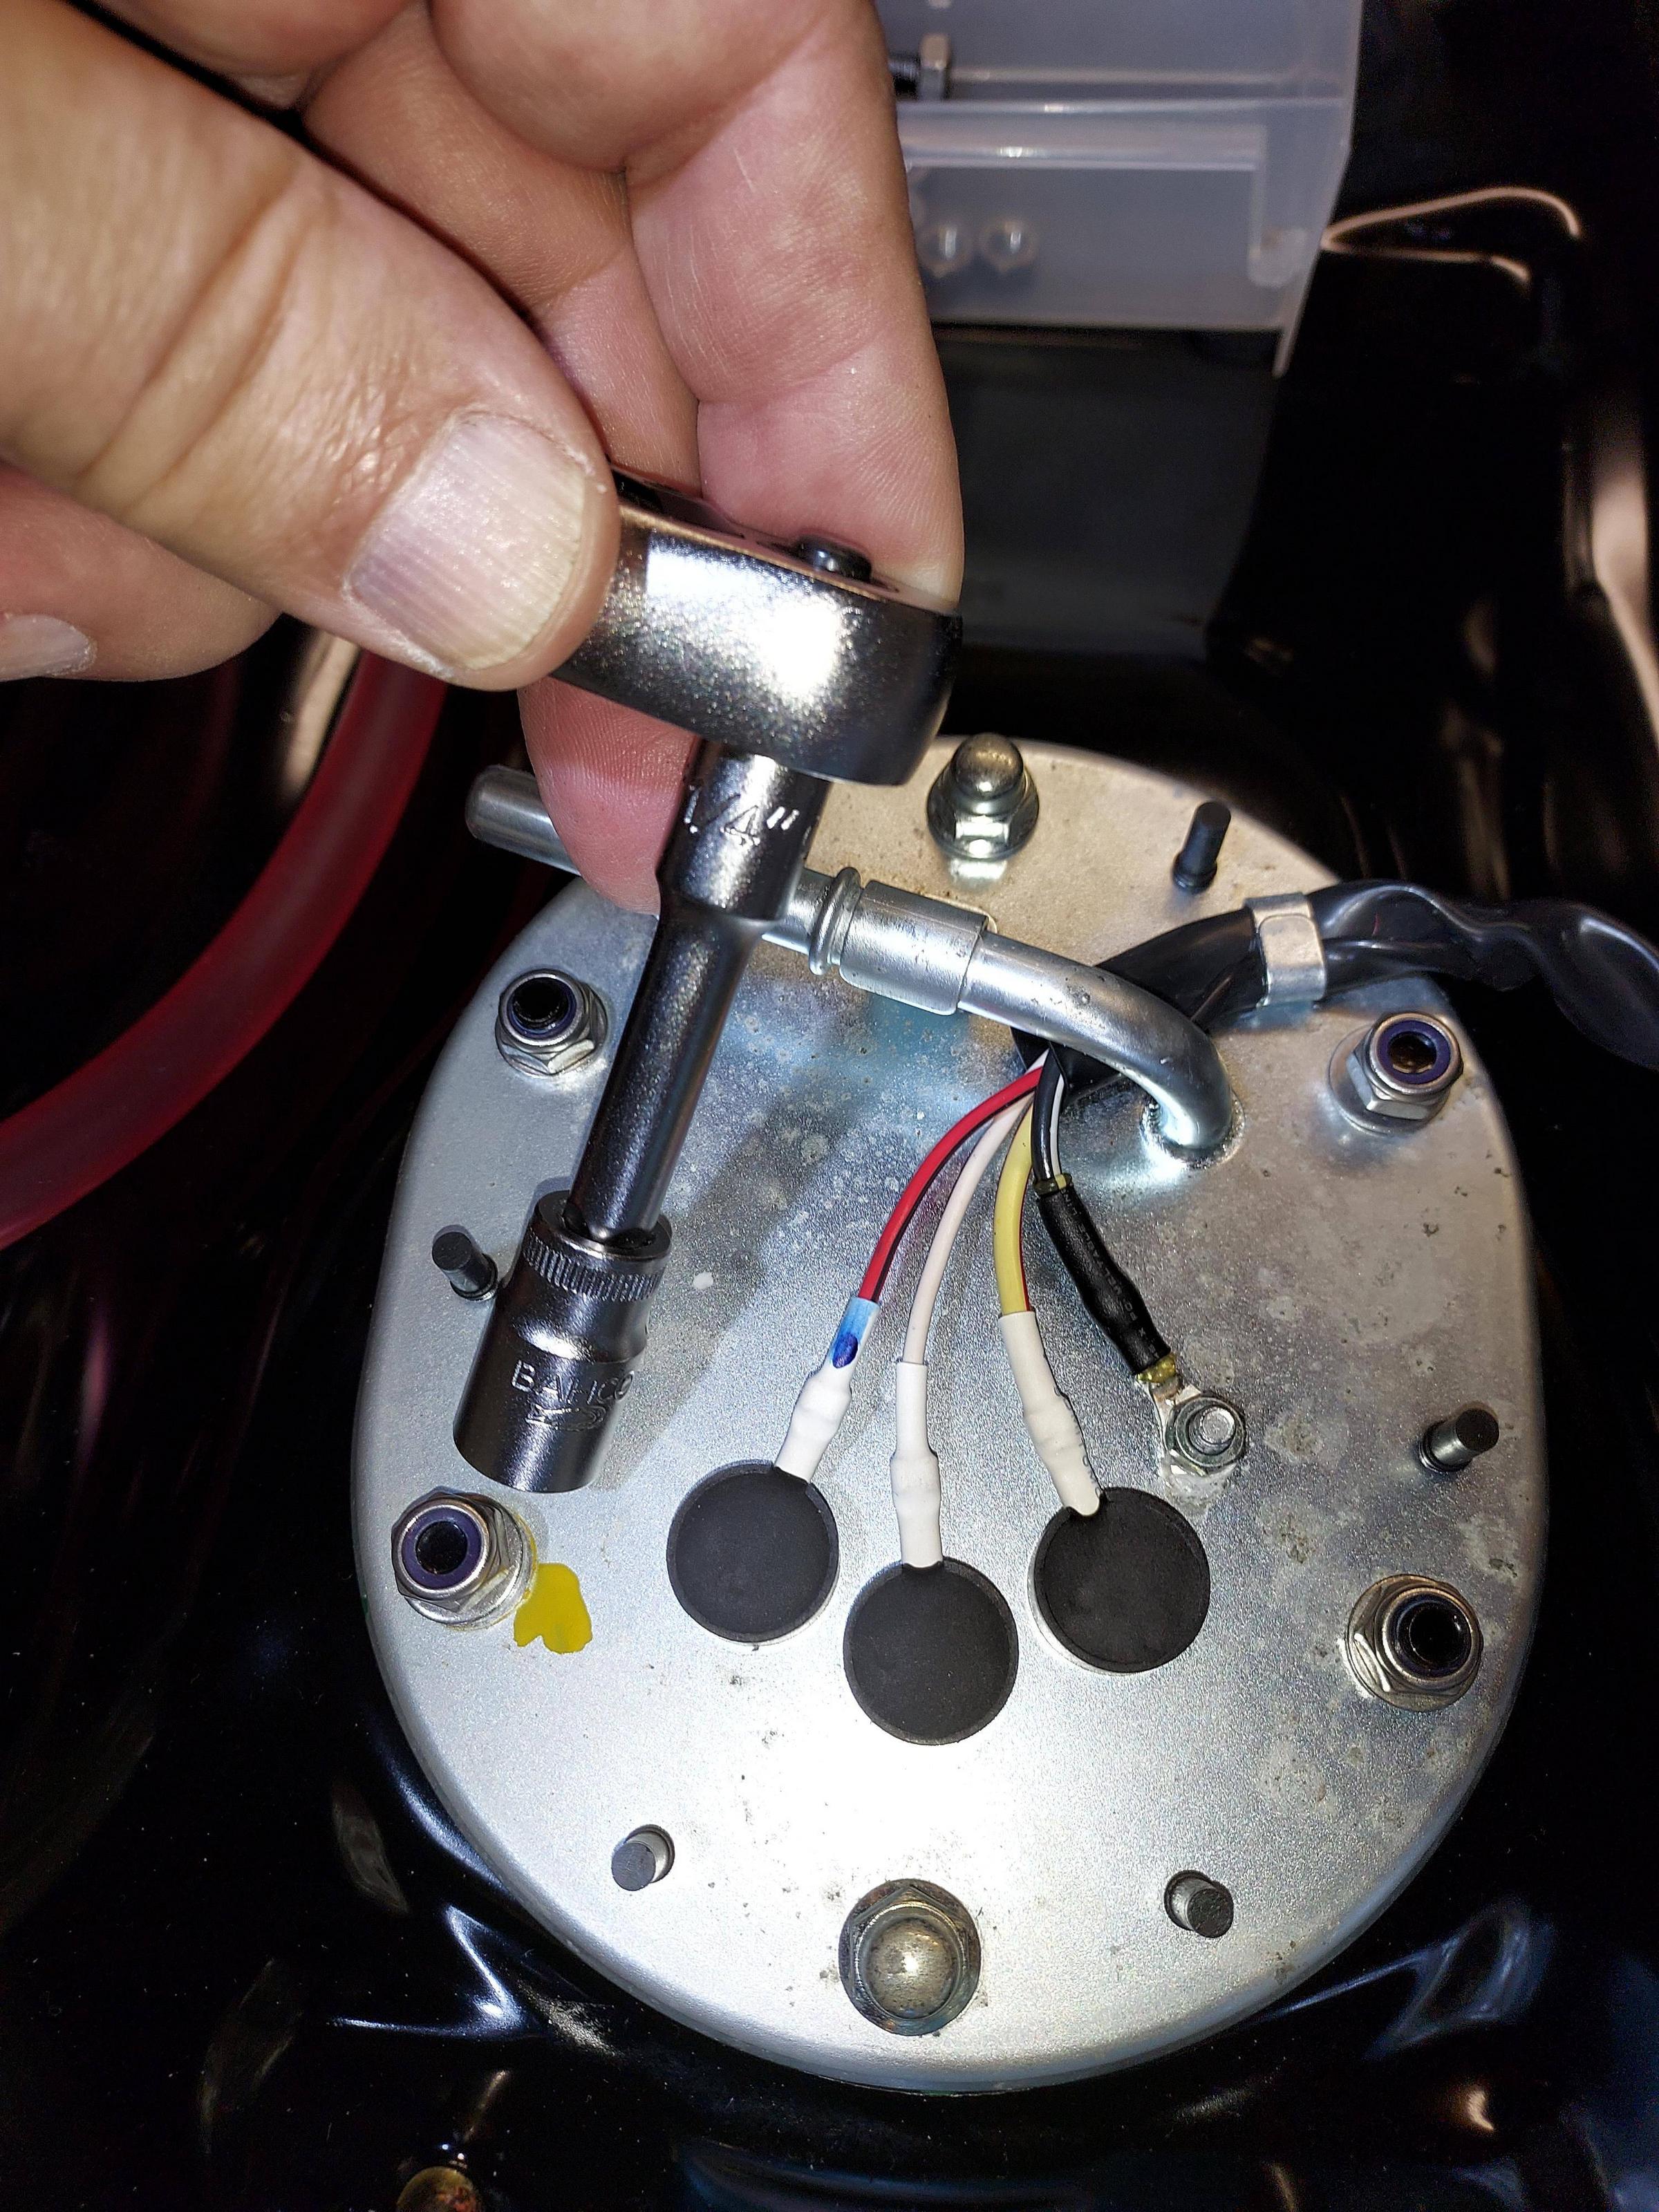
The tank needs assembling first! The tank cap comes as a separate item and the fuel pump has to be removed from the old tank and fitted to the new one. Then ... fitted to the 'bike!tommymck_imp said:You're a big tease Bazbro. When are we going to see the money shot???!!! That front end looks fantastic


^^These two^^ pics I like the mostBazbro_imp said:Fitting Wyvern 4-into-4 exhausts/silencers, Part 2...
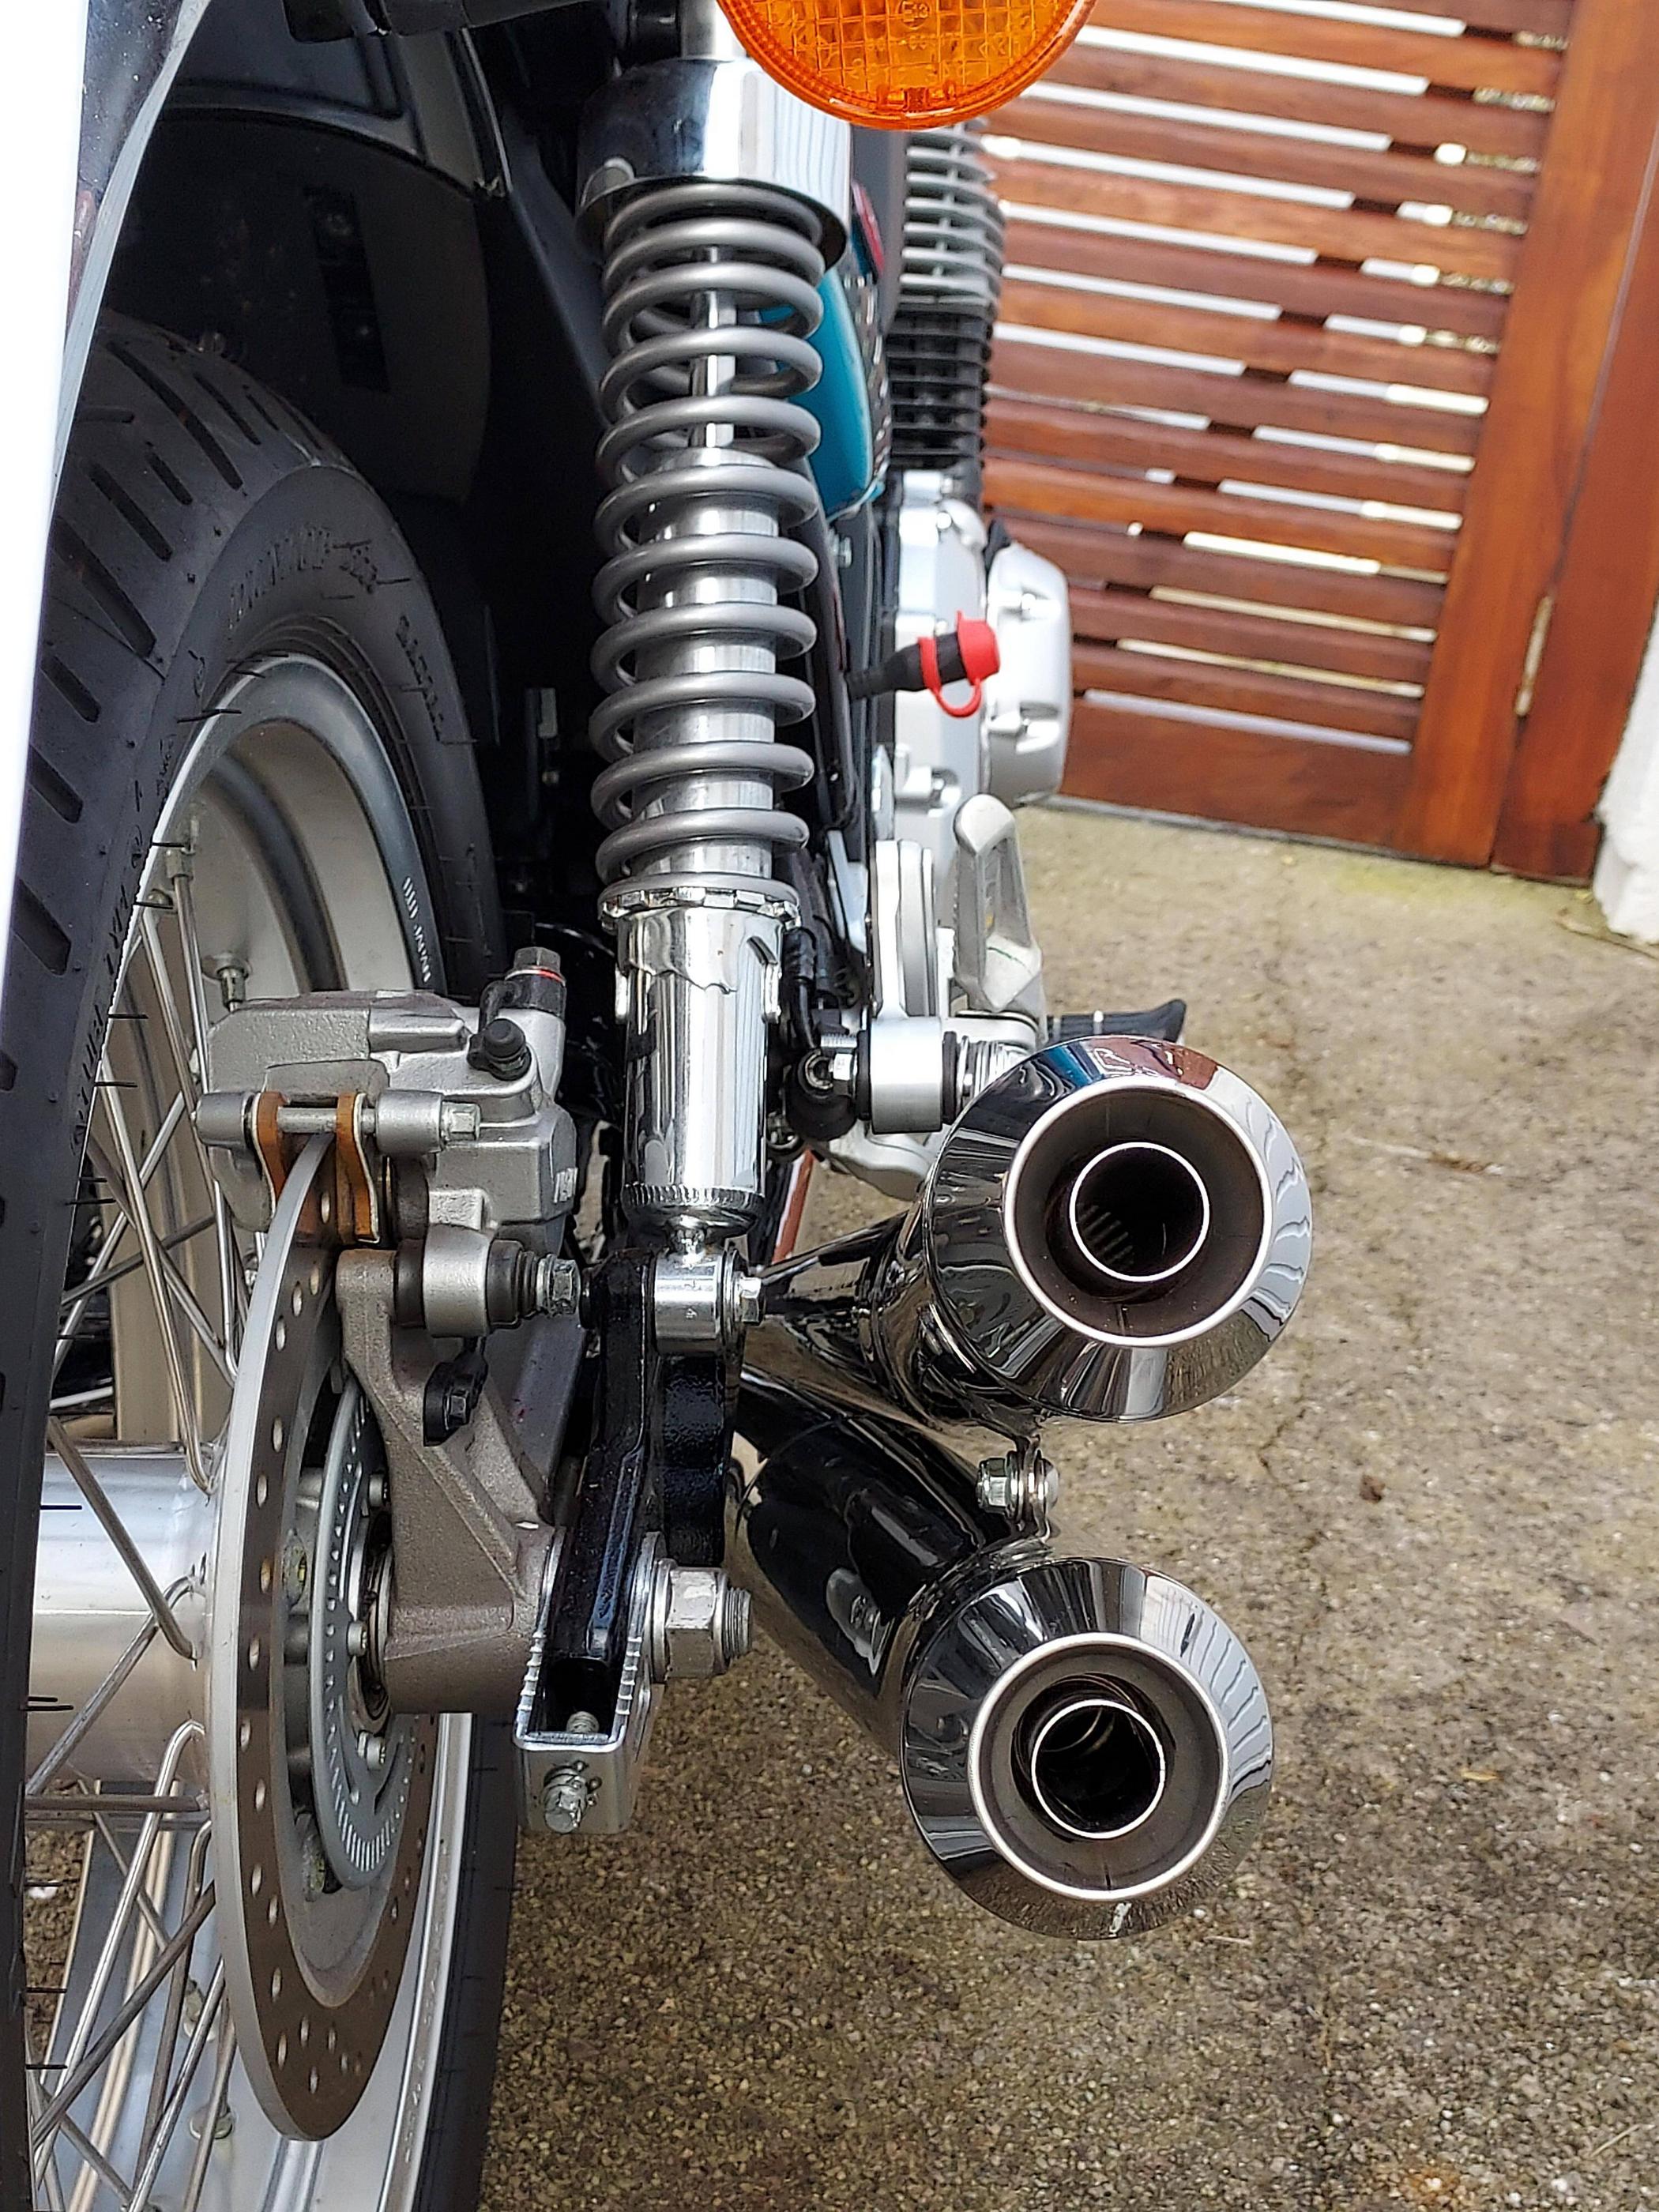
You'll remember that I had to pause fitting the middle two silencers because my jack was in the way. I had to wait until I could refit the front wheel/mudguard (fender) and lower the front wheel to the ground, before I could remove the jack and finish the exhausts.
So.... here we go on Part 2.
Before fitting the 'H'-section joining the middle two exhausts, I needed to safely route the O2 Sensor's cables. The right-hand one is OK, but the left-hand cable runs dangerously close to, and could be snagged by, the rear drive chain.
I cable-tied the two cables together as far as possible, then secured them to the main stand spring hook on the frame, now unused ('3' in the pic). Other cable-ties were added, especially where the cable needed to be guided near the centre line of the 'bike ('2' in the pic) and then as it went into the cavity occupied by the chain ('1' in the pic).
Cable-tied Gaffer tape was added where the cable passed any sharp edges.


With foresight, this could have been done better maybe, with shrinkwrap tube or stout rubber tubing. This is satisfactorily, though.
While under the 'bike, and before the exhausts were fitted, I put tape on the swing arm bearing, to prevent stone damage and subsequent corrosion - a great idea by Max on this Forum. Thanks Max!
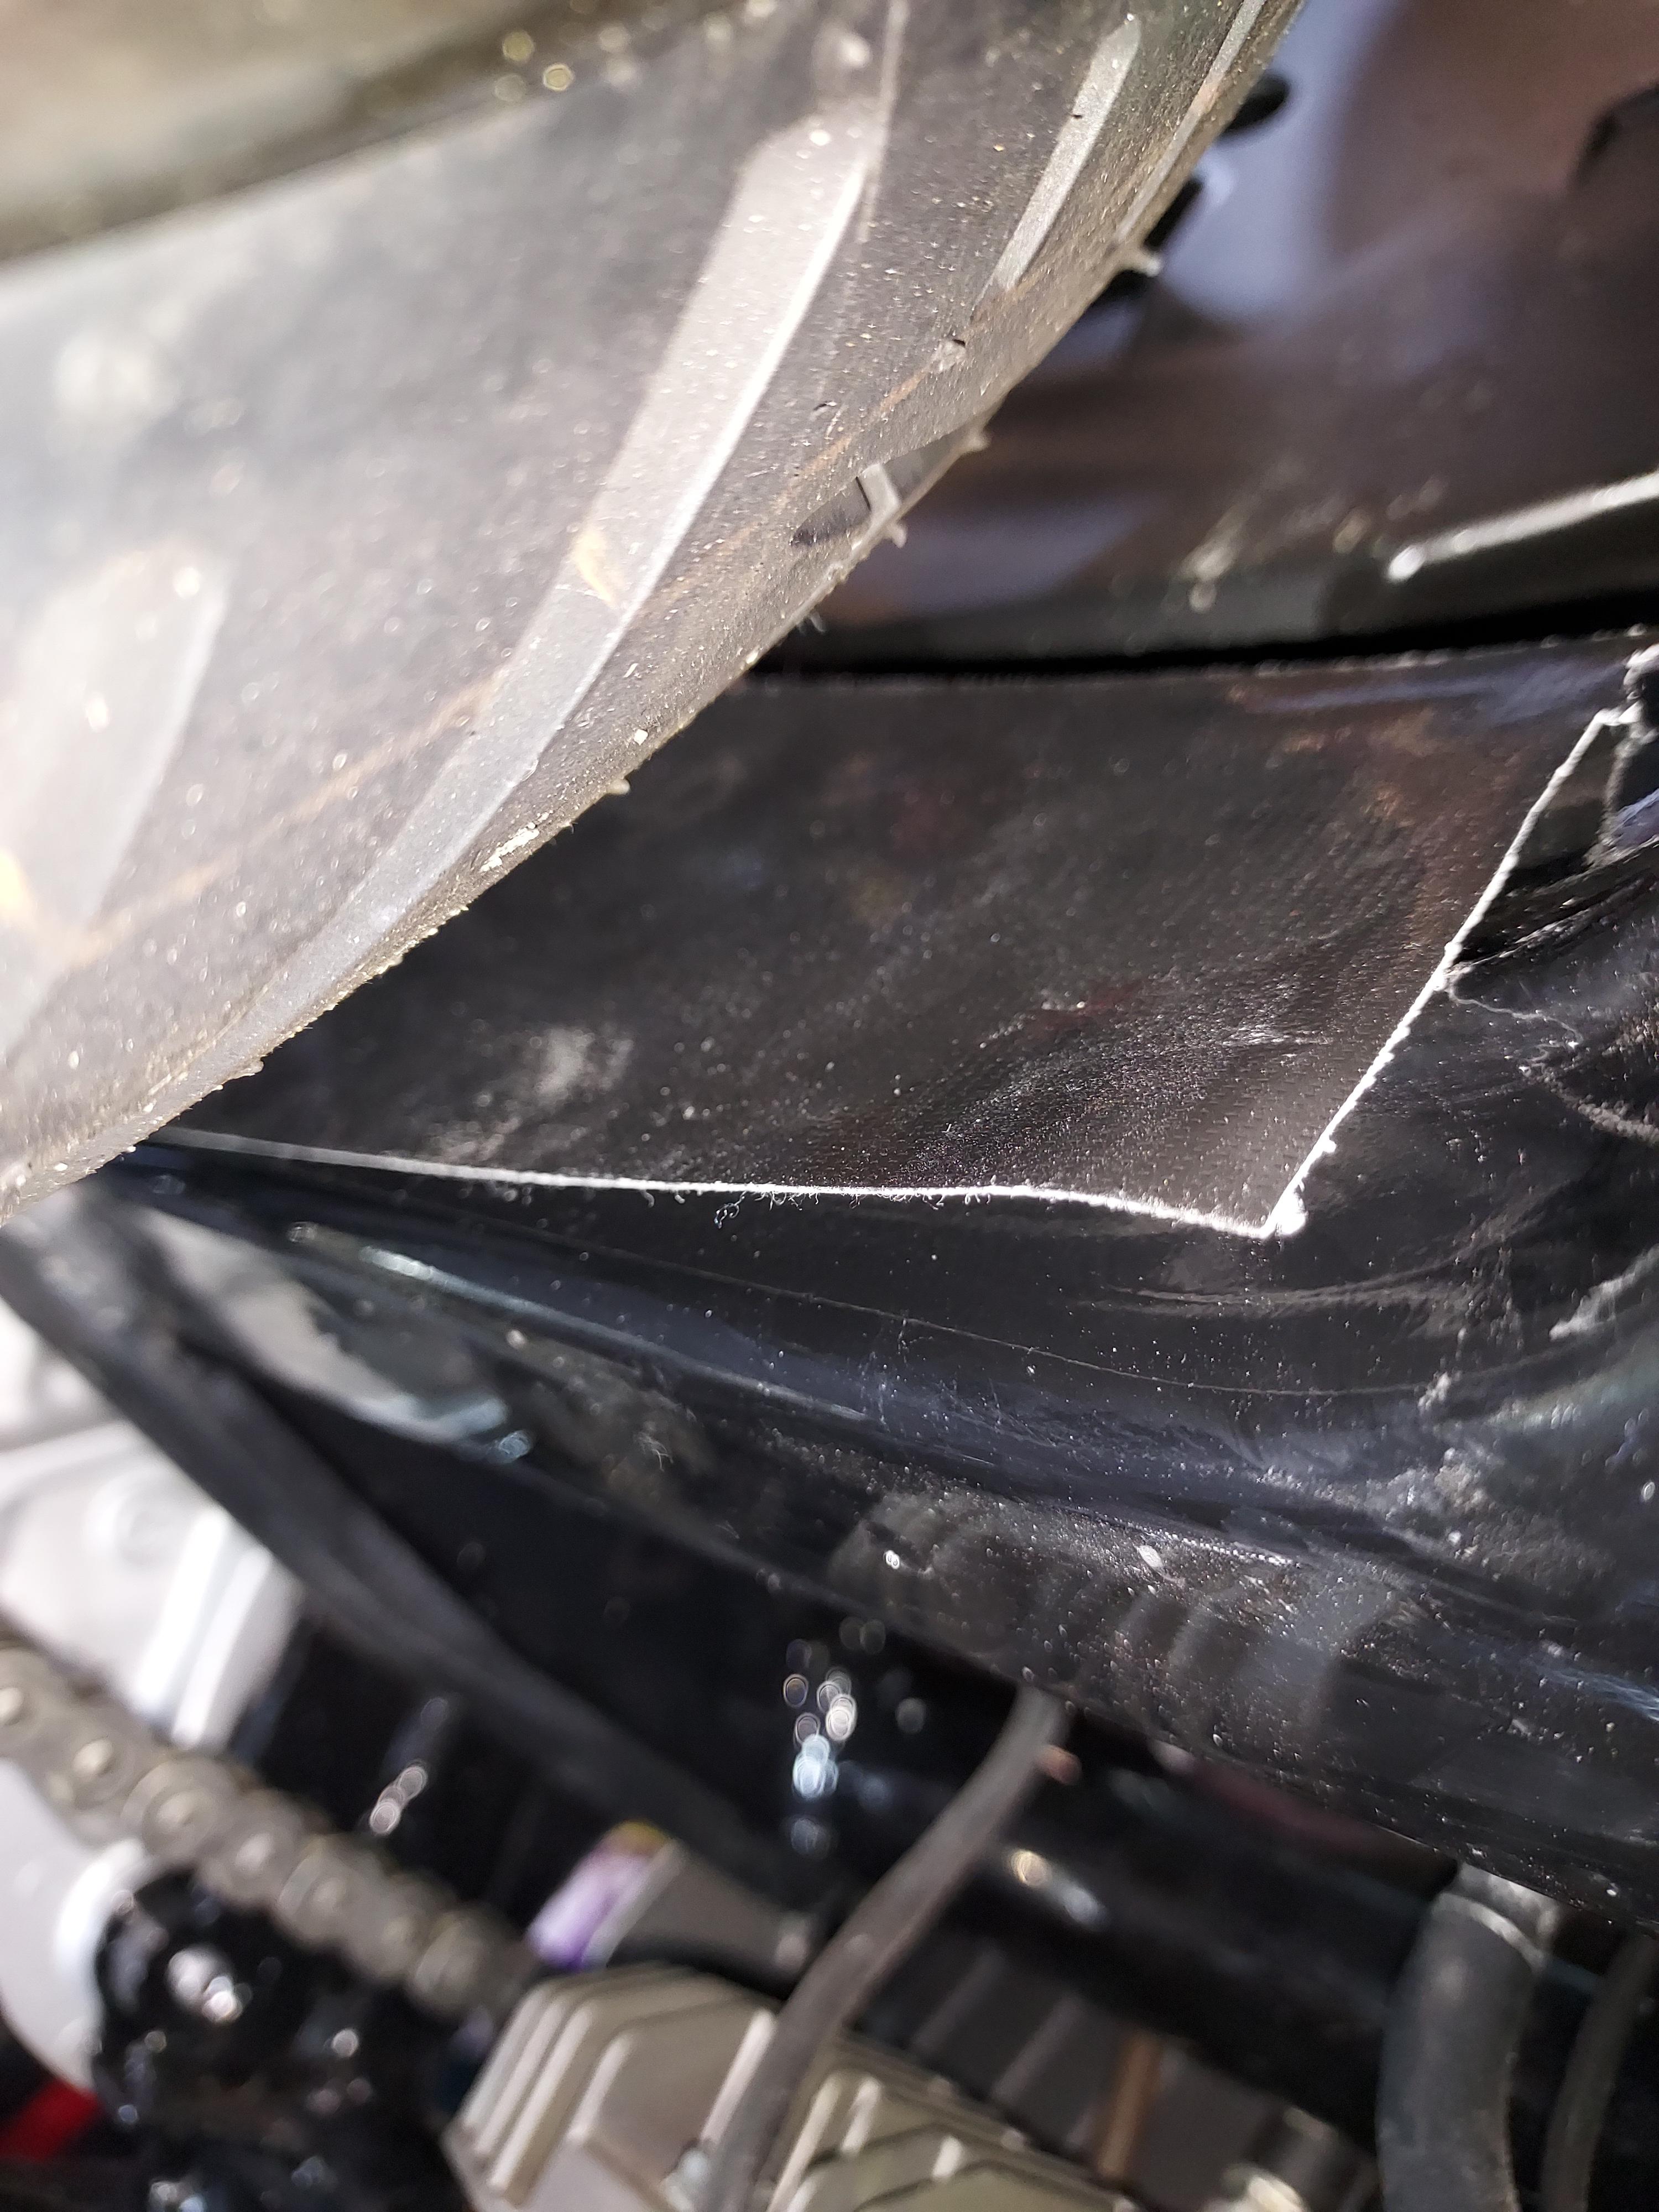
The kit comes with a small 'adapter plate' that, when adjusted properly, keeps the sidestand from hitting the exhaust. Neat!

The 'H'-section middle exhaust joiner was tightened (socket bolts and 10mm nuts) and the inner silencers fitted and bolted up.

Leftside done...

The right side...

And both sides!
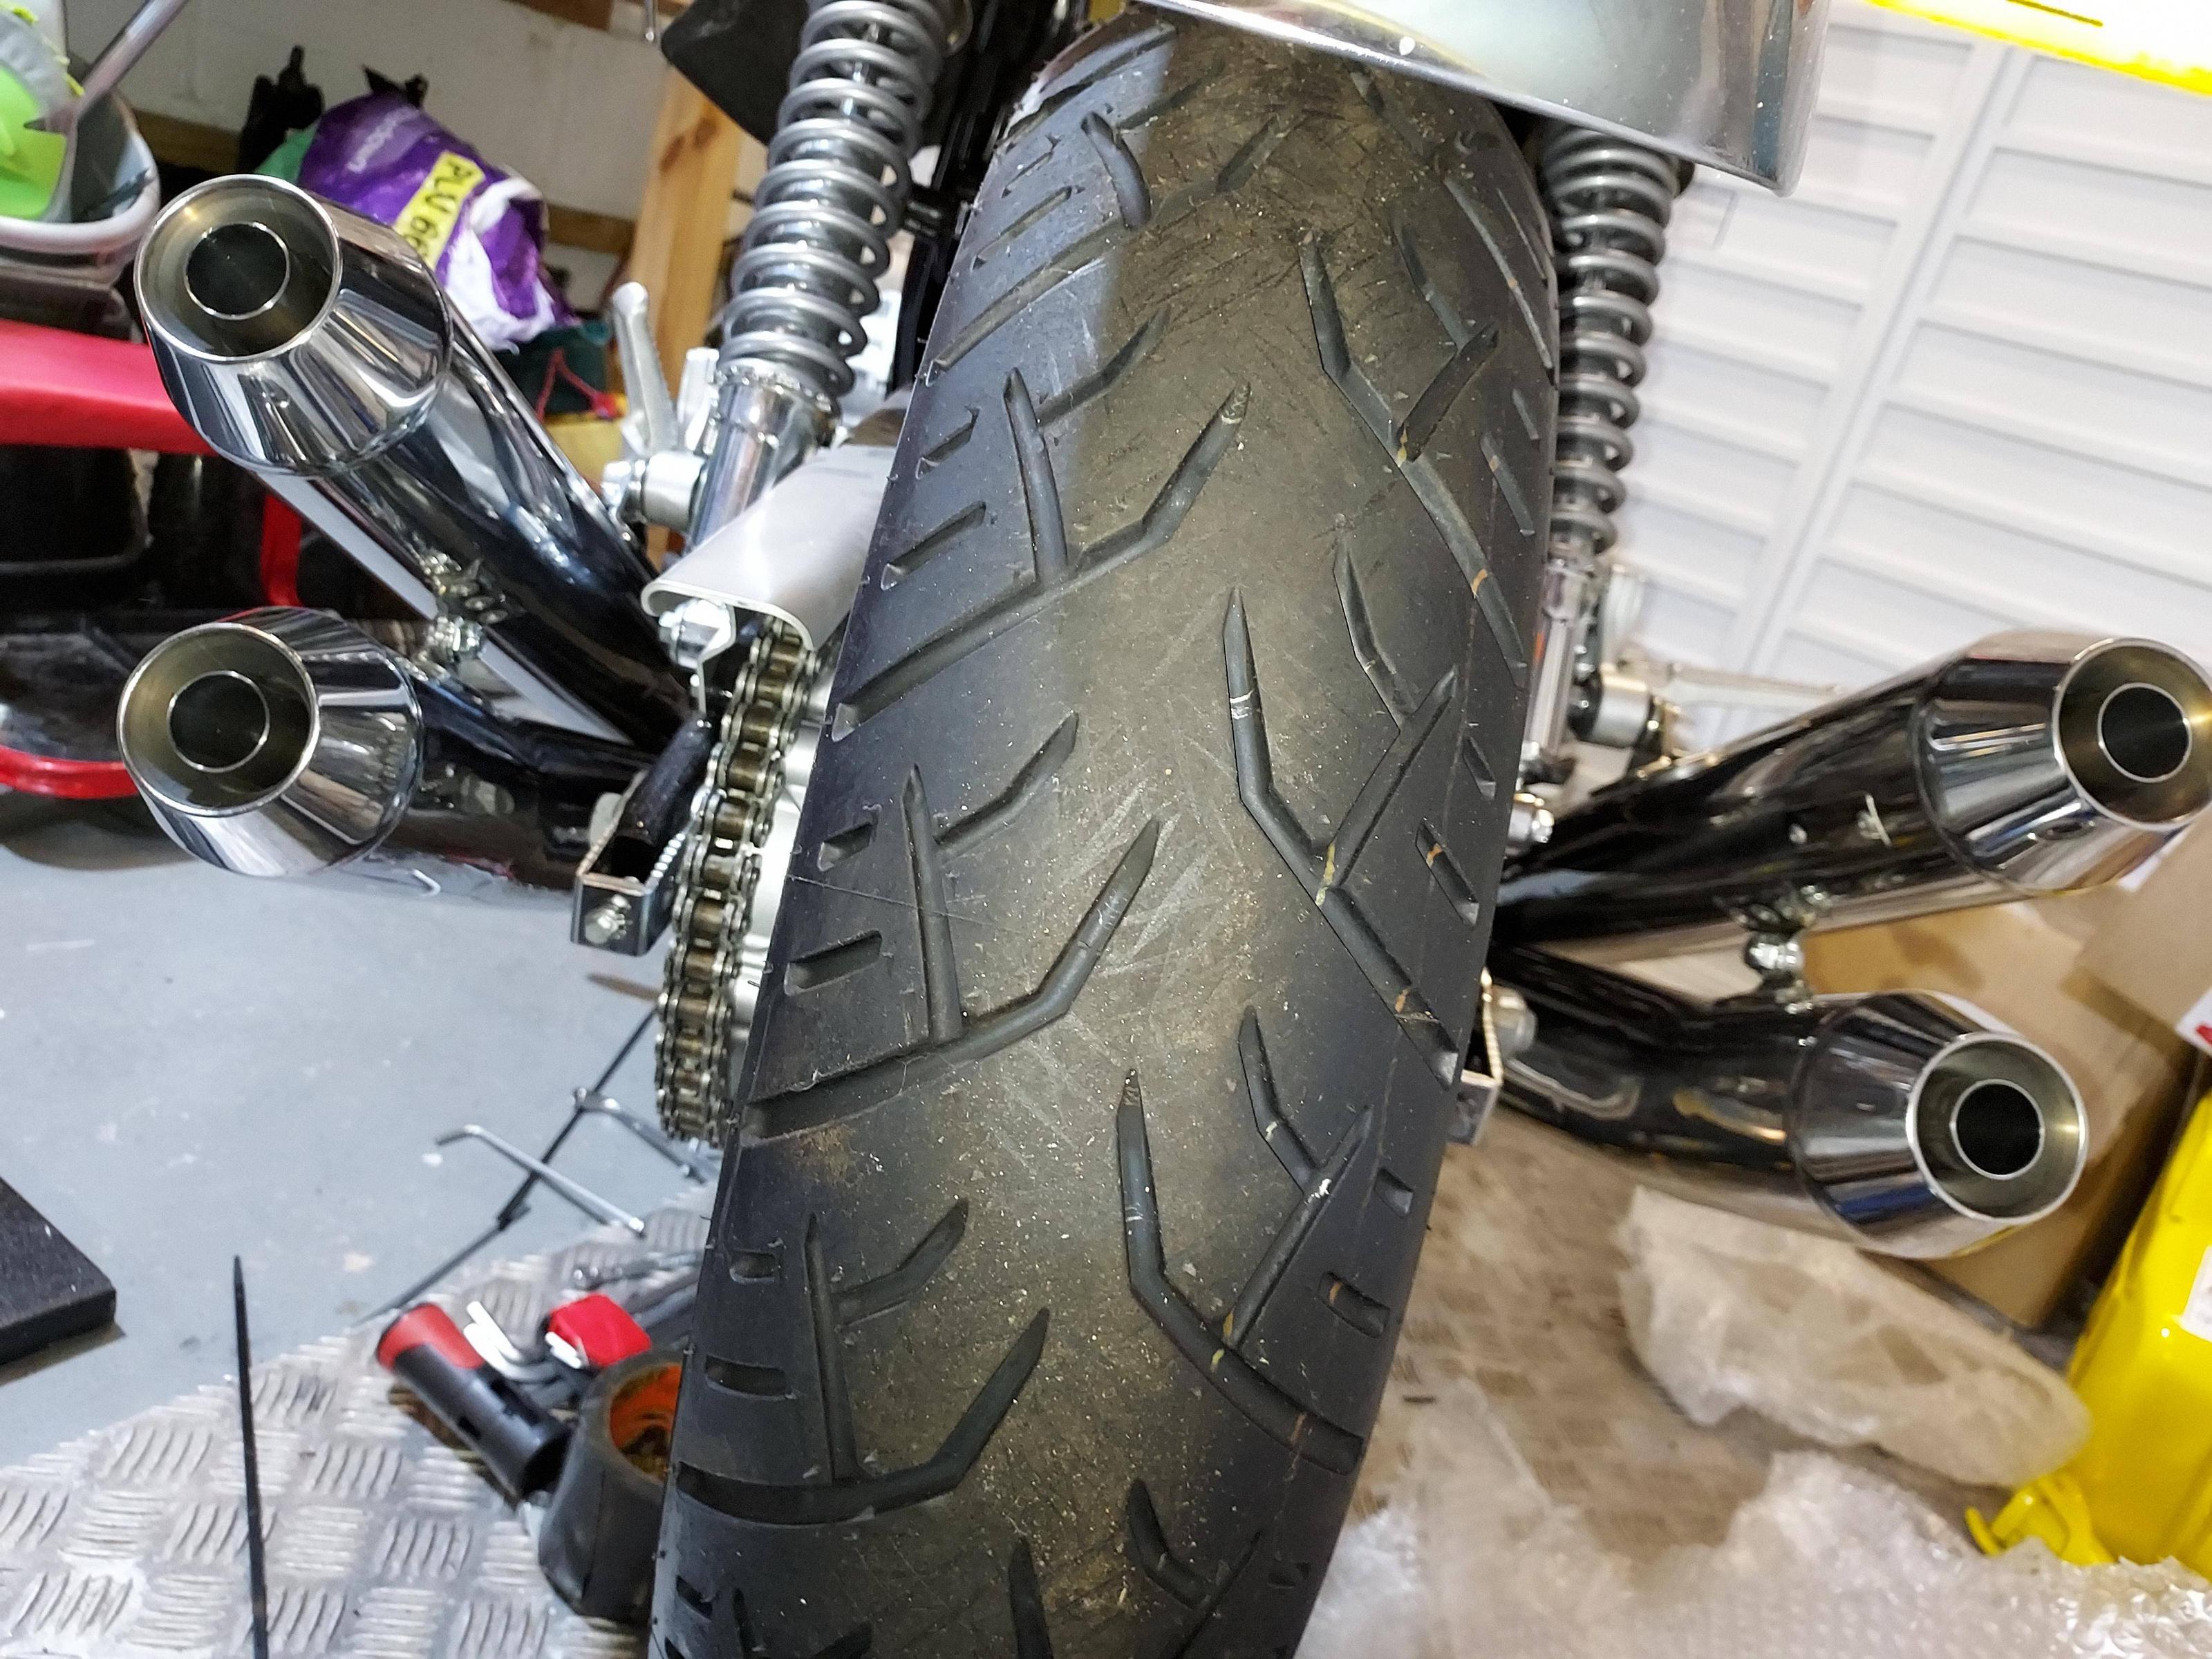
That's enough for today. Tidying up tomorrow; finishing off small bits I've left, checking tightness of all fasteners I may have touche and so on. And then... starting on the tank (fitting fuel pump and filler cap, etc).
Thanks for the kind comments, guys - they're all appreciated.
Yup, GO... I envy the guys that live in a climate where the dreaded "rust" isn't an issue!
The tank needs assembling first! The tank cap comes as a separate item and the fuel pump has to be removed from the old tank and fitted to the new one. Then ... fitted to the 'bike!Bazbro_imp said:The tank needs assembling first! The tank cap comes as a separate item and the fuel pump has to be removed from the old tank and fitted to the new one. Then ... fitted to the 'bike!tommymck_imp said:You're a big tease Bazbro. When are we going to see the money shot???!!! That front end looks fantastic
So, soon, Tommy... soon!


wow! nice work Bazbro!Bazbro_imp said:The final fit of the modified CB750 front mudguard...
The excess of the brackets were cut off, buffed and shaped. I decided to paint the brackets because of this scarring of the chrome. But... silver or black paint??
The first coat of red oxide primer, ensuring that it gets into all the nooks and crannies where the brackets attach to the mudguard and where rust would otherwise form...


I decided, while I was about it, to paint all the seams round the edge, underneath the m/guard, to properly rust proof it. By not bothering to mask all of the underside, overspray will get all over the underneath of the m/guard, but I'm not worried about appearance - it's those cracks and seams where rust starts, that I need to cover and protect with paint.

Don't forget the cable guide that was cut off the strut... that needs the red oxide rust preventer, followed by a topcoat too.

Silver it is! I have some 'Truck Bed Liner' spray, but that's a bit over-the-top, I think. So a couple of passes of spray silver it is, maybe followed by a couple of coats of clear matte lacquer to make the brackets look nice.

The finished job...

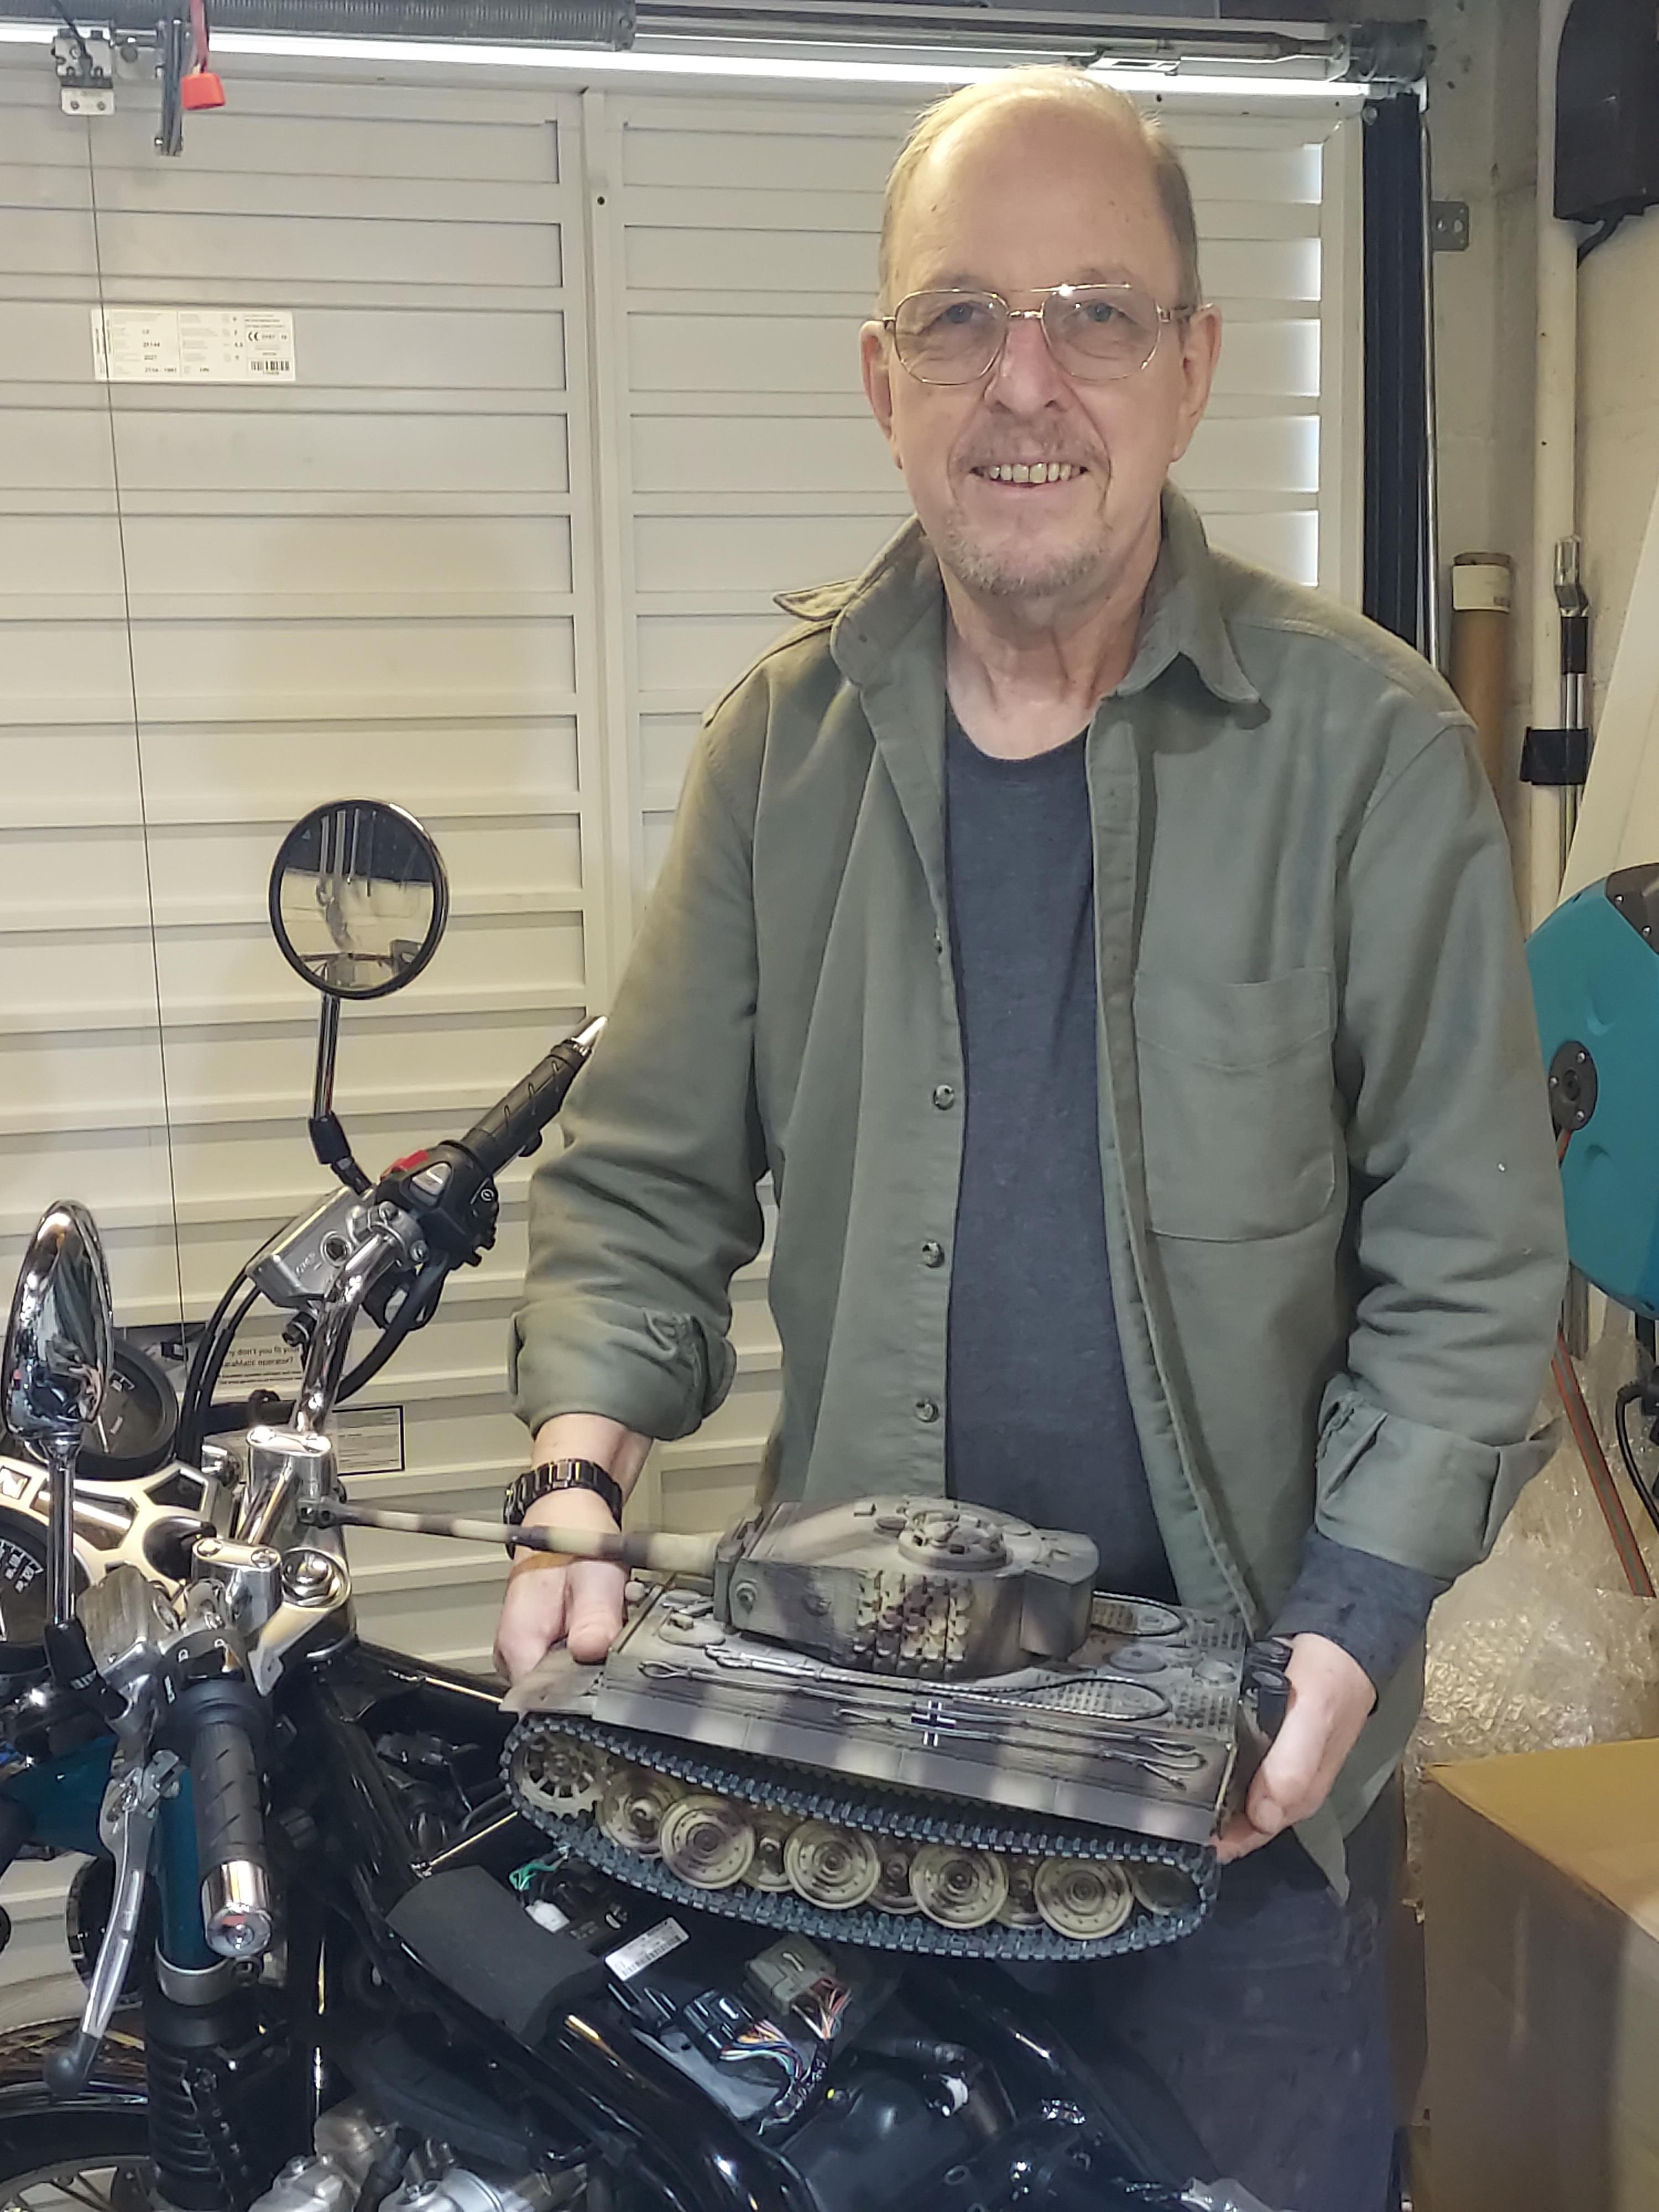 :celebrate:


:rofl:Bazbro_imp said:.
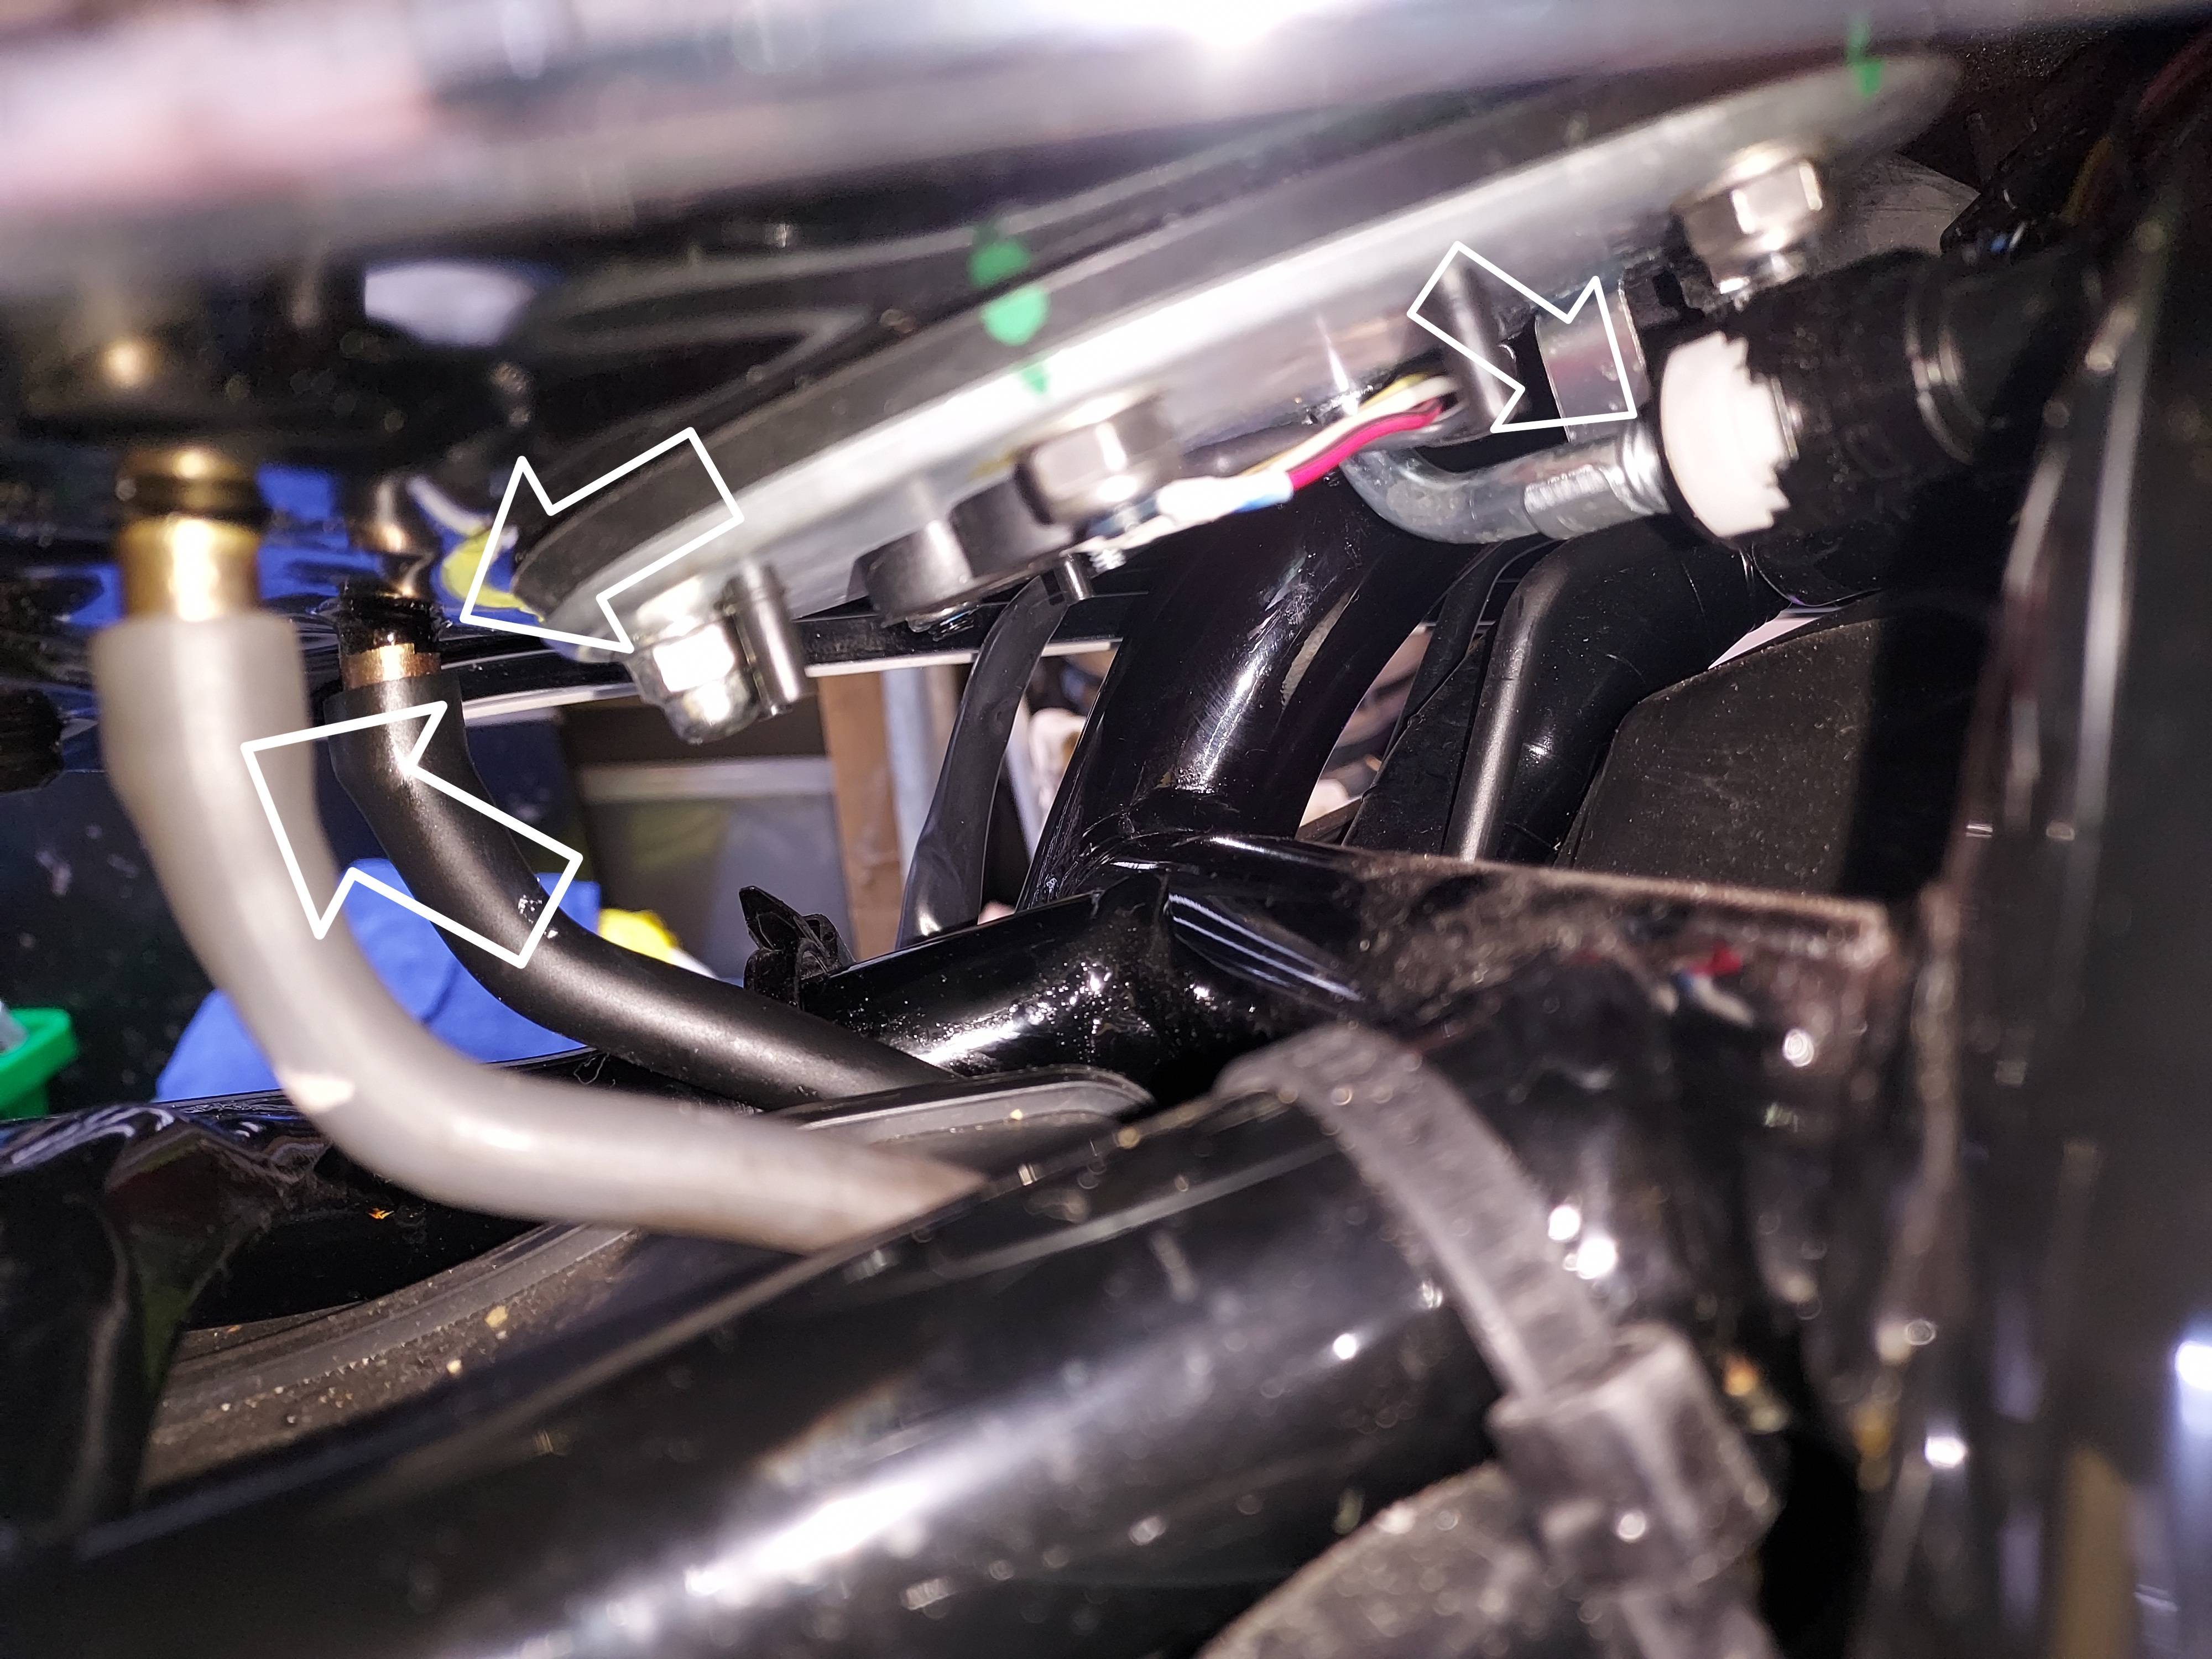
TIME TO FIT "THE TANK"...
Thanks guys.
Great pic, Vic! I shall keep that.
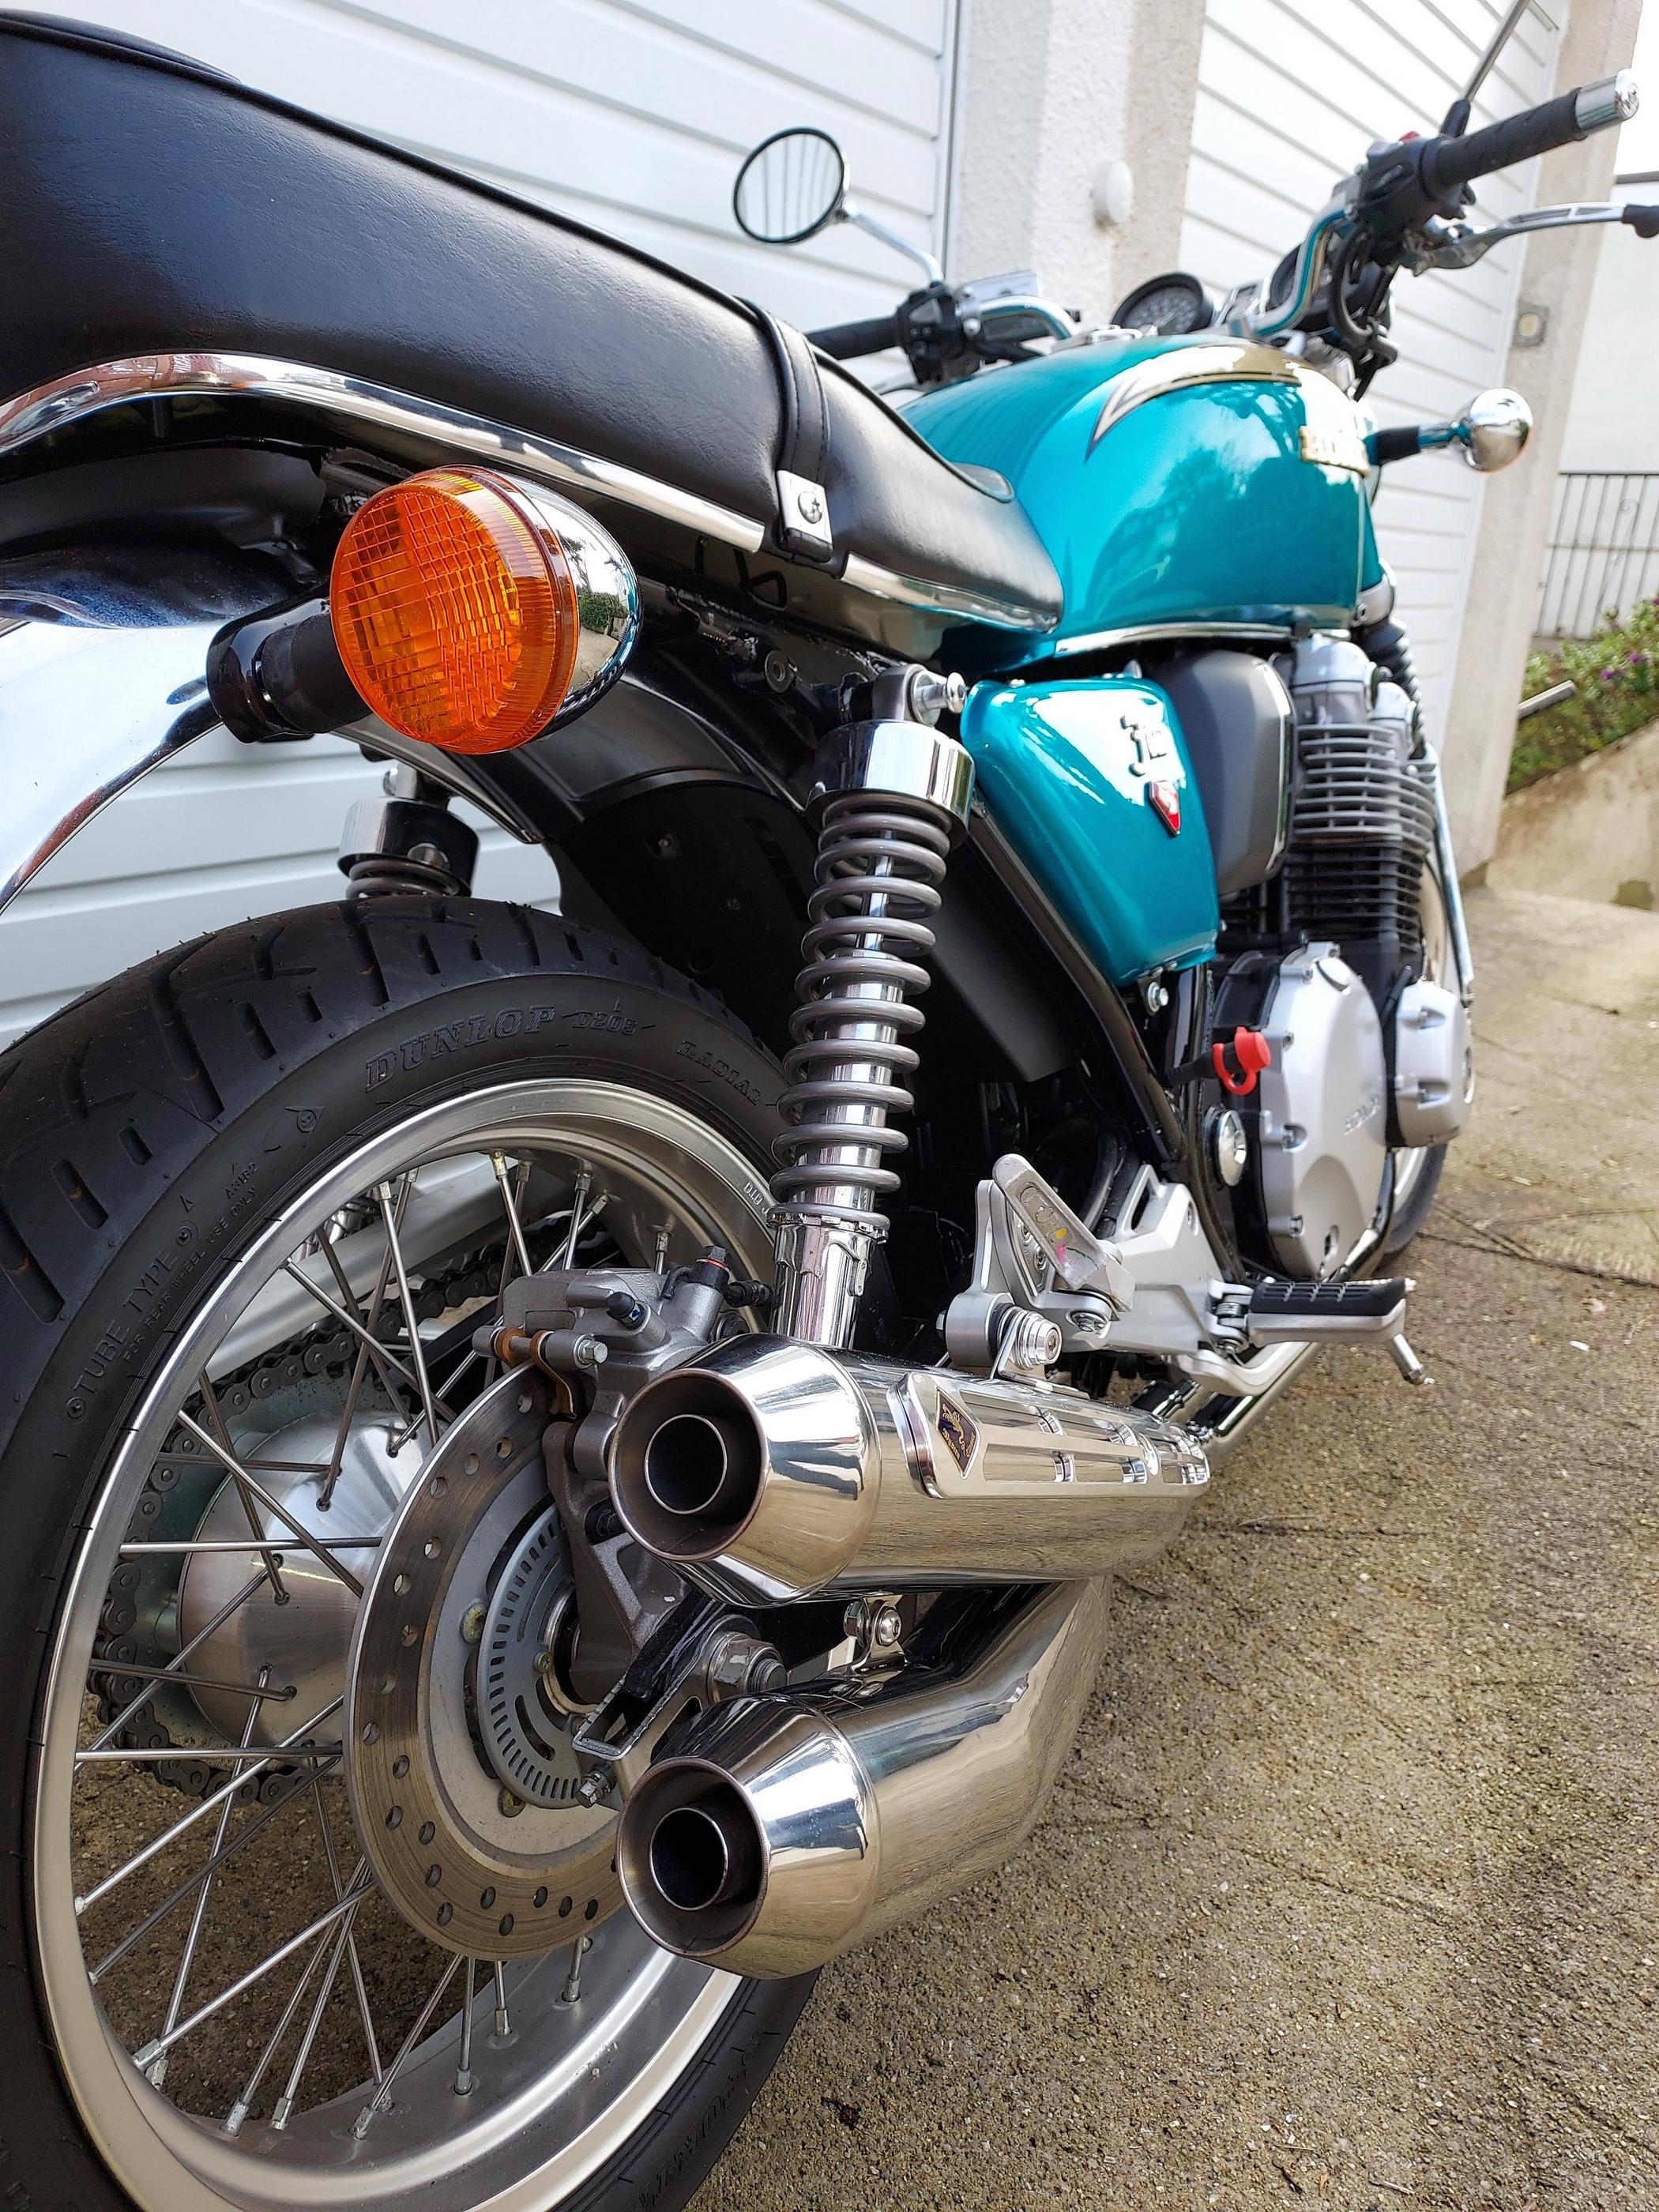
Have you noticed how Honda cleverly curved the CB 750 silencers INWARDS at the ends, preventing the "sticking out" appearance of the Wyverns? The CB750 looks much better from the rear than the Wyverns. But I'm not complaining!

Bazbro' pid='315609' dateline='1647790372 said:.
TIME TO FIT "THE TANK"...

Tanks for the morning humor.
I don't think a German part is right for this application, though.






(+1) NachoD. Tanx Baz. Good show.Nachodaddy_imp said:Very well done. Surgical precision. Great photos. Thank you. Or, should I say "tanks?"