Whitehouse K17 mods...

What everybody said. Love the color!
 
Gorgeous stuff Barry. I’m excited to see it all on your bike! You’re definitely encouraging me to spend my hard earned money!

Tom


Sent from my iPhone using Tapatalk
 
Thread starter
run-tmc_imp said:
Gorgeous stuff Barry. I’m excited to see it all on your bike! You’re definitely encouraging me to spend my hard earned money!

Tom


Sent from my iPhone using Tapatalk
Tom, as they (used to) say... "Just DO.it!" :)
 
Barry, I’m sure you know there’s at least one forum member practically salivating for pics of your new K17 setup, but I have a garage project of my own that often gets in the way of motorcycle work so I understand you’ve got a lot to chew through and will try to not pester you for updates.

I do want to ask how the fuel filler in the tank looks, how it operates and if you chose to go with the “old style” that was more like the CB750’s. Why did you/didn’t you stick with the filler as it comes in the K17 tank? Were there additional charges associated with the fuel filler?

Thanks Barry!
Tom


Sent from my iPhone using Tapatalk
 
Thread starter
Hi Tom,

Well, like most things in my life, it's not been straightforward...

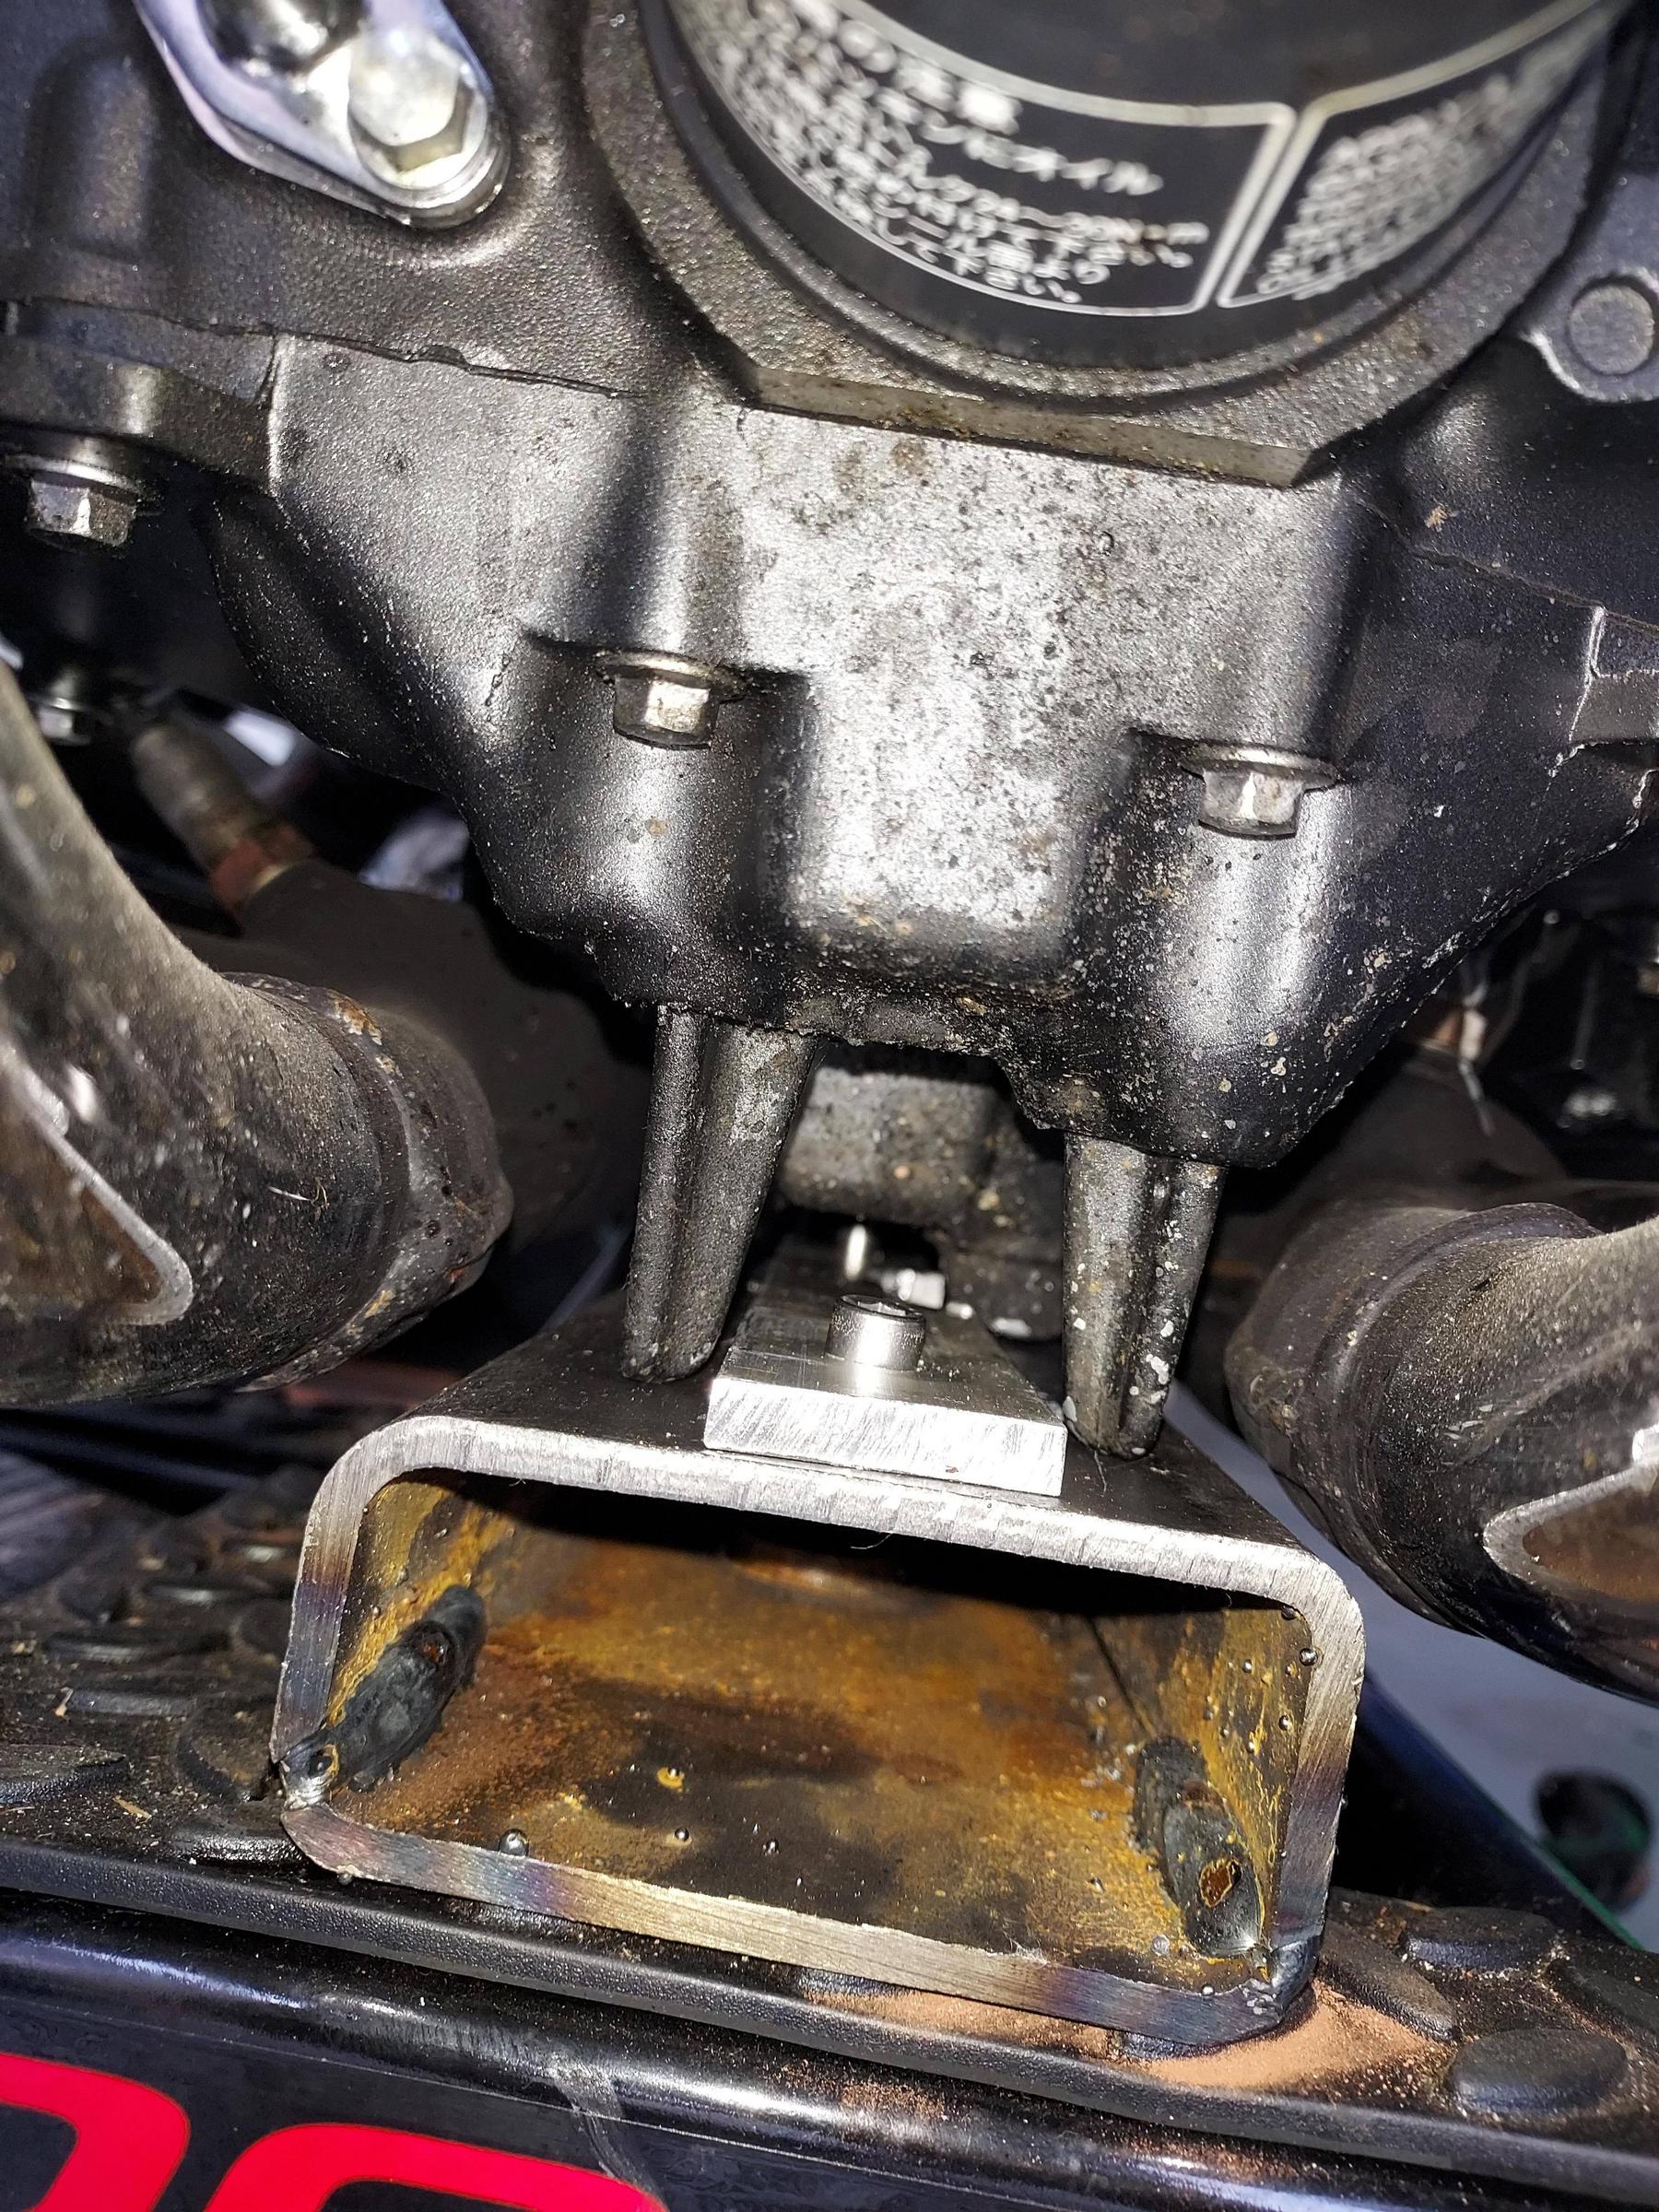
My TINY garage needed a bit of reorganising to give me some room to work.  The motorcycle workbench I had made was just a bit TOO big, so I replaced it with a small trolley-jack, which then unfortunately  wouldn't fit between the exhausts under the engine.  It needed a modified 'plate' making.  All done now, though, and I'm ready to start.

The 'plate' modification for my little trolley-jack...

a3435a9d1ba854bb8becf297d0240f45.jpg


The jack in place.  The 'plate' fits the five supports on the bottom of the engine/sump. It's not taking the full weight of the 'bike, that load's being shared with the hoist.

7dd81d4c230b1acd2a28a56ce29312c7.jpg


The 'bike jacked up, with the whole plot steadied by the hoist - a good option for me, having so little room to work.  The 'bike is strapped to the jack too, for safety.

1ef7a5f50c5a839b1cd92d816eb56963.jpg


57218d12dfae30919cca1eb445c19355.jpg


There are two other 'bikes behind the Honda, plus a whole wall of racking down one side!  I look enviously at you guys who own double-  (or bigger) garages or workshops.  Still, I mustn't grumble - there are lots worse off than me and I love the American expression "shade tree mechanics"!  :)

I have the following to fit and, as I'm NOT a 'mechanic', I'm carefully plotting what I need to do.  I have to fit the CB750 front mudguard (fender), the four Wyvern exhausts, and all the paintwork inc. the last job, the tank.

So...  first job, off with the front wheel.  I did a "How To..." on this ( http://cb1100forum.com/forum/showthread.php?tid=15104 ) which has come in handy now, reminding me how to do it... thanks, Barry!  ;)

I then propose to 'dummy-fit' the new m'guard, ready to properly fit it later.  Next will be to fit the painted headlamp 'ears', which requires part removal of the fork legs - handy to do that with the front wheel removed.  Then, while the wheel is still off, exchange the exhausts.  I'm guessing this will be a little easier with the front wheel missing?  It certainly won't make it harder, that's for sure!

Then I'll properly fit the m'guard, replace the front wheel and get the whole plot off the jack/hoist, ready to fit the tank/side panels.

Then step back, admire and... RIDE!

I'll keep you all posted.as to how this progresses.  I anticipate that I "may" have a problem with the m'guard - it's a genuine 1972 CB750 (a sort of 'homage' to my original CB750 back in 1972) and I hope against hope that I can make it fit.  I've had tremendous help and encouragement from 'Ninemeister', without whom I wouldn't even be trying to fit this m'guard - a big thank you to you, Colin.

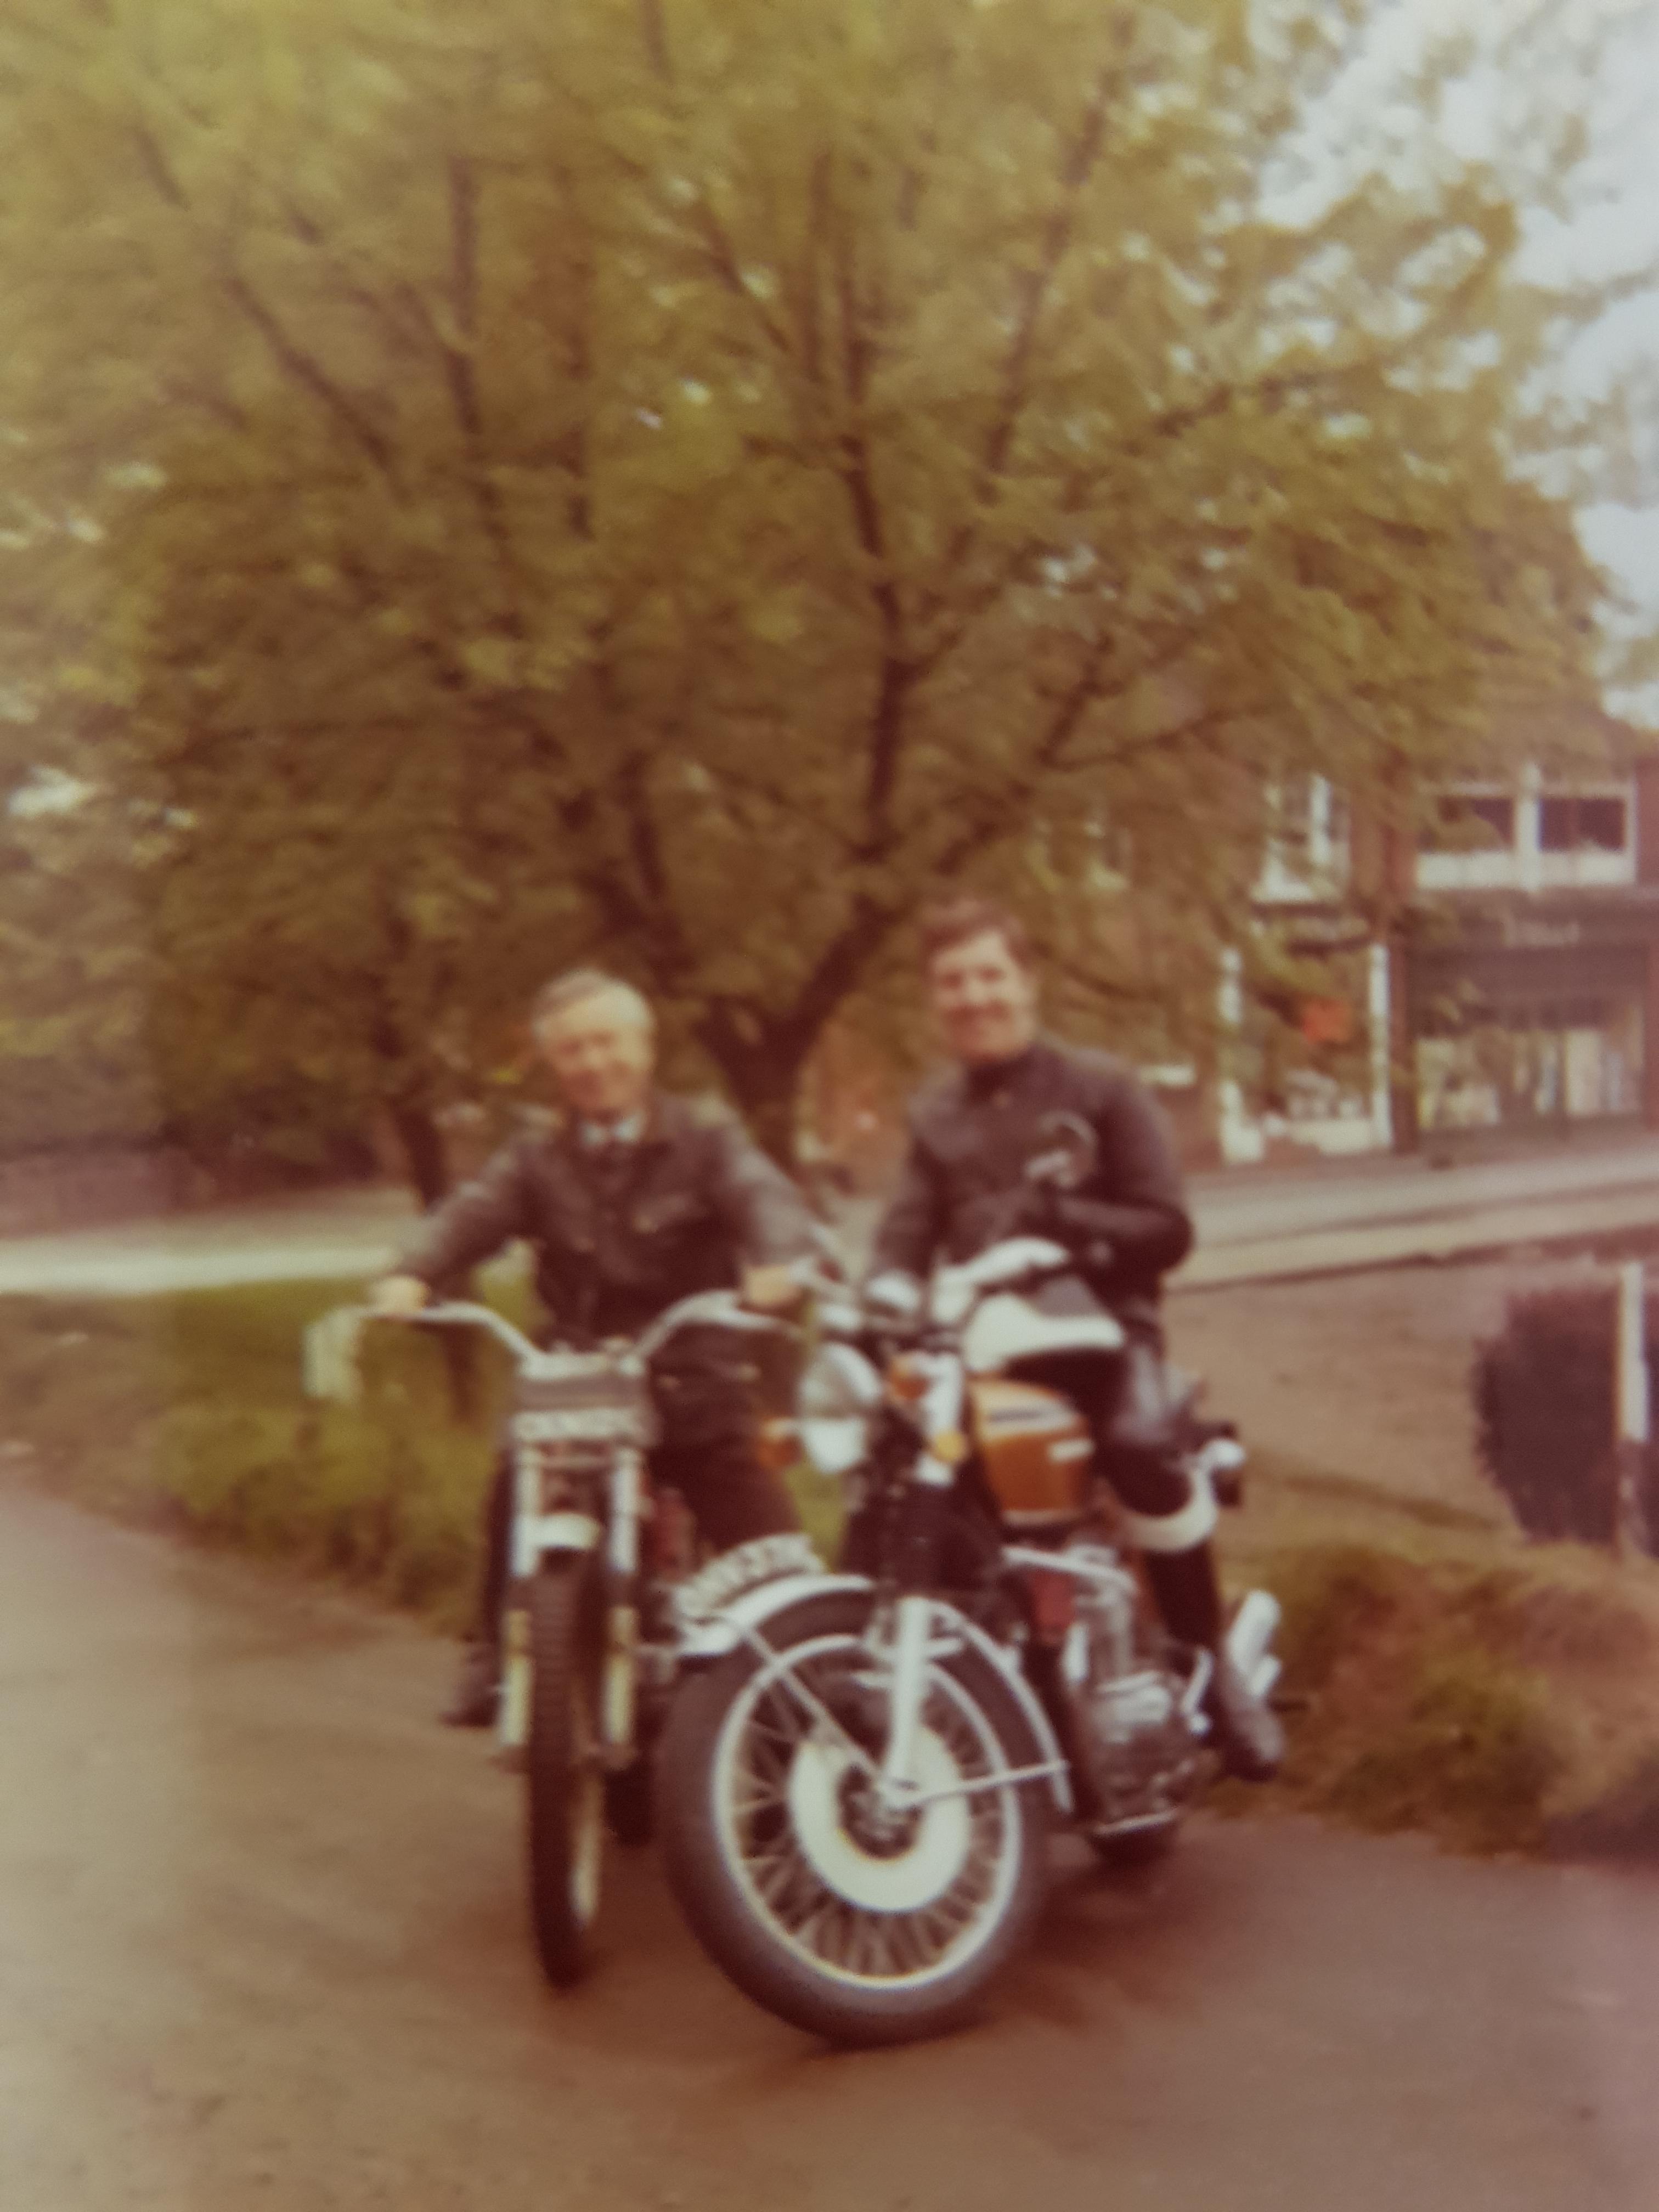
My Dad and I with my CB750, back in 1972 - he's on his 250 Bultaco trials.

044071309b911d077c906802a8cfe11d.jpg


Tom... the tank. 
Takashi at Samurider specufically asked me about this.  This is the mail he sent...
"The 2018 CB1100EX OEM fuel filler cap can not be reused, so we will include a Honda OEM fuel filler cap with key (from earlier model of CB1100).

Is that okay with you? 

https://www.samurider.com/wp-content/uploads/wh0072-6.jpg


or CB750 type fuel filler cap is available (no key). +39000 yen.

K-style filler cap for Whitehouse tank | Samurider.com


or Honda OEM flat type filler cap with key. +15000 yen.

https://www.samurider.com/wp-content/uploads/wh0030-3.jpg "

I chose the cheap option of paying nothing extra and have the earlier CB1100 model filler cap, not the CB750 one.  I'm not concerned about these small details, like tank filler or indicators,  and certainly not to spend 39,000 Yen EXTRA on a different one!  I hope that answers your query?  I'll show a pic of the filler next time I get the tank out.   :)

Right, a mug of tea and I'm off to the garage...  Toodle-pip!  
 
Nice capture of you and your father Bazbro. So much more in those images now than probably then.

Good for you making the best use of the space available. At least the CB is safe when unattended.
 
Thread starter
Thanks, GO. You're so right.

Even now, when I see pics of my dear Father, there are often tears in my eyes. "So much more in those images now than then. " So true...

Just a shame that the camera was such rubbish! After this, I graduated to a Nikkormat, then Nikon FE, then F2AS before the digital age took over. Our photos got a lot better after these pics!

Here's my Dad on my CB750, same day...

34ad0a463d4c6d10bf116eb8c2447099.jpg
 
Bazbro_imp said:
Hi Tom,

Well, like most things in my life, it's not been straightforward...

My TINY garage needed a bit of reorganising to give me some room to work.  The motorcycle workbench I had made was just a bit TOO big, so I replaced it with a small trolley-jack, which then unfortunately  wouldn't fit between the exhausts under the engine.  It needed a modified 'plate' making.  All done now, though, and I'm ready to start.

The 'plate' modification for my little trolley-jack...

a3435a9d1ba854bb8becf297d0240f45.jpg


The jack in place.  The 'plate' fits the five supports on the bottom of the engine/sump. It's not taking the full weight of the 'bike, that load's being shared with the hoist.

7dd81d4c230b1acd2a28a56ce29312c7.jpg


The 'bike jacked up, with the whole plot steadied by the hoist - a good option for me, having so little room to work.  The 'bike is strapped to the jack too, for safety.

1ef7a5f50c5a839b1cd92d816eb56963.jpg


57218d12dfae30919cca1eb445c19355.jpg


There are two other 'bikes behind the Honda, plus a whole wall of racking down one side!  I look enviously at you guys who own double-  (or bigger) garages or workshops.  Still, I mustn't grumble - there are lots worse off than me and I love the American expression "shade tree mechanics"!  :)

I have the following to fit and, as I'm NOT a 'mechanic', I'm carefully plotting what I need to do.  I have to fit the CB750 front mudguard (fender), the four Wyvern exhausts, and all the paintwork inc. the last job, the tank.

So...  first job, off with the front wheel.  I did a "How To..." on this ( http://cb1100forum.com/forum/showthread.php?tid=15104 ) which has come in handy now, reminding me how to do it... thanks, Barry!  ;)

I then propose to 'dummy-fit' the new m'guard, ready to properly fit it later.  Next will be to fit the painted headlamp 'ears', which requires part removal of the fork legs - handy to do that with the front wheel removed.  Then, while the wheel is still off, exchange the exhausts.  I'm guessing this will be a little easier with the front wheel missing?  It certainly won't make it harder, that's for sure!

Then I'll properly fit the m'guard, replace the front wheel and get the whole plot off the jack/hoist, ready to fit the tank/side panels.

Then step back, admire and... RIDE!

I'll keep you all posted.as to how this progresses.  I anticipate that I "may" have a problem with the m'guard - it's a genuine 1972 CB750 (a sort of 'homage' to my original CB750 back in 1972) and I hope against hope that I can make it fit.  I've had tremendous help and encouragement from 'Ninemeister', without whom I wouldn't even be trying to fit this m'guard - a big thank you to you, Colin.

My Dad and I with my CB750, back in 1972 - he's on his 250 Bultaco trials.

044071309b911d077c906802a8cfe11d.jpg


Tom... the tank. 
Takashi at Samurider specufically asked me about this.  This is the mail he sent...
"The 2018 CB1100EX OEM fuel filler cap can not be reused, so we will include a Honda OEM fuel filler cap with key (from earlier model of CB1100).

Is that okay with you? 

https://www.samurider.com/wp-content/uploads/wh0072-6.jpg


or CB750 type fuel filler cap is available (no key). +39000 yen.

K-style filler cap for Whitehouse tank | Samurider.com


or Honda OEM flat type filler cap with key. +15000 yen.

https://www.samurider.com/wp-content/uploads/wh0030-3.jpg "

I chose the cheap option of paying nothing extra and have the earlier CB1100 model filler cap, not the CB750 one.  I'm not concerned about these small details, like tank filler or indicators,  and certainly not to spend 39,000 Yen EXTRA on a different one!  I hope that answers your query?  I'll show a pic of the filler next time I get the tank out.   :)

Right, a mug of tea and I'm off to the garage...  Toodle-pip!  
Brilliant that you have those photos. The classic thick woolen white sock over the boot was all the rage then, plus the Belstaffs when they were cheap!
 
Thread starter
Yes, Tev, this was the " 'biker's uniform" of the early 60s... 'Lewis Leather's' boots, leather jacket, seaboot socks, white silk scarf and jeans. I don't know about USA then ? Or Oz, NZ, Canada, etc.

So... today's activity, just remove front wheel and m/guard (as in my "How To" http://cb1100forum.com/forum/showthread.php?tid=15104 ) and then start to measure up to fit the CB750 m'guard. This has been problematic, so I'll come back to that later, .it involves drillng stainless steel... say no more!

Removing the m'guard is quite straightforward... 5mm hex key. I've hung the calipers by wire this time, because I will need to move them, depending upon what job (moving the forks for the headlamp 'ears', removing the exhausts or fitting the new m'guard).

45334d8671e0e1319813bef600505786.jpg


Wedges placed in the calipers, between the pads, stops them moving...

347b1c834c71e55e7a7afe6baaecbe2d.jpg


...and an object (in this instance, an old sunglasses case) taped between the handlebar and the brake lever.prevents accidental operation. Belt'n'braces... ;)

b6cac52b1a2dc4d63ad4845f8a143f36.jpg


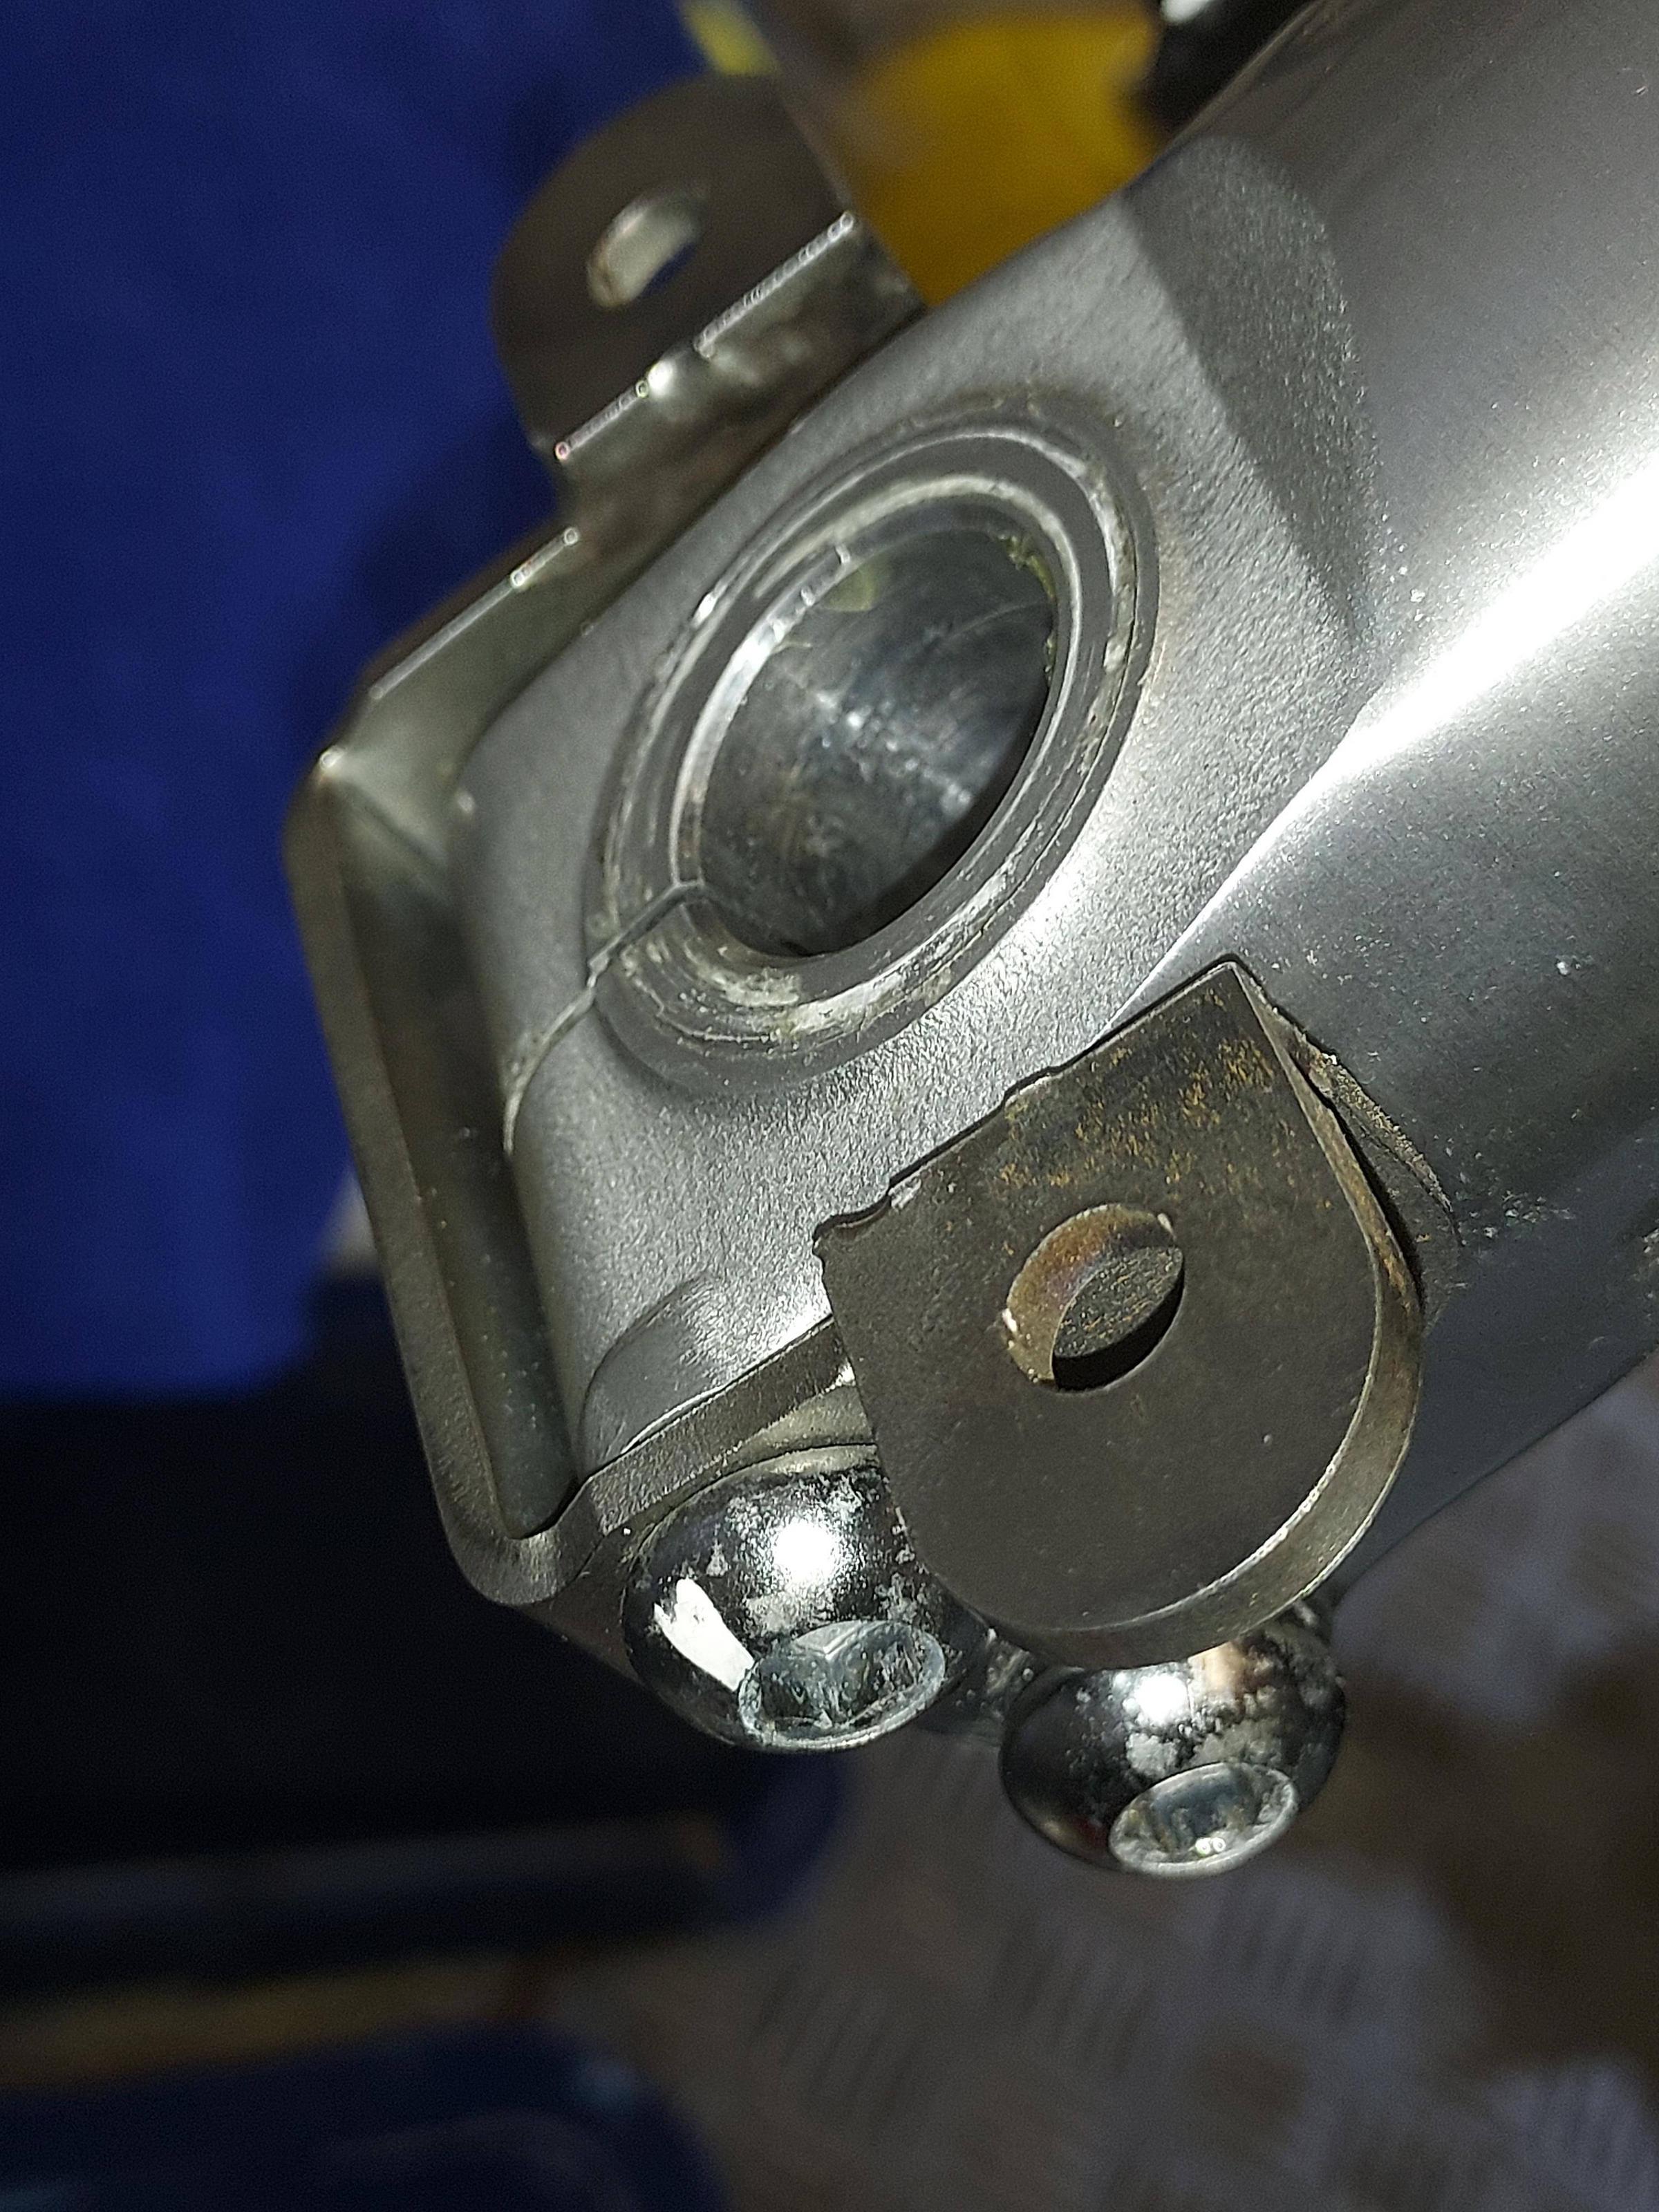
This is the stainless steel bracket, for the bottom the forks, that I had made (from Ninemeister's engineering drawing) that unfortunately needs one more hole drilling... When that's done, I can go ahead and dummy-fit the CB750 mudguard.

4b2b297608044a31014b70c023445fa5.jpg


Finally, where I am now...

0d803407120396a12dc81dbc3b50eb17.jpg
 
Bazbro_imp said:
Thanks, GO. You're so right.

Even now, when I see pics of my dear Father, there are often tears in my eyes. "So much more in those images now than then. " So true...

Just a shame that the camera was such rubbish! After this, I graduated to a Nikkormat, then Nikon FE, then F2AS before the digital age took over. Our photos got a lot better after these pics!

Here's my Dad on my CB750, same day...

34ad0a463d4c6d10bf116eb8c2447099.jpg
Looks very happy and following his prime joy.
 
Thread starter
run-tmc_imp said:
Great pics Barry. Your space looks cozy and well lit for the jobs ahead!


Sent from my iPhone using Tapatalk
Well-lit, yes, Tom. I paid a lot of attention to that. :thumbsup:
And WARM... I've gotta be warm out there! ;)

But cozy? I could do without 'cozy'! :D
 
Thread starter
Wot I dun this arfternoon...

REMOVING THE OLD EXHAUST SYSTEM...

So... taking off the old, damaged exhaust system... the first job was removing the LH silencer. I'm going to try and work only on the left side first and then do the right later, because of the space constraints in my workshop.

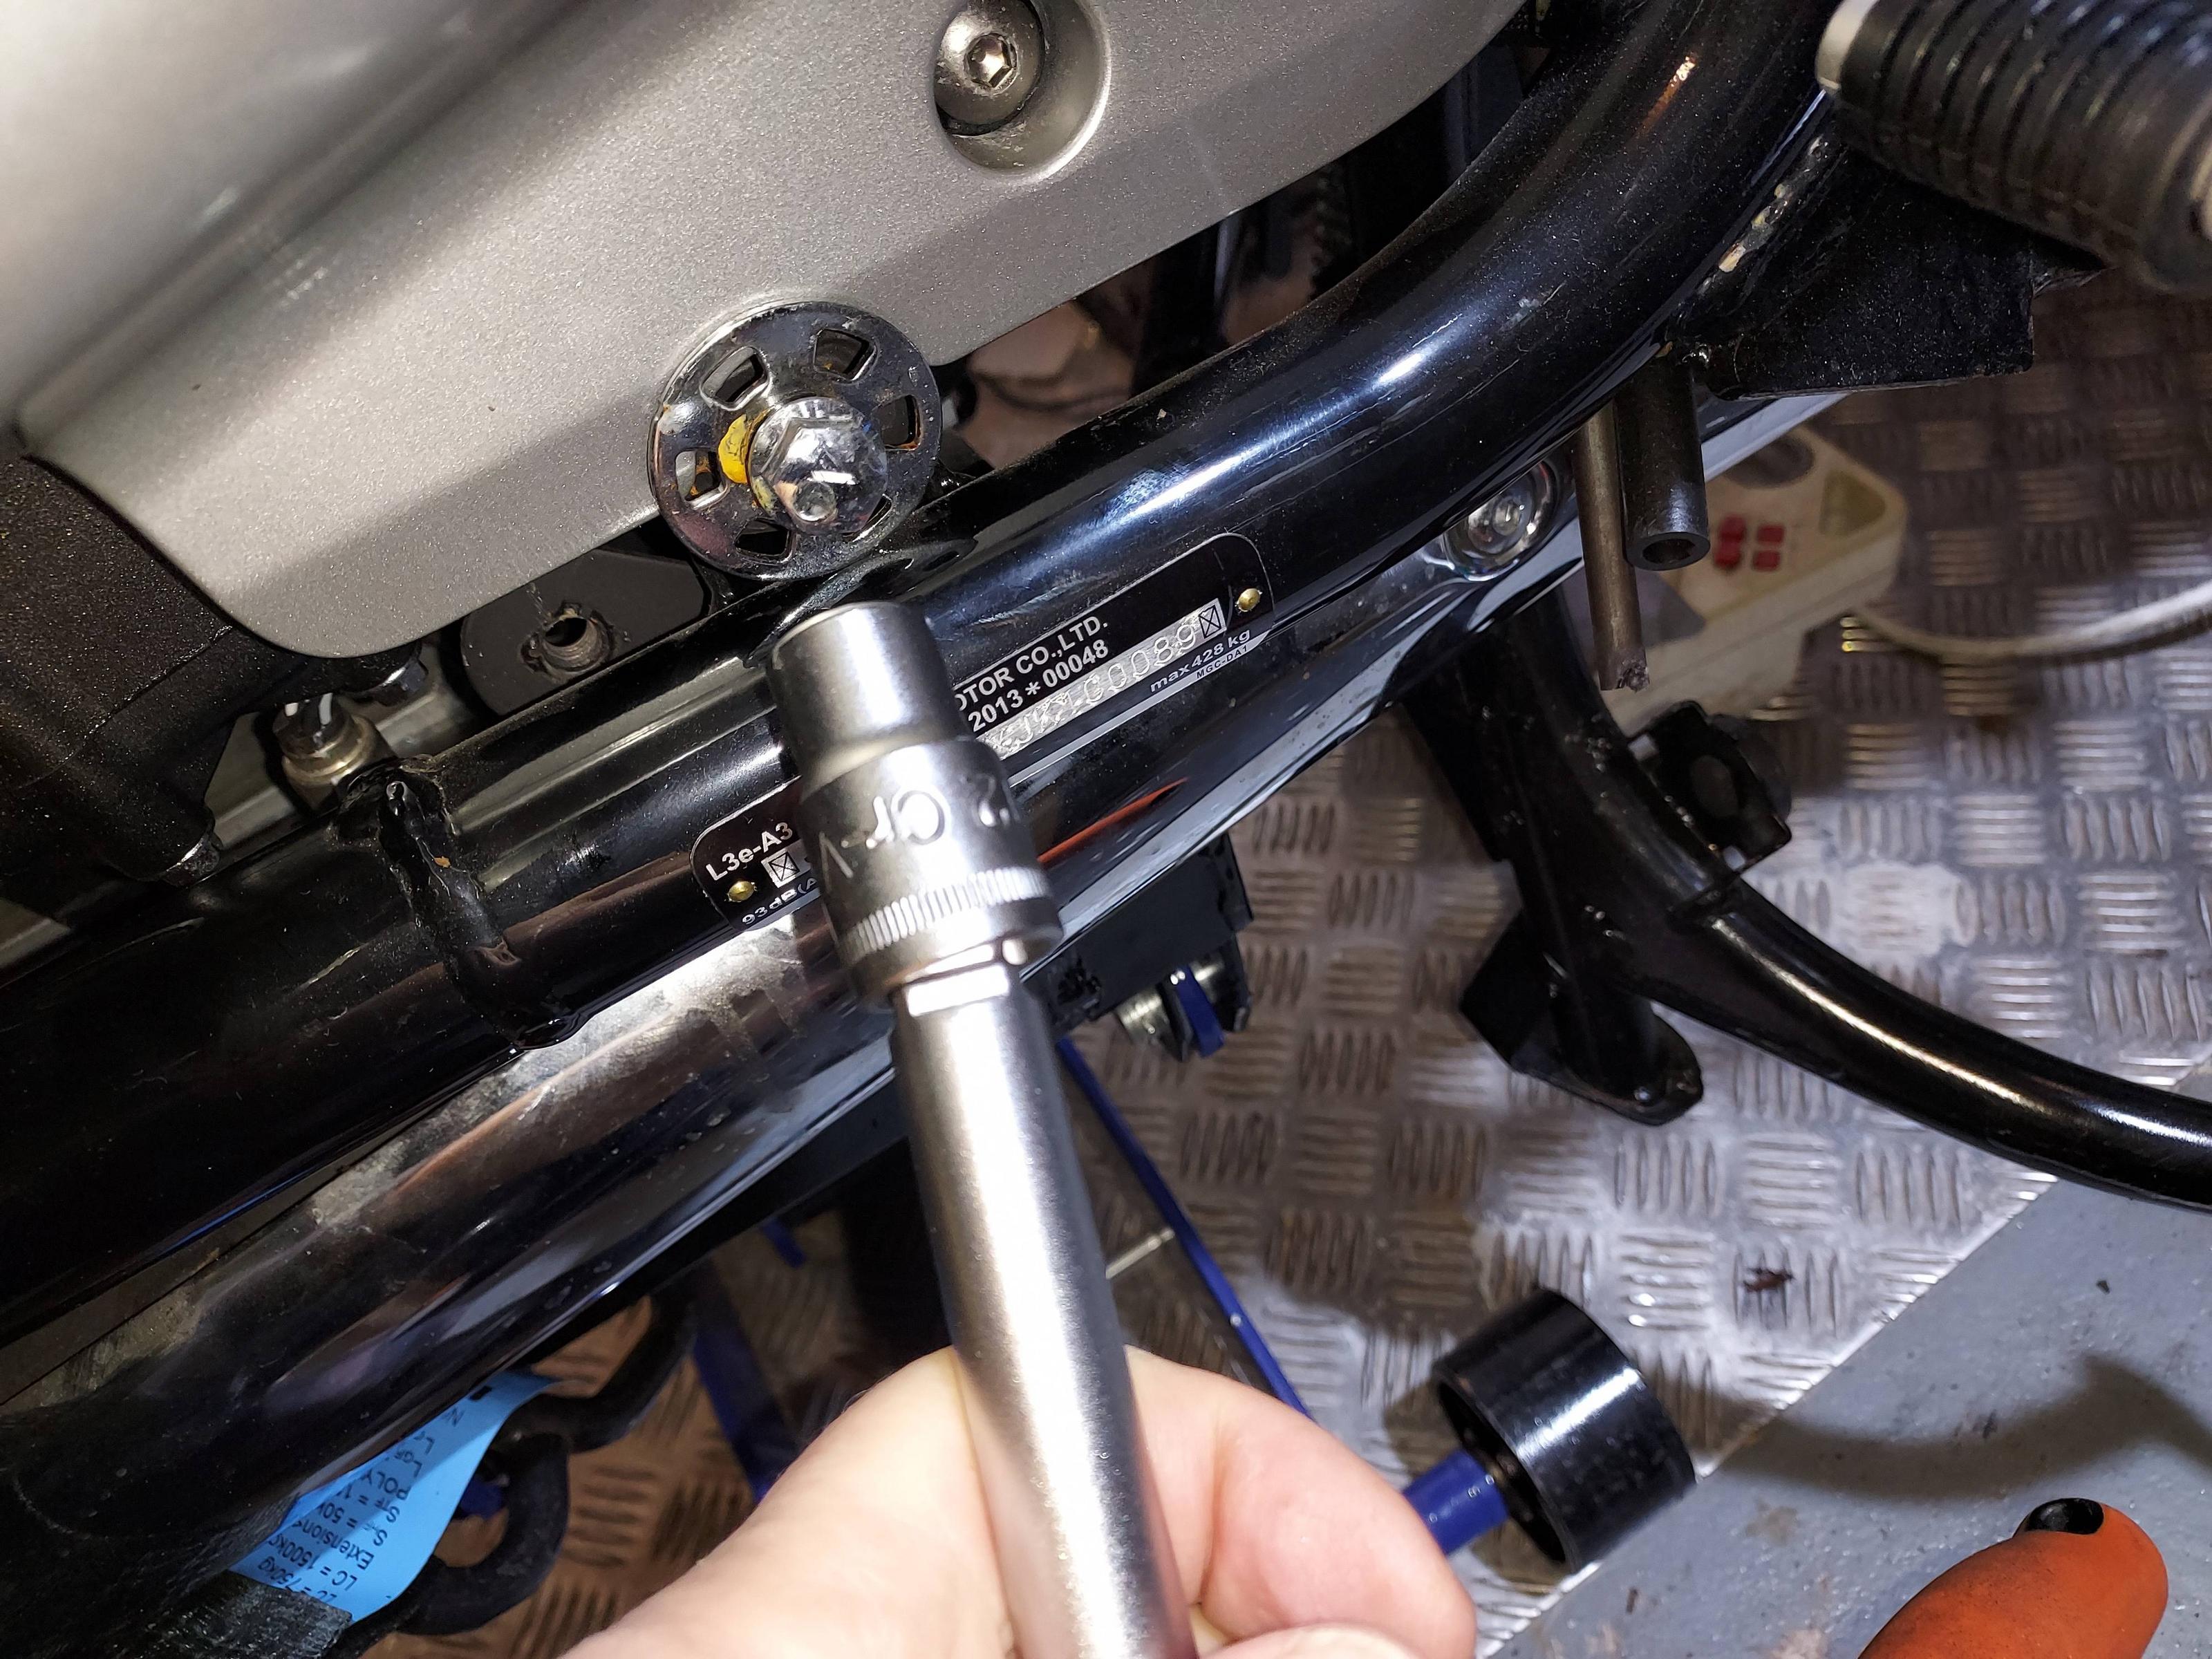
Remove rear nut/bolt (12mm) and then underneath the engine, to loosen the clamp between the silencer and pipe (12mm again)

2288738ef2e6c535fa16ffcef59b141a.jpg


Under the engine, the pipe clamp...
07da9b1b155d1cc6a6a4161f4b3f34f9.jpg


Wiggle and pull and... Silencer off!

1820f67bf68e2db0aed33e69fcf58e6c.jpg


Then loosen the exhaust header clamp nuts (12mm). Another disturbing example of an, albeit very small, amount of rust on the nuts...

d378dbdf10bc02e8282773290b346e80.jpg


9d34686b09cfd7a5e53f7935df61d8db.jpg


Now this is where it started to get 'problematic'. A further 12mm nut/bolt below the engine, needed removing in order to pull out the exhaust pipe...

0332d6bedfed5542f52e6261d545b51b.jpg


But the instructions said "Remove the O2 sensor"... I couldn't even SEE the sensor and could barely touch it. I couldn't slide out the exhaust pipe because of it, so I sat back, had a mug of tea and a biscuit, and pondered the problem.

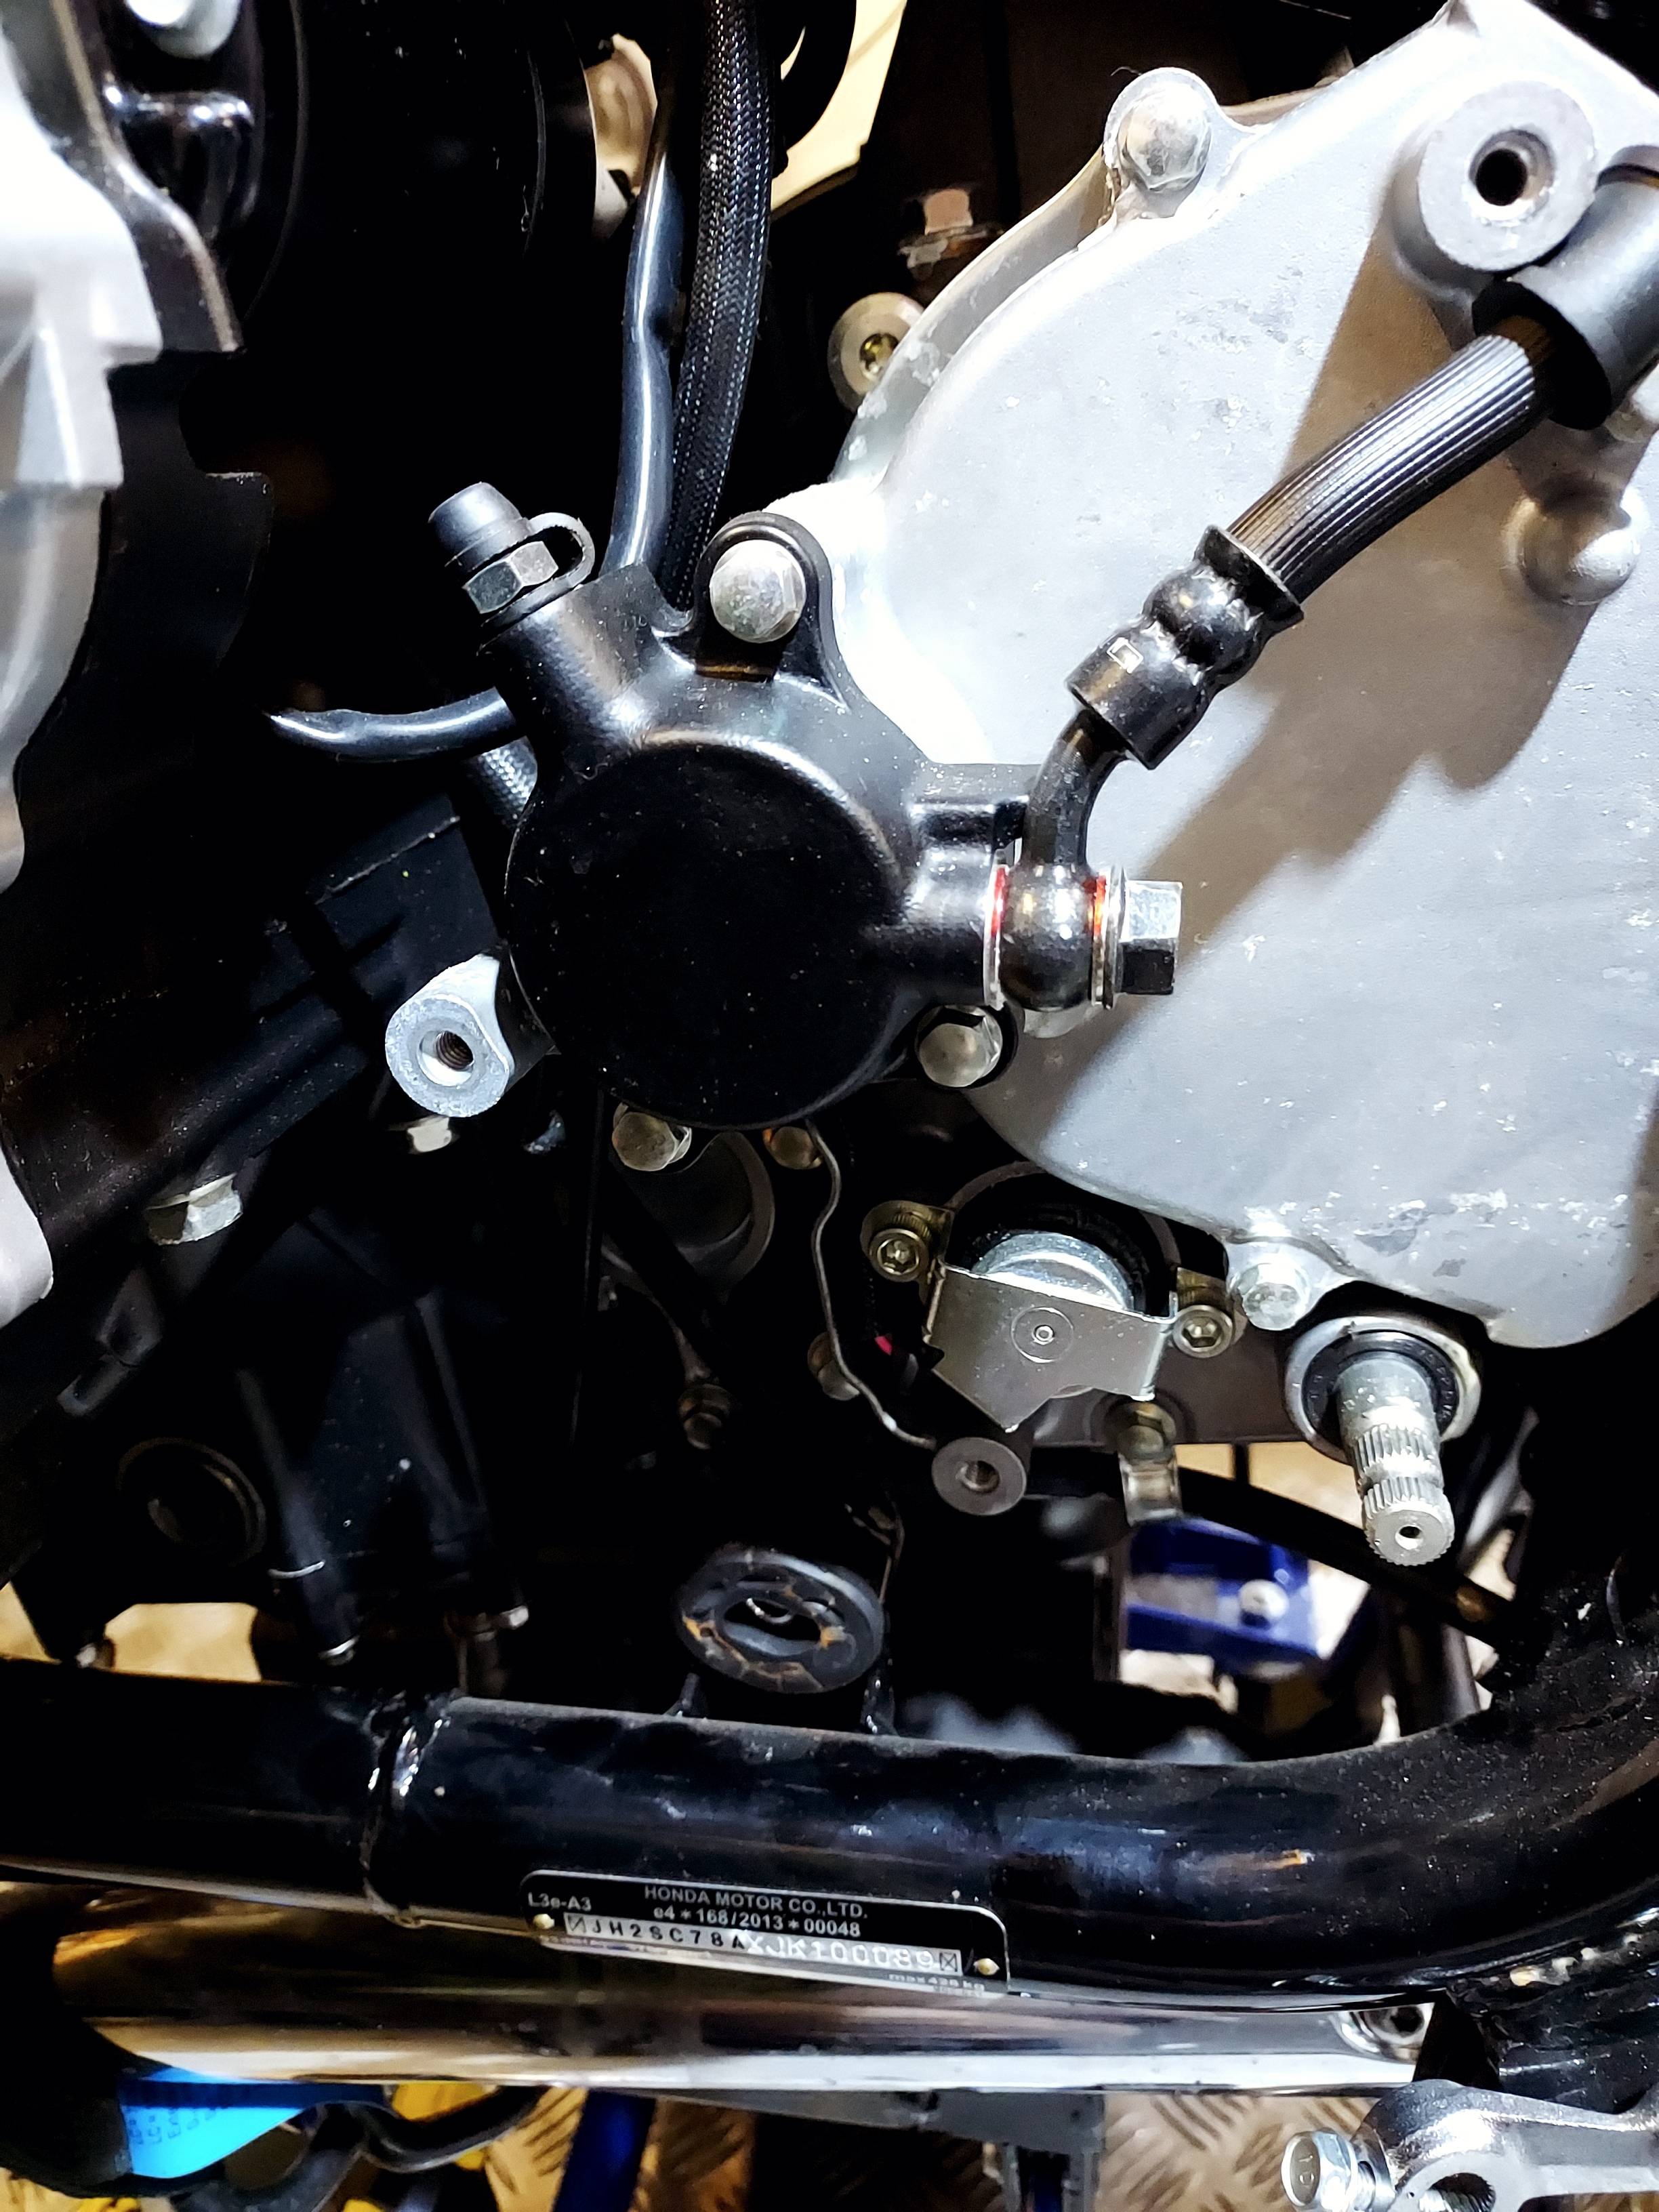
What I'd taken to be a large "engine component" covering the rear is, in fact, just a plastic cover, held on by three 5mm hex bolts. Removing this cover gave superb access to the left side O2 sensor and ability to see the exhaust under the engine. I wish I had removed it as the very first task! It also needs the gearshift to be slid off the selector shaft, by undoing a 10mm bolt on the sector.

39eb163c1bac5945653b9ca869c64a37.jpg


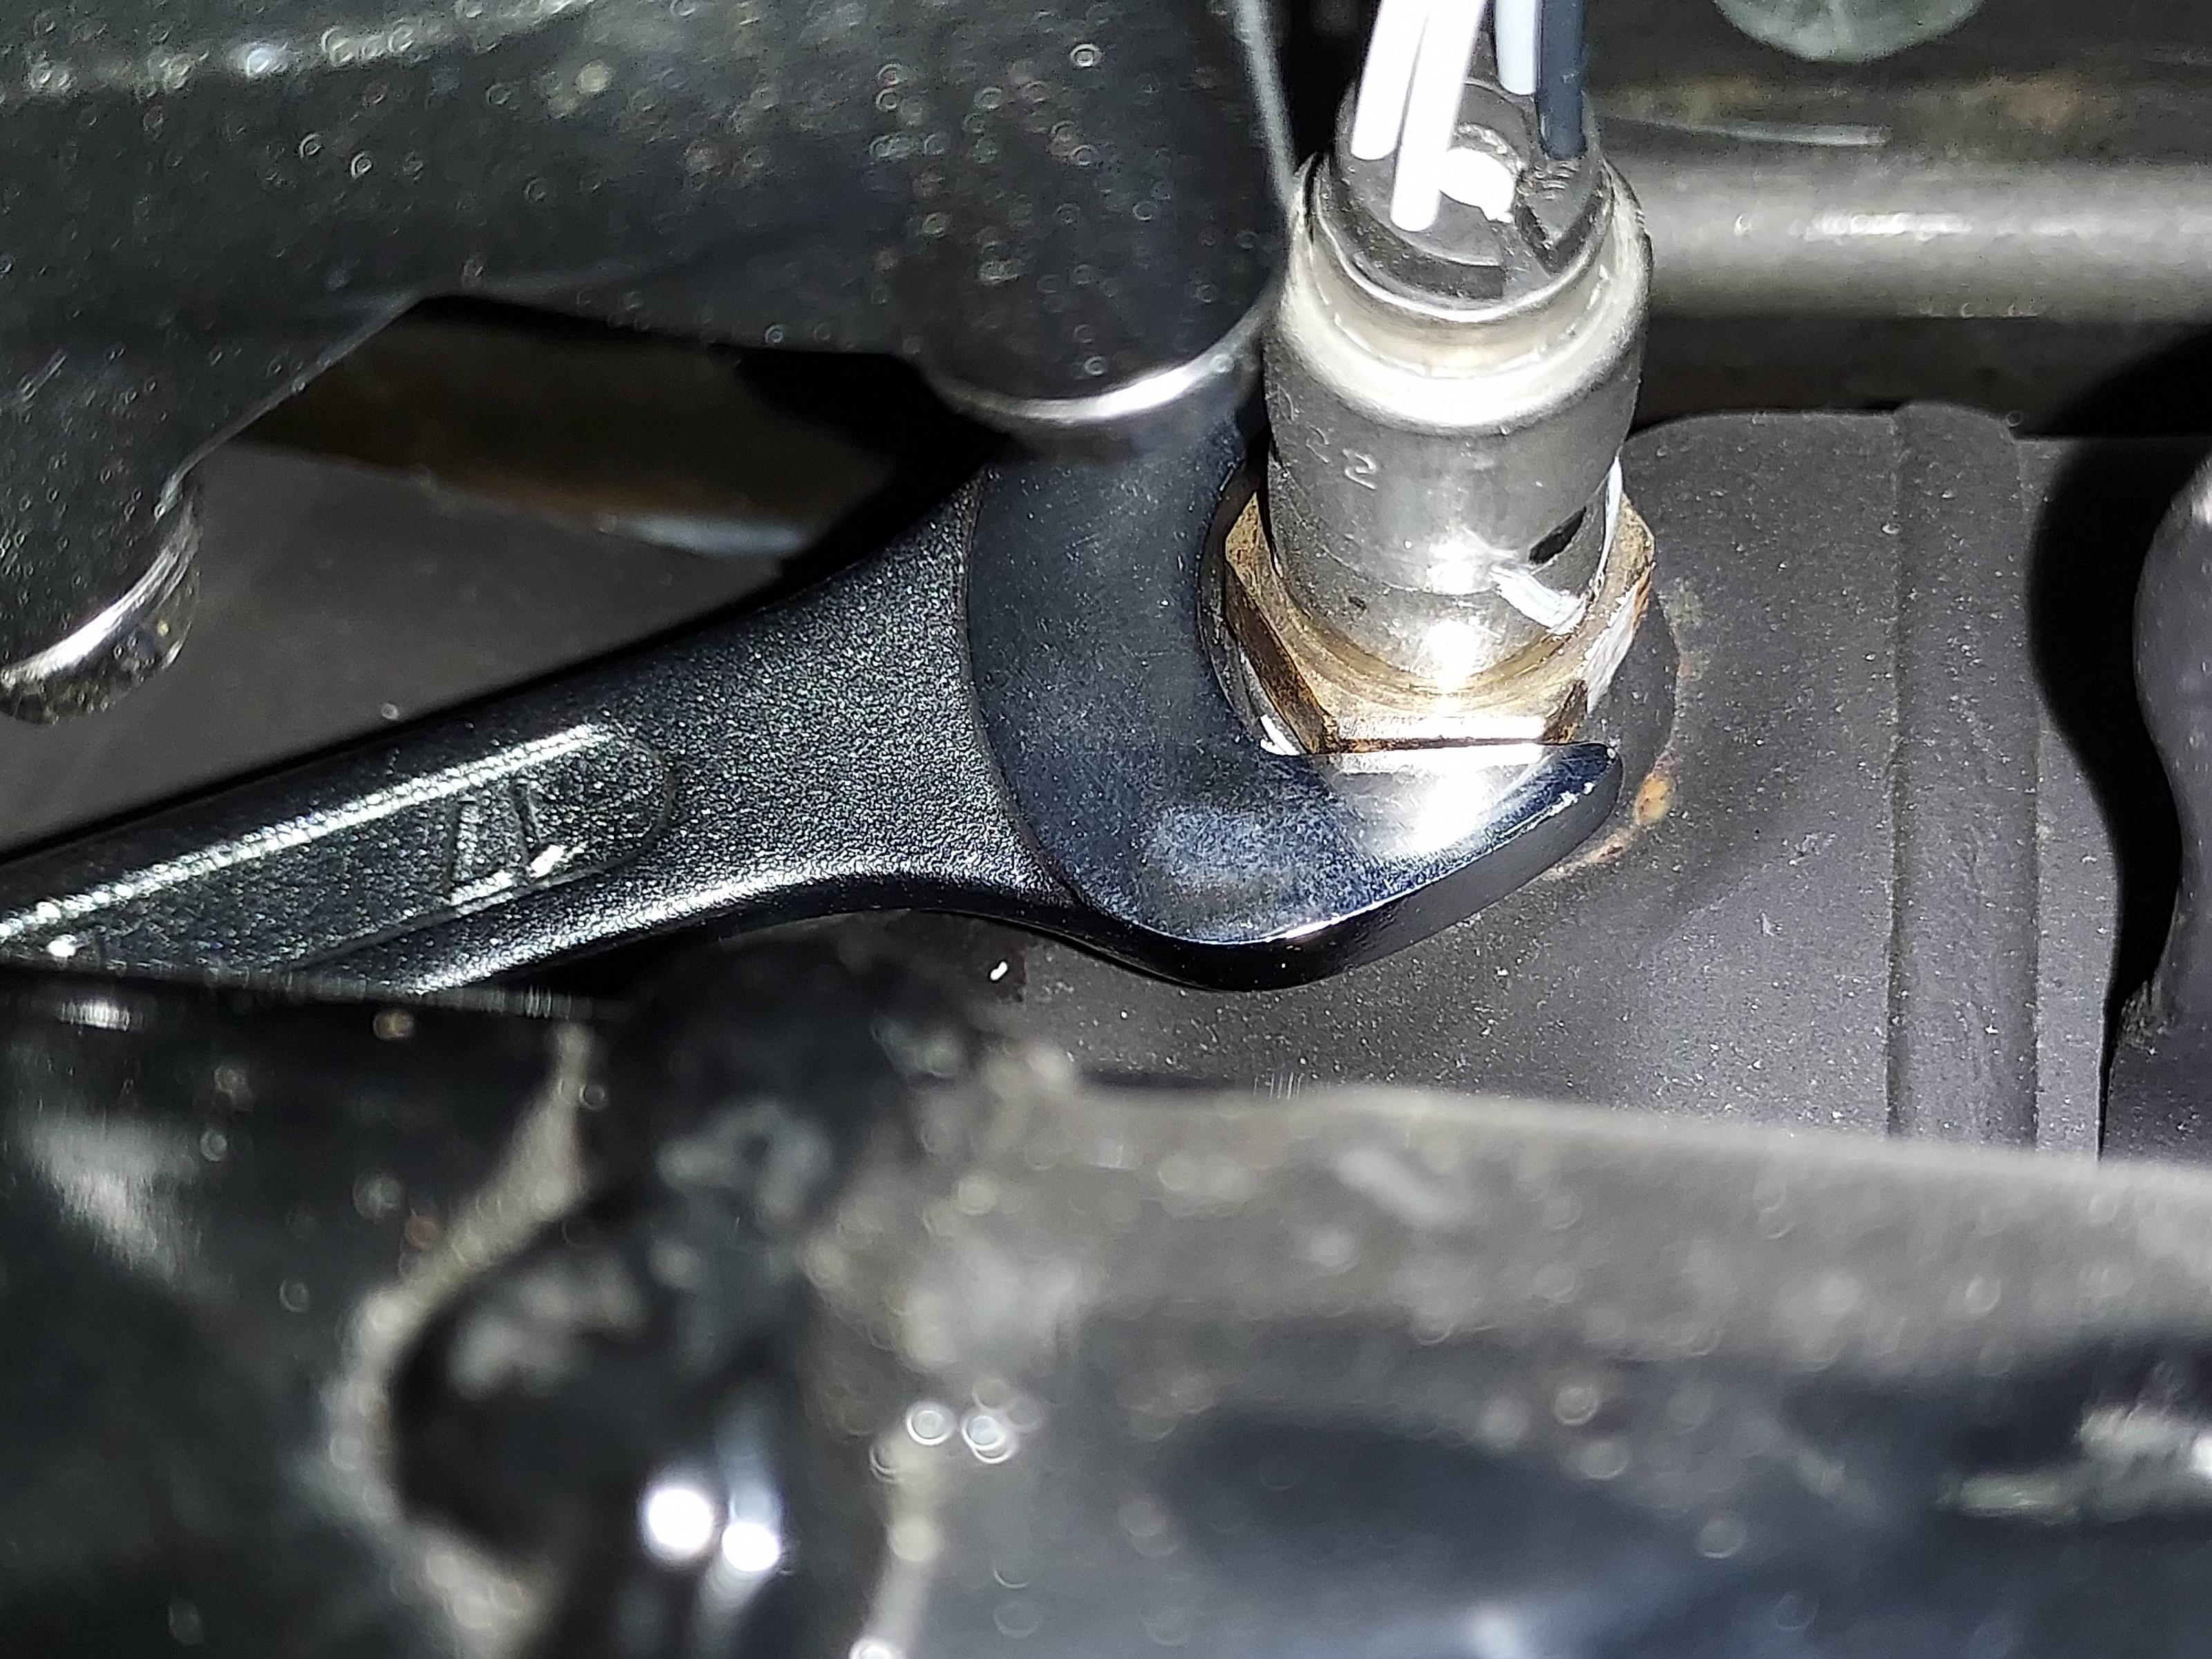
Now it bacame easy and straightforward... The nut on the sensor of my 2018 model is clearly accessible, unlike the 'sunken'/hidden ones of earlier models. A 17mm OE spanner soon had it undone...

e43ec3924ff6b1590b415095dd578944.jpg


The O2 sensor becomes clearly visible...
15c9e5db5002112dd90625ebc791a7e4.jpg


A 17mm spanner soon sorts it out...!
68ed9f423460c6bd51d84323a0b657a7.jpg


The new position of these sensors is on the new Wyvern exhaust 'cross piece', so there needs to be more cable available to move this sensor rearwards. The (long) cable is clipped under the fuel injector Number 1 - so remove the plastic LH air cleaner cover (one plastic JIS screw), pull off the cover and you can see the clip retaining several cables. Select the O2 sensor cable, unclip it and move the sensor back and under the swing arm, ready to screw into the new exhaust crosspiece. I have not secured this yet, not until I do the RH side, but this MUST BE PROPERLY SECURED, because the cable could run right alongside the gearbox sprocket and chain and become fouled. I will pay great attention to this when I do the other side.

8e330bedb21db829aaf37c1ce2503721.jpg


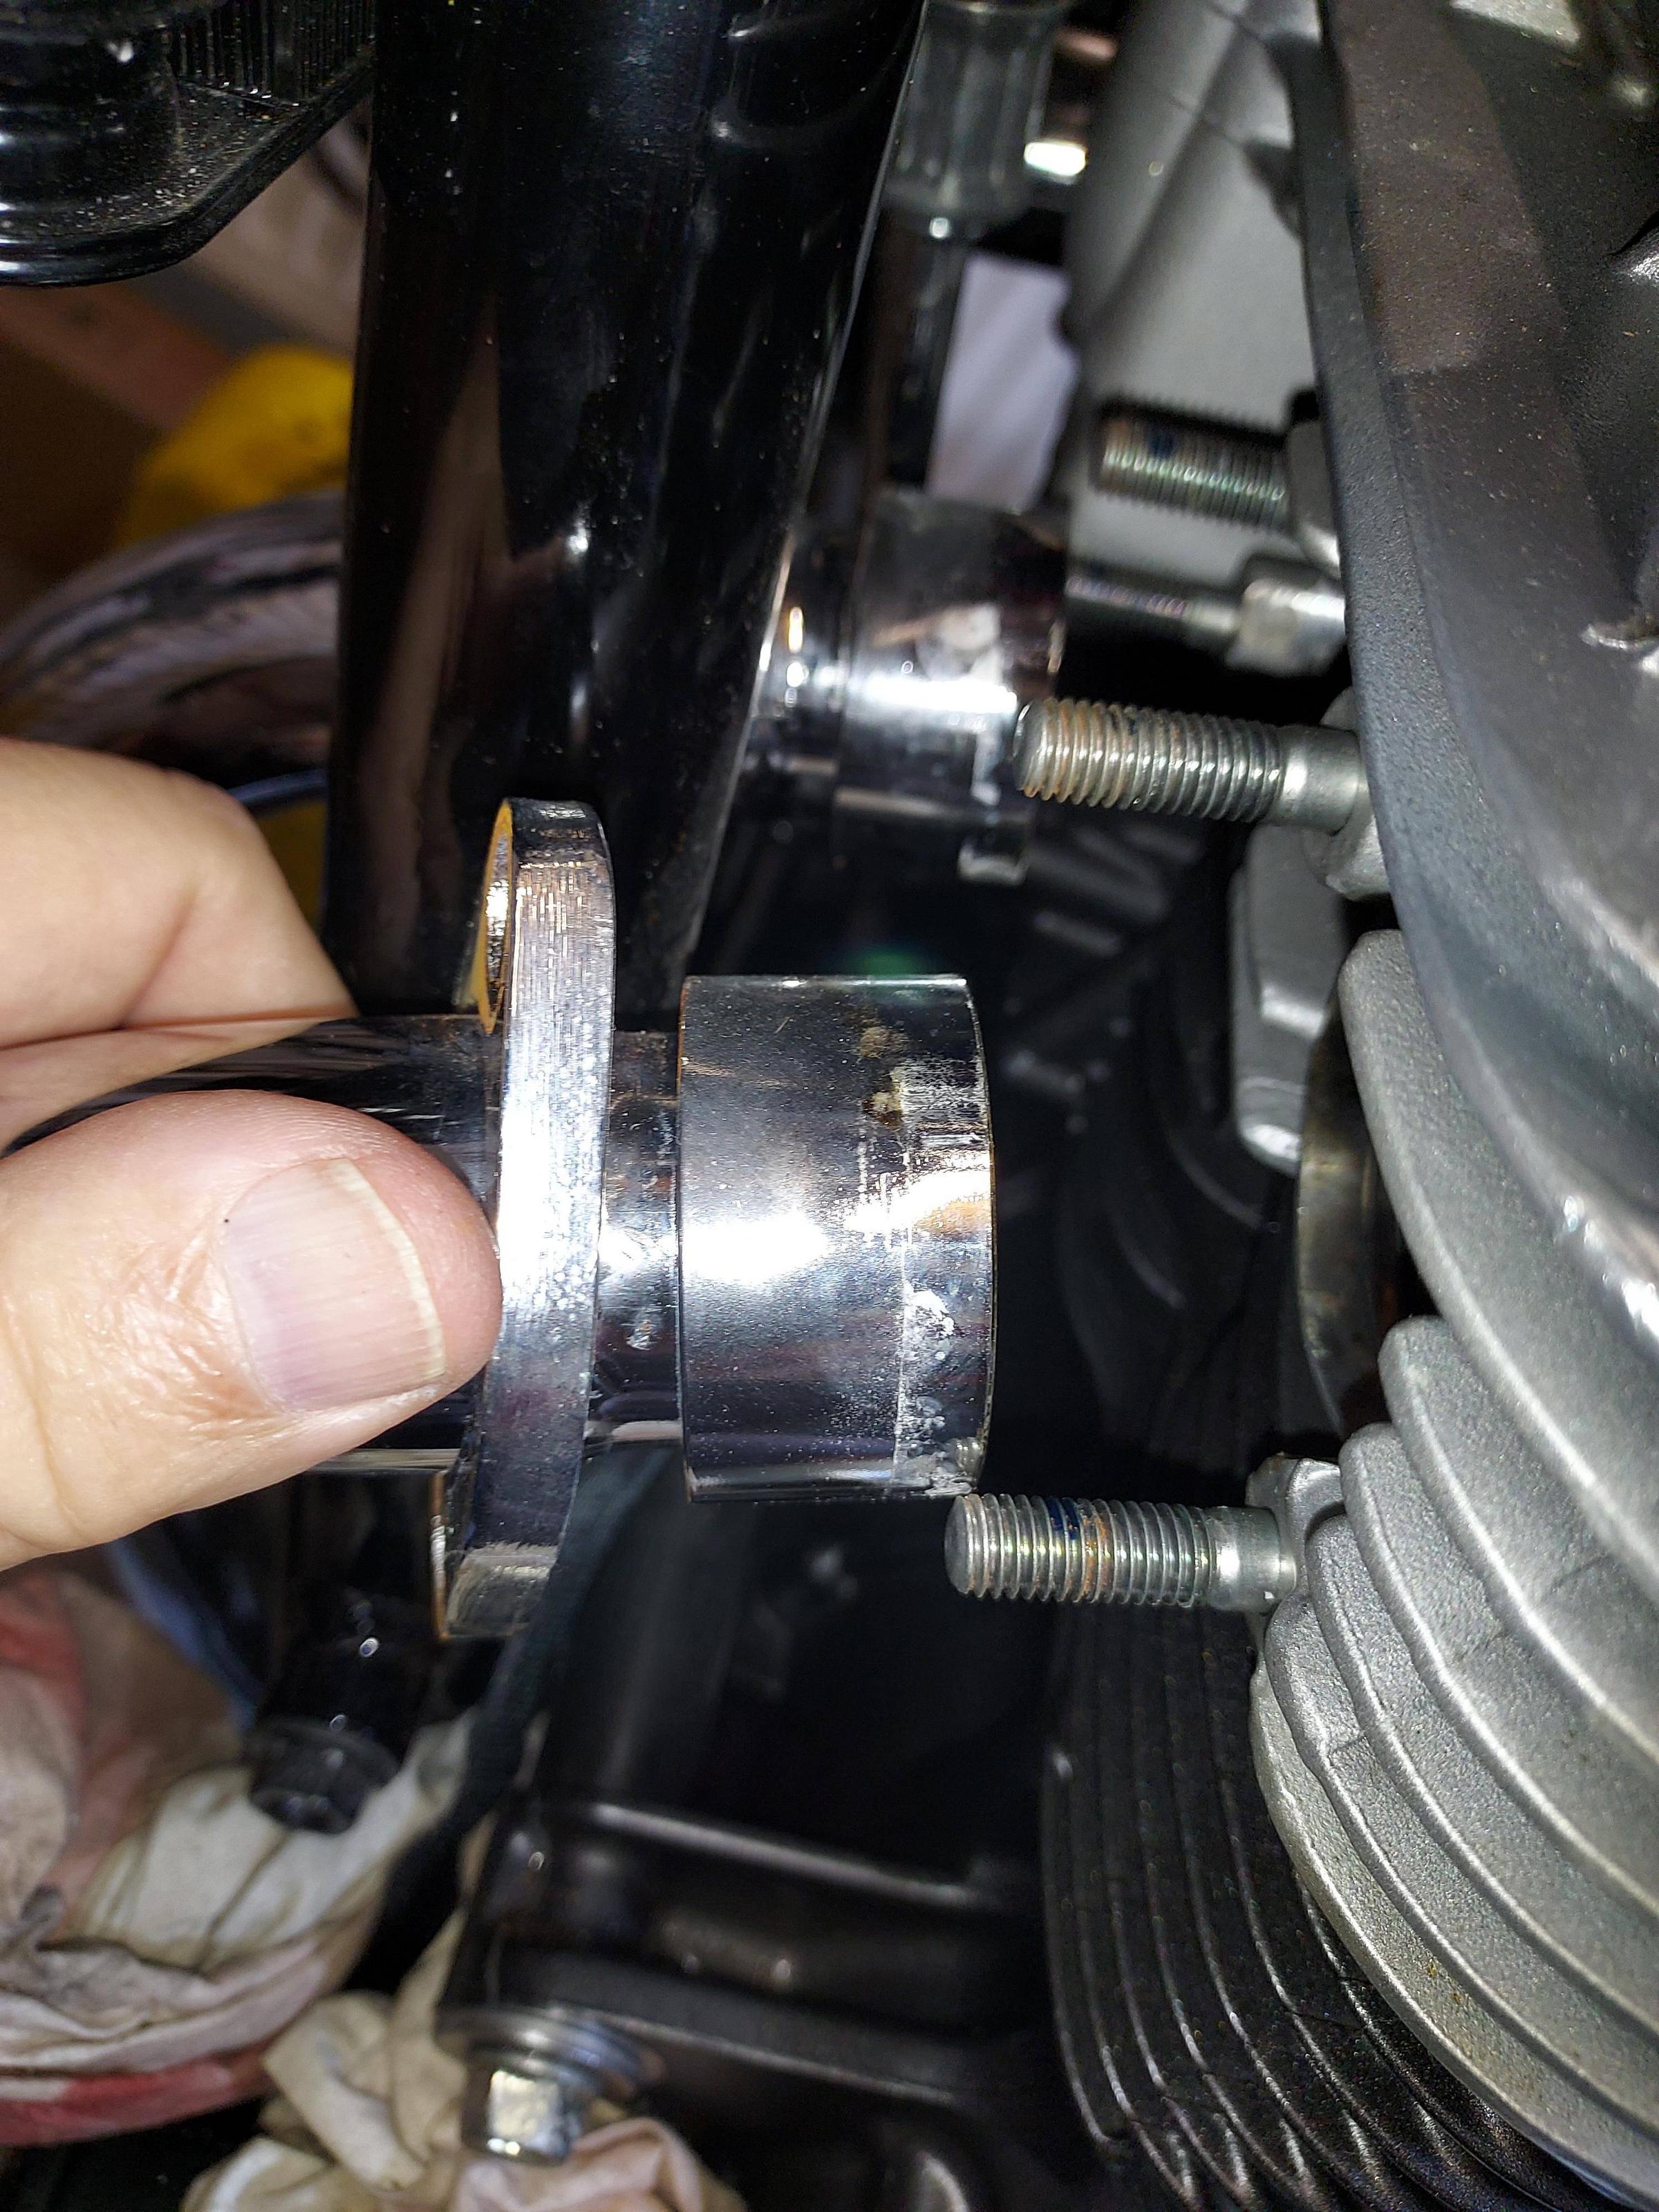
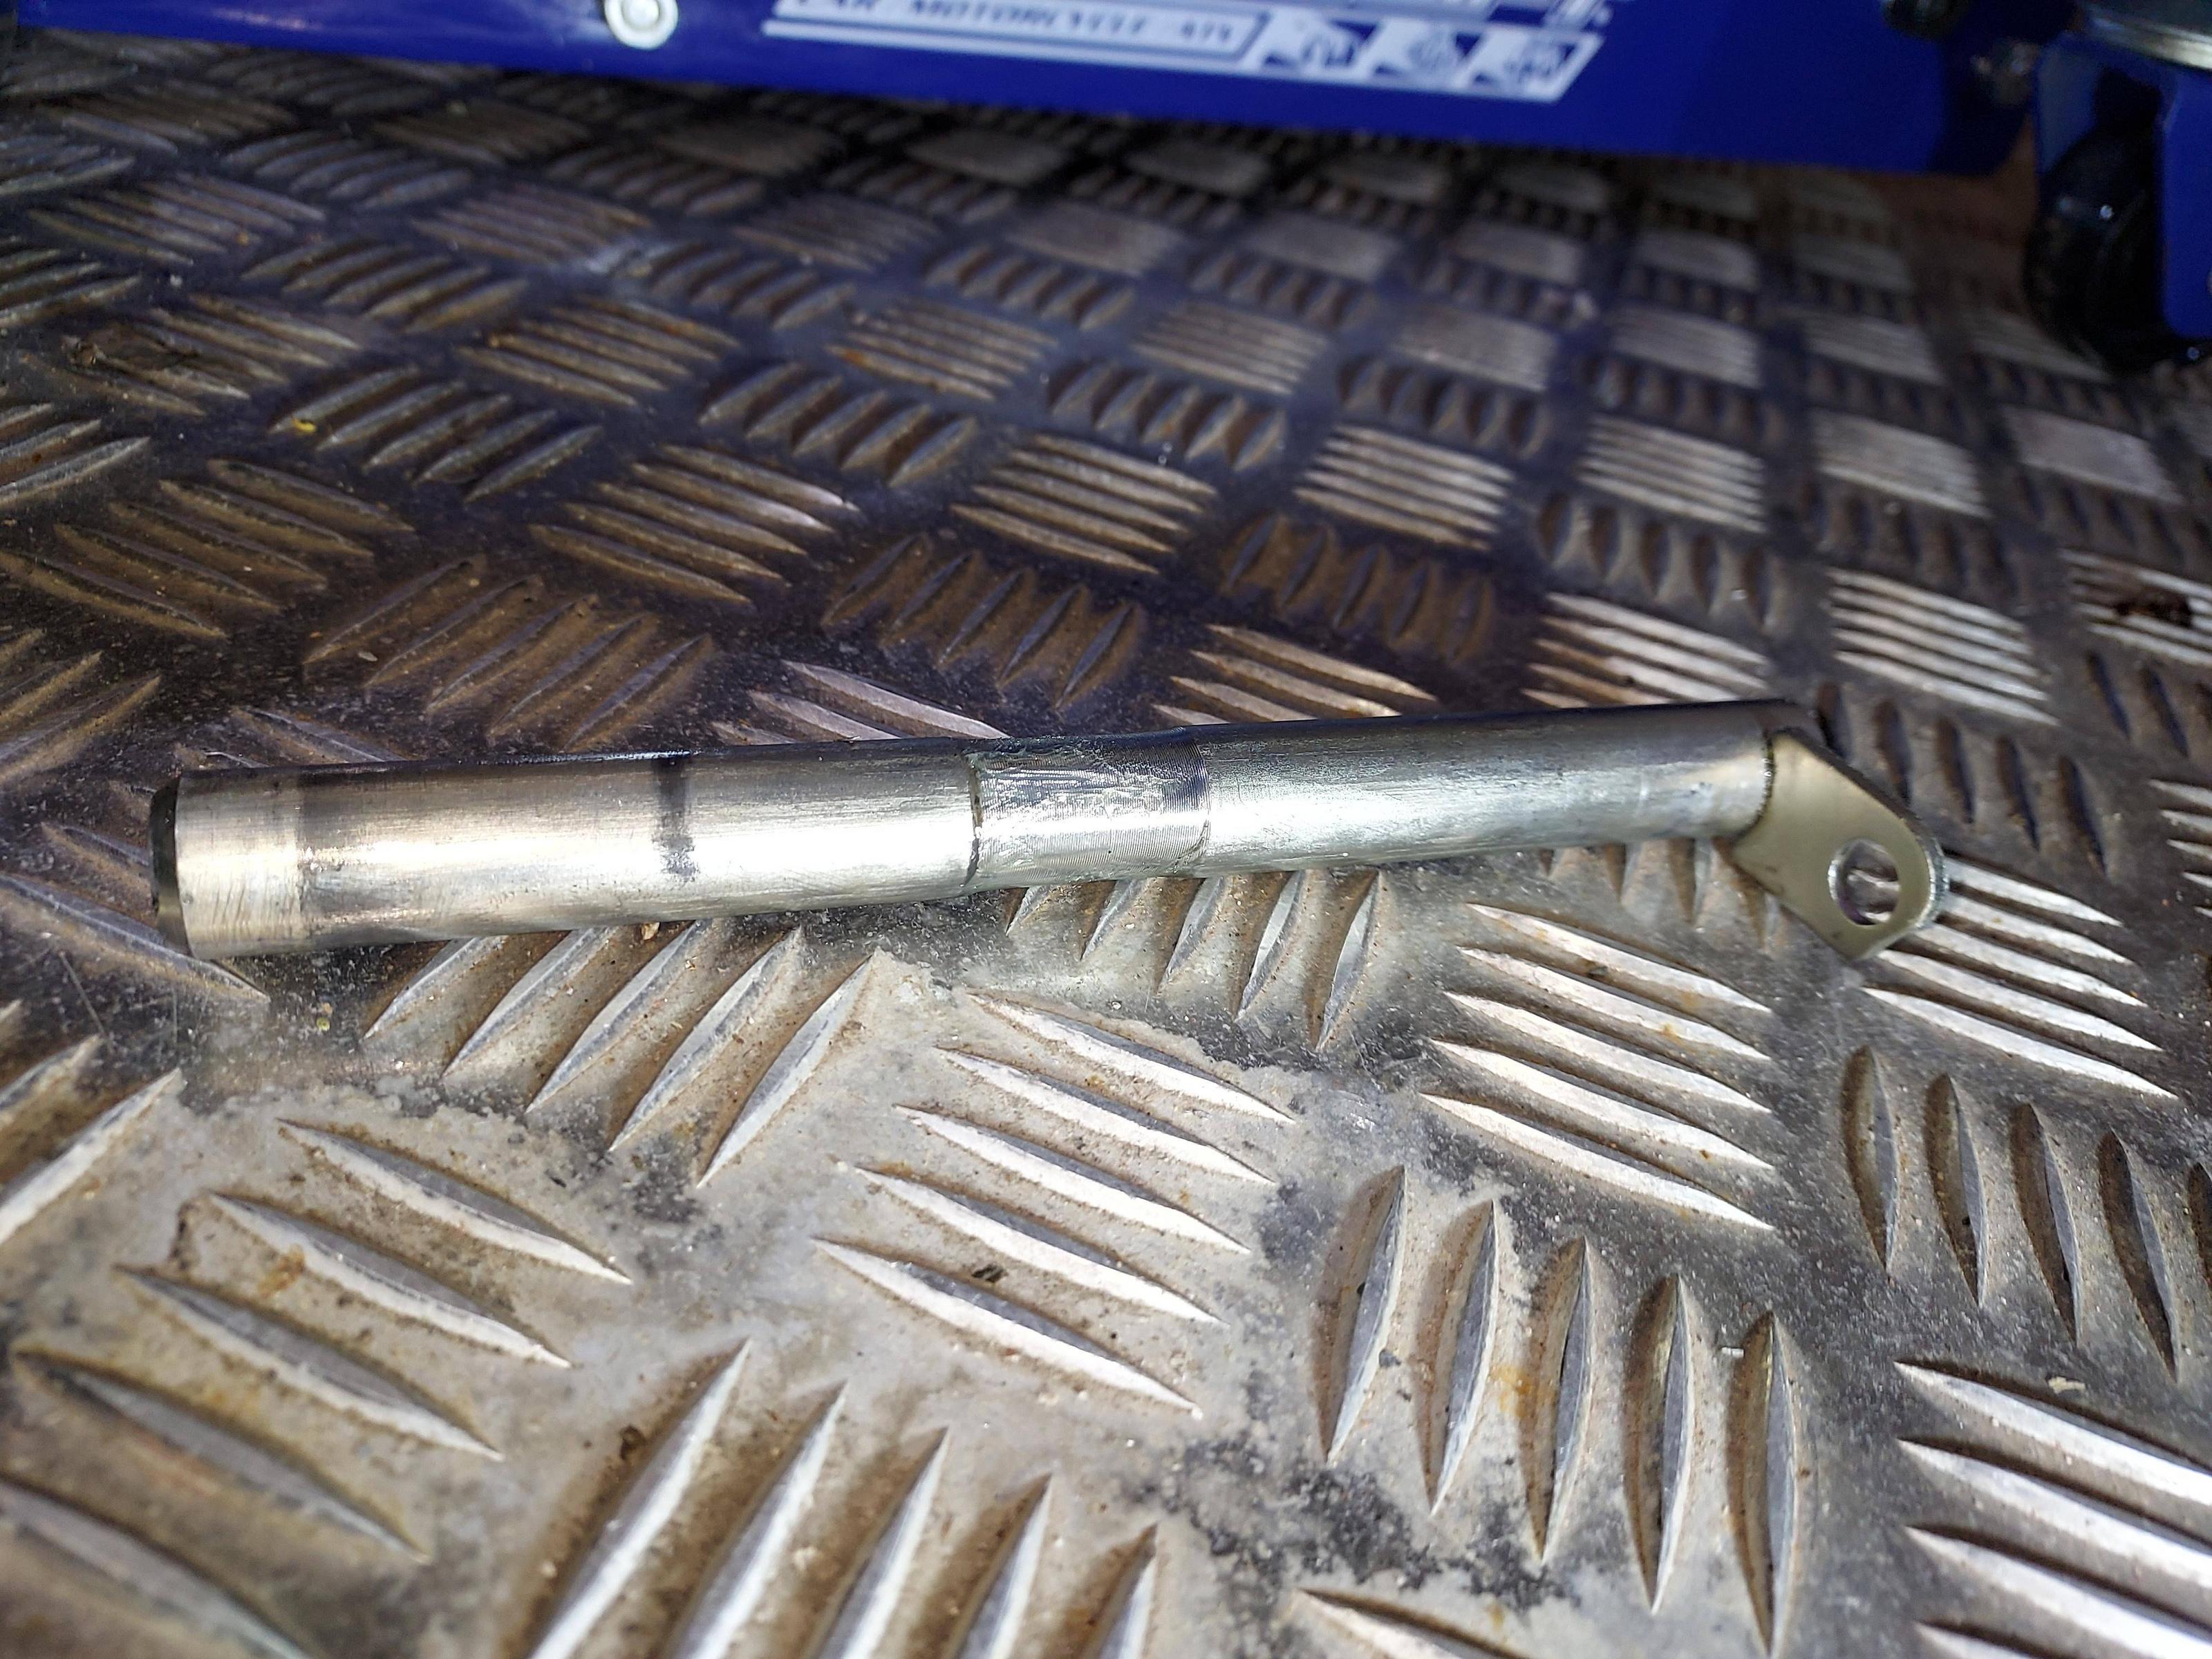
Now we came to the difficult bit - removing the main stand. I recommend two people to tackle this. If you're doing this job on the ground, it will be very difficult. I think. If you're doing it on a bench and actually using the main stand it will still be difficult, I guess, until you suport the 'bike by other means. My CB110 was jacked up under the engine, so the stand was easily "get at-able", once I'd figured out how it worked. I did not have a 'spring puller' so I went to do what I've always done with centre stands, just pull out the hinge bolt(s). In this case though, I had a problem... the hinge bolt is very long and jammed before I could pull it right out. So... I tapped the upper end of the spring off the piece of frame holding it, and BOINGGG! The spring popped off and the stand was free, held on only by the hinge rod. This rod is captive, with a small, almost hidden, 5mm hex bolt holding it in, situated ABOVE the right hand side. Undo that bolt and tap and manipulate the hollow rod out ( I used a large hex key). The stand is now free and can be removed.

Note the small flange that the retaining bolt fits through.
8de4dbcf08db34677acb76c567601db2.jpg


The spring hooks onto a small piece welded onto the frame - i just pushed/tapped it sideways (with hammer.and long screwdriver!) to push it off.
832481d90da96cf96fd21e41b7582f5b.jpg


I've loosely fitted the LH silencers and Number 1 exhaust pipe, keeping the protective cling film/bubble to prevent accidental damage. The job continues tomorrow...

be8bb12d8a99326e5b79356cb8603aa9.jpg


Battle recommences tomorrow, when I'll explain about measuring and fitting the brackets.
 
Your photography and explanation are almost as impressive as the cleanliness of your bike and shop. Very nicely done. Someday, some poor soul will find this and breathe a huge sigh of relief.
 
Bazbro_imp said:
Thanks, GO and ND.

ND - I cheat... I don't ride it - it just sits there and I worship it...! :D
:rofl::beerchug::beerchug:
What a great place to sit with a pint and a friend.
 
Back
Top