Whitehouse K17 mods...

Thread starter
Well, the CB has finally arrived safely and is installed on the ramp. The rear wheel is in the "wheel clamp" and is reasonably steady - it holds it upright but allows a bit of side-to-side movement, more than I'm comfortable with - I'm not using the centrestand because I'll be installing the 4-into-4 exhaust. So, as I
said to 2017EX, I've just supported (not lifted) the 'bike at the steering head, from the overhead winch and I also put a couple of ratchet straps round the forks. It's now rock steady, isn't going anywhere and no matter what work I do on it, I'm happy that it (and me!) are both safe.

I've been all round it, assessing and photographing all the areas of damage. Over the coming days I'll work out how I'm going to tackle each area - some are more serious than others. The dented tank, for instance, I'll approach one of the dedicated "Mr Bump" type of franchises, to see whether it's worth having it repaired or just sell it cheaper and let the new owner arrange the repairs. Neither dents are SO horrendous that the tank cannot be used.

The battery is almost flat and I've just ordered a battery cable for my Optimate4 charger that I leave on the Beemer, trickle charging. I'll put the new lead on the CB to charge the battery and be able to periodically trickle charge either 'bike.

My first job, I think, will be the rear mudguard and rear light, a new number plate, followed by the damaged engine cover. I could, if I wanted to, then have the Authorities examine the 'bike for roadworthiness.

How powerful is JB Weld, does anybody have first-hand experience if its strength (or relative weakness?

Here's the 'bike, in the garage, all strapped up and ready to be worked on (after I've cut the hedge, done a bit of painting outdoors, cleaned the car and had it serviced, cleaned the motorhome (RV) inside and out... You get the idea!)
5d6251df72d728fe35ad9557a9caf3ed.jpg
 
Mate, no task, no chore, nothing is more important than making a start on the CB1100.
 
Finally. Did you get to ride it at all? Good luck with the repairs.
 
Thread starter
GoldOxide_imp said:
It becomes a little of your soul.
I know what you mean - in fact it already has. Looking at the manual and checking the internet for info is a poor substitute for having the 'bike actually in my possession.

Here is the 'suspension' of the 'bike from the overhead winch - a great sense of security.
a63e1c73d3cf5ce353821ad0fa535029.jpg

The front forks are strapped and the rear wheel is held in the wheel clamp, so I feel quite safe that it's not on its centre stand.
The ferret_imp said:
Finally. Did you get to ride it at all? Good luck with the repairs.
No, I haven't yet. The battery was too flat to start it in the yard of the storage place up in Manchester. I nearly gave myself a hernia pushing it up onto my trailer and then back into the garage again! Then home here in Devon we pushed it straight from the delivery van into the garage.

It's not permitted to go on the road in its current condition - it's classed as "unroadworthy" and as such, has no insurance, so I cannot legally ride it on the road. My first jobs will be attending to that damage that makes it "unroadworthy" so that I can present it to the Authority sooner and get it declared "roadworthy" and therefore rideable. For instance, I don't need to deal with the dented tank before getting it examined - that's one item that can wait! :)
This is the mangled state of the rear mudguard, light and number plate that is part of the damage that makes it unroadworthy...
111cae2df009b8c4ce3b83da02eb63b4.jpg
 
Thread starter
I've just had a stroke of luck...
I'd spotted that the handlebars had been very slightly bent, cracking the chrome, so they had to be replaced. I had particularly wanted Honda's 'low' handlebar option anyway, so the bent bars just forced my hand.
I checked with Samurider and these bars are about (UK)£85, plus postage and packing, plus Import Duty, plus Customs charges. This would put the price up considerably (maybe as much as c£120?).
On the same day as I saw the bent bars, I happened to look on eBay and, amongst the hundreds of handlebars, I found a guy selling a new, unopened Honda low handlebar that had come from Samurider. He'd obviously tried to sell it before and because it didn't sell, had to lower the price. There was just one day left on the auction and... no bidders. :)
I got it for the £60 he asked! It's just arrived. I dont normally have luck like this!

78bcc7a10c9795bc5e15acb83d914444.jpg


84eb4df5dd3bc6459624e0e9a57adee3.jpg
 
cool! yea I would never be that lucky lol
 
Nice project bazbro, parts arriving and gathering around the new bike must feel like christmas.
Good idea with the support of the handlebar from the roof, i do a similar thing, my garage is under the house and i have a good selection of herringbone dwangs between the floorjoists to support the bike from, i use a 2.5 Ton ratchet tydown strap and it lifts the frontend of the bike securely off the ground and supplement that with another tydown on the back of the bike for stability, i cannot deal with the momentum of a falling 250 kg bike especially if i am underneath it and by myself let alone on a bike-stand, if you can feel it begin to move over it's already too late.

Sharing your sentiment about the handle bars, i have been looking for a set for my hornet 900, it had a set of wider alloy bars on it and i just did not get on with those, so after 3 years someone offered a set of cb1300 handle bars on a local auction site and i put those on, makes such a difference and i am very happy with the result.

Thanks for keeping the group abreast of your enviable project.
 
Regarding JB Weld, very strong. I reattached a broken piece of a transmission case on a Chevy truck with it, and it held till I sold the truck without leaking a drop of fluid. On my Bonneville, I hit a coyote in the country side a few years ago (he lived, and I didn't go down). It tore off my front fender, and in the process broke off the mounting boss for one of the fender stays from the fork tube. I fashioned a new mounting boss from JB Weld and a threaded nut. Sanded it and painted it to match the boss on the other fork tube, and it's held for years.
 
Just make sure the two mating parts are really clean and oil-free. I've found that the slow curing stuff holds better than the 5-minute variety.

And thanks, Gone in 60 - that's just the endorsement I'm looking for. :thumbsup:. ;)
[/QUOTE]
 
Thread starter
An enquiry to JB Weld elicited the same advice as yours, Gone... :thumbsup:

Their original formulation, product code 8265S, is their strongest, and clamping the item(s) for at least 24 hours produces the best repair. ;)
Yes, Max - it's just like Christmas whenever the postman calls!! Nice to have all the parts ready to go before I start. :)
 
Thread starter
Houtman_imp said:
I like your hoist set up !
It's been REALLY handy in the past, John.
I used it to lift and steady the BMW on its engine jack when I upgraded the alternator. It's also very handy shifting heavy stuff around, like storage boxes and my Easylifter Hydralift trailer. It's also good to just lift the front or rear of the 'bikes a tad, to spin the wheel for instance. Yes, a very handy bit of kit.
 
Thread starter
Replace the damaged rear mudguard (fender). The rear light had already been "removed" in the accident - just the wiring left dangling...

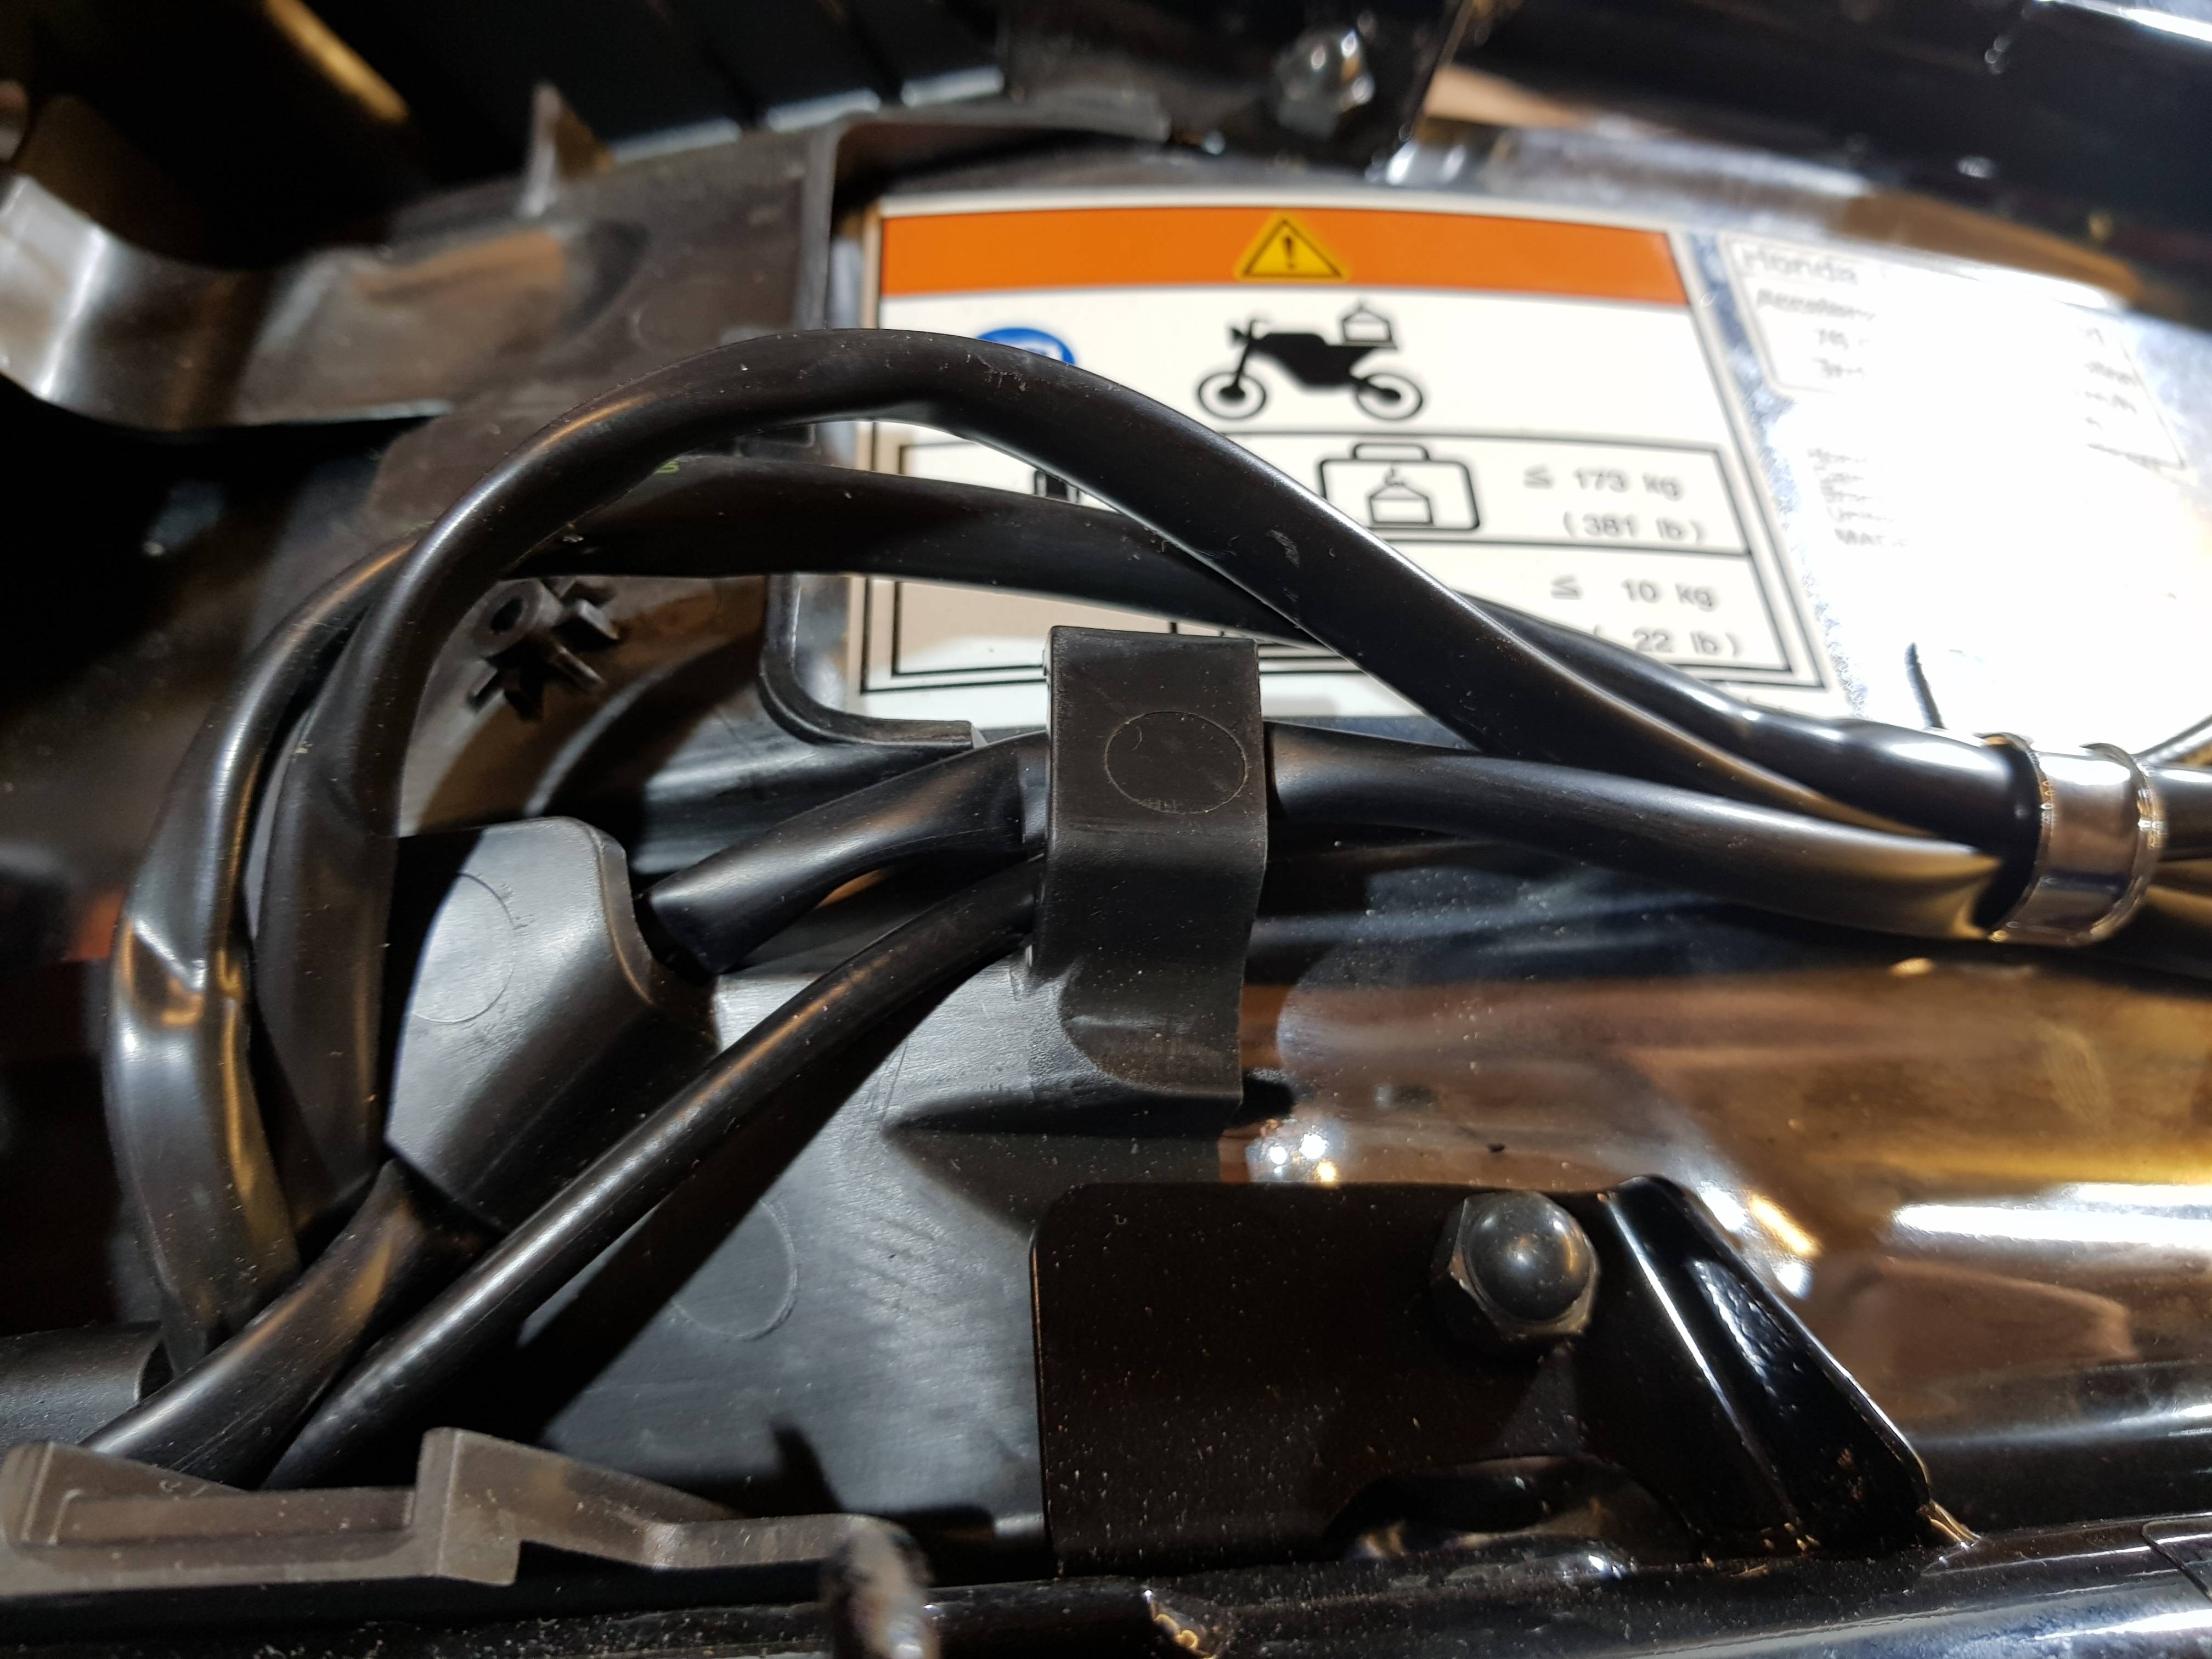
The workshop manual says to first remove the cover for the battery. I took this to mean the tool tray, but I'd removed the side covers anyway. Then "lift off the fuse box" - it took me a while to figure out HOW it was secured - Picture shows the part to press with a thin-bladed screwdriver to allow it to be lifted away from a small bracket.

c4521e607f8a32d429f291ce0882fe14.jpg


Pushed to one side, that permits the rear stop/tail light wire to be disconnected. The correct wire needs to be separated from the left and right indicator wires and the seat lock cable.

41dad01815ef80dfbbaafee8f8dd5c7e.jpg


It took me a moment to work out what part of the connector needed to be pushed/pulled to separate them. The handy little screwdriver blade shows where to press.

78b1744b127ba69cd84fc7788532b3f1.jpg


The grabrail needed to be removed (it's damaged but it makes wiring access easier if removed). Secured by simple 12mm bolts EXCEPT the 6mm hex bolt head has the centre filled with a shaped piece of rubbery plastic. It was not easy to dig it out - a screw helped, although it marked the surface. If I did it again, I'd try a piece of stiff wire on the edge to avoid damage.

e3276d5117d4c38f44a32c7c7fa1bef0.jpg


Four 10mm nuts and two bolts hold the mudguard to the frame and it lifts off of two small "tongues" inserted in the plastic at the front - don't forget to locate these when replacing the mudguard. Two "collars" are inserted in the lock moulding where the two bolts pass through and they proved problematic on reassembly, so i resorted to holding THEM in situ with gaffer tape until the bolts had located them. I also temporarily secured the two halves if the lock mechanism together with gaffer tape until bolted up - it made the whole job easier. It needs two pairs of hands otherwise (I wonder how they do it in the factory? :) ).

70460b3d7d79ae8676c1fe67a287b82b.jpg


11c3404905919129f93b577d6bc8d959.jpg


c1b3e78e92b69c4ff167b39034c495fe.jpg


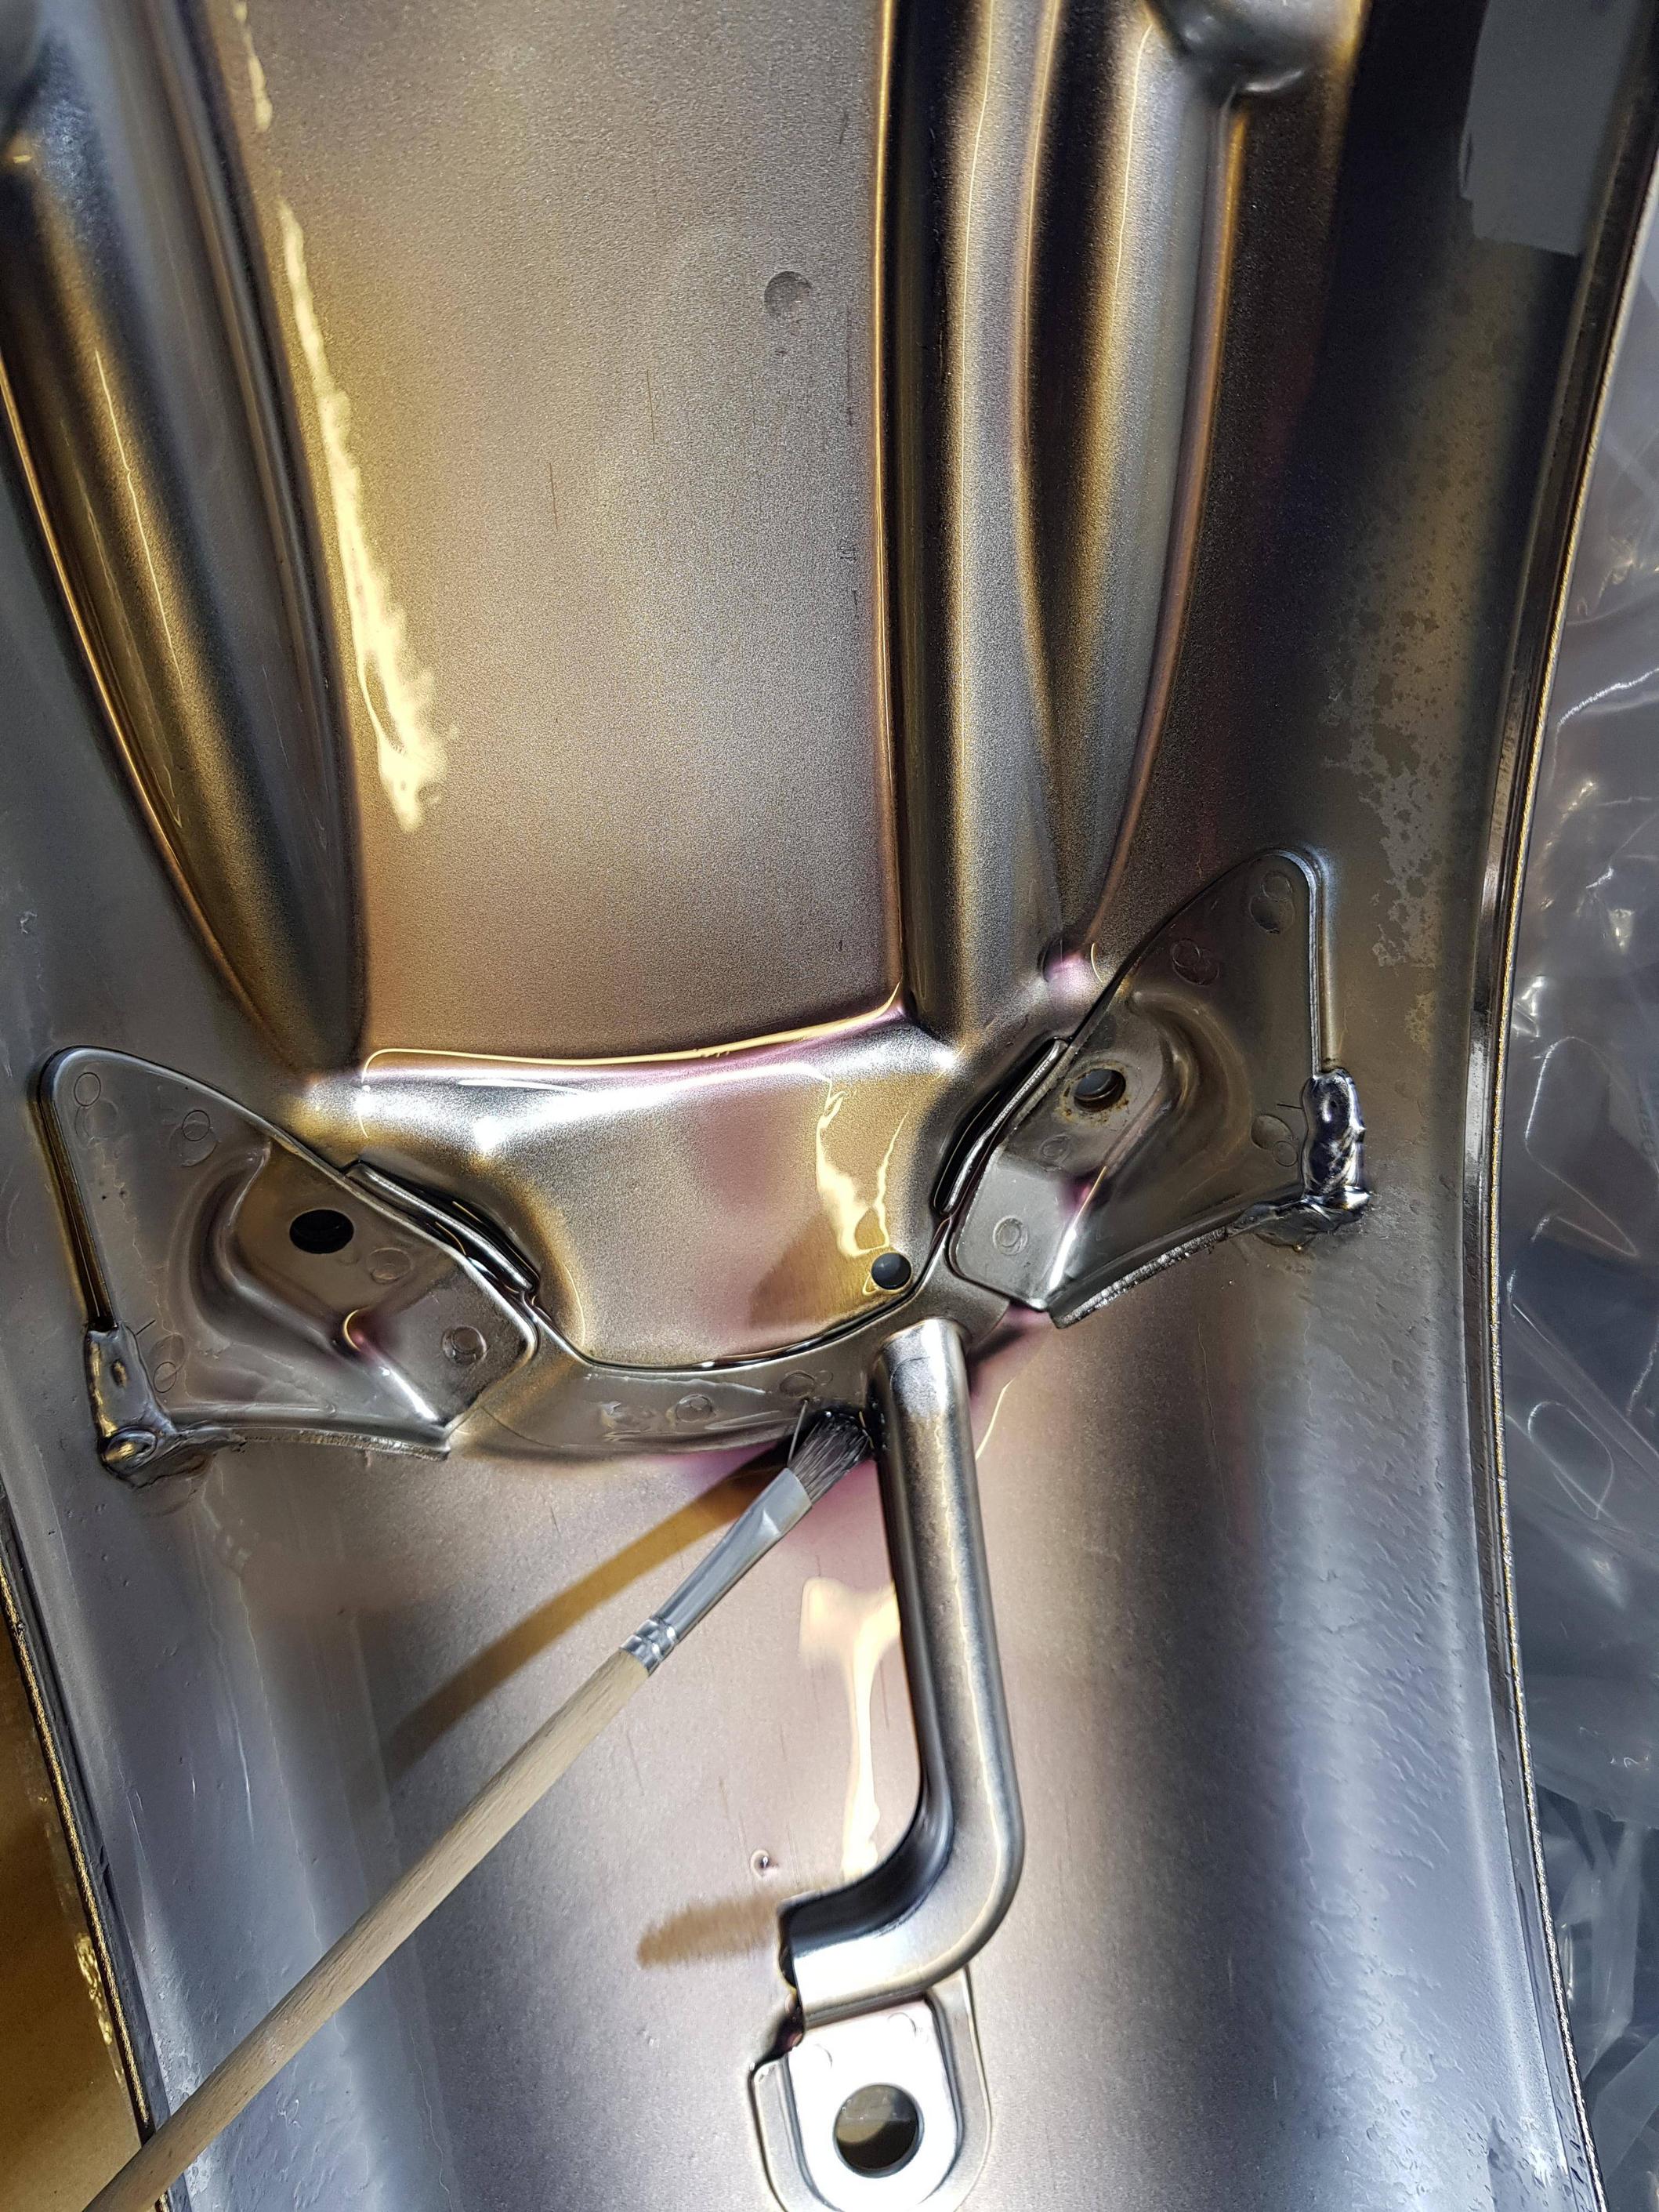
I was shocked at the amount of, admittedly low-level, rust evident under the old mudguard on what is a virtually brand new 'bike - just 165 miles on the road. It wasn't stored in damp conditions either.

5b05a577d4df36a77a8cb45da2f55531.jpg


5375c1c42a9b4394158fb6720ec03dab.jpg


So I've run ACF50 underneath the new mudguard, spraying and brushing it, and allowing gravity to get it to run under welded pieces and folds where rust WILL start (in a UK climate!). Before I fitted the still-dripping mudguard, I covered the rear tyre with a cloth and cleaned the odd drips with brake cleaner.

7e49ba0a664e2e788c9b017a19d8f9a9.jpg


fe498b4a55914b7b7a0e3845c1a41e59.jpg


Success - the new mudguard in place.

dc78ebb067eb63ff9bb40090f333d4de.jpg


Running the rear stop/tail light wire down into the dedicated "tunnel" on the underside of the mudguard was made easier because the connectors on the end had been ripped off in the accident, so just three wire ends needed to be poked through the hole under the lock. I'd already secured the mudguard before I realised this step was needed, so I released one securing bolt and loosened the other to give sufficient "wiggle room" to push the wire through. Three holes need to be drilled to secure Samurider's CB750 replica tail light assembly.

f88b49056399049e1019413fd9156fc4.jpg


After drilling the holes, I need to obtain an oval grommet or boot to protect the tail light wire as it comes out of the mudguard. I also need some grommets to lift the rear light and permit the wire to enter. I hope my Honda dealer will help here.
I also need to peel off the underseat stickers on the old mudguard and reattach to the new one. I'll try a hairdryer and see if that works.
 
Progress. How exciting. :beerchug: Excellent writeup Bazbro.
 
Back
Top