Slight Oil Leak

DutchRutter

Running like a top
Thread starter
Hello fellow CB people!

Its been a while since I posted anything about my 14.
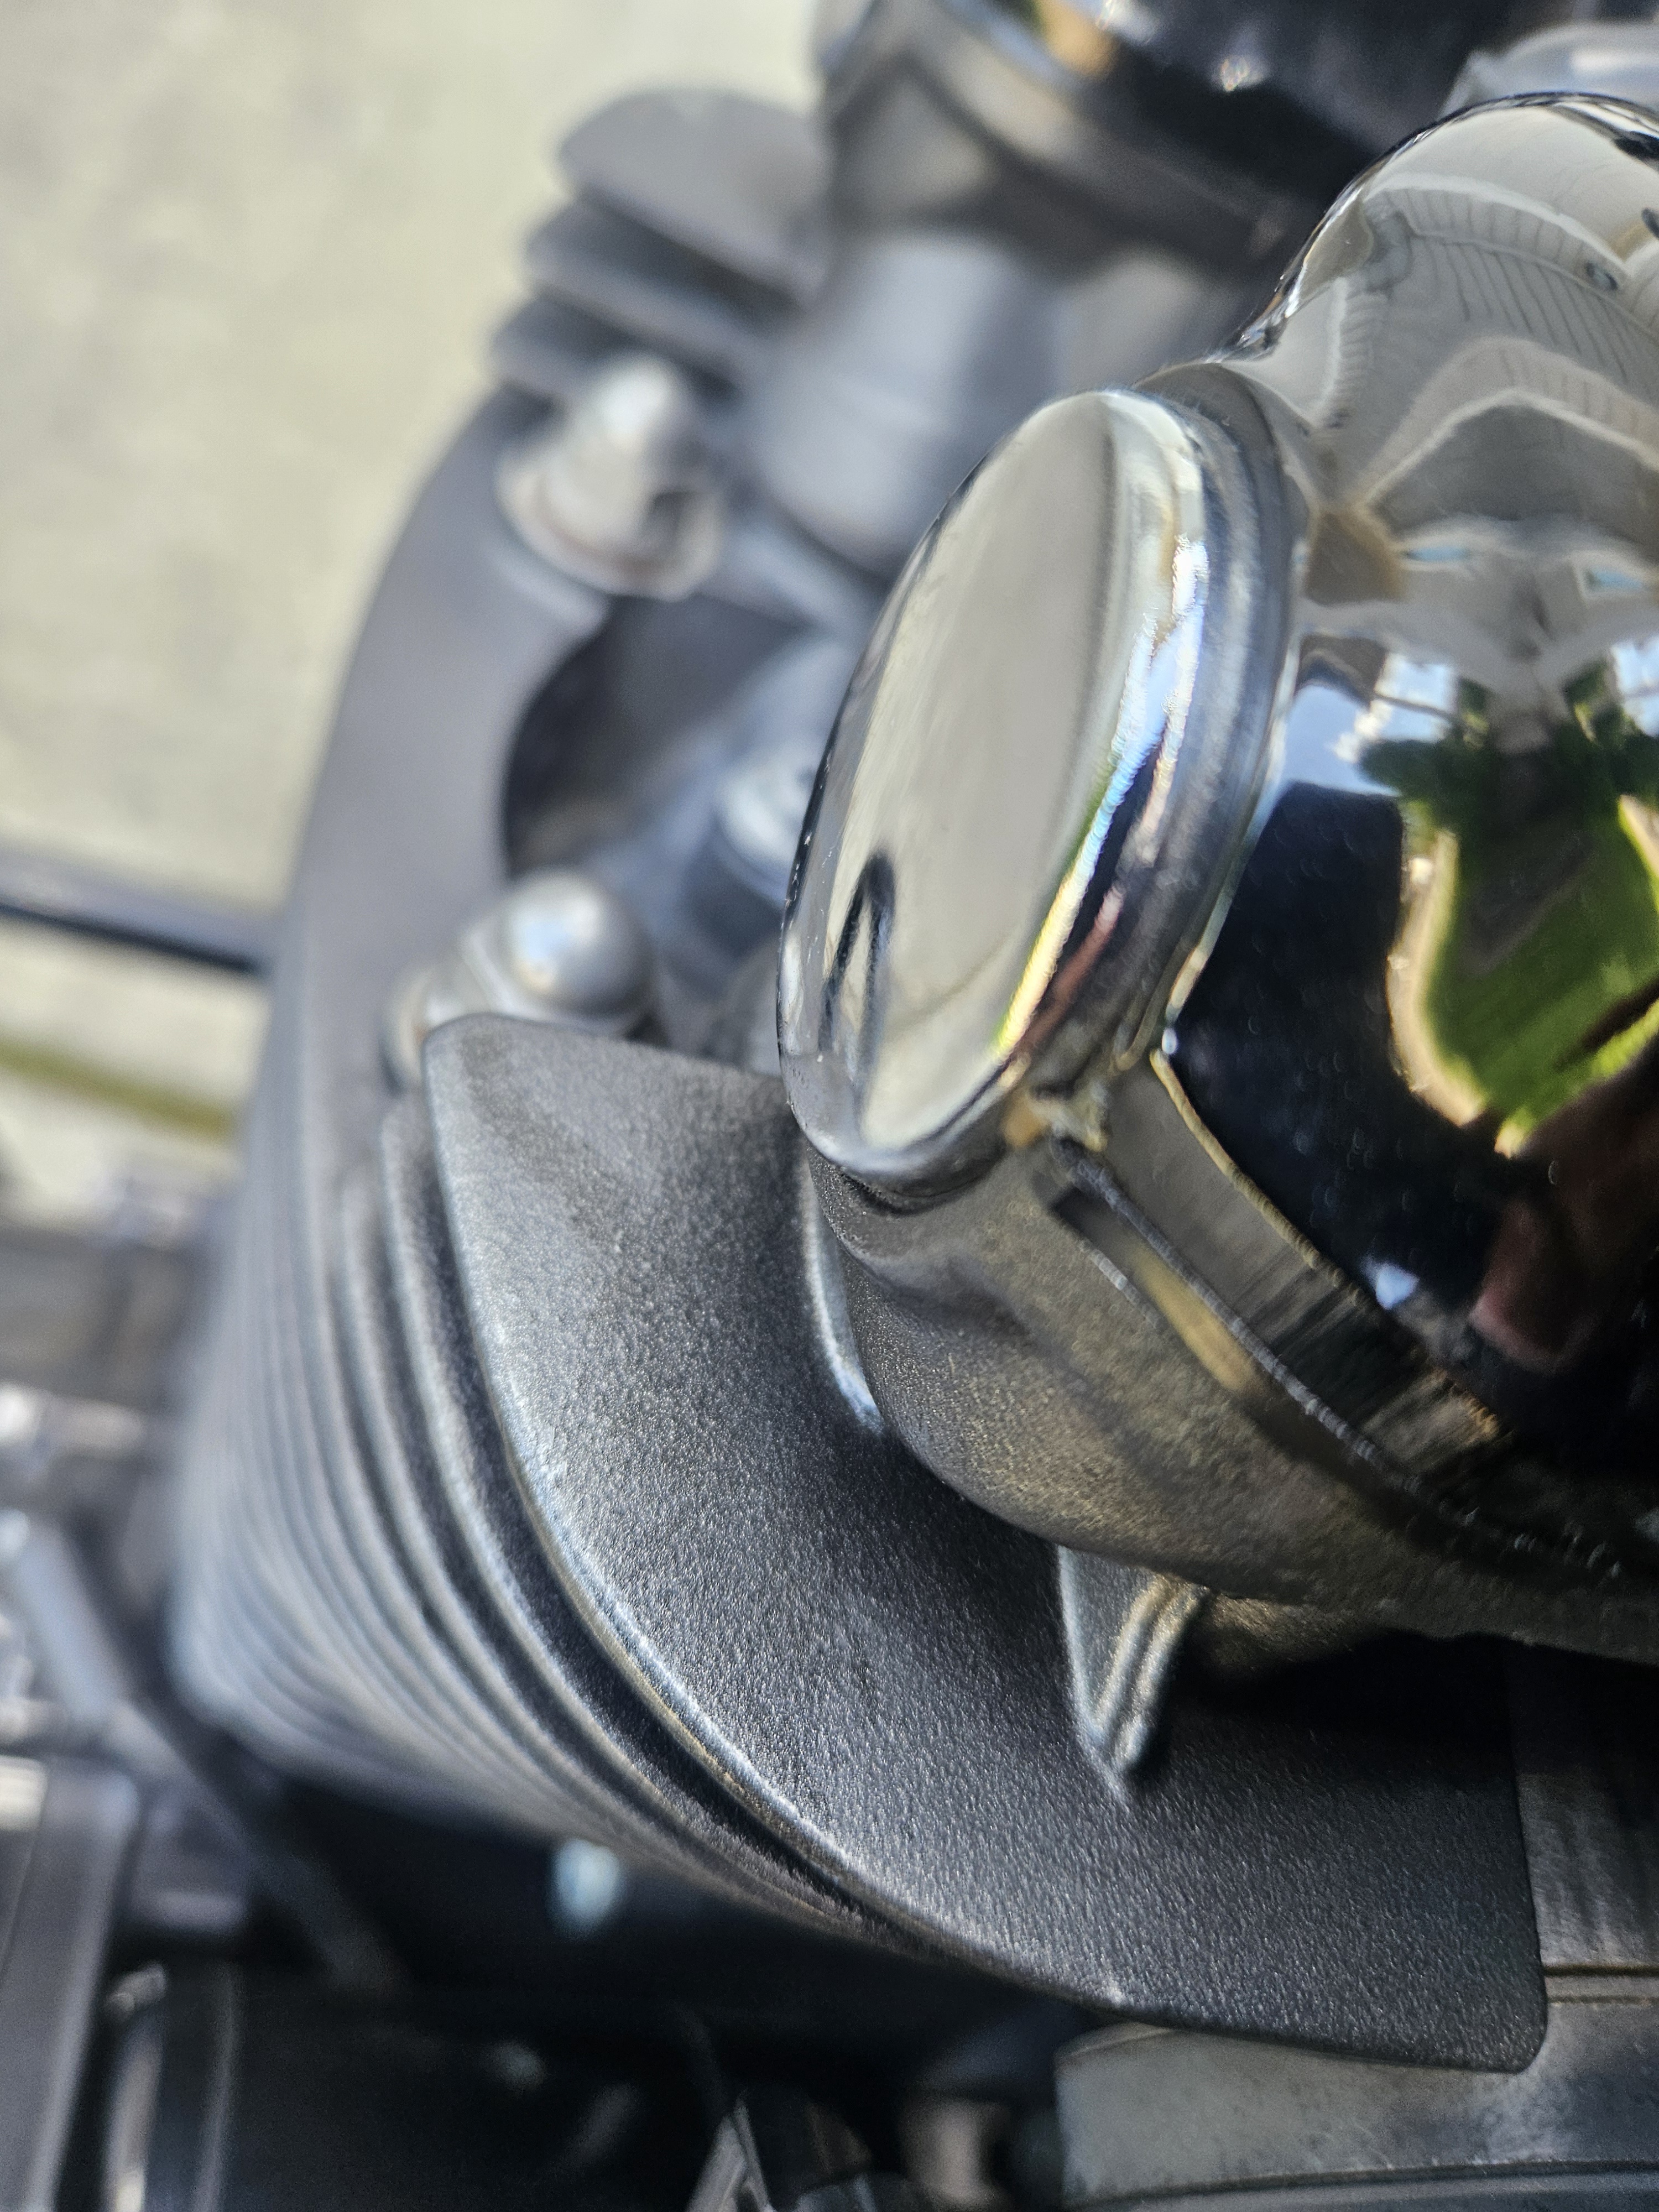
The other day I noticed a small looking oil seep left hand side, toward the top, rear right under the valve cover. I did a search and found that other have had this same leak and it ended up going away on its own.

I cleaned the area in hopes mine would do the same but as of this morning, no dice. I now have fresh oil in that same spot. (kind of hard to see in the picture but its there) just on top of the top cooling fin. I want to say its originating from the valve cover gasket itself, maybe even a little from the gasket nearer the center of the valve cover.
b8aa47ec81189c6cd03911ec01c079ac.jpg


Has anyone replaced the valve cover gasket themselves? Looking at it, I don't think it would be too difficult assuming there is enough space to take it out without pulling the engine. and would there be any other seals etc. needing replaced or just the gasket itself?
 
This was common on '13 models
Very rare on '14 and newer models.
Very little seepage.
A few members have replaced the r/c gasket and applied silicone to afected corners..
 
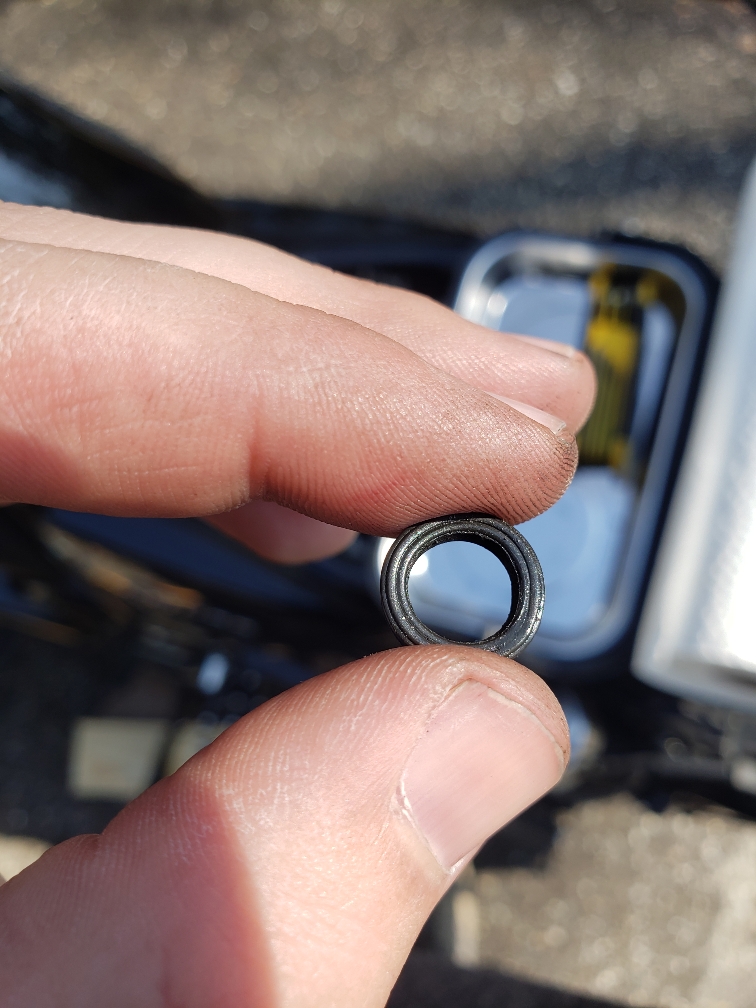
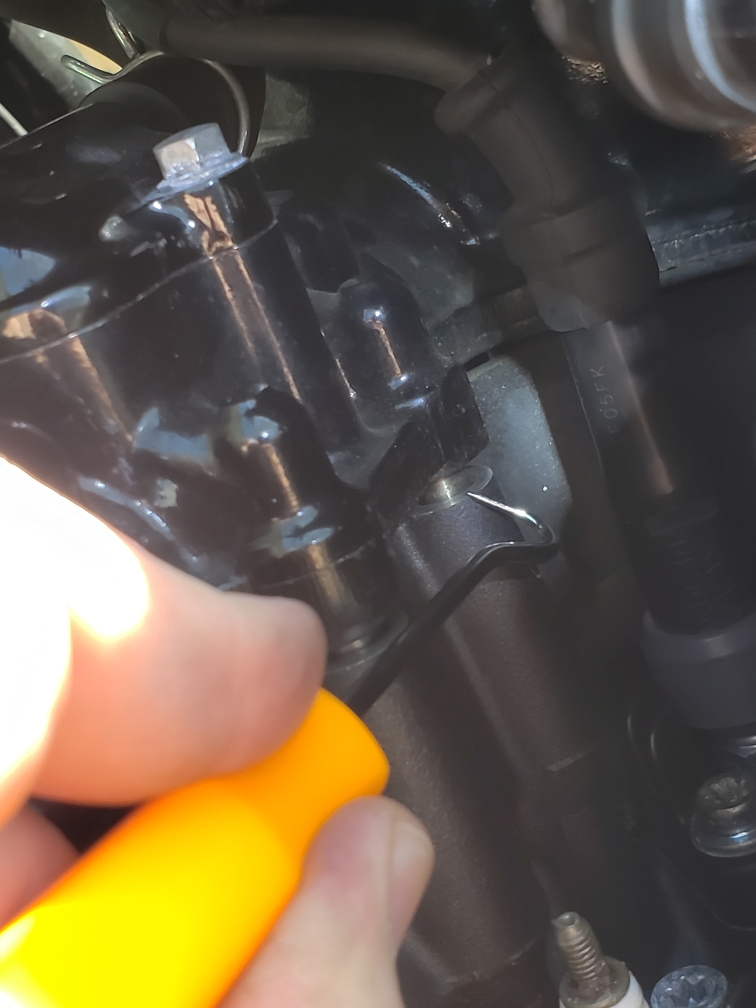
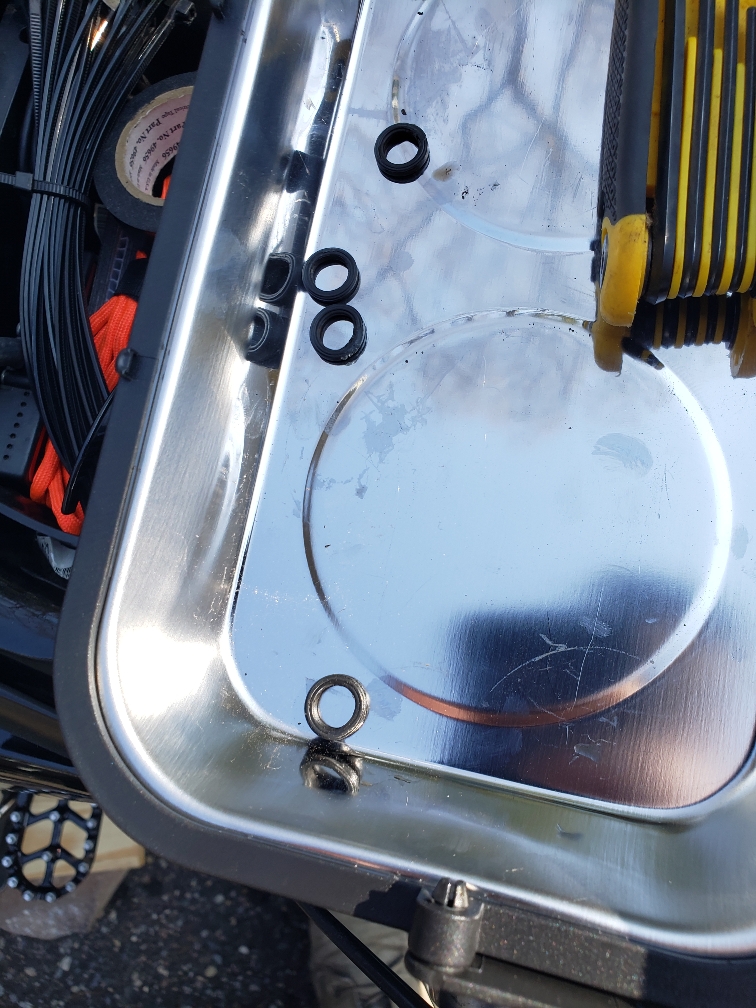
I just opened the valve cover a few days ago to do the 4 small o rings in the PAIR valve system because the new noise was driving me crazy from them leaking.. tank had to come off but it was honestly still pretty tight under there. It would have been more of a project IMO to get the cover off completely instead of just lifting it up to get the o rings/seals out like I did. It's definitely doable but you'll have to remove some more stuff to make some room. I meant to do a write up and forgot, I may just do it on the new cb1100 net site.

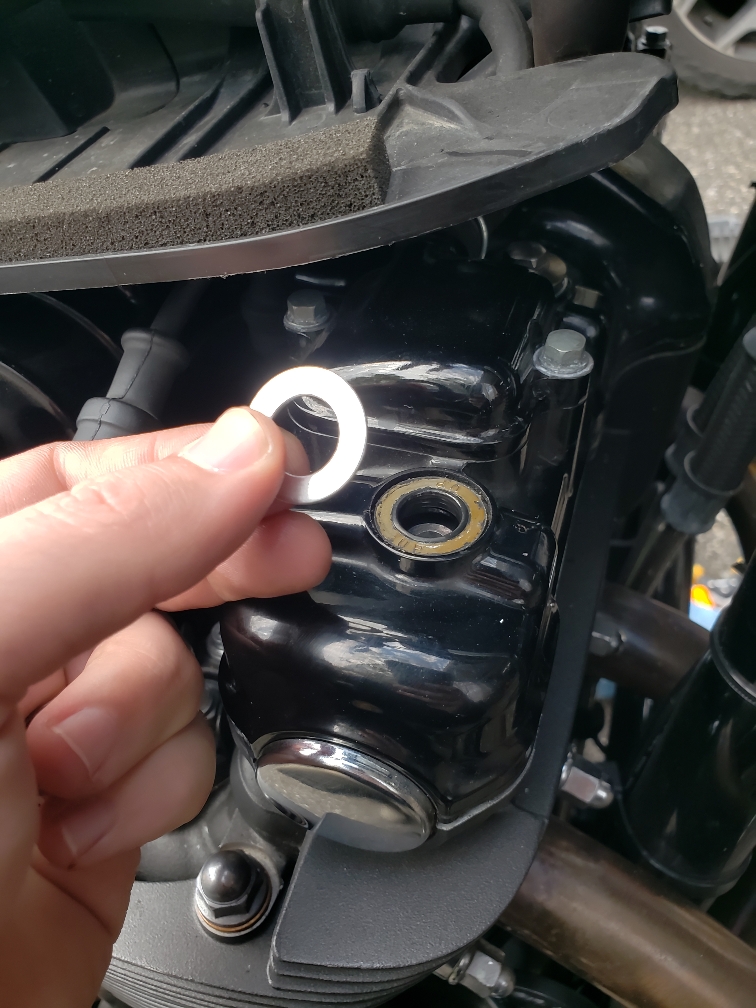
Off topic but I took the advice of a 2014 owner on YouTube and added a 1/2 ID x 7/8 OD - 18 gauge machine bushing/washer under my front valve cover bolts to compress the front of the cover down slightly more because there is a surprising gap between the cover and heads where the pair valve seal ends up leaking under load... so I would also replace those 4 small seals/gaskets if you are already taking the cover off.

Personally I would wipe clean along the gasket and check the valve cover bolts to make sure they're evenly tight.

I was surprised to see all of the clamps on the intake boots were loose incidentally when I was checking stuff while I was tinkering.
e860b4213886d3750e5b8aa7412daf18.jpg
fc6078337a5ece9073f09e6dac71d8d5.jpg
7eb6f8bbd462b4b928ac909259aaf339.jpg
b808fd97a278985b3afe4c2bdd161327.jpg
03db06d4befcf6bed142af8df20fa457.jpg
5e07adaf9855a0d2032183121c4ab05b.jpg
5bd9cf37a418caa2a4b6f4c4799e2657.jpg
61fdbd9c962ad58dbd8a60aba3cf7167.jpg


2014 CB1100, 1981 KZ440 LTD, 1993 Yamaha XJ600 Seca, 1994 Yamaha XJ600 Seca
 
peterbaron_imp said:
Good write up with pics, mvk
Thank you, going to try to do it more in order and more detail on the new site if I can remember next week.

Just figured while sort of on the topic I'd let OP know its worth doing while the cover is off

2014 CB1100, 1981 KZ440 LTD, 1993 Yamaha XJ600 Seca, 1994 Yamaha XJ600 Seca
 
m in sc_imp said:
did my14 a few mos ago, same thing, but on left, replaced vc gasket and seals. good opportunity to clean up the frame and under tank. also used the opportunity to tap and block the pair valve ports correctly . used permatex spray adhesive on the top (up side) of the vc gasket to stick it in the valve cover, greased the under side and put it back on. at 10 years a vc gasket leak isn't unexpected really on anything, so i wasn't concerned, but i HATE leaks, or seeps.
Thats a good idea with the spray adhesive I never thought of that.

What did you use to plug the pair? I saw the delete plates online but I actually like the Decel popping sound so I was trying to avoid deleting it entirely. But I will if the noise of a leaking pair valve comes back again lol

2014 CB1100, 1981 KZ440 LTD, 1993 Yamaha XJ600 Seca, 1994 Yamaha XJ600 Seca
 
Thread starter
Thanks all!

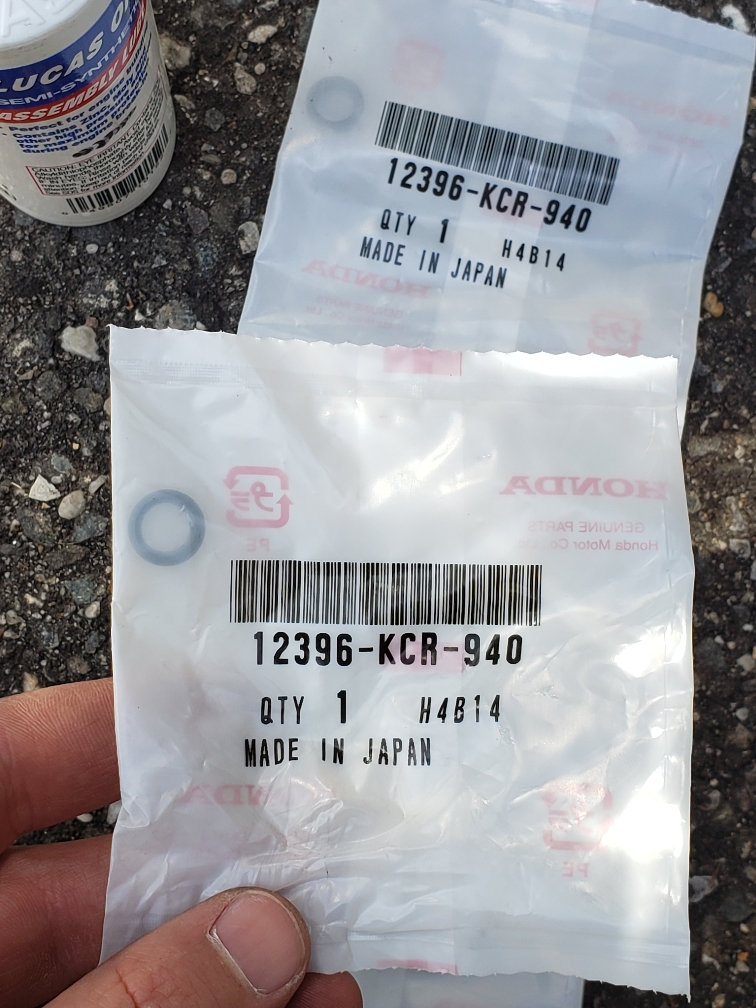
I was looking through the schematics of the valve cover on motosport.com and figured anything rubber should probably get replaced. So I have the gasket, those O-rings and "rubber setting" which looks like they go under those washers that MVK added. I don't think the round chrome plugs would need to be replaced unless they are cracked or broken somehow.
I do agree the leak is very small and could probably just be cleaned up and keep on no problem. But I am also part of the "Cant stand a leak" group. And it gives me a weekend project to tinker on.
It does look like there was some clear sealer applied between that chrome plug and the valve cover gasket, is that normal or maybe a sign that somebody has been in there before and reused the gasket?
Bike now has 22k miles btw, so not a whole lot.

I also thought that it would be worth trying to re torque those VC cover bolts and make sure they aren't loose and causing the leak. I'll probably give that a try this weekend before I order everything up.
 
The chrome plug has sealer applied at the factory. The service manual specifies where exactly to apply it.

Check here if you don’t have a manual The CB1100 Community Forum

The link goes to our other CB board.
 
m in sc_imp said:
I used the spray adhesive on the end plugs as well when i glued it to the VC, then wiped the excess/overspray off w laquer thinner after it was installed on the bike.


I tapped the pair valve port holes int he head with a 1/8 npt tap and put in shallow plugs. to that point, i no longer need the o ring seals there either. I don't like popping. to me popping = exhaust leak (because.. it basically is)
Smart idea

2014 CB1100, 1981 KZ440 LTD, 1993 Yamaha XJ600 Seca, 1994 Yamaha XJ600 Seca
 
Thread starter
I went ahead and ordered the seals. I am also hearing a slight ticking on the front right of the engine which tends to fluctuate with the throttle input. I always figured it was a normal sound or due to my Dart flyscreen. I am now wondering if one of those PAIRs O-rings or maybe even the valve itself, is to blame. So I guess I will find out.

I read through the manual and it doesn't seem too difficult to pull that cover off. At least its easier then pulling the entire engine out of my 98 Shadow VT1100t to replace the water pump, which I did last winter.
The manual calls for ThreeBond 5211c for those chrome pieces like lord popgun, I cannot seem to find that. Would the Honda Bond HT that I have be a good substitute or should I pick something else up?
 
The sound that almost sounds like a chain noise but on the right side and I can't change the sound by either opening/closing my right leg. Or coming off/on throttle is exactly what I was experiencing.


I'll find the YouTube video that confirmed it for me, standby.

part 1


Part 2

I believe this was a former member.
2014 CB1100, 1981 KZ440 LTD, 1993 Yamaha XJ600 Seca, 1994 Yamaha XJ600 Seca
 
mvk24_imp said:
The sound that almost sounds like a chain noise but on the right side and I can't change the sound by either opening/closing my right leg. Or coming off/on throttle is exactly what I was experiencing.


I'll find the YouTube video that confirmed it for me, standby.

part 1


Part 2

I believe this was a former member.
2014 CB1100, 1981 KZ440 LTD, 1993 Yamaha XJ600 Seca, 1994 Yamaha XJ600 Seca
The sound that almost sounds like a highspeed chain noise/whine but on the right side and I can change the sound by either opening/closing my right leg. Or coming off/on throttle is exactly what I was experiencing.


I'll find the YouTube video that confirmed it for me, standby.

part 1


Part 2

I believe this was a former member.
2014 CB1100, 1981 KZ440 LTD, 1993 Yamaha XJ600 Seca, 1994 Yamaha XJ600 Seca

Can** change the noise. (Too late to edit my own post)

2014 CB1100, 1981 KZ440 LTD, 1993 Yamaha XJ600 Seca, 1994 Yamaha XJ600 Seca
 
Thread starter
a stethoscope is a great idea, I'll give that a try. The noise that mvk24 describes is about exactly like the one I hear, I believe it changes in frequency slightly with the throttle input, like say, hammering down when in a lower RPM. However, that could also just be my body positioning and hearing. I figure, since I have the leak anyway. I'll go in there and kill both birds. you sad you added washers only to the front 4 bolts? I wonder if it is more of an issue with the rubber mounting isolators degrading and causing the gap or like you said, just not enough clamping pressure.

It is very possible its just a normal noise or injector etc. If it goes away after replacing the parts, I guess I'll know for sure.
 
DutchRutter_imp said:
a stethoscope is a great idea, I'll give that a try. The noise that mvk24 describes is about exactly like the one I hear, I believe it changes in frequency slightly with the throttle input, like say, hammering down when in a lower RPM. However, that could also just be my body positioning and hearing. I figure, since I have the leak anyway. I'll go in there and kill both birds. you sad you added washers only to the front 4 bolts? I wonder if it is more of an issue with the rubber mounting isolators degrading and causing the gap or like you said, just not enough clamping pressure.

It is very possible its just a normal noise or injector etc. If it goes away after replacing the parts, I guess I'll know for sure.
For me i literally rode to a location and everything was normal sounding.

On the way back I was picking up speed getting onto the highway and suddenly heard the "sound" and I was getting paranoid being a new sound on a bike is never good. Its subtle but if you're paying attention its definitely a sound that you can turn on and off just by coming on or off the throttle. Like I said above all of a sudden its a new "whine" or almost like a high speed Chain Noise sort of sound. I checked everything including chain alignment and cleaned and lubed. New sound was still there.

Took awhile to sort it out because everyone tends to think it's the injectors as that video also mentions. But if you shove a rag over that area of the PAIR valves and ride around the block and the noise goes away its the pair valve leaking when you're in throttle.

I only just added the washers under the front 4 valve cover bolts when I put in the new seals/orings and put the cover back on. That part 2 video exists because just doing the seals worked for him for about 600 miles and then the sound was back. He used a feeler gauge and realized that gap where the port/tube is that you're sealing with those orings/seals is surprisingly larger then you'd expect so by adding the washers he was able to squeeze down the cover ever so slightly more in the front (where the PAIR valves are) and the air leaking under throttle/load stopped again and was "fixed".

No part 3 video so I'm gonna assume it worked after that.

I am curious how many guys may have gotten these bikes second hand that don't realize that's not a normal sound for the bike. It is apparently a pretty common failure point with the Honda motors that use this sort of PAiR valve/Reed system in the valve cover for the emissions. But I don't think it causes any real performance issues so most guys probably just think it's a normal sound for the bike.

2014 CB1100, 1981 KZ440 LTD, 1993 Yamaha XJ600 Seca, 1994 Yamaha XJ600 Seca
 
Dutch,

Here a data sheet for 5211c: https://techsil.s3.eu-west-2.amazonaws.com/TE/TDS/TBSI19008-tds.pdf

You can Google for them for any product including Honda Bond.

I found a US source for 5211c, https://us.misumi-ec.com/vona2/deta...Hk4pq-jIjpa0K4_TUHm9FK6-WUP-Xo2H0vxZsIkSyd4Ei

There are other products that will work, like Permatex, just get the right stuff. Non-acid, RTV, oil and gas resistant, etc. Read up some and pick the stuff.

I might have to order some now… :) well, just noticed it is a BIG tube. Maybe the UK Amazon has it.
 
I recently started using these products because I lost confidence in the Permatex silicone sealant that would not dry...

fa4094bb34f33769ffabf3f19bdd3e9c.jpg


c08c0b14386456d1594b11d3c6031fdc.jpg


4725700874c35af4f6f1a4e45d8a7d6b.jpg
 
A year or two ago, a tech replaced a Genesis V8-4WD short block
Pull it all back together and went home. Big job.
Next day he started the engine and oil was leaking from the oil pan and front cover +++, silicone did not dry and harden. We had to take it all apart again!!
A few other techs had the same problem with oil pans, minor repairs.
So we started testing gray silicone, some were ok and some were not, bad batch???. No trust anymore, so we changed brands...
 
Back
Top