

rdprdp01
Administrator
Thread starter
Of all the maintenance tasks on a motorcycle, many motorcycle owners overlook changing brake fluid. There are a common set of excuses:
Although the braking system of our CB1100 is closed (brake fluid flows through a series of cables and an Anti-lock Braking System (ABS) to actuate brake calibers), the fluid reservoir does have a very small vent to allow for thermal expansion and contraction. Without this vent, our brake system could form a vacuum lock and prevent our brakes from working. But this same feature also enables humidity from the air to mix with the brake fluid as it “sits” in the reservoir. That delusion of brake fluid with water lowers the boiling point of brake fluid over time and can cause brake fluid to become less effective. Motorcyclists who drive aggressively also place additional stress on brake fluid.
For me, I drive in an environment and in a manner that merits an annual brake fluid change. Am I a motorcycle hooligan? No. Do I live in an environment that has 95% humidity year-round? No. However, I ride close to ocean where fog is common; I drive on congested highways that require frequent stops at speed; my motorcycle is heavy; etc.
The Nature of Brake Fluid: The Good and The Bad
Brake fluid is a hydraulic fluid that has an incompressible quality. When properly maintained, the fluid in our braking system will enable force to be applied to our brake calibers to stop on demand. But over time, brake fluid can literally boil from hard stops and the extreme heat created when we apply our brakes. If water is introduced into the brake fluid, the boiling temperature is lessoned. This reality can cause air bubbles to form in the fluid from the vapor or steam that is generated when we apply our brakes, lessoning the force the fluid which can be applied to the brake calibers. Although less so now than in the past, brake fluid is also corrosive. Once brake fluid has been compromised with water, it can accelerate the corrosion of brake calibers and brake lines inside our braking system. Brake fluid can damage painted services, plastics, and various metals.
Step 1: Complete Staging for the Brake Fluid Change
When I change my brake fluid, I plan for the worst. At some point,
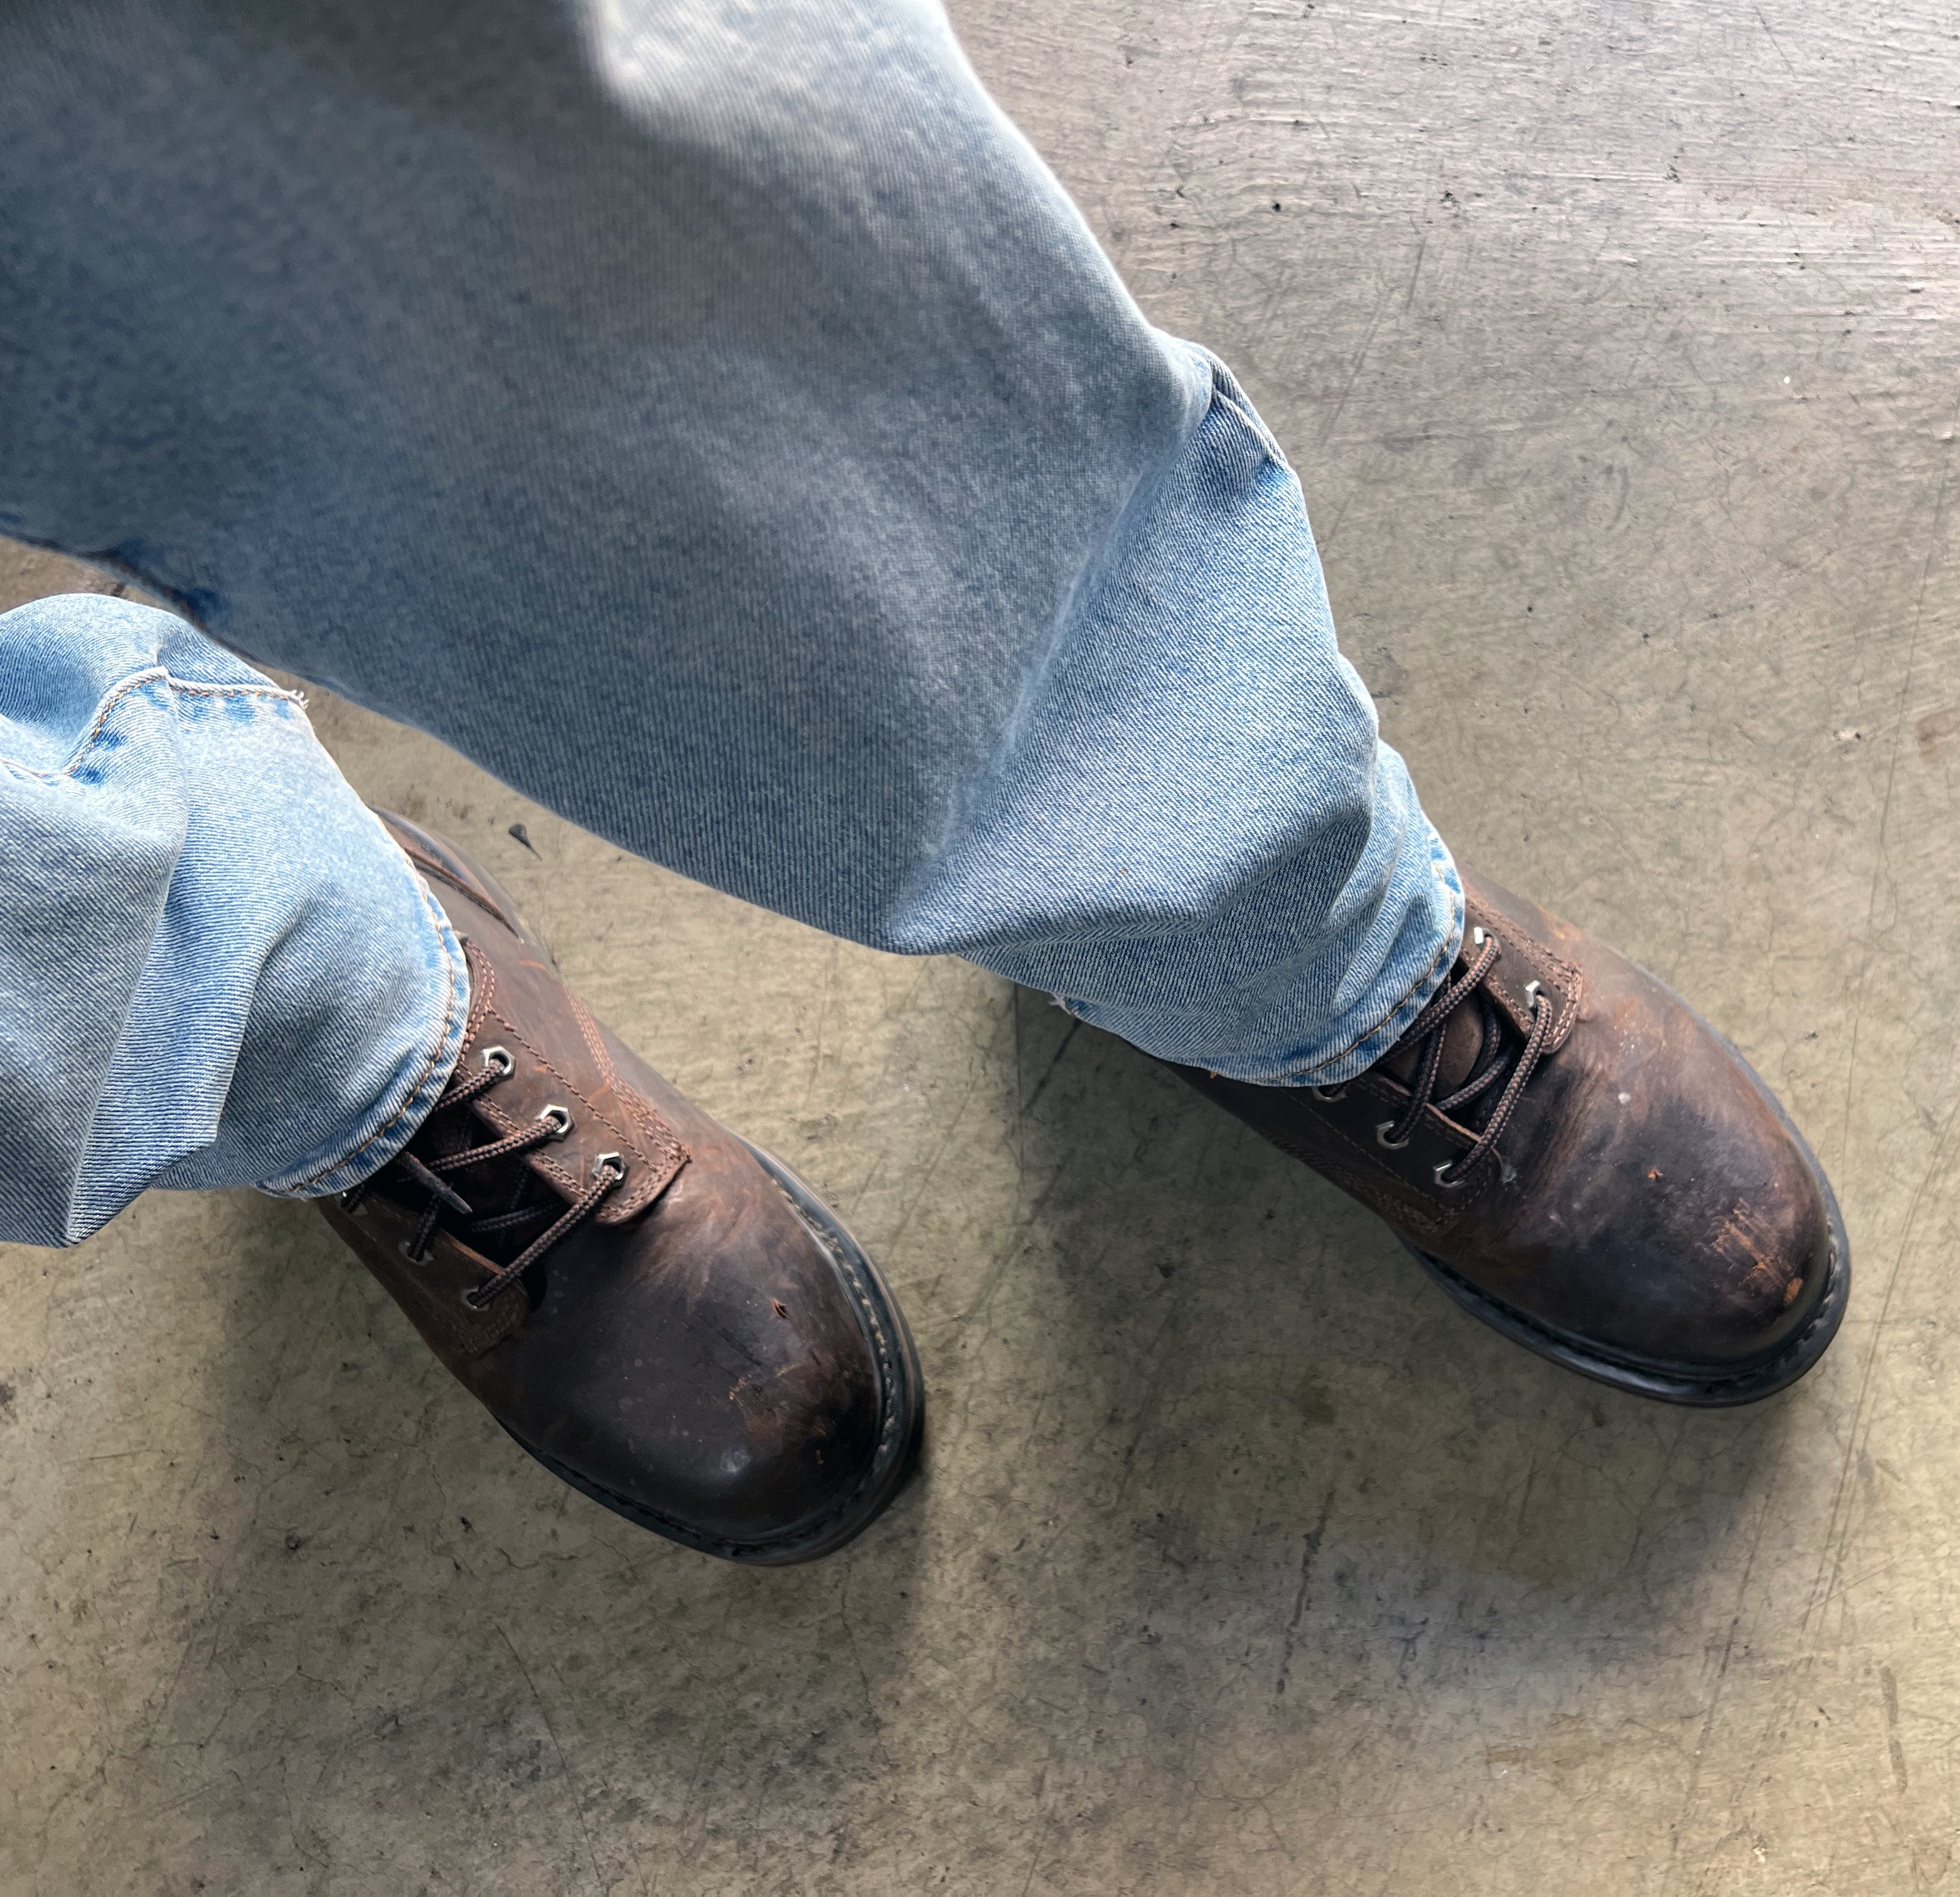
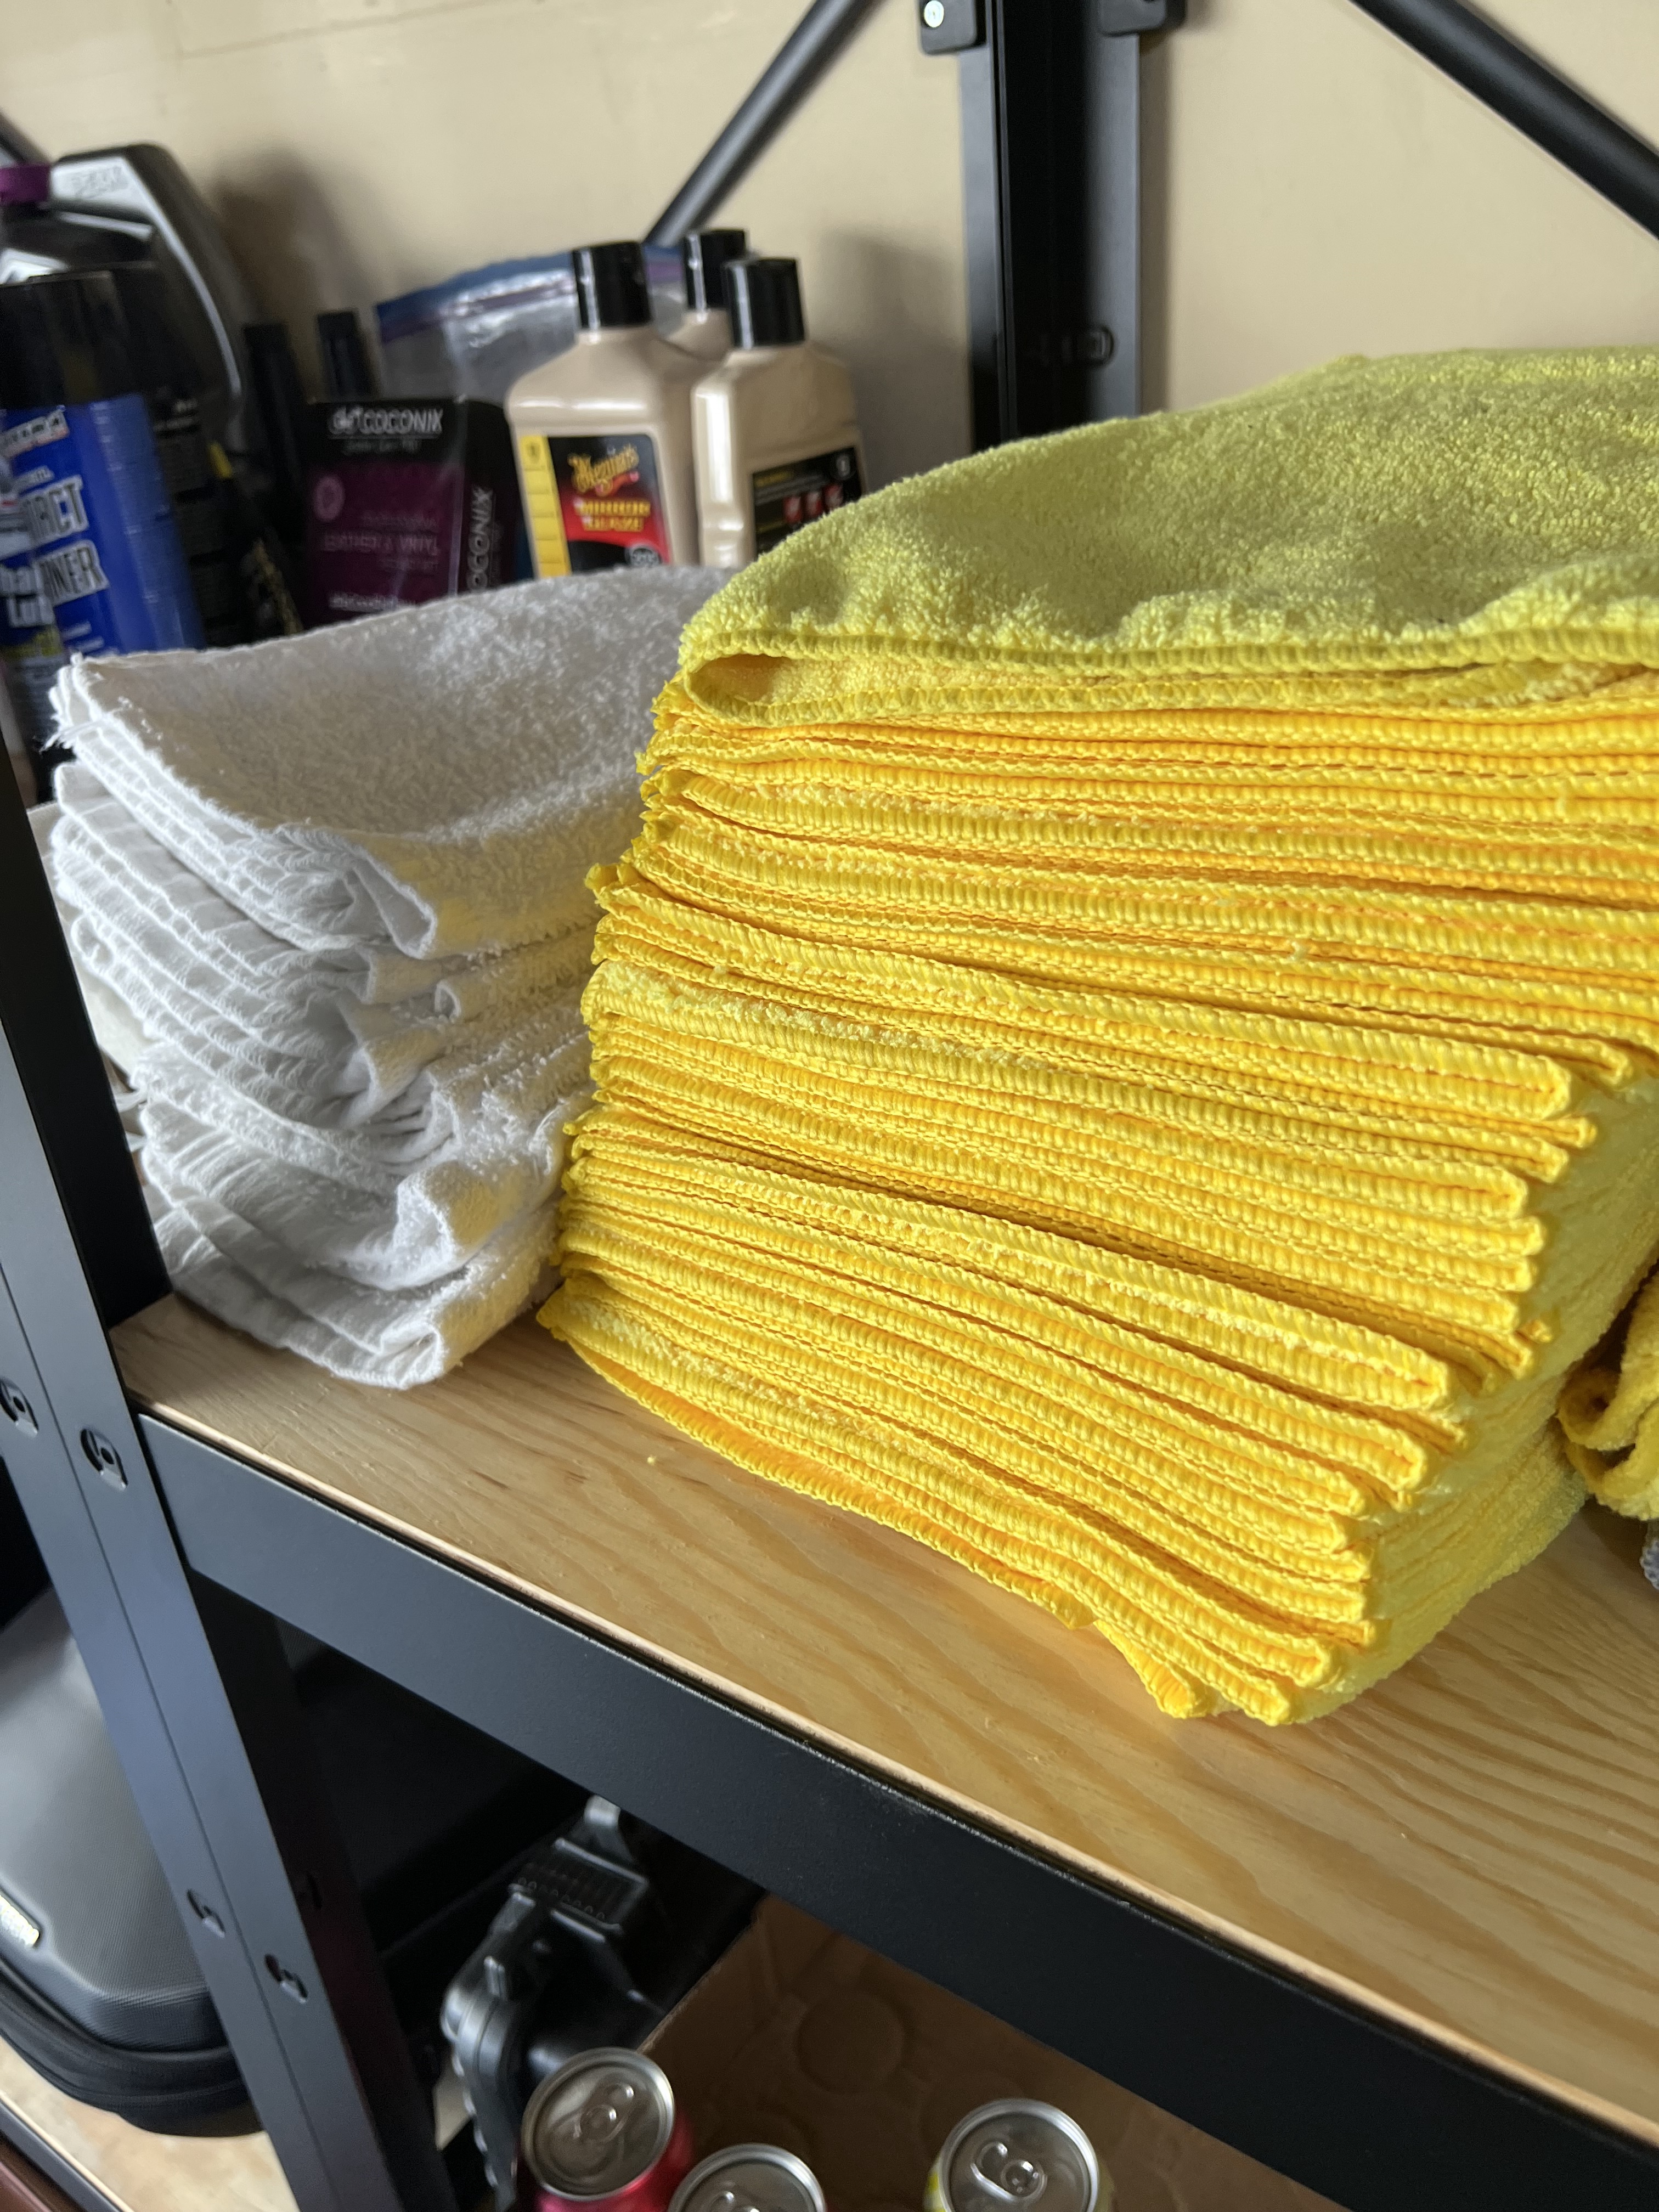
I have plenty of shop towels and water available to clean up a spill:
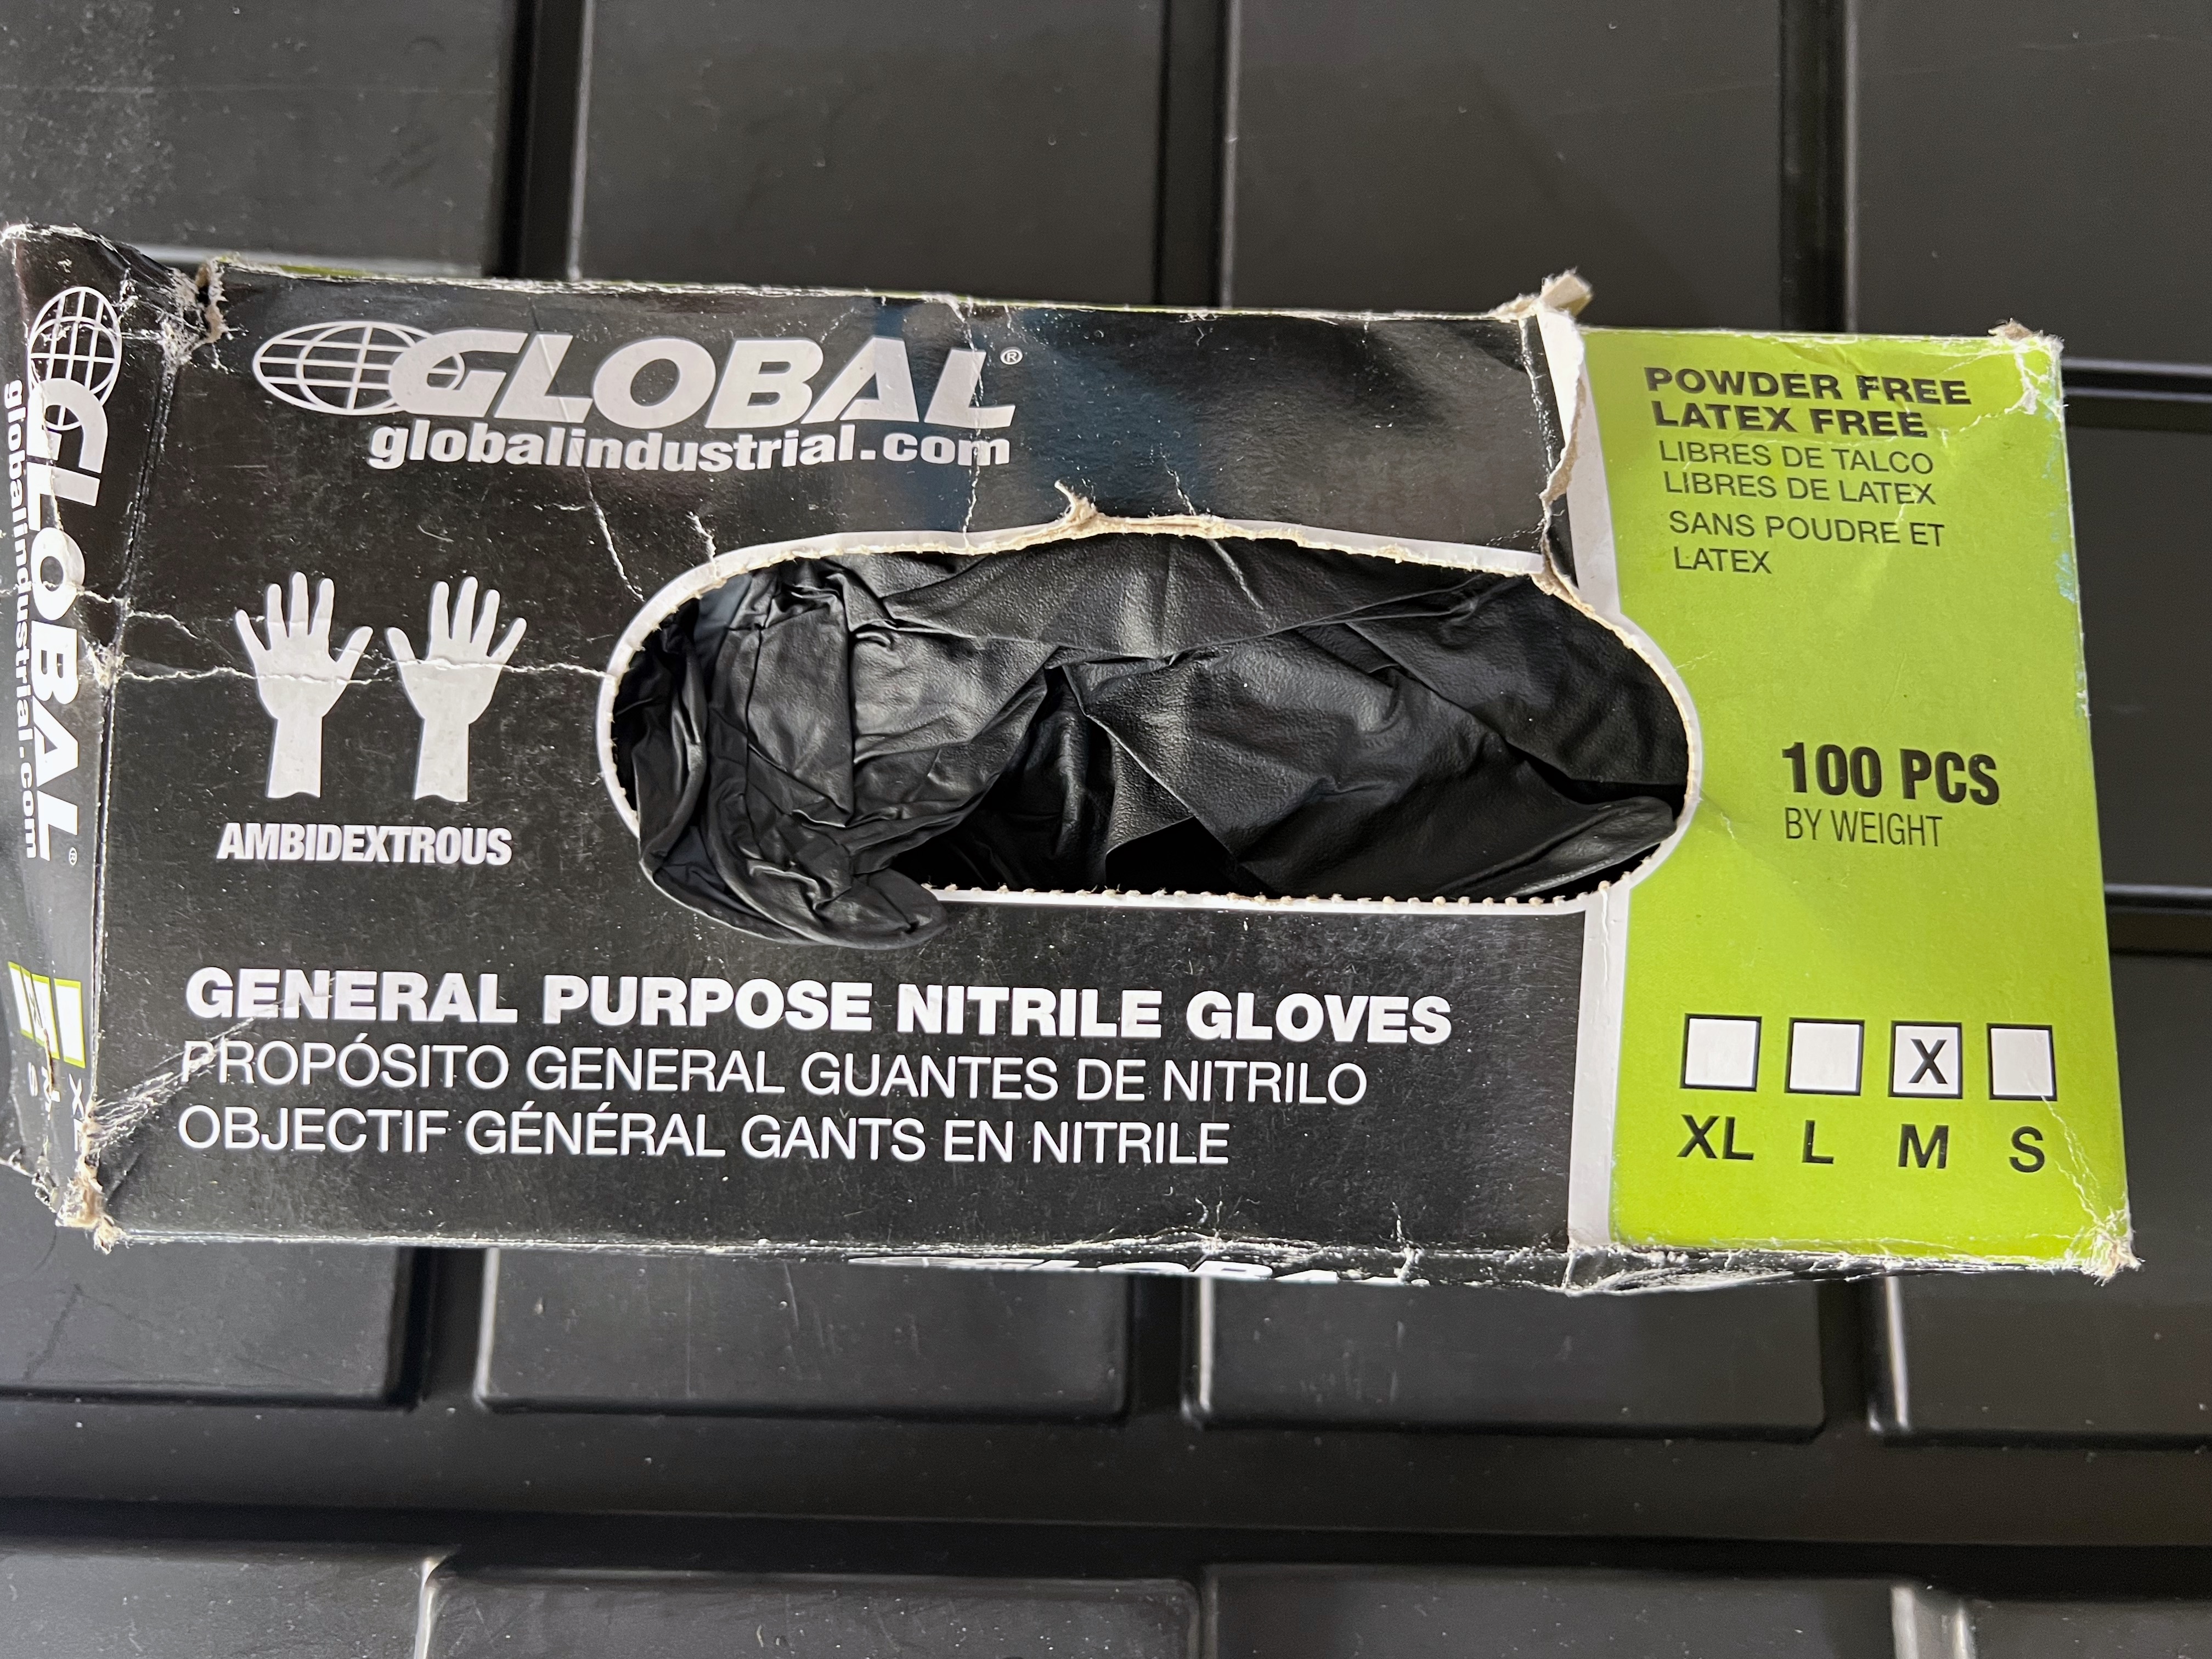
I wear gloves to protect my skin and do everything I can to limit prolong contact:
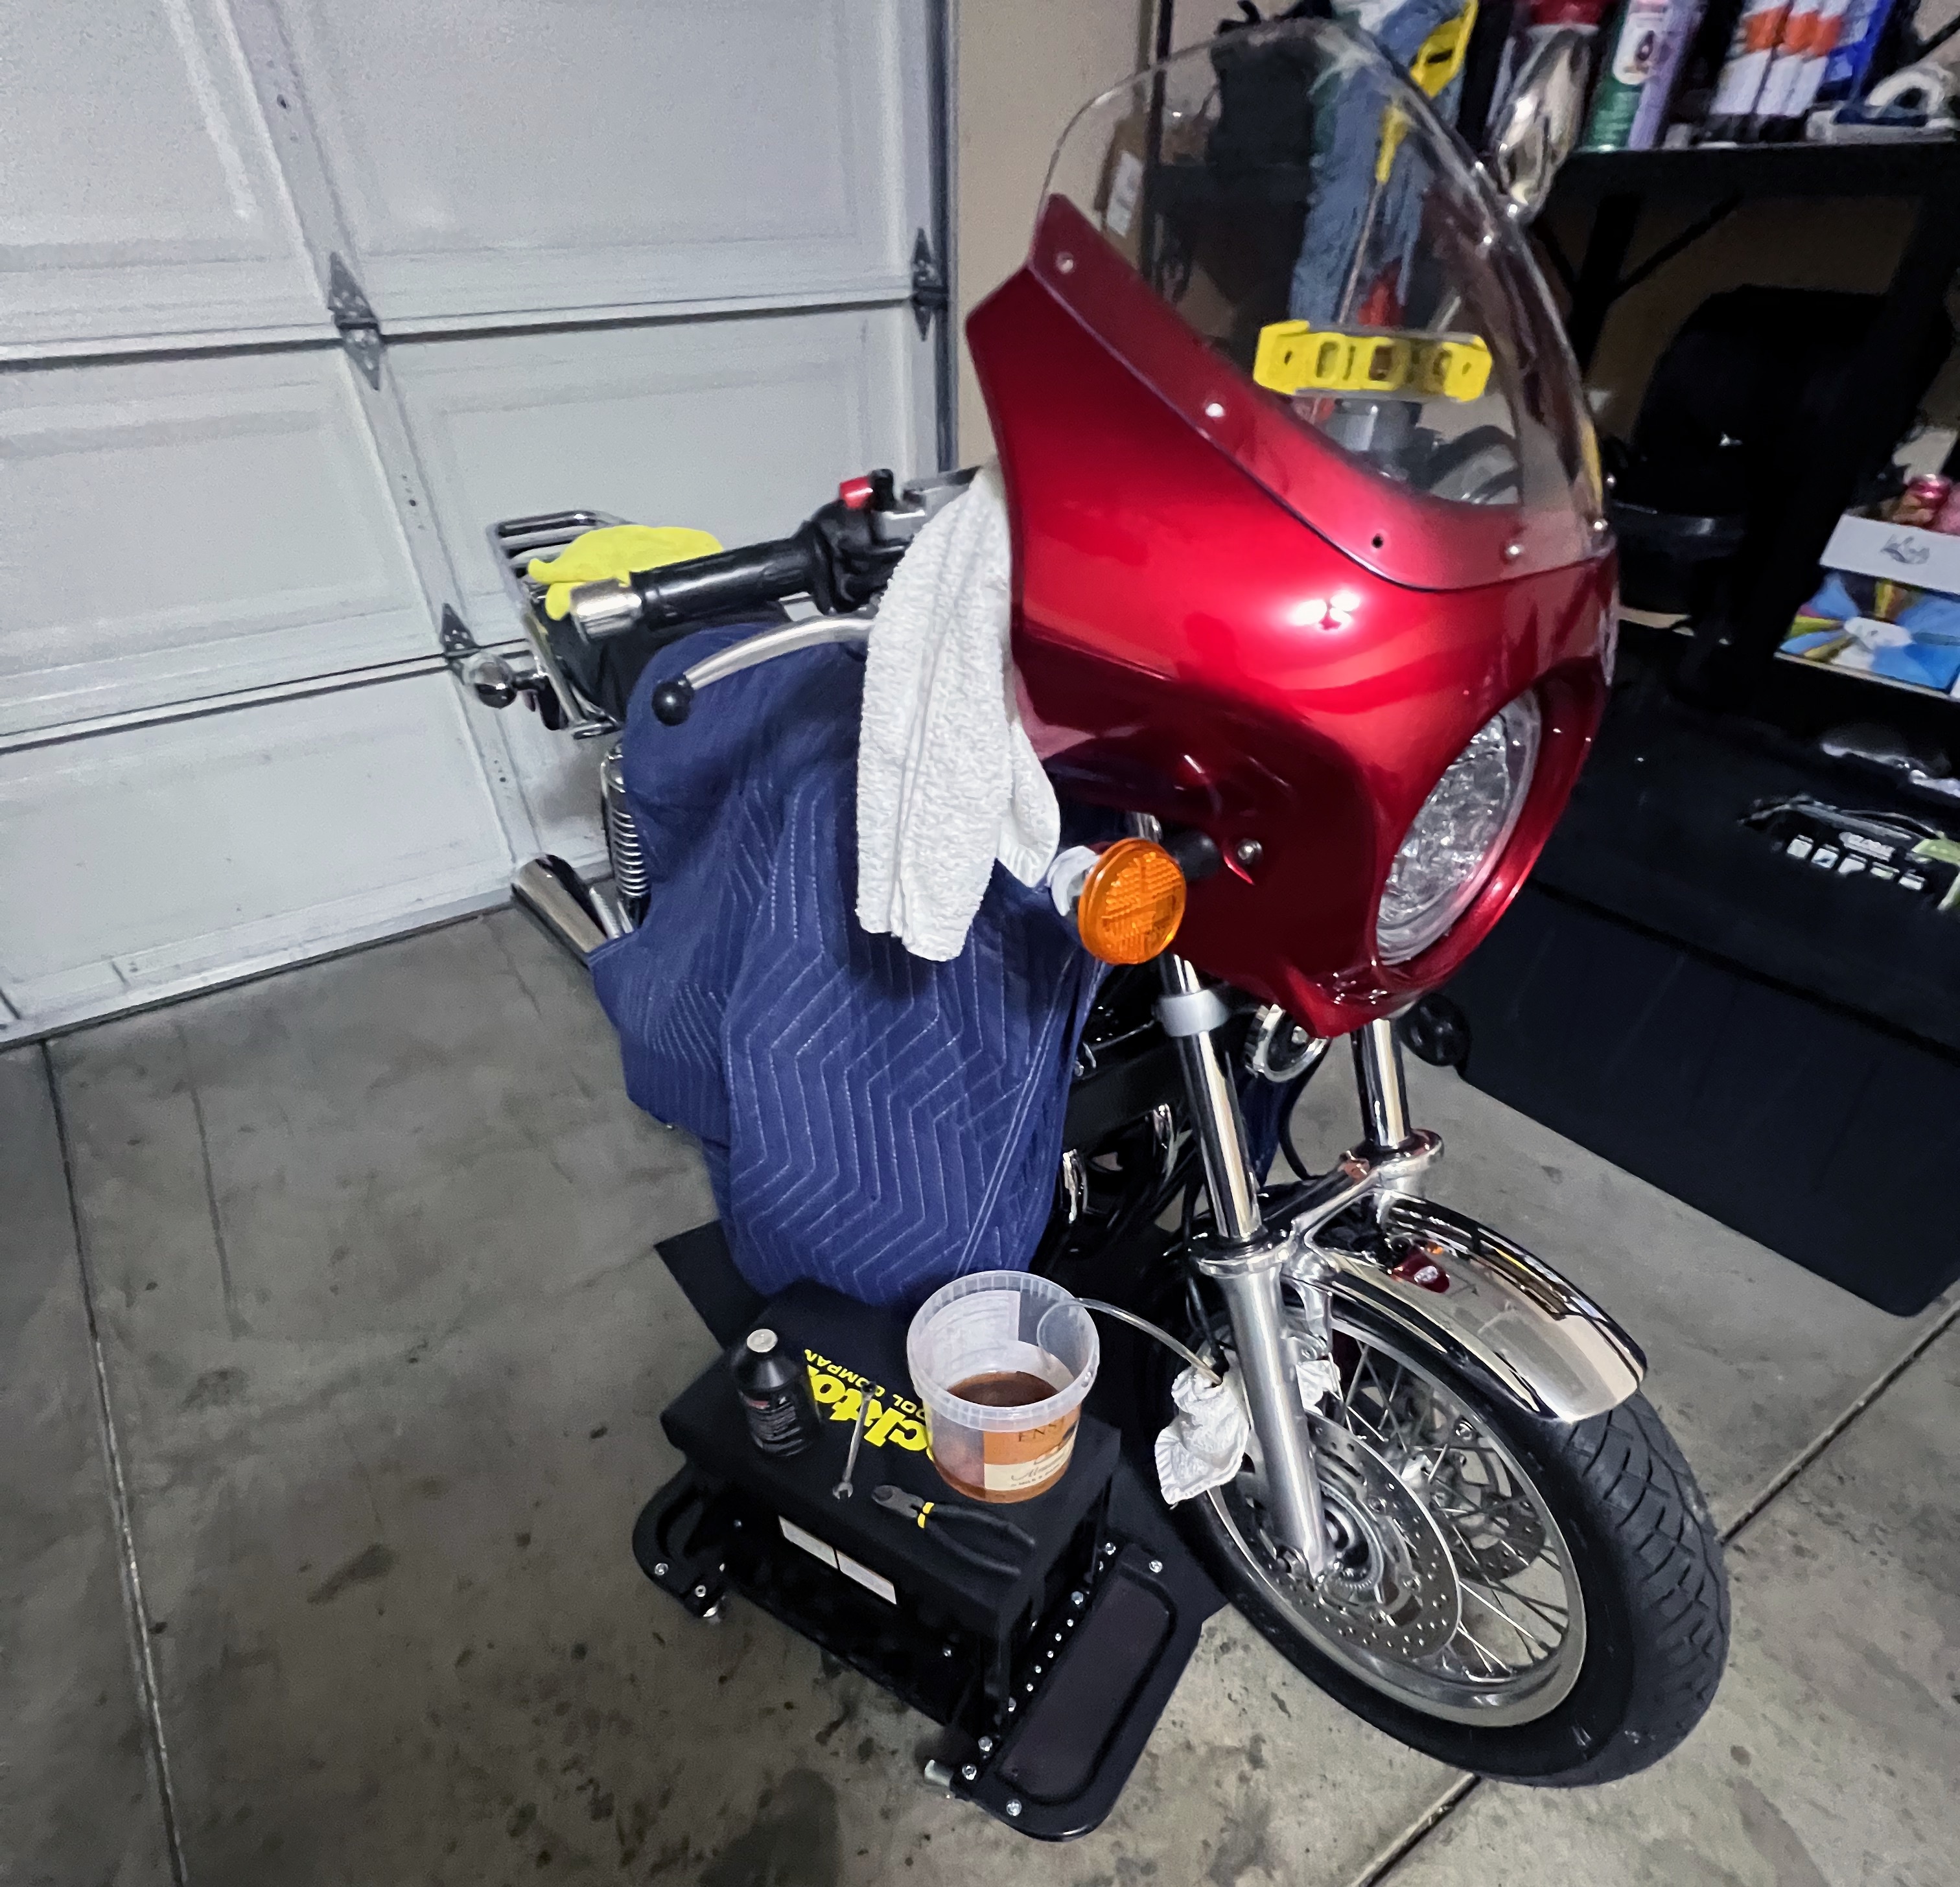
I protect the metal and painted surfaces of the motorcycle by using furniture blankets and towels. I place the motorcycle on its center stand and make sure I can easily access all calipers:
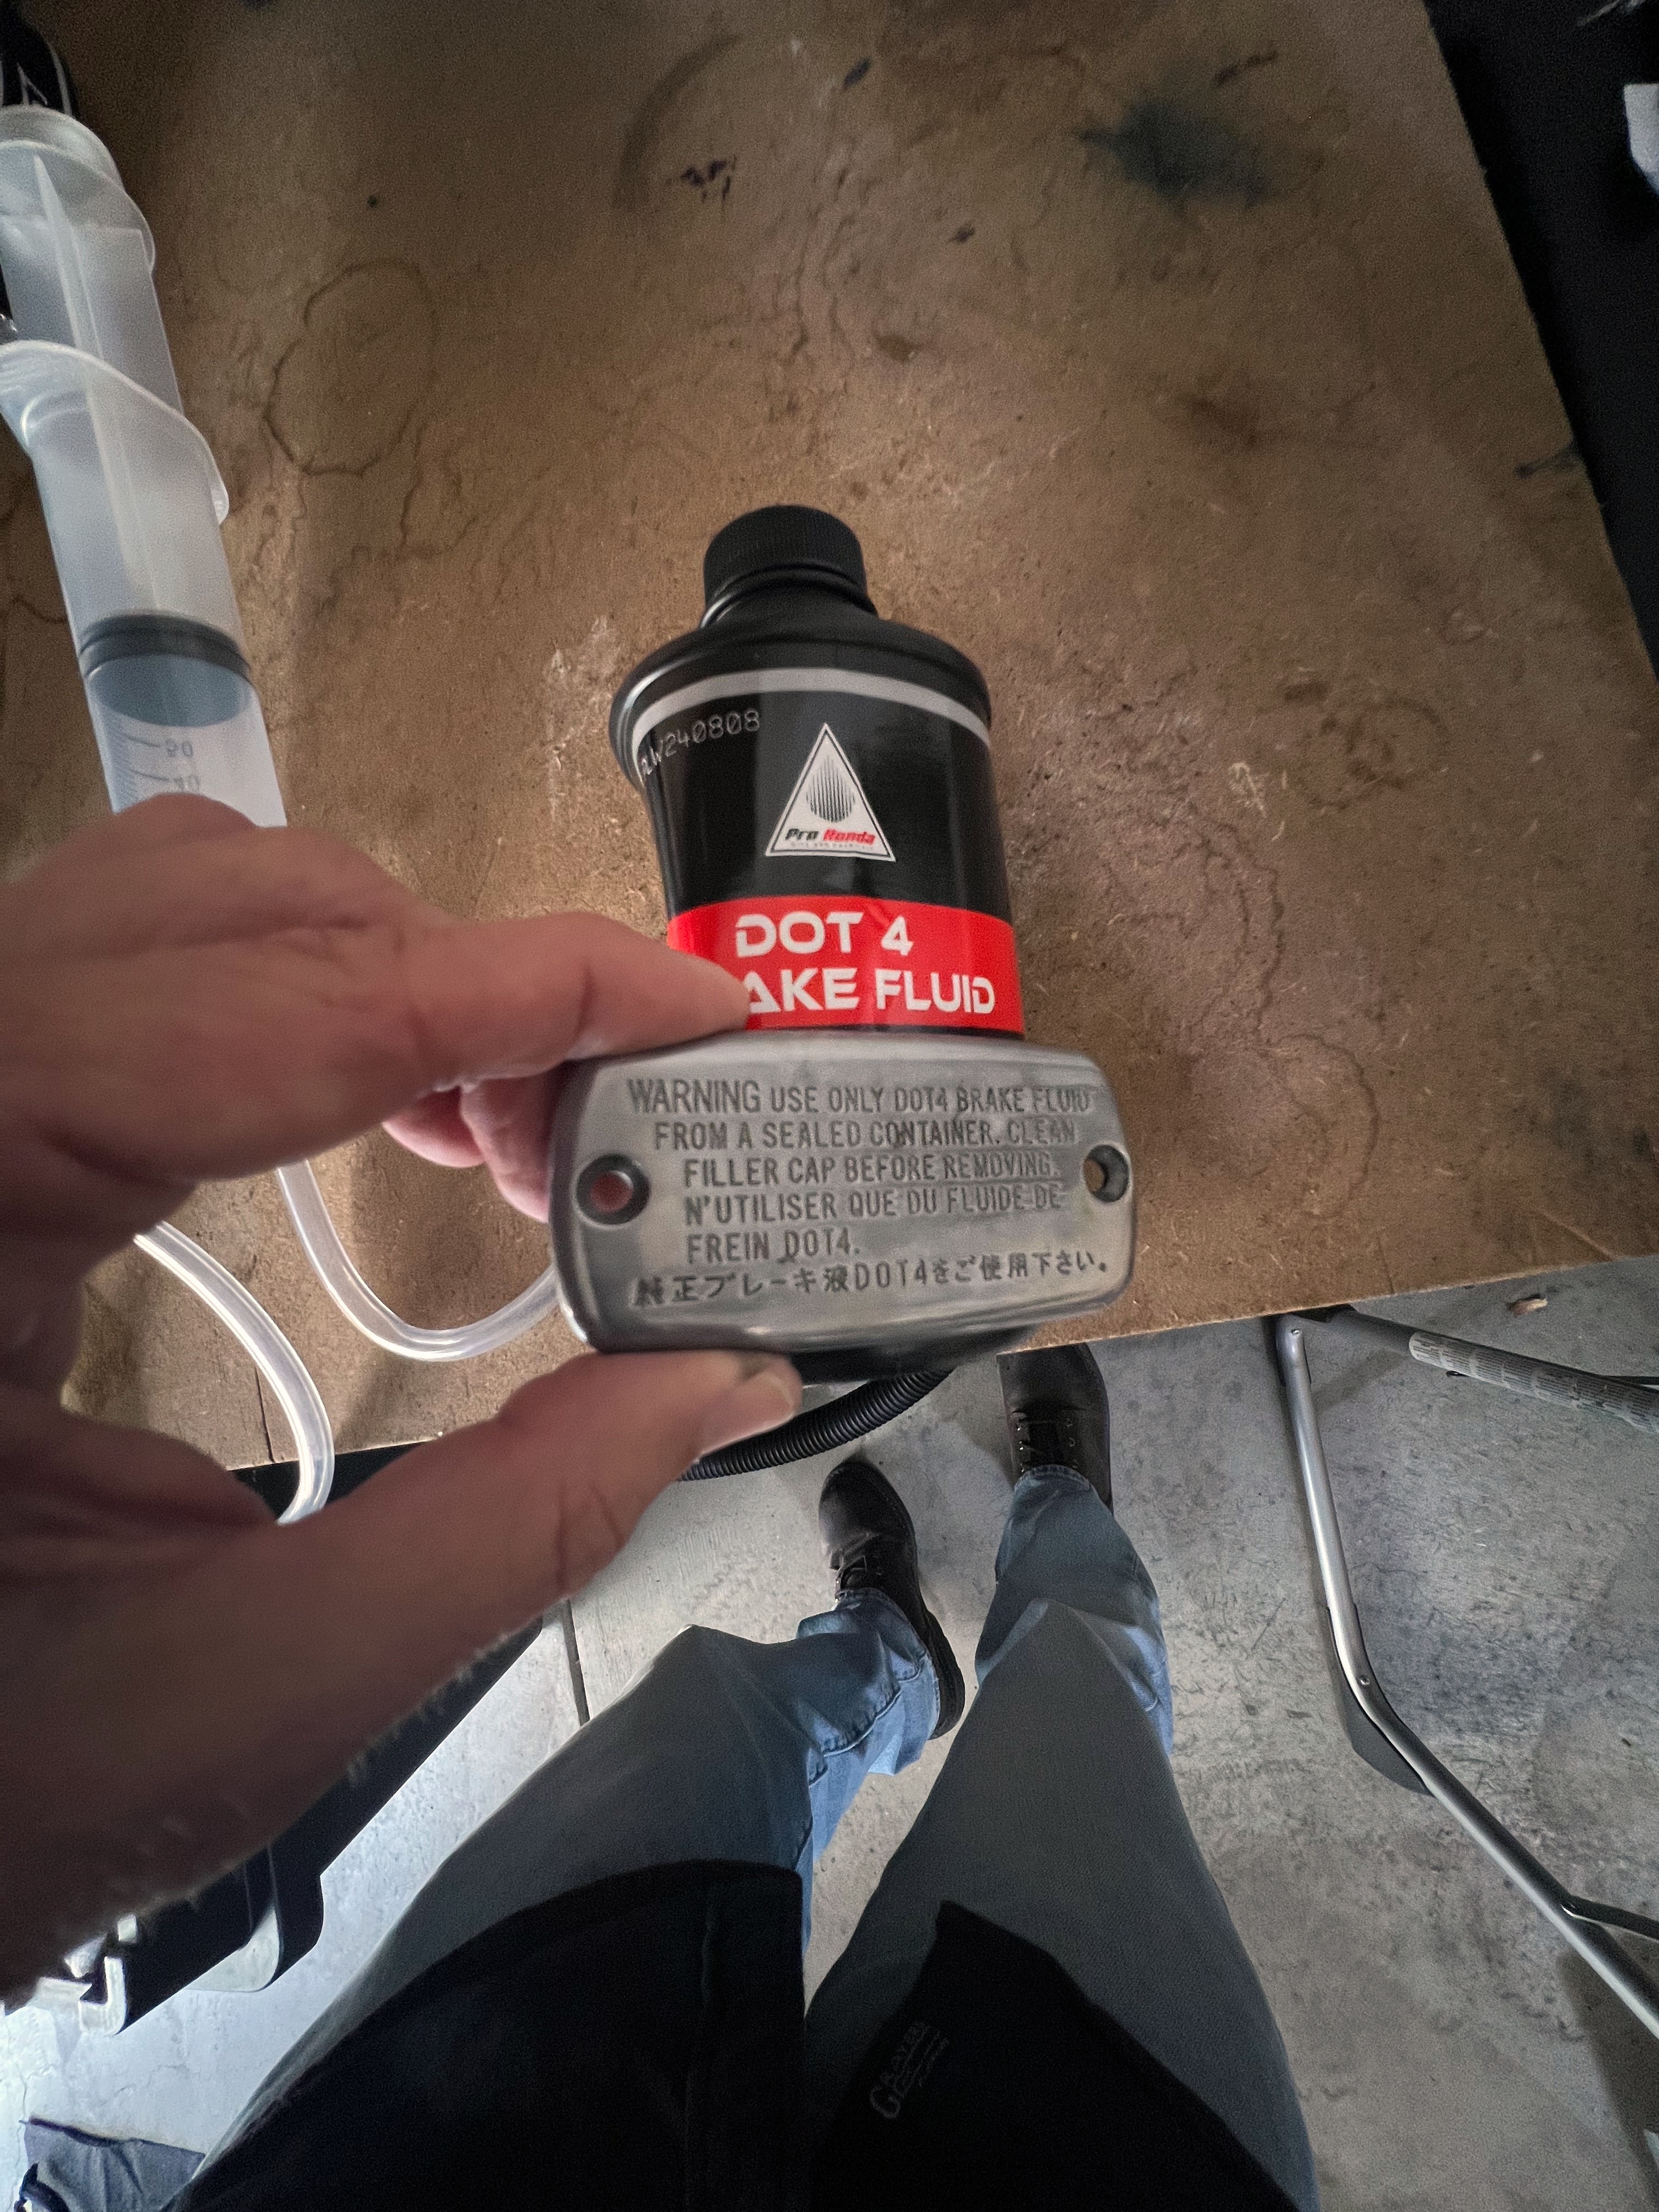
I purchase OEM Brake Fluid appropriate for my motorcycle. I plan on using 12 ounces per brake caliber plus another 12 ounces to top off each reservoir (4 12-ounce bottles total):
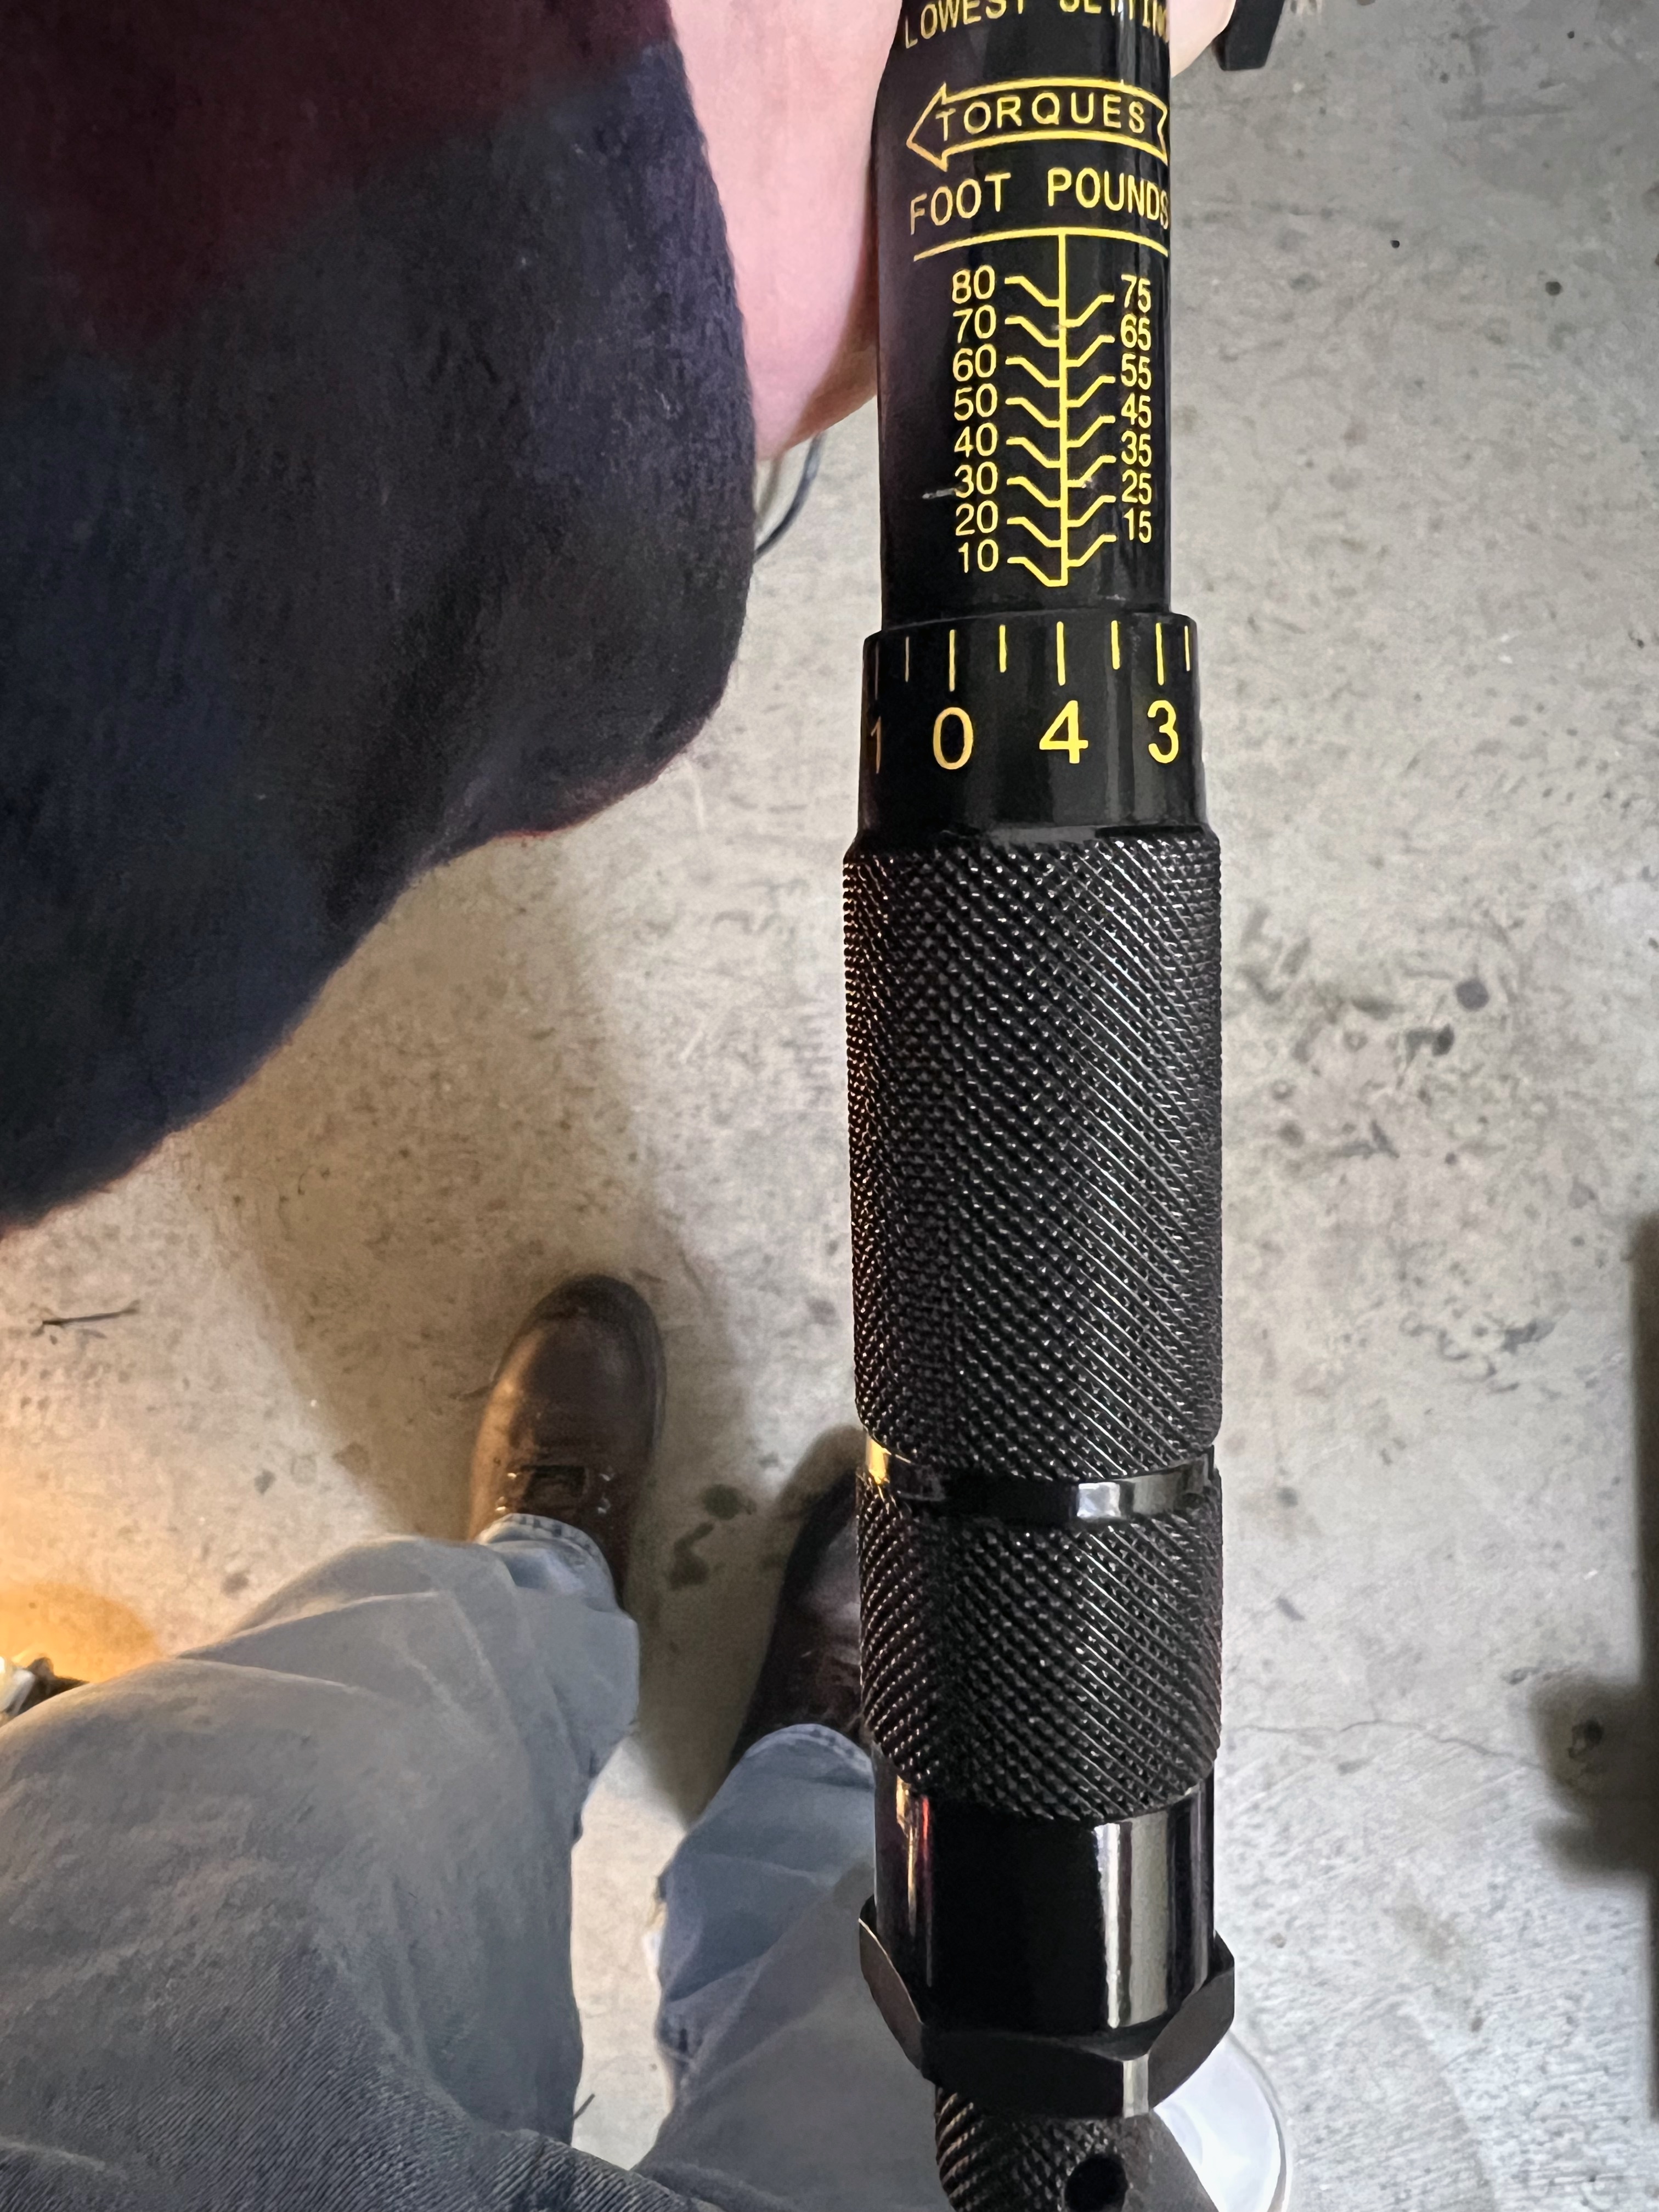
I make sure I have a torque wrench available to tighten things to the engineering specification:
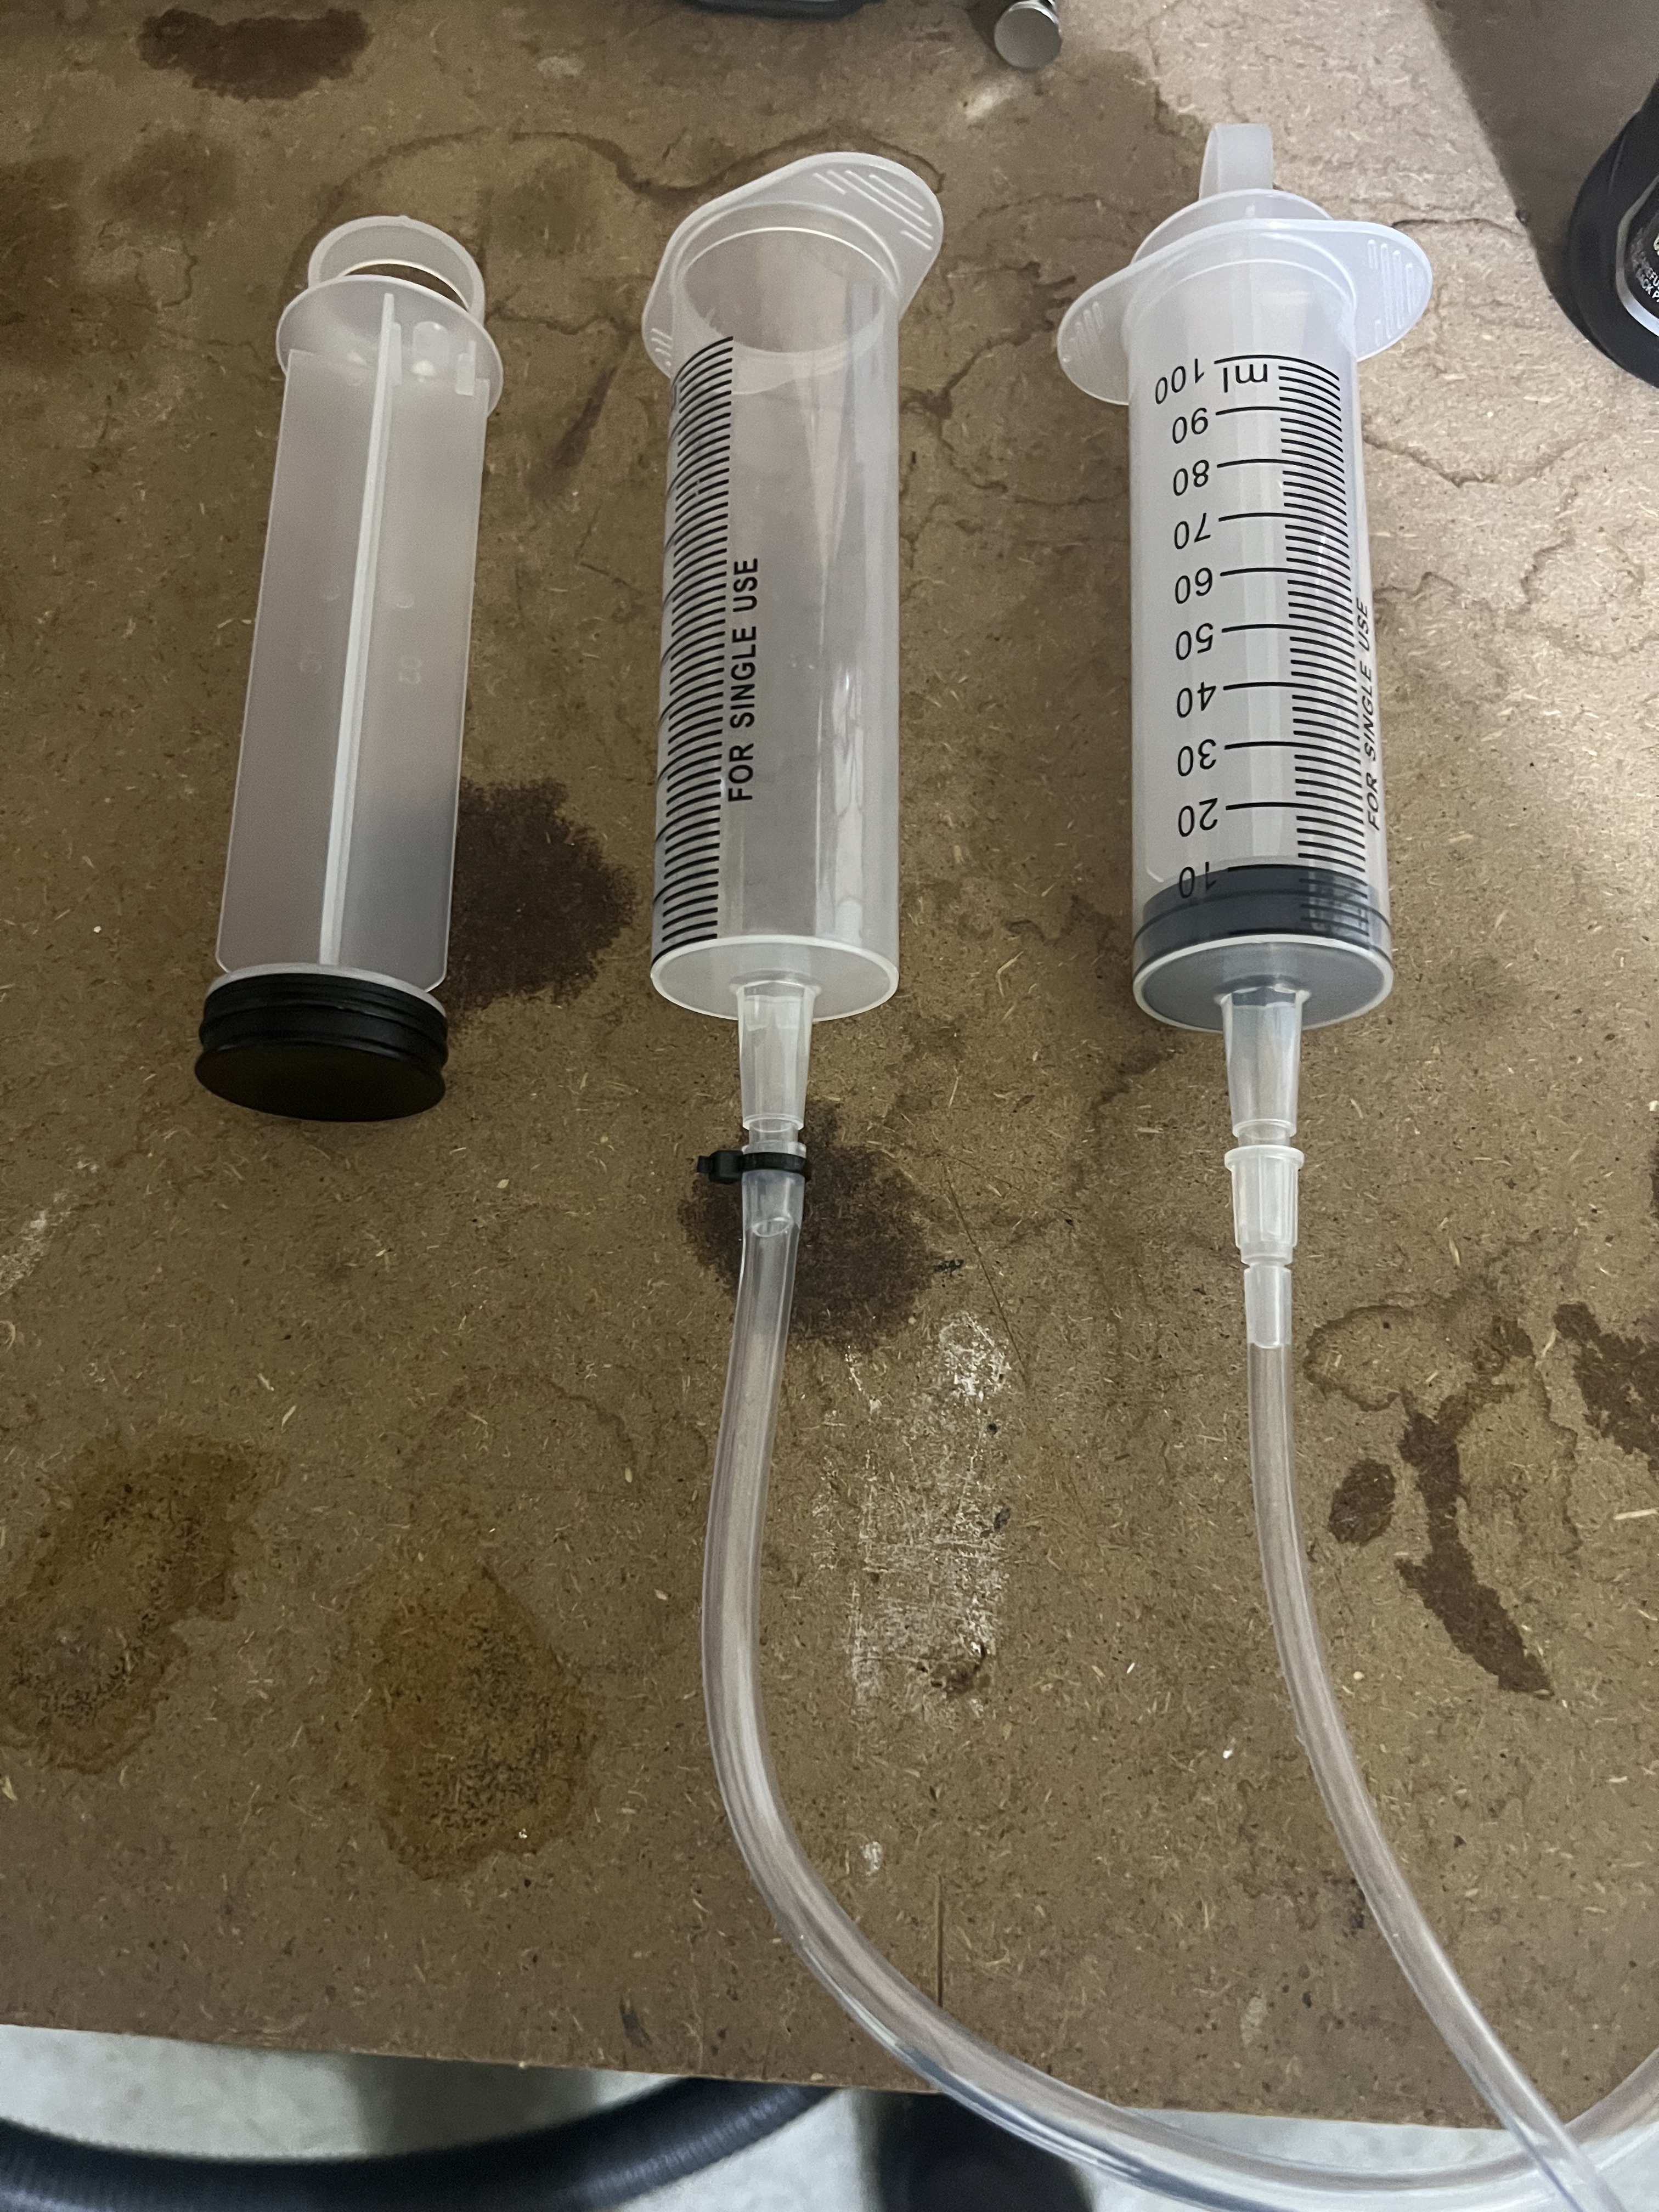
I use syringes to extract and add fluid to the two brake reservoirs, reducing the risk of brake fluid spilling:
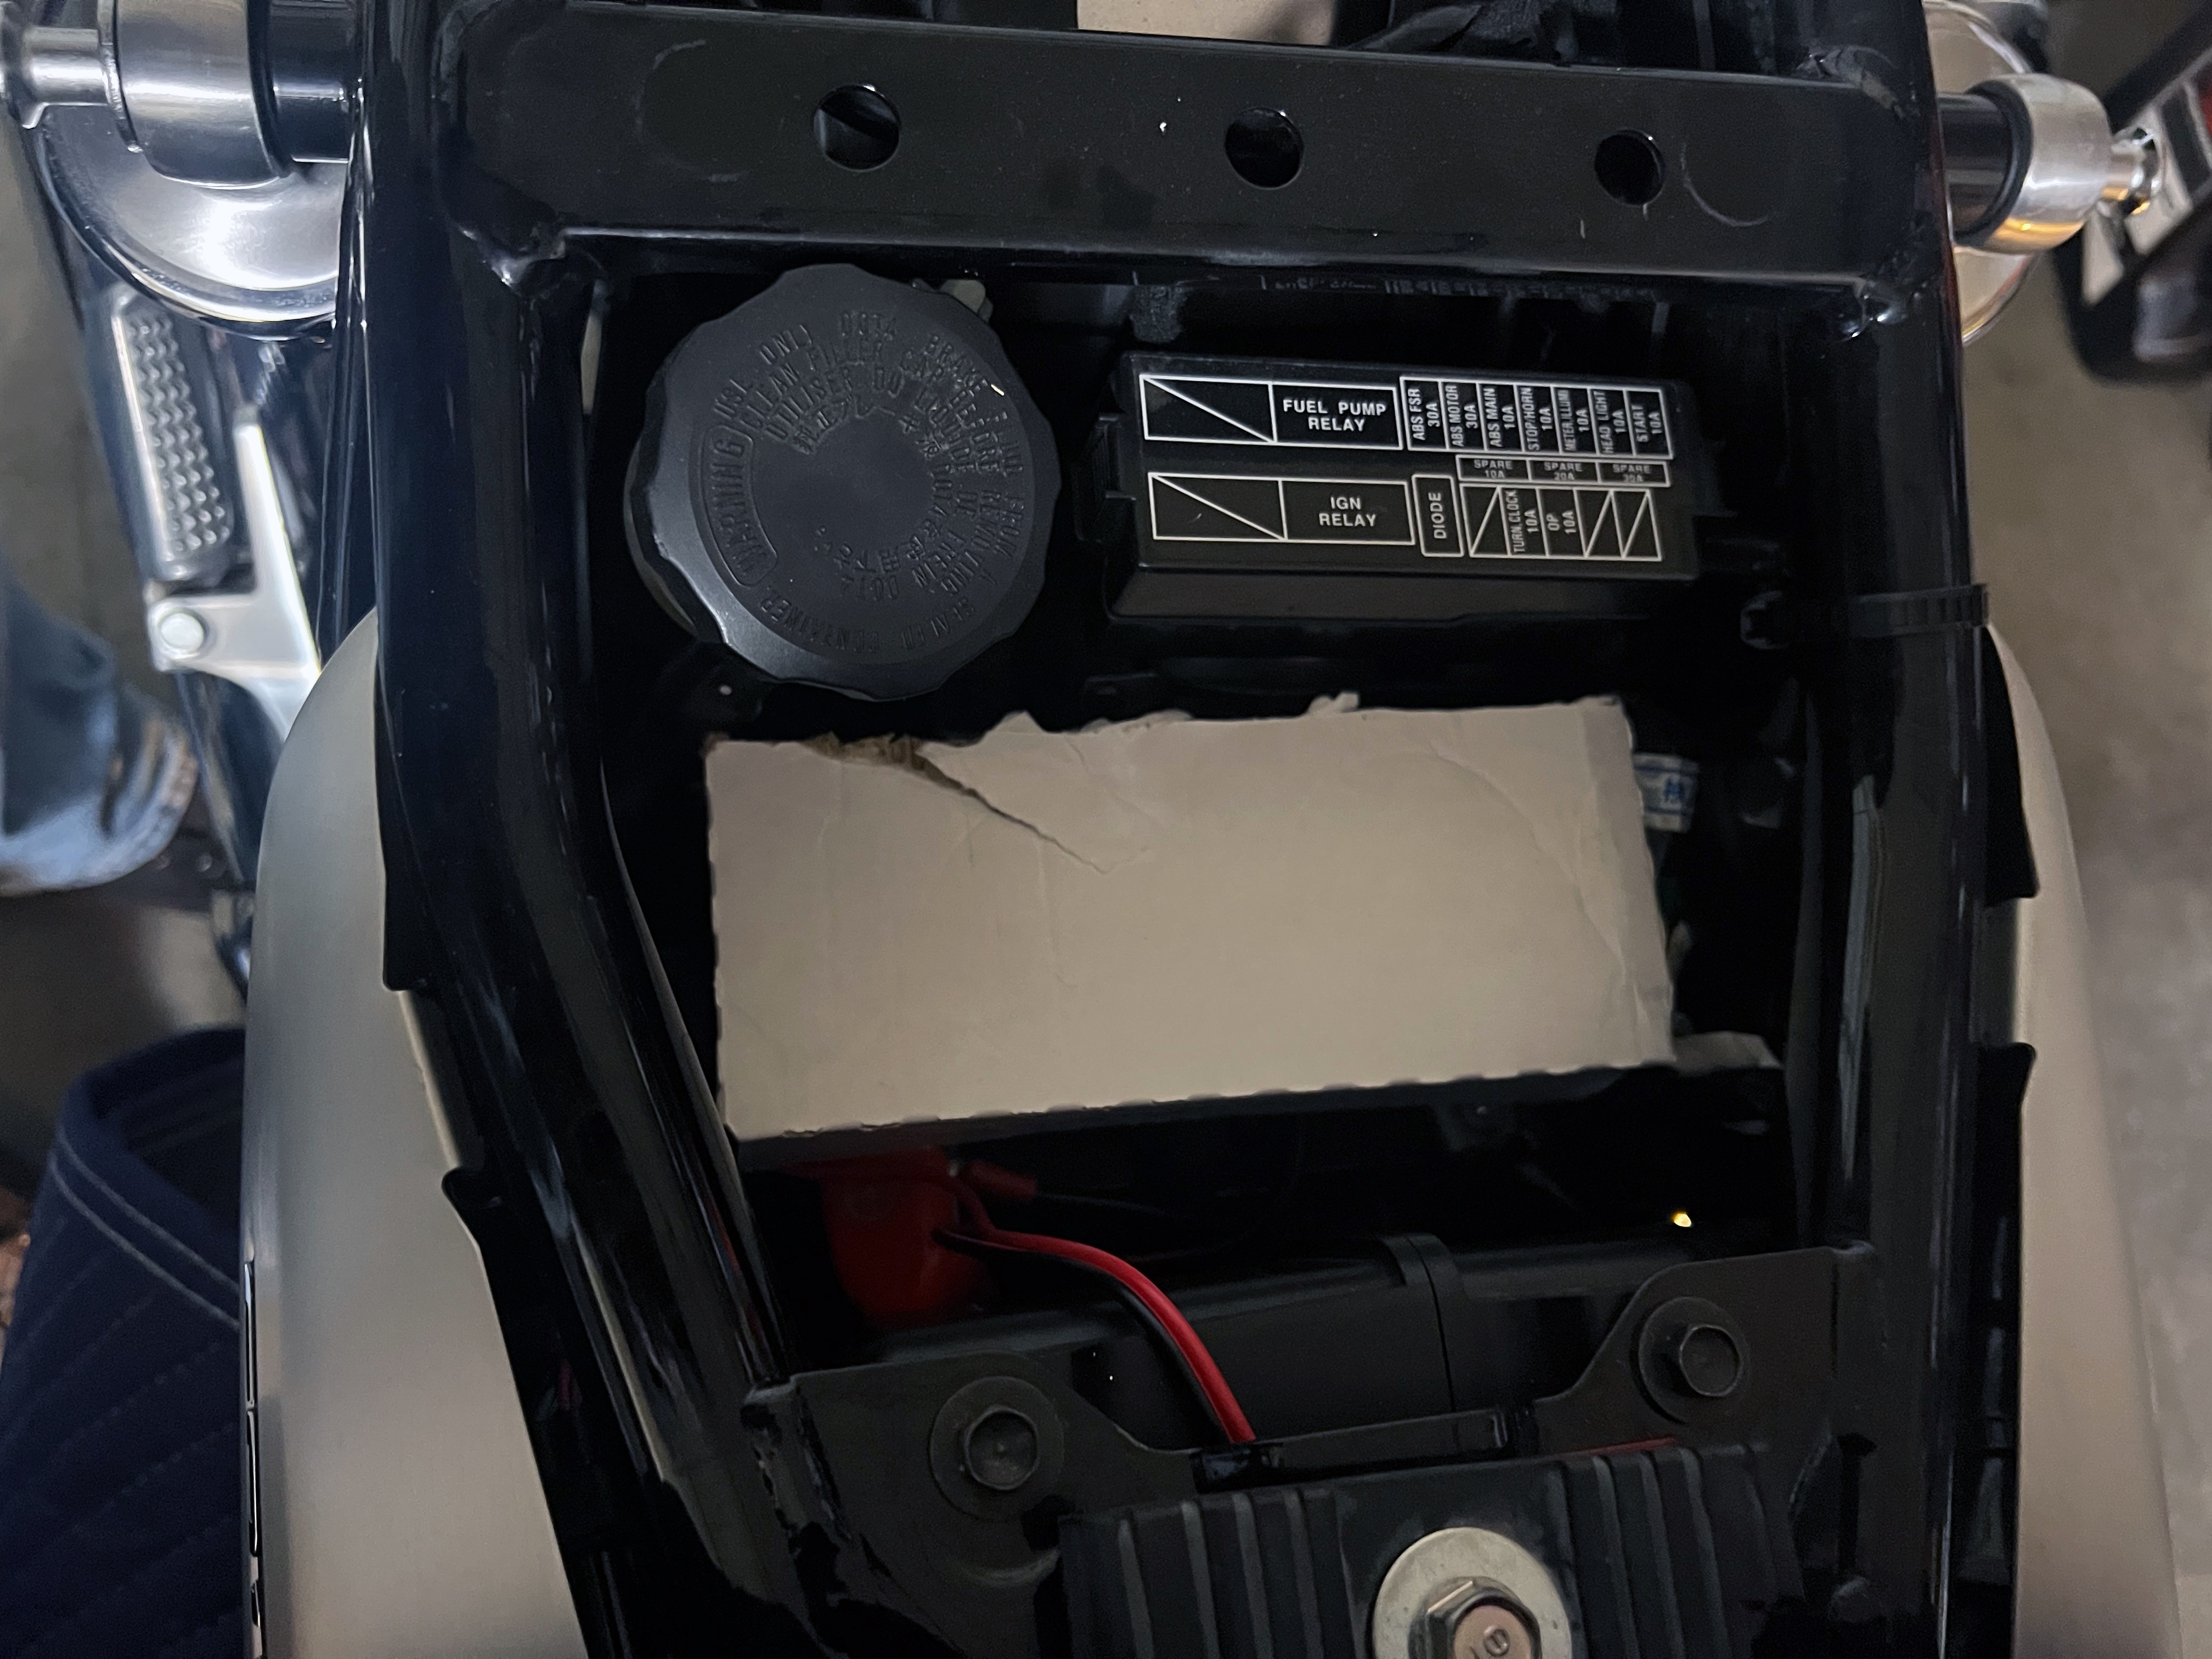
The rear brake reservoir on my motorcycle must be unbolted from the frame because a support strut prevents the top of the reservoir from being removed. I use a small cardboard box to “MacGyver” a platform that can support the reservoir once I unbolt it:
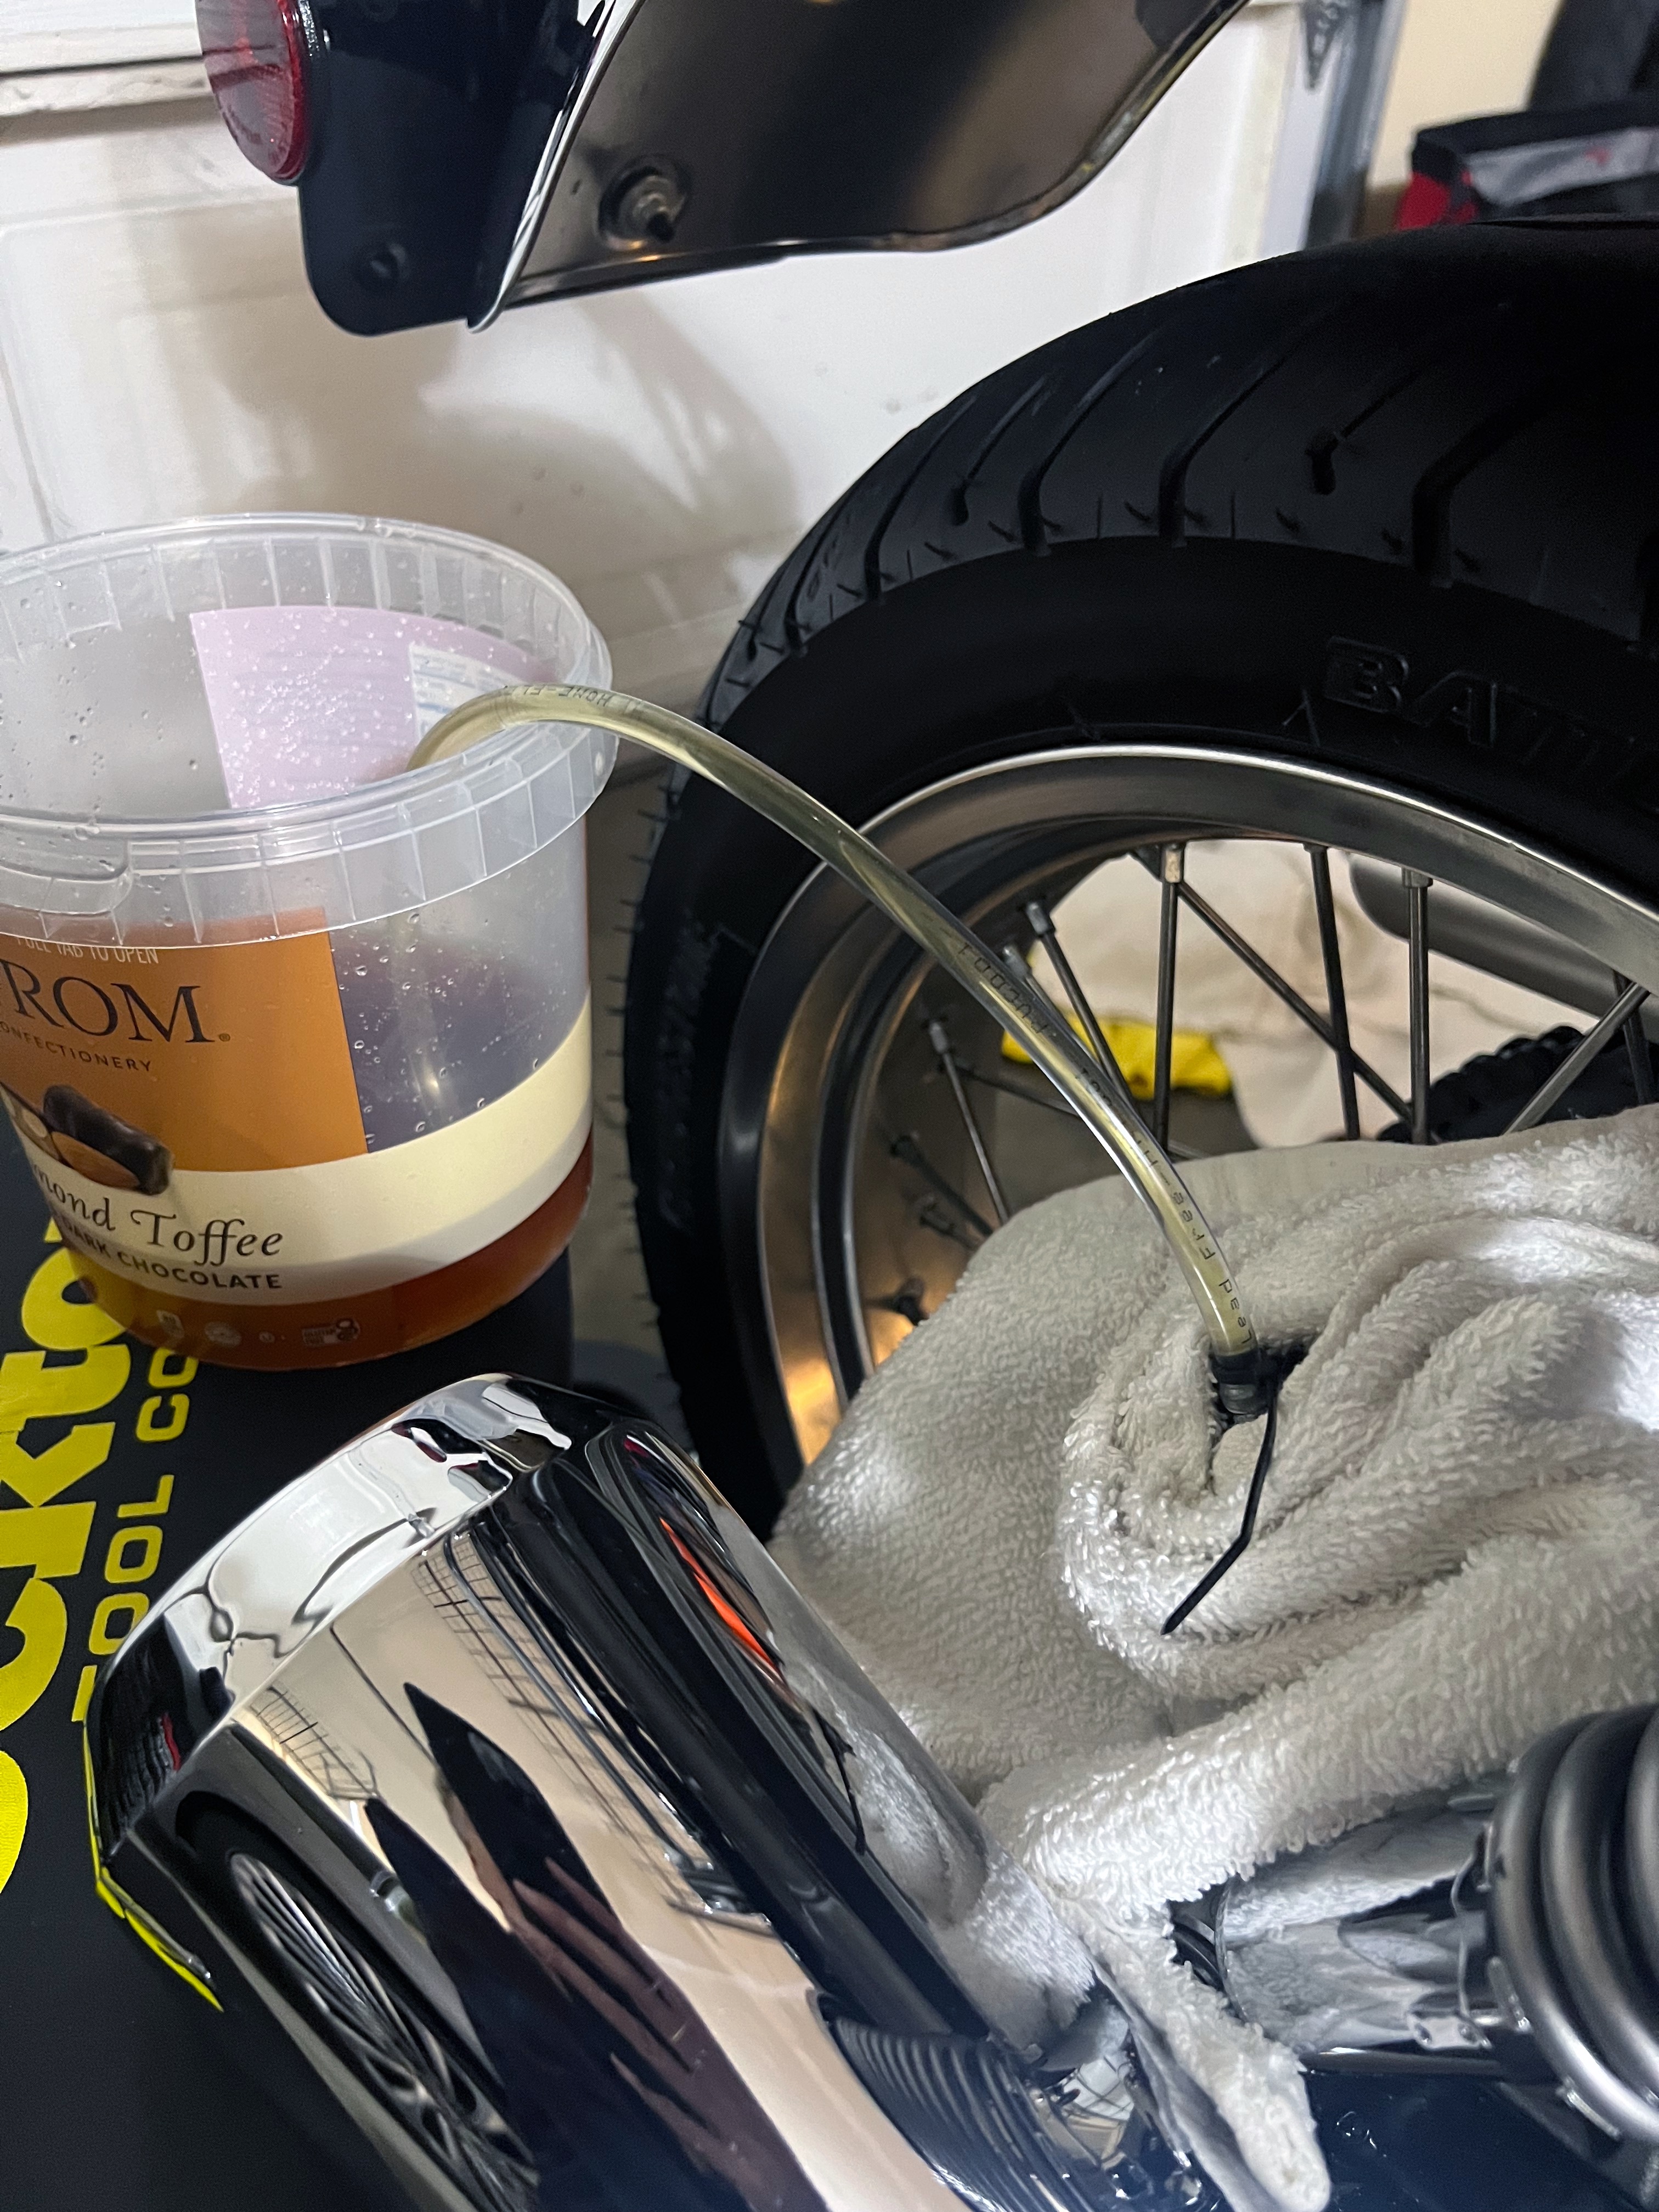
I source plenty of clear hose and recycle some kind of open container I can use to easily see brake fluid as it is bled from the system and replaced with new fluid:
Finally, I make sure I have my standard set of motorcycle tools available, a clean flat service I can use to lay things out that I remove from the motorcycle, and good light so I am not squinting.
Step 2: Remove Rearview Mirror Next to Top Reservoir
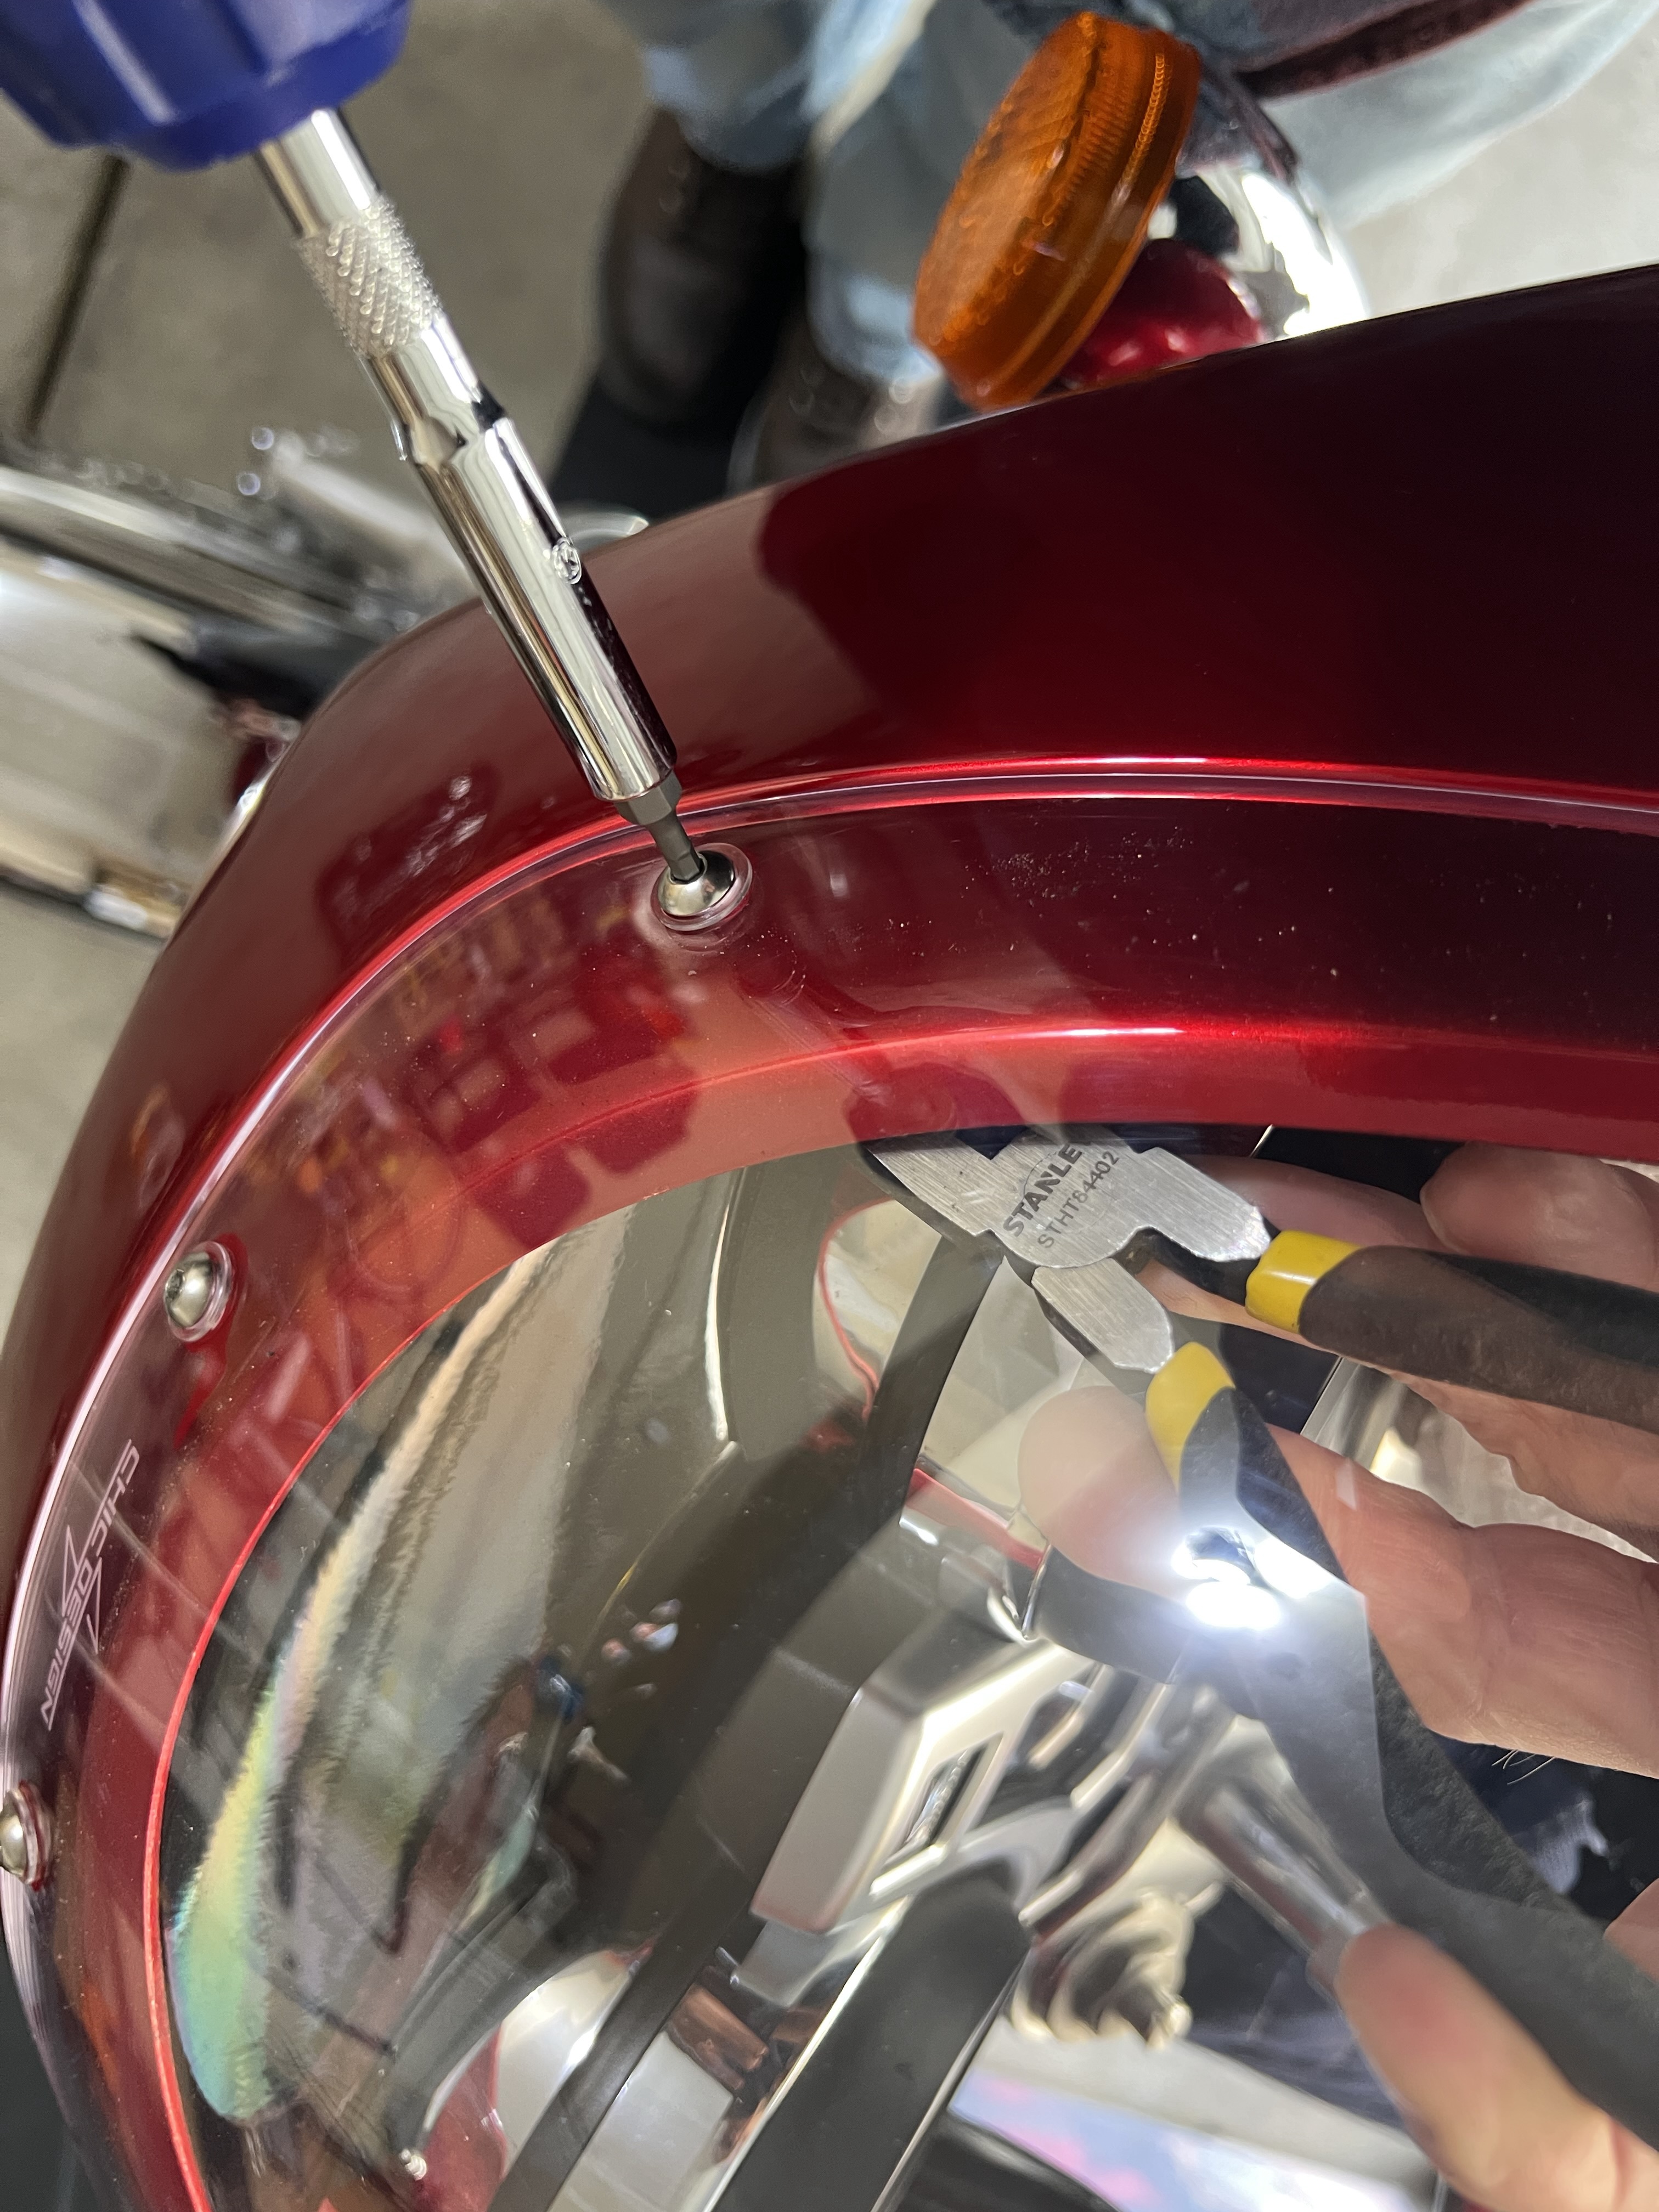
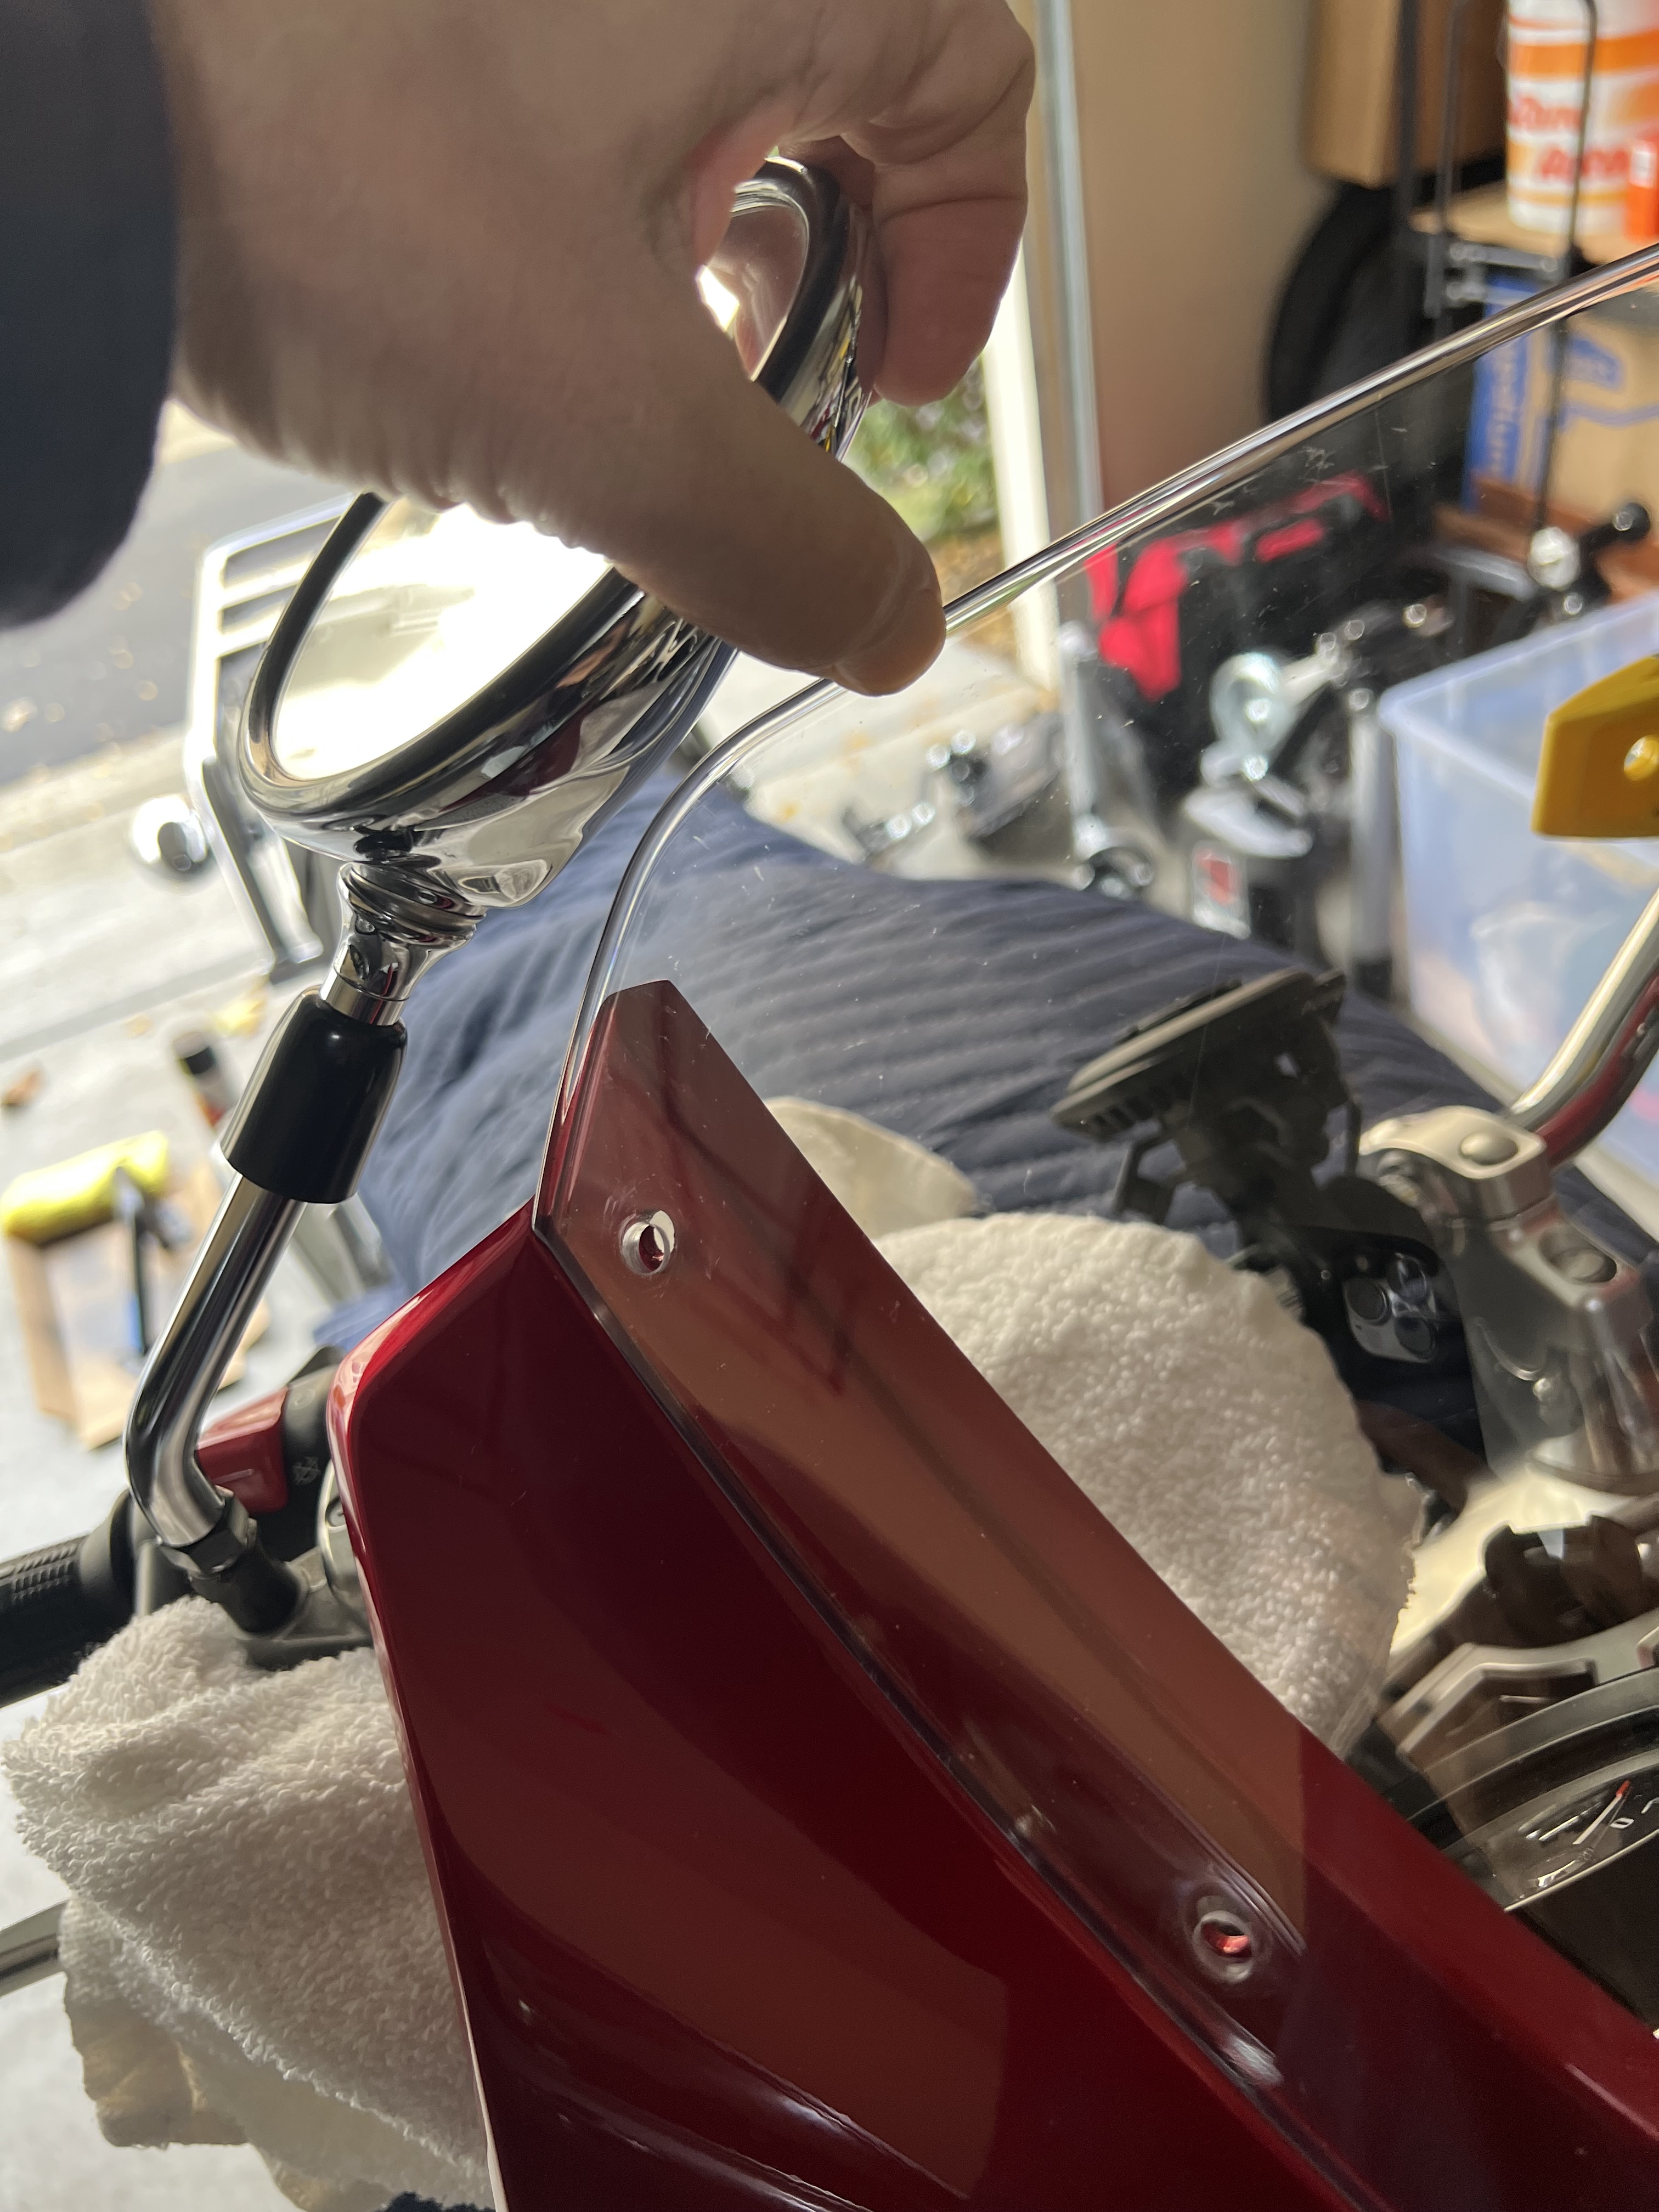
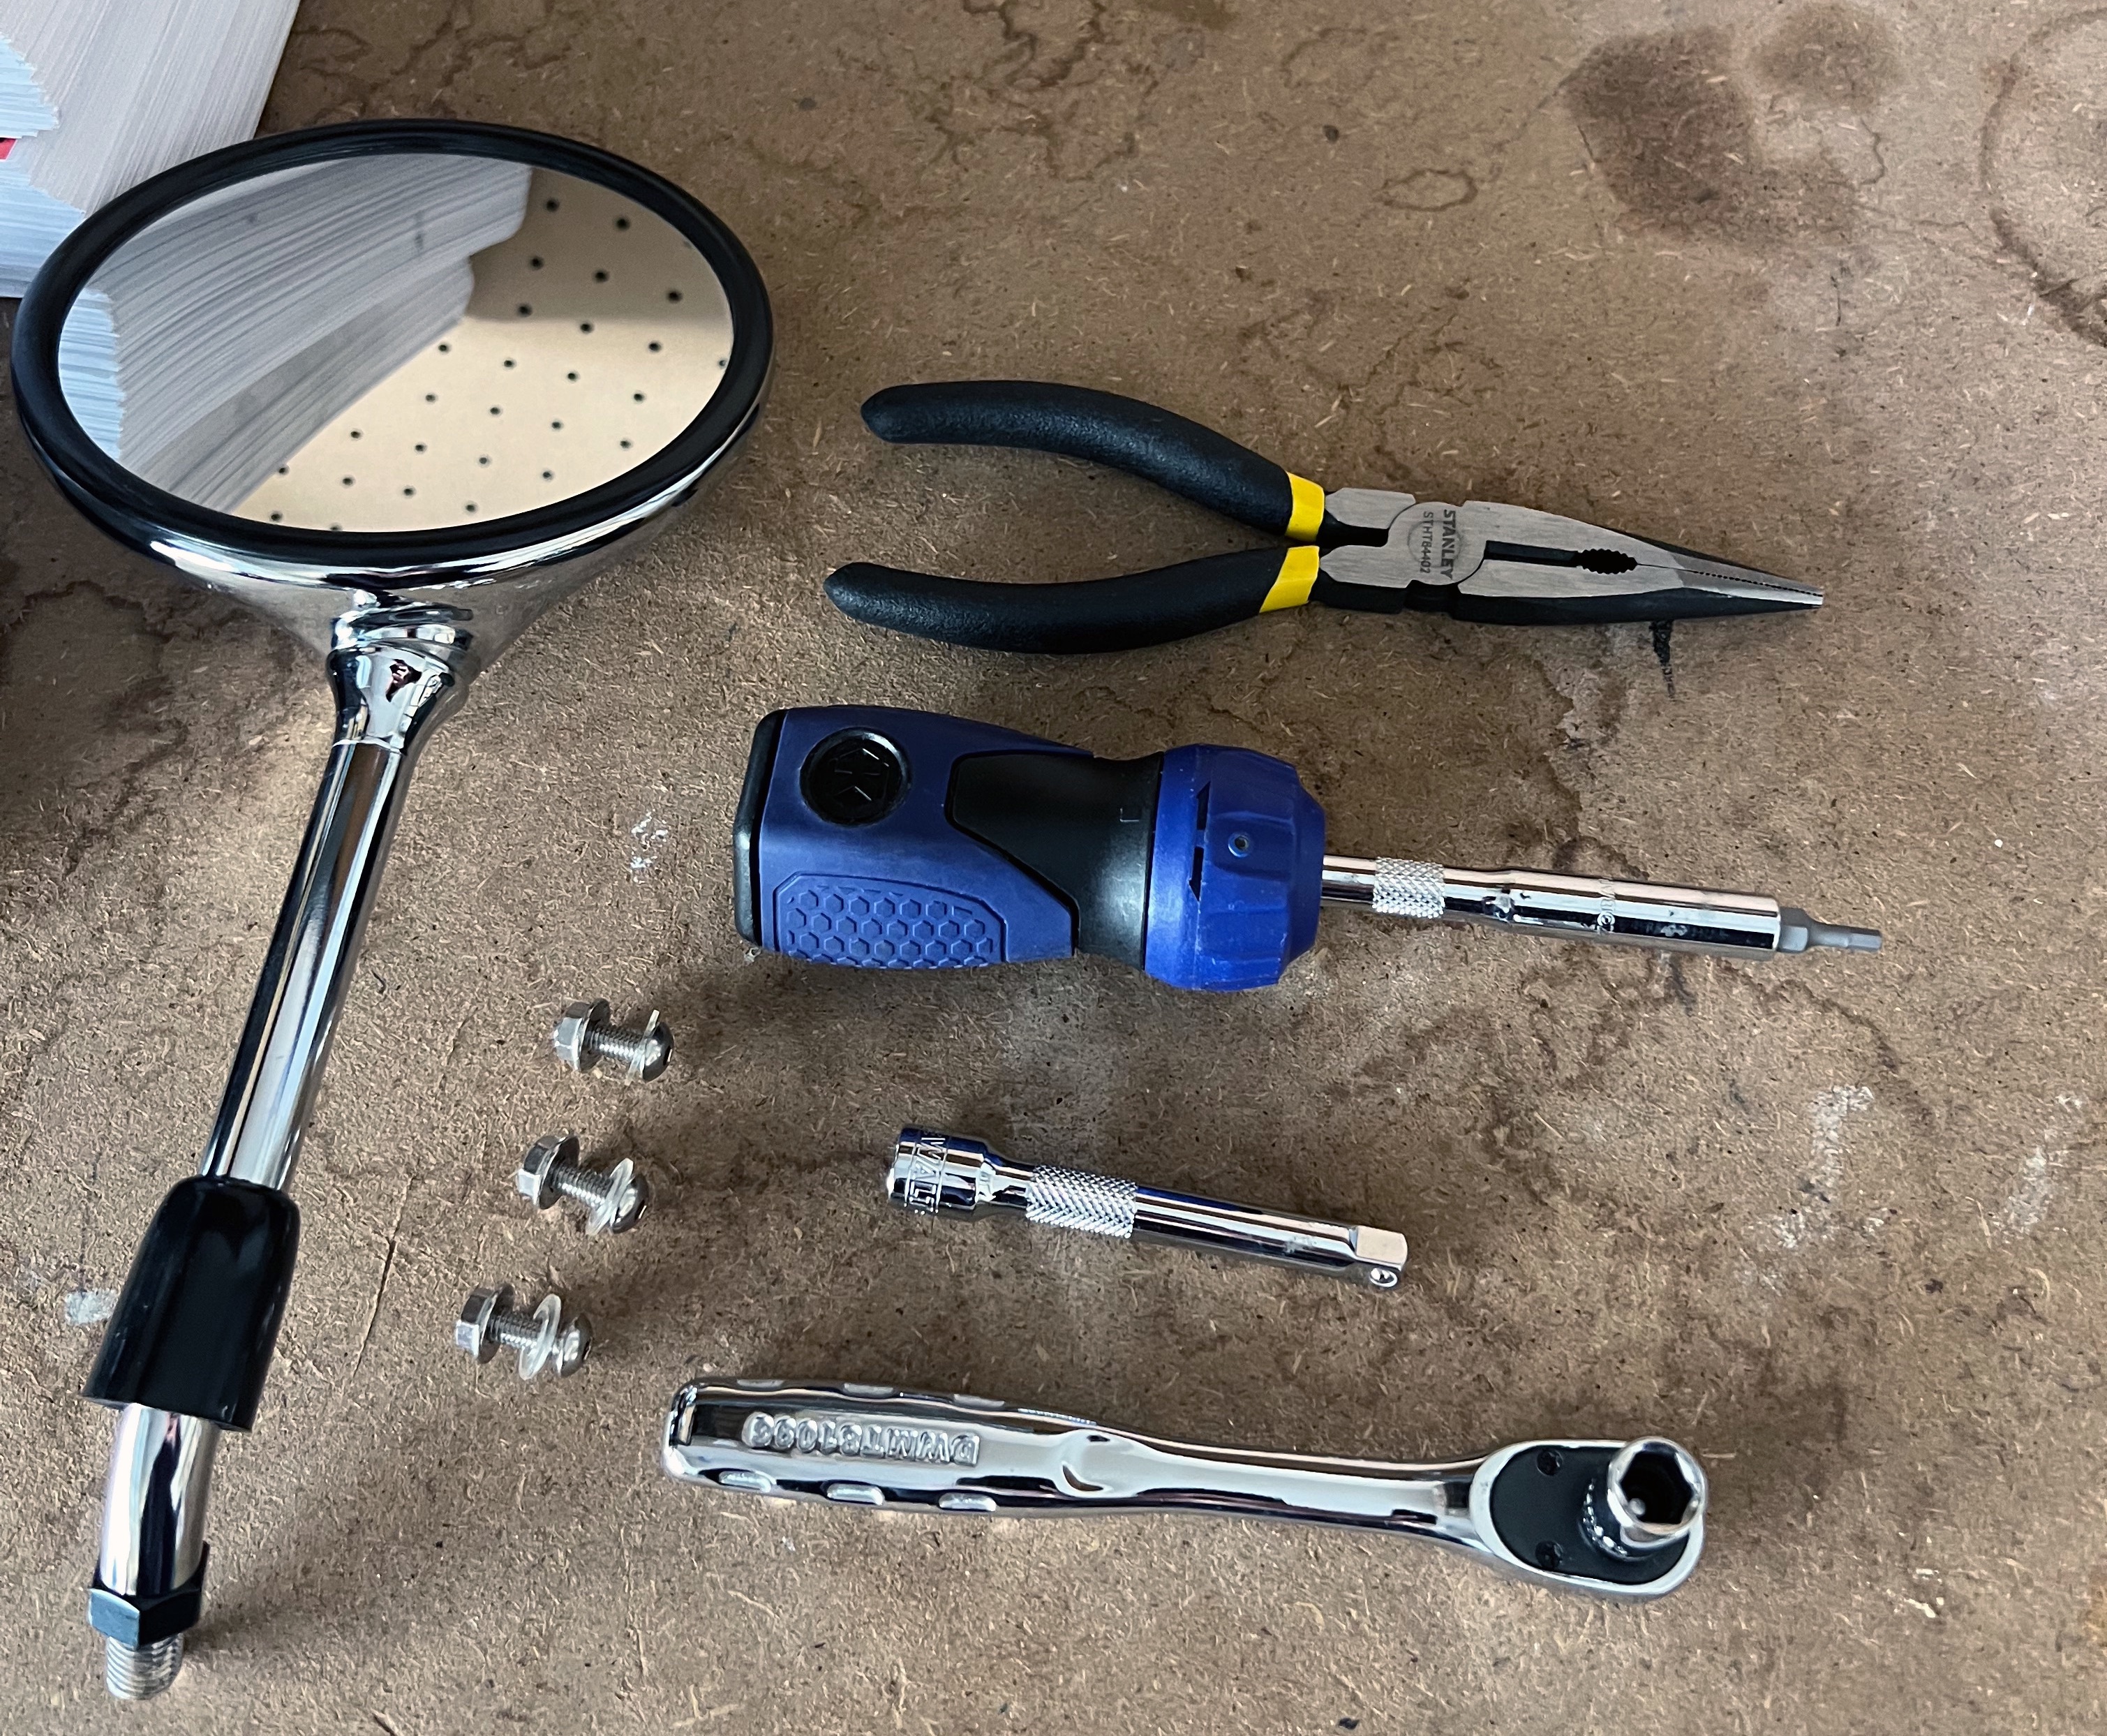
To avoid possible damage, I remove the rearview mirror from the handlebars. Because I have a cowl on my motorcycle, I must unbolt a few bolts to flex the cowl screen “forward” so that I can rotate the rearview mirror. I stage the rearview mirror and cowl-screen bolts and nuts on my workbench:
Step 3: Connect a Drain Hose to Left Front Brake Caliber
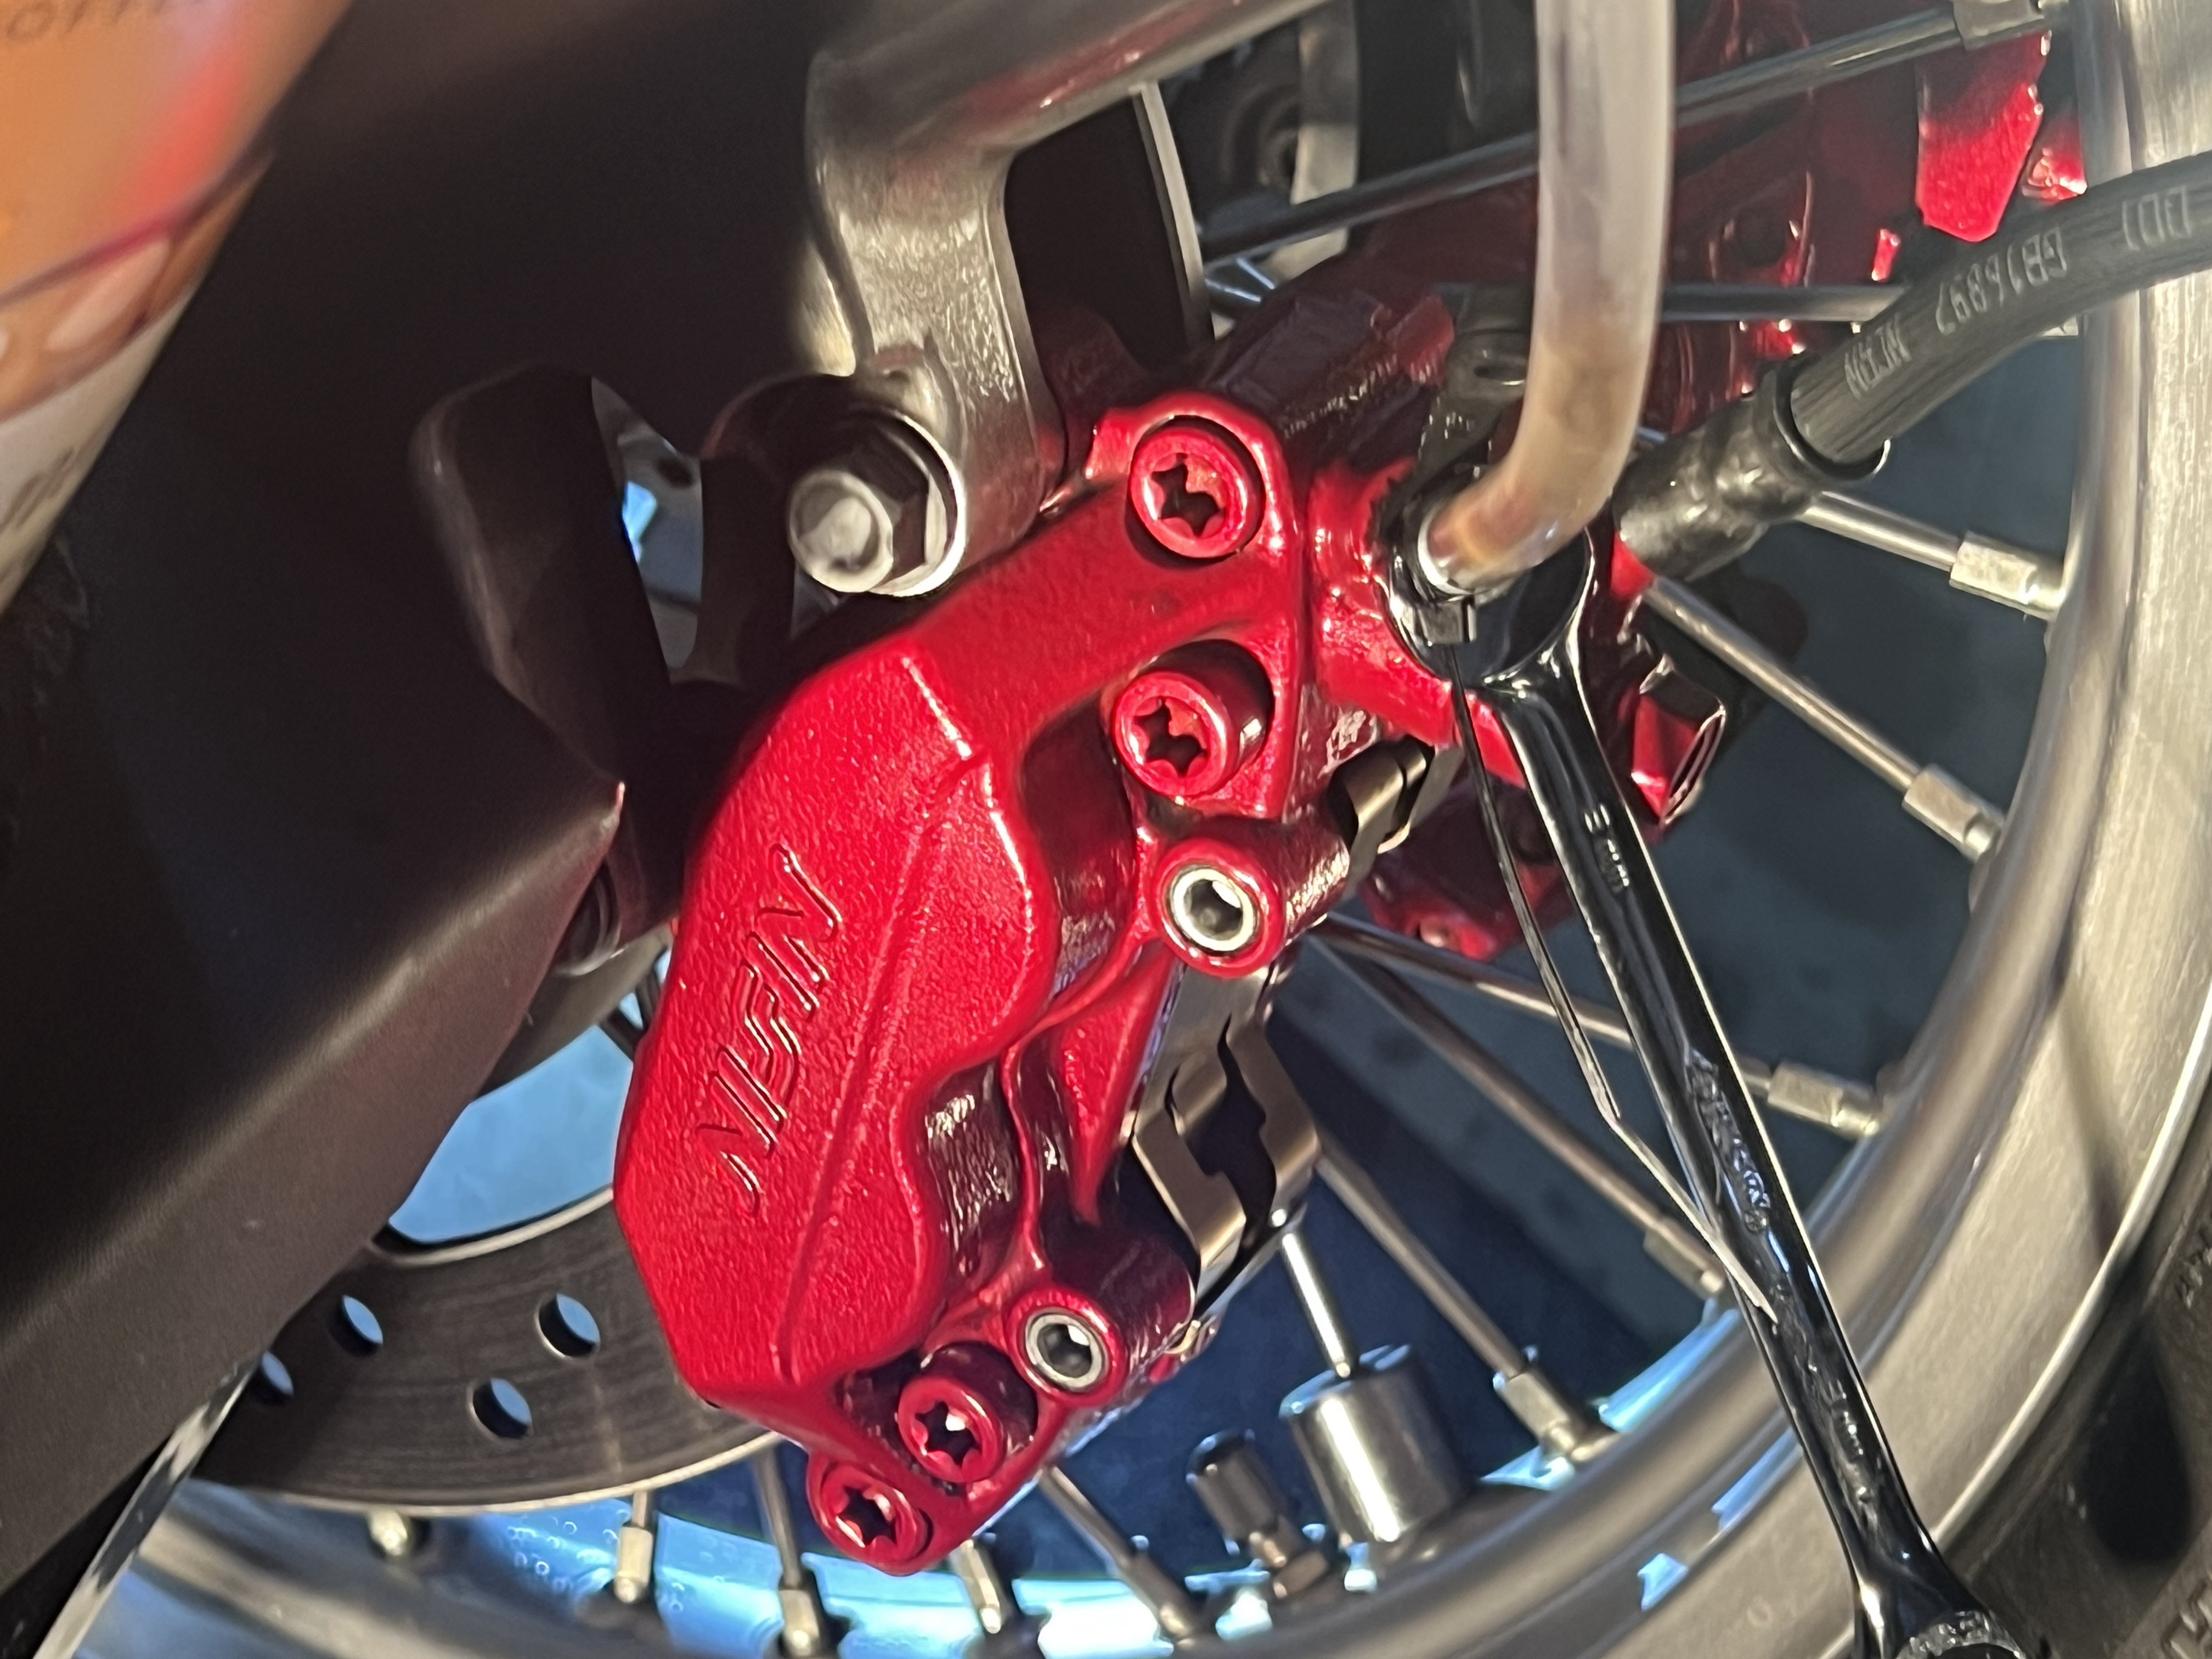
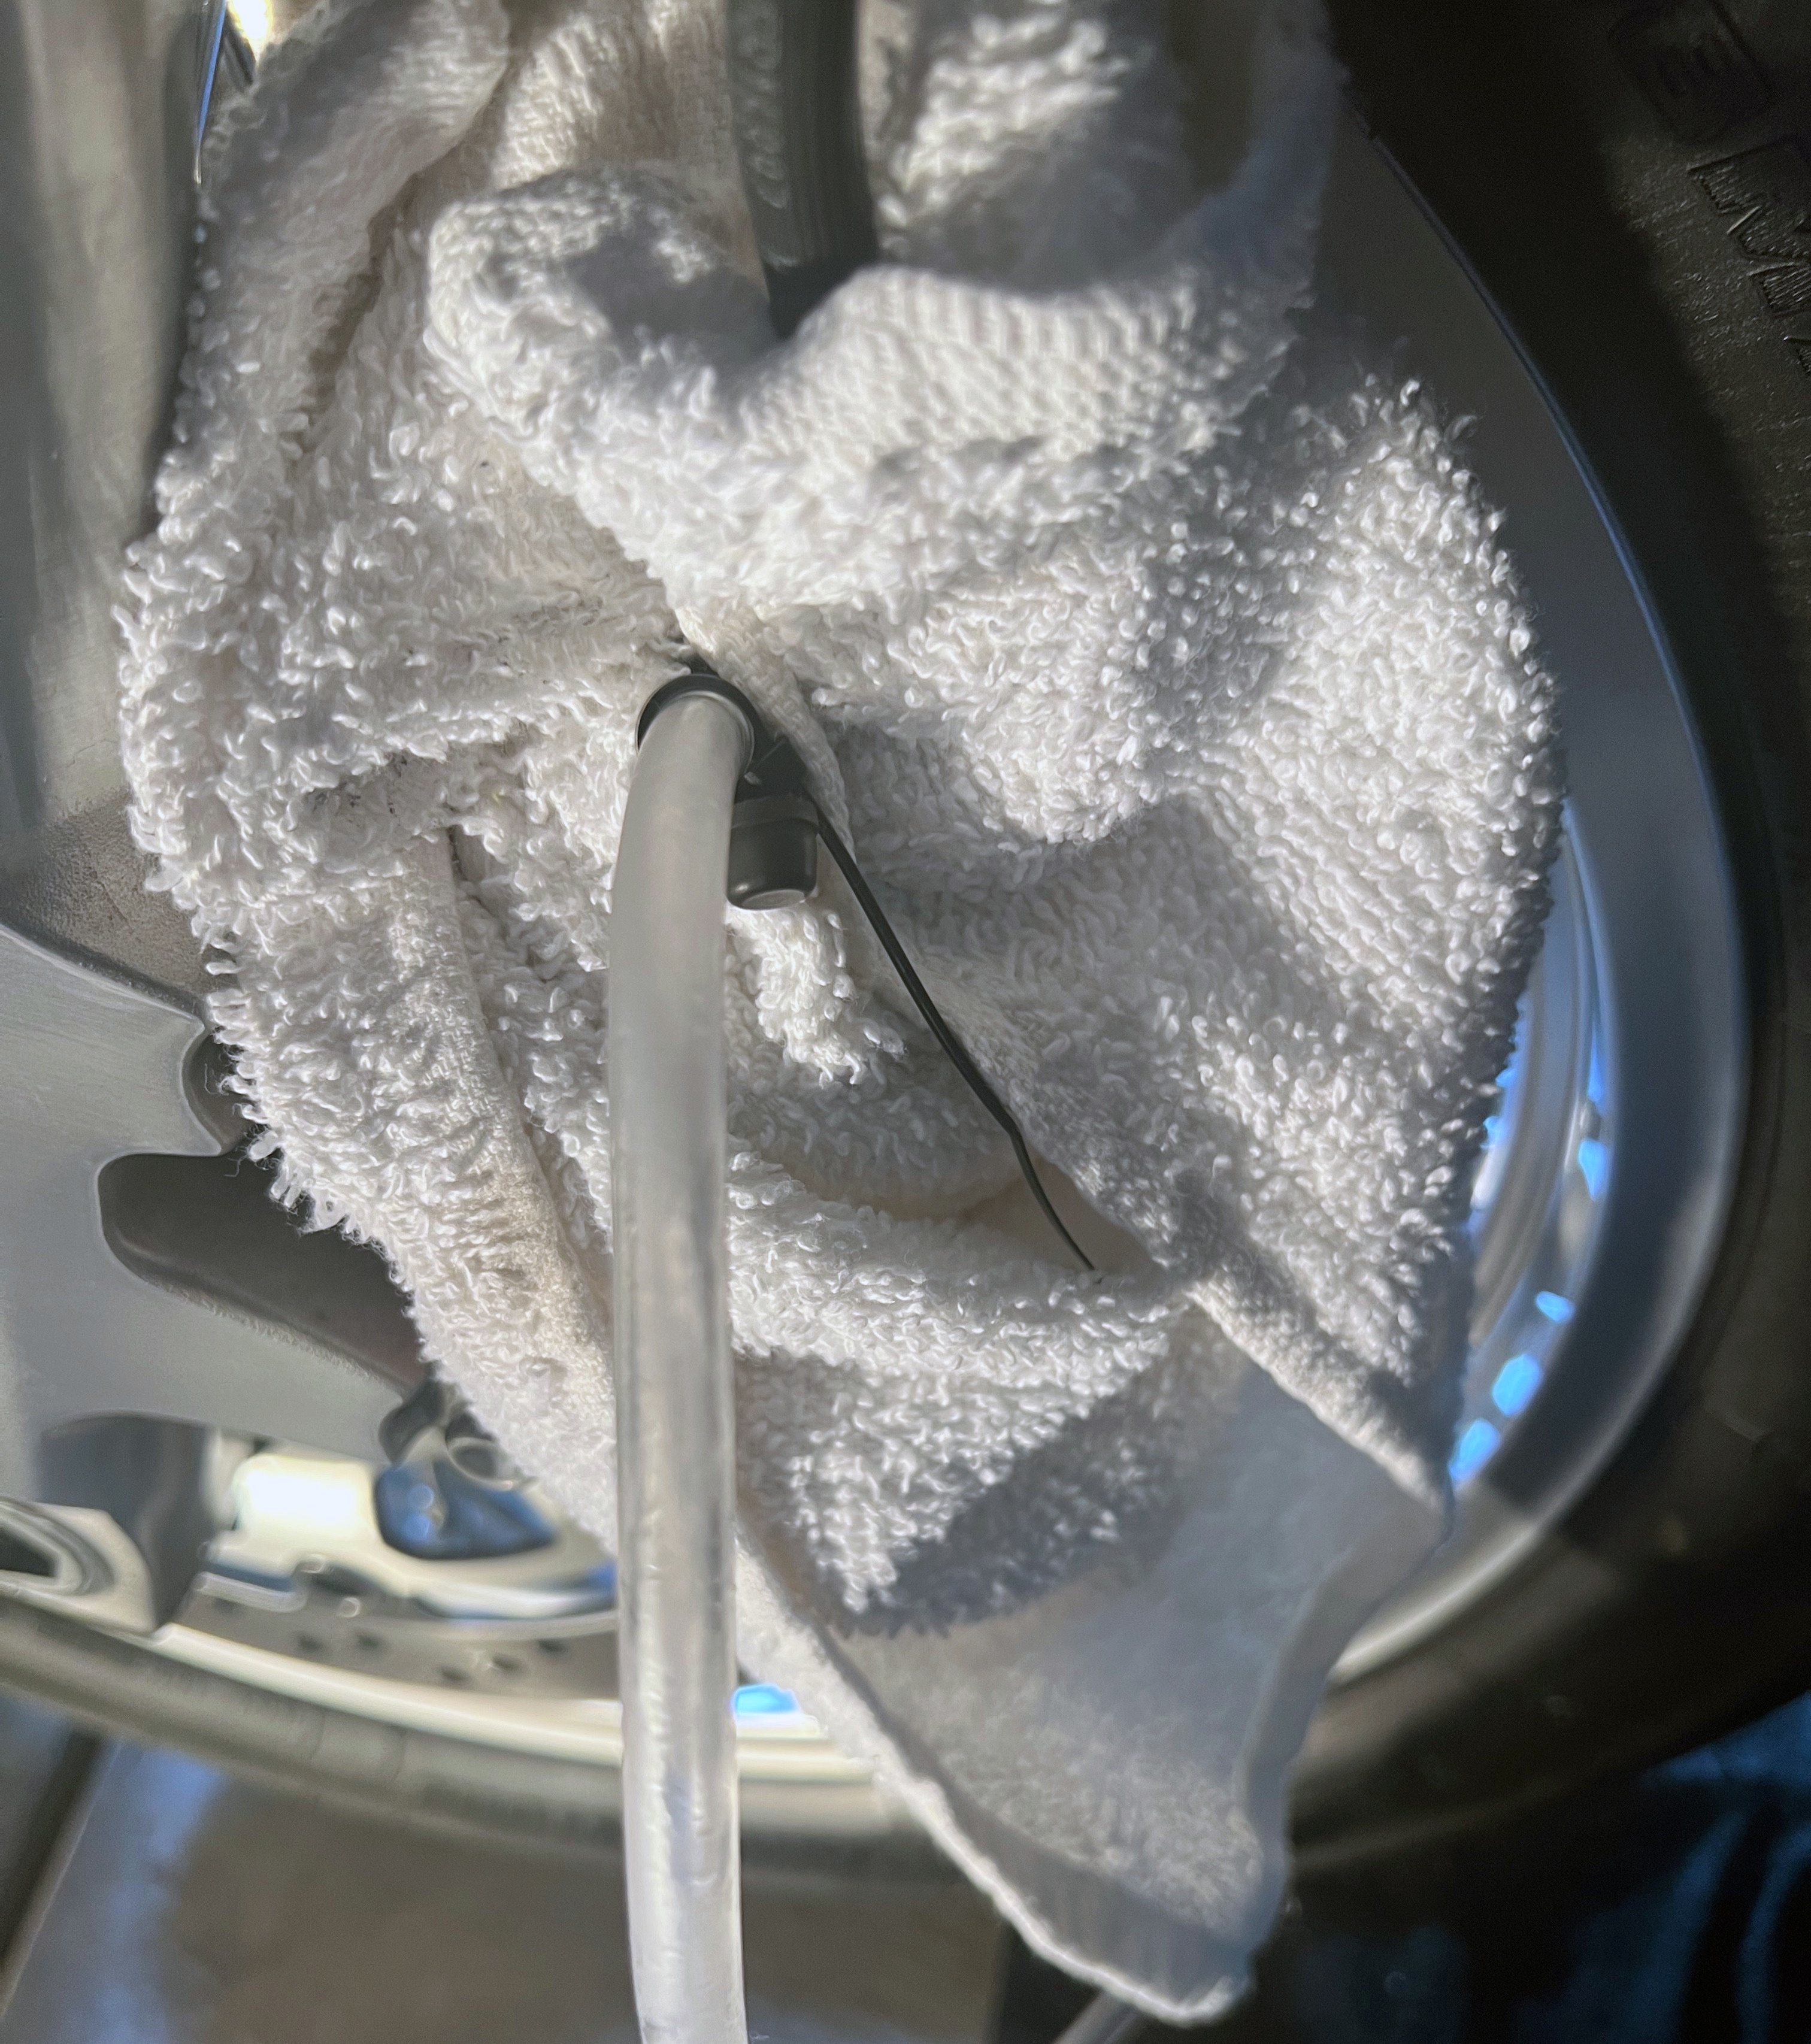
I attach a drain hose to the left front brake caliber bleeder valve, secure it with a zip tie, loosen it ½ turn with a wrench, cover the brake caliber with shop towels, and place the end of the drain hose into my collection bucket:
Step 4: Remove Existing Brake Fluid from the Top Reservoir and Bleed the Front Brake Calibers
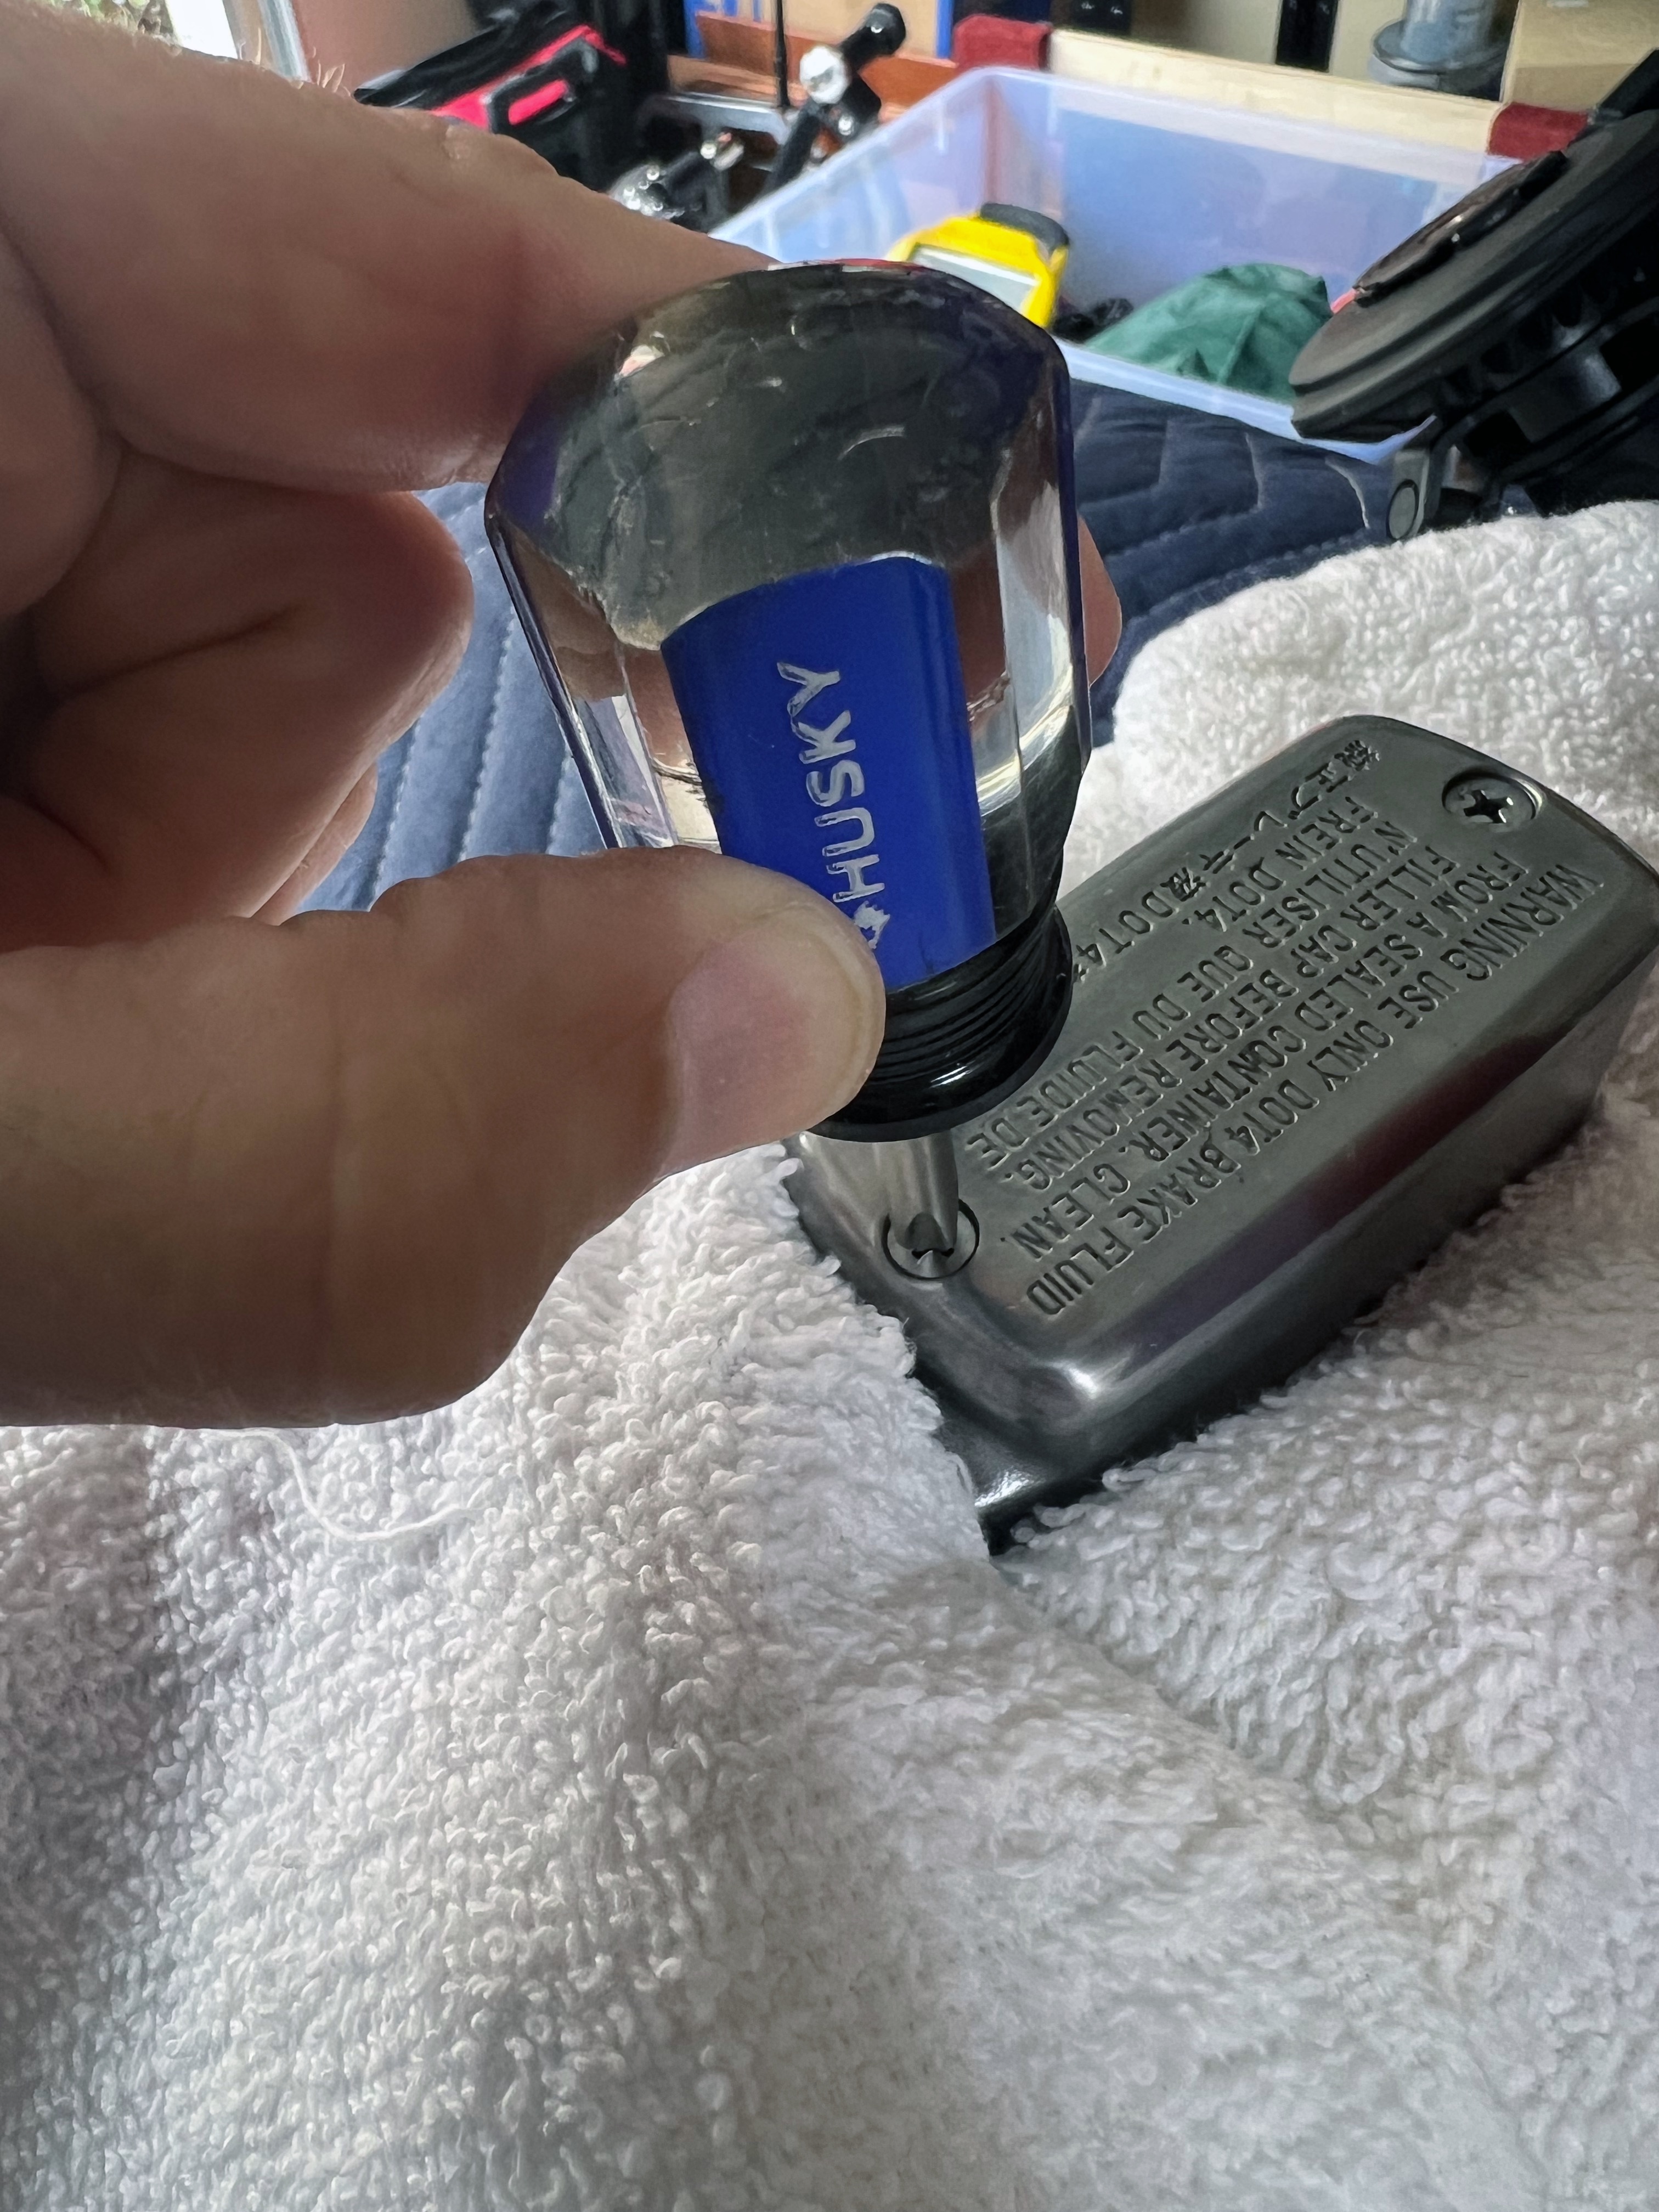
I carefully remove the retaining screws from the top cover. Note that these screws are very “soft.” I take special care not to strip them by using the proper bit and making sure my screwdriver is properly seated prior to twisting:
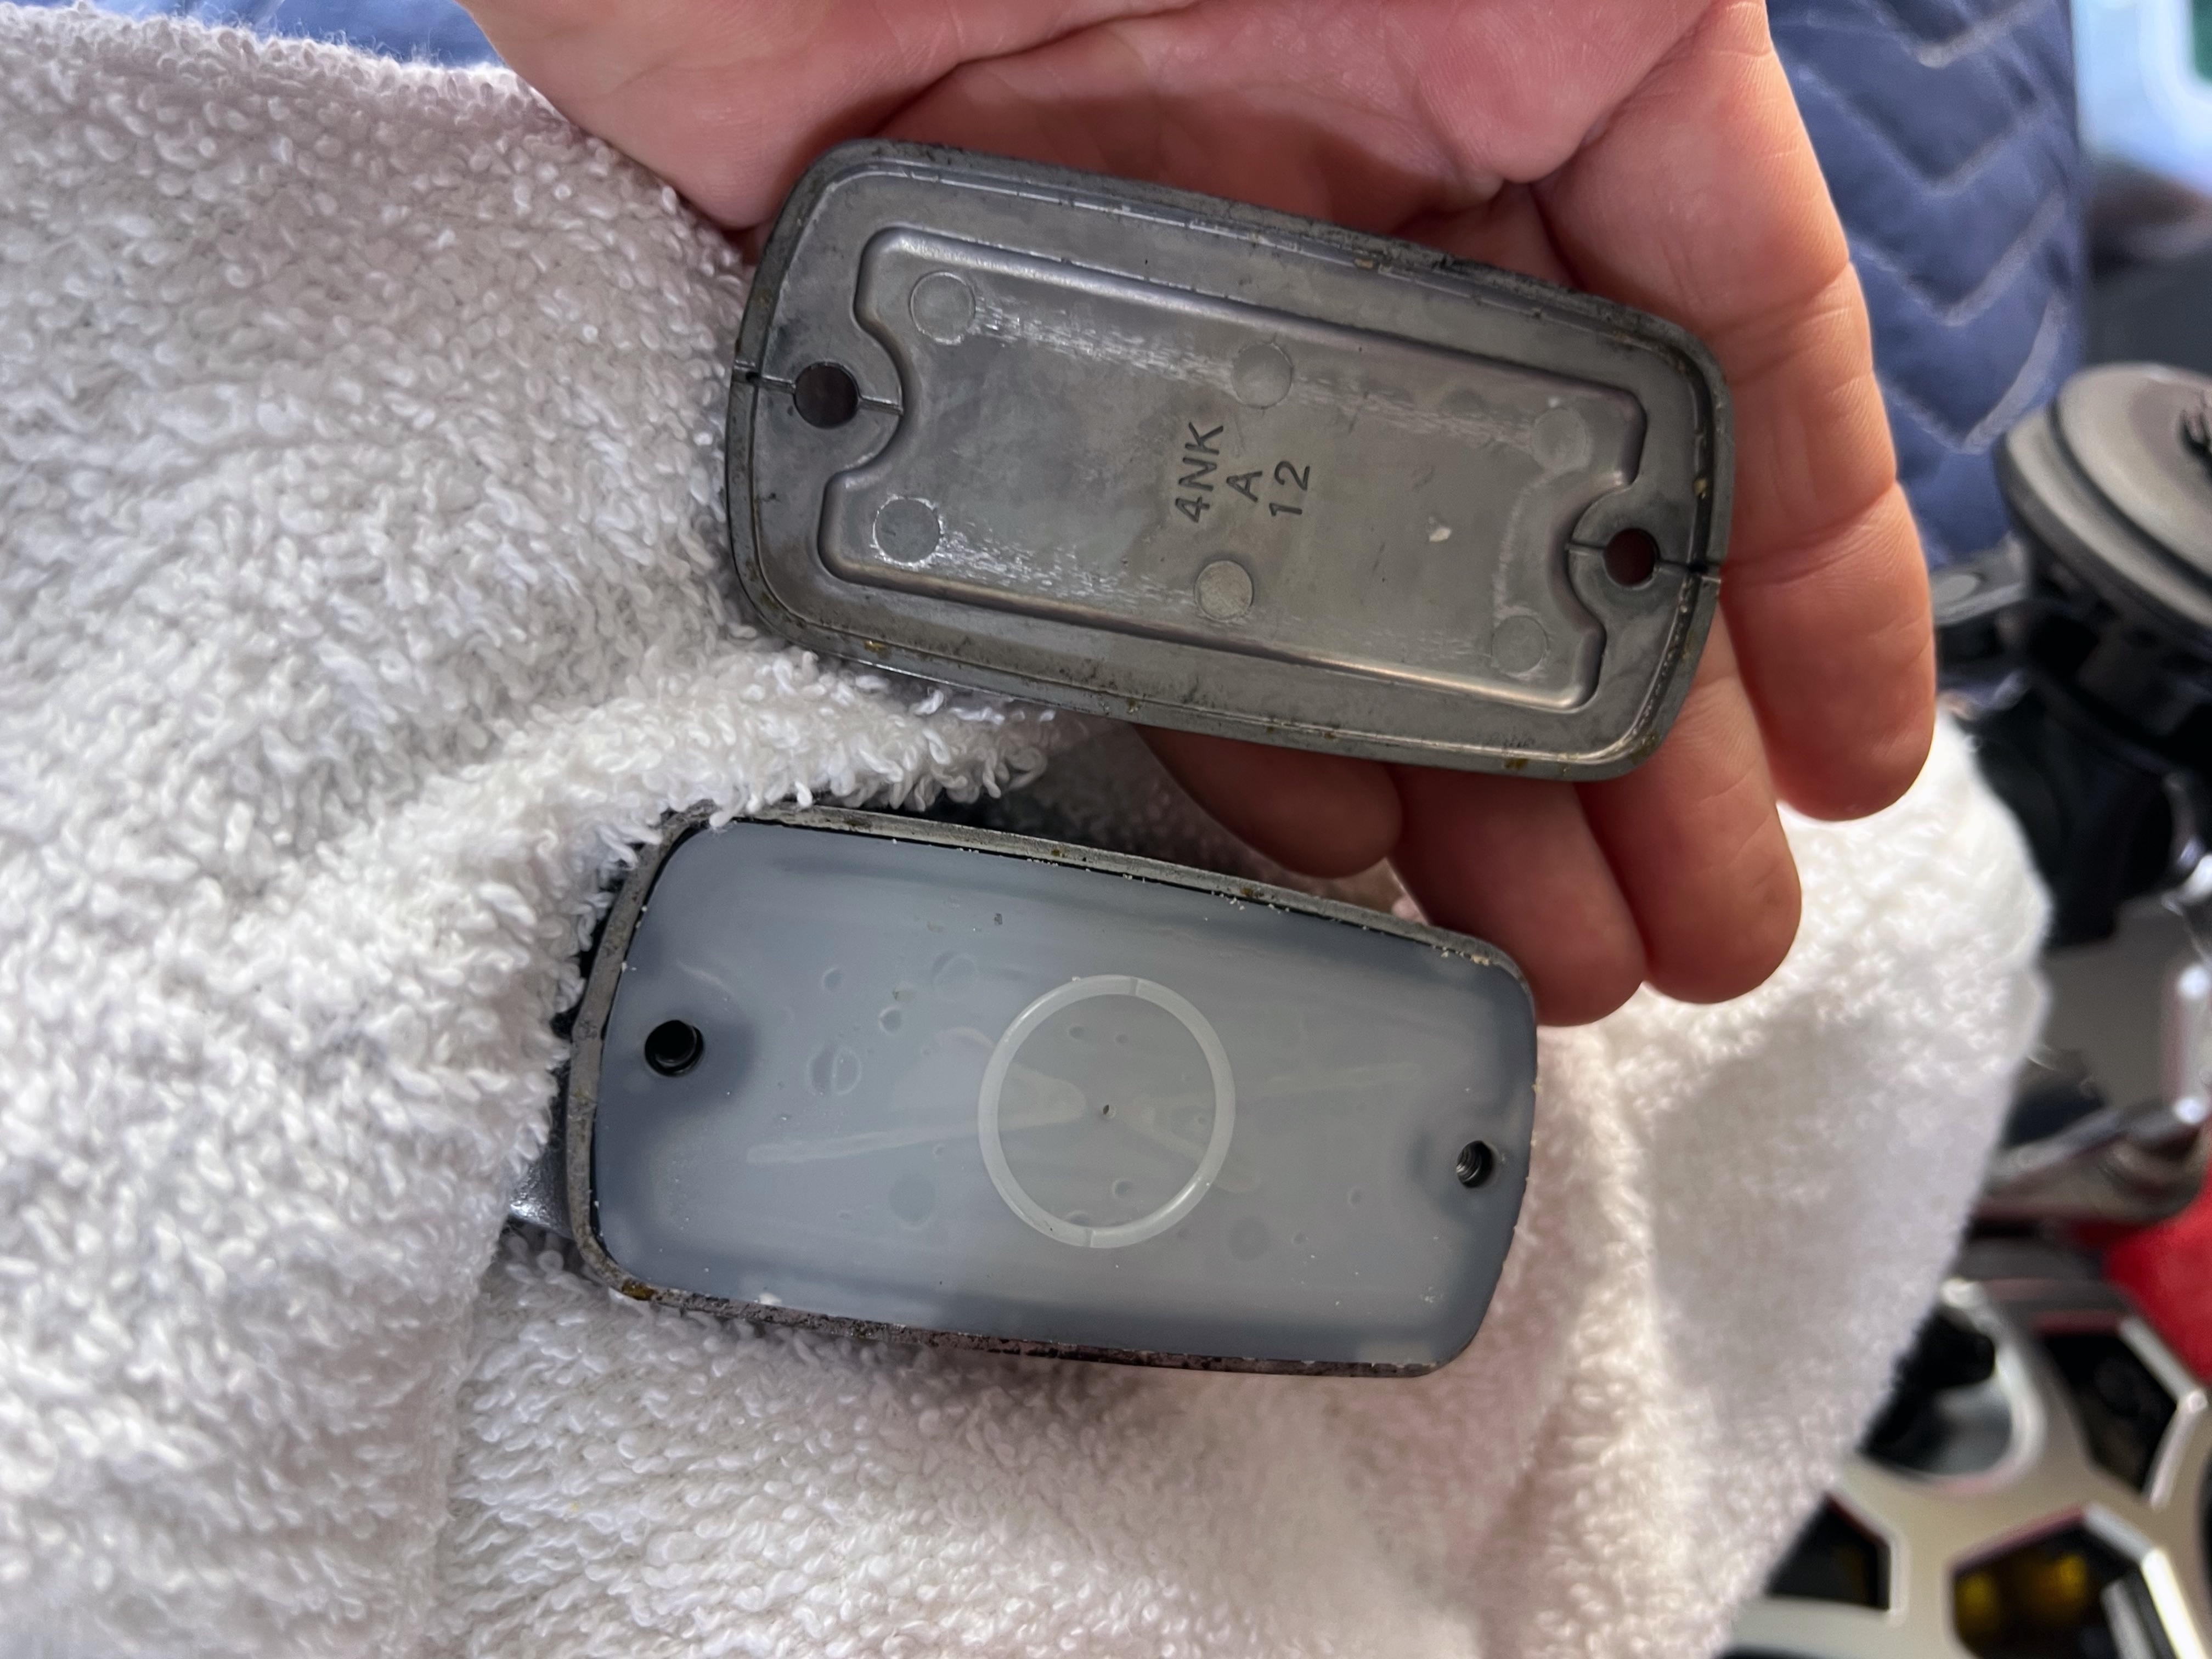
I then remove the reservoir cap and diaphragm from the reservoir, clean them, and stage them on my workbench:
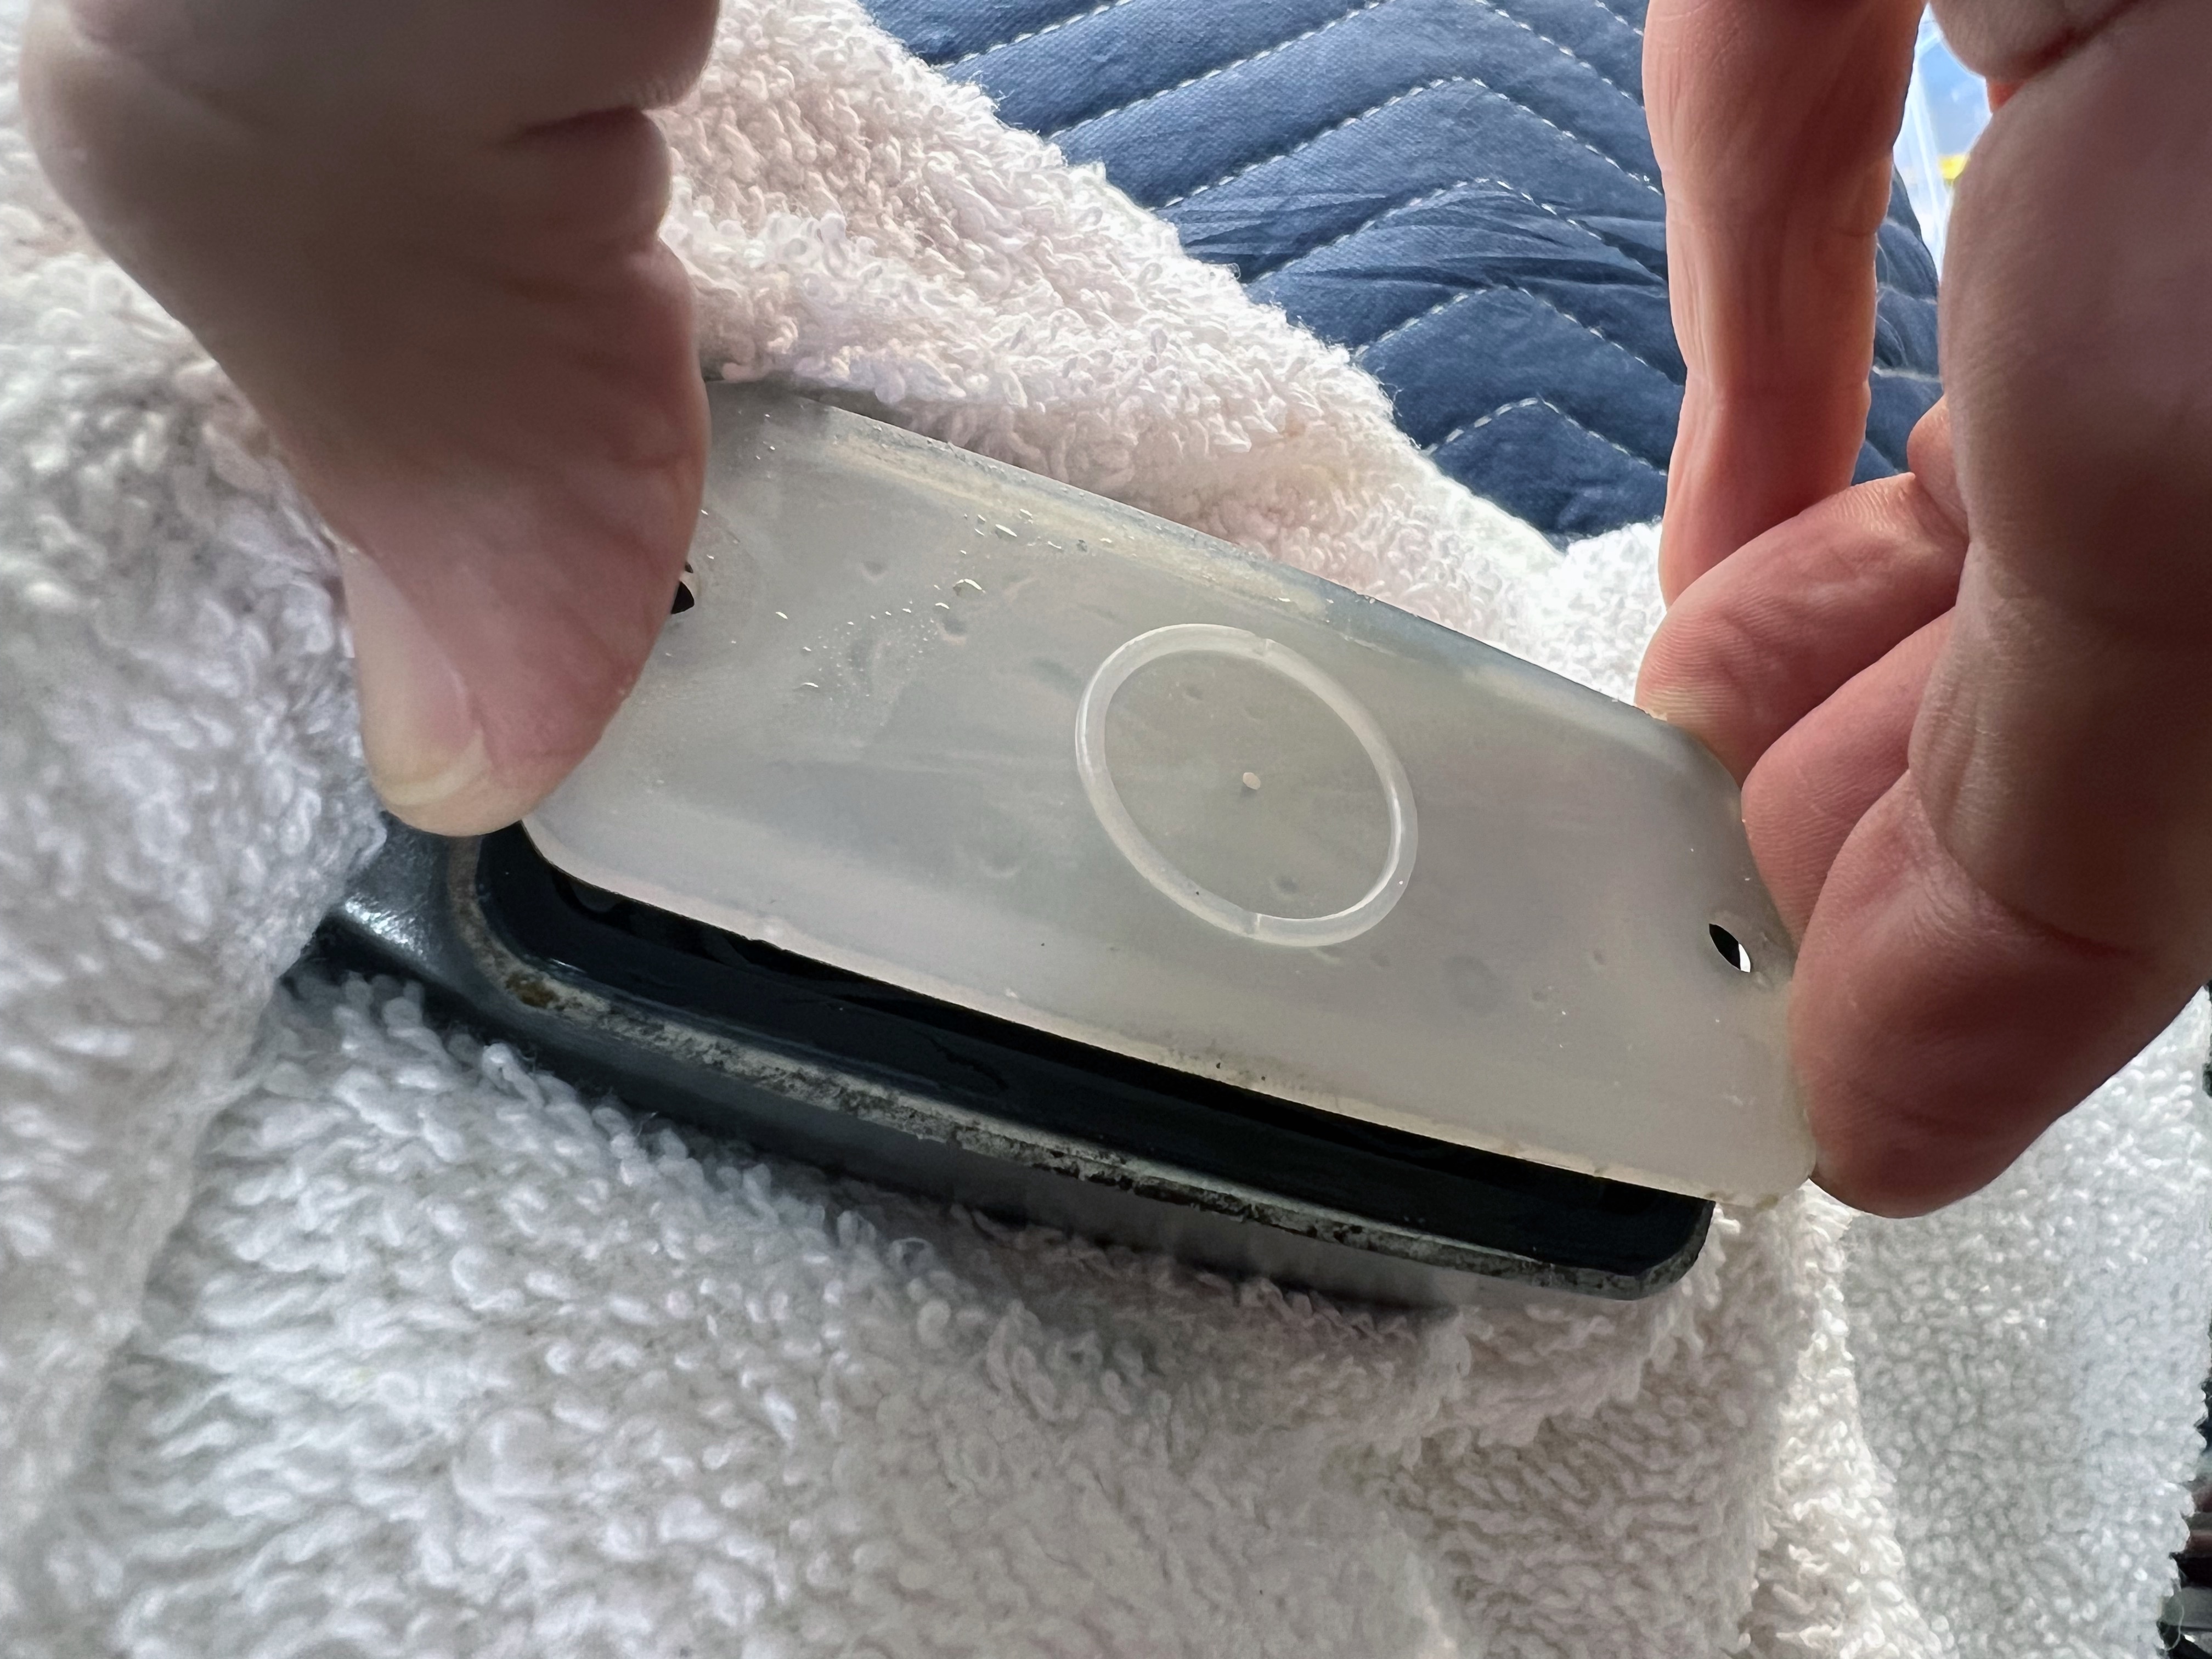
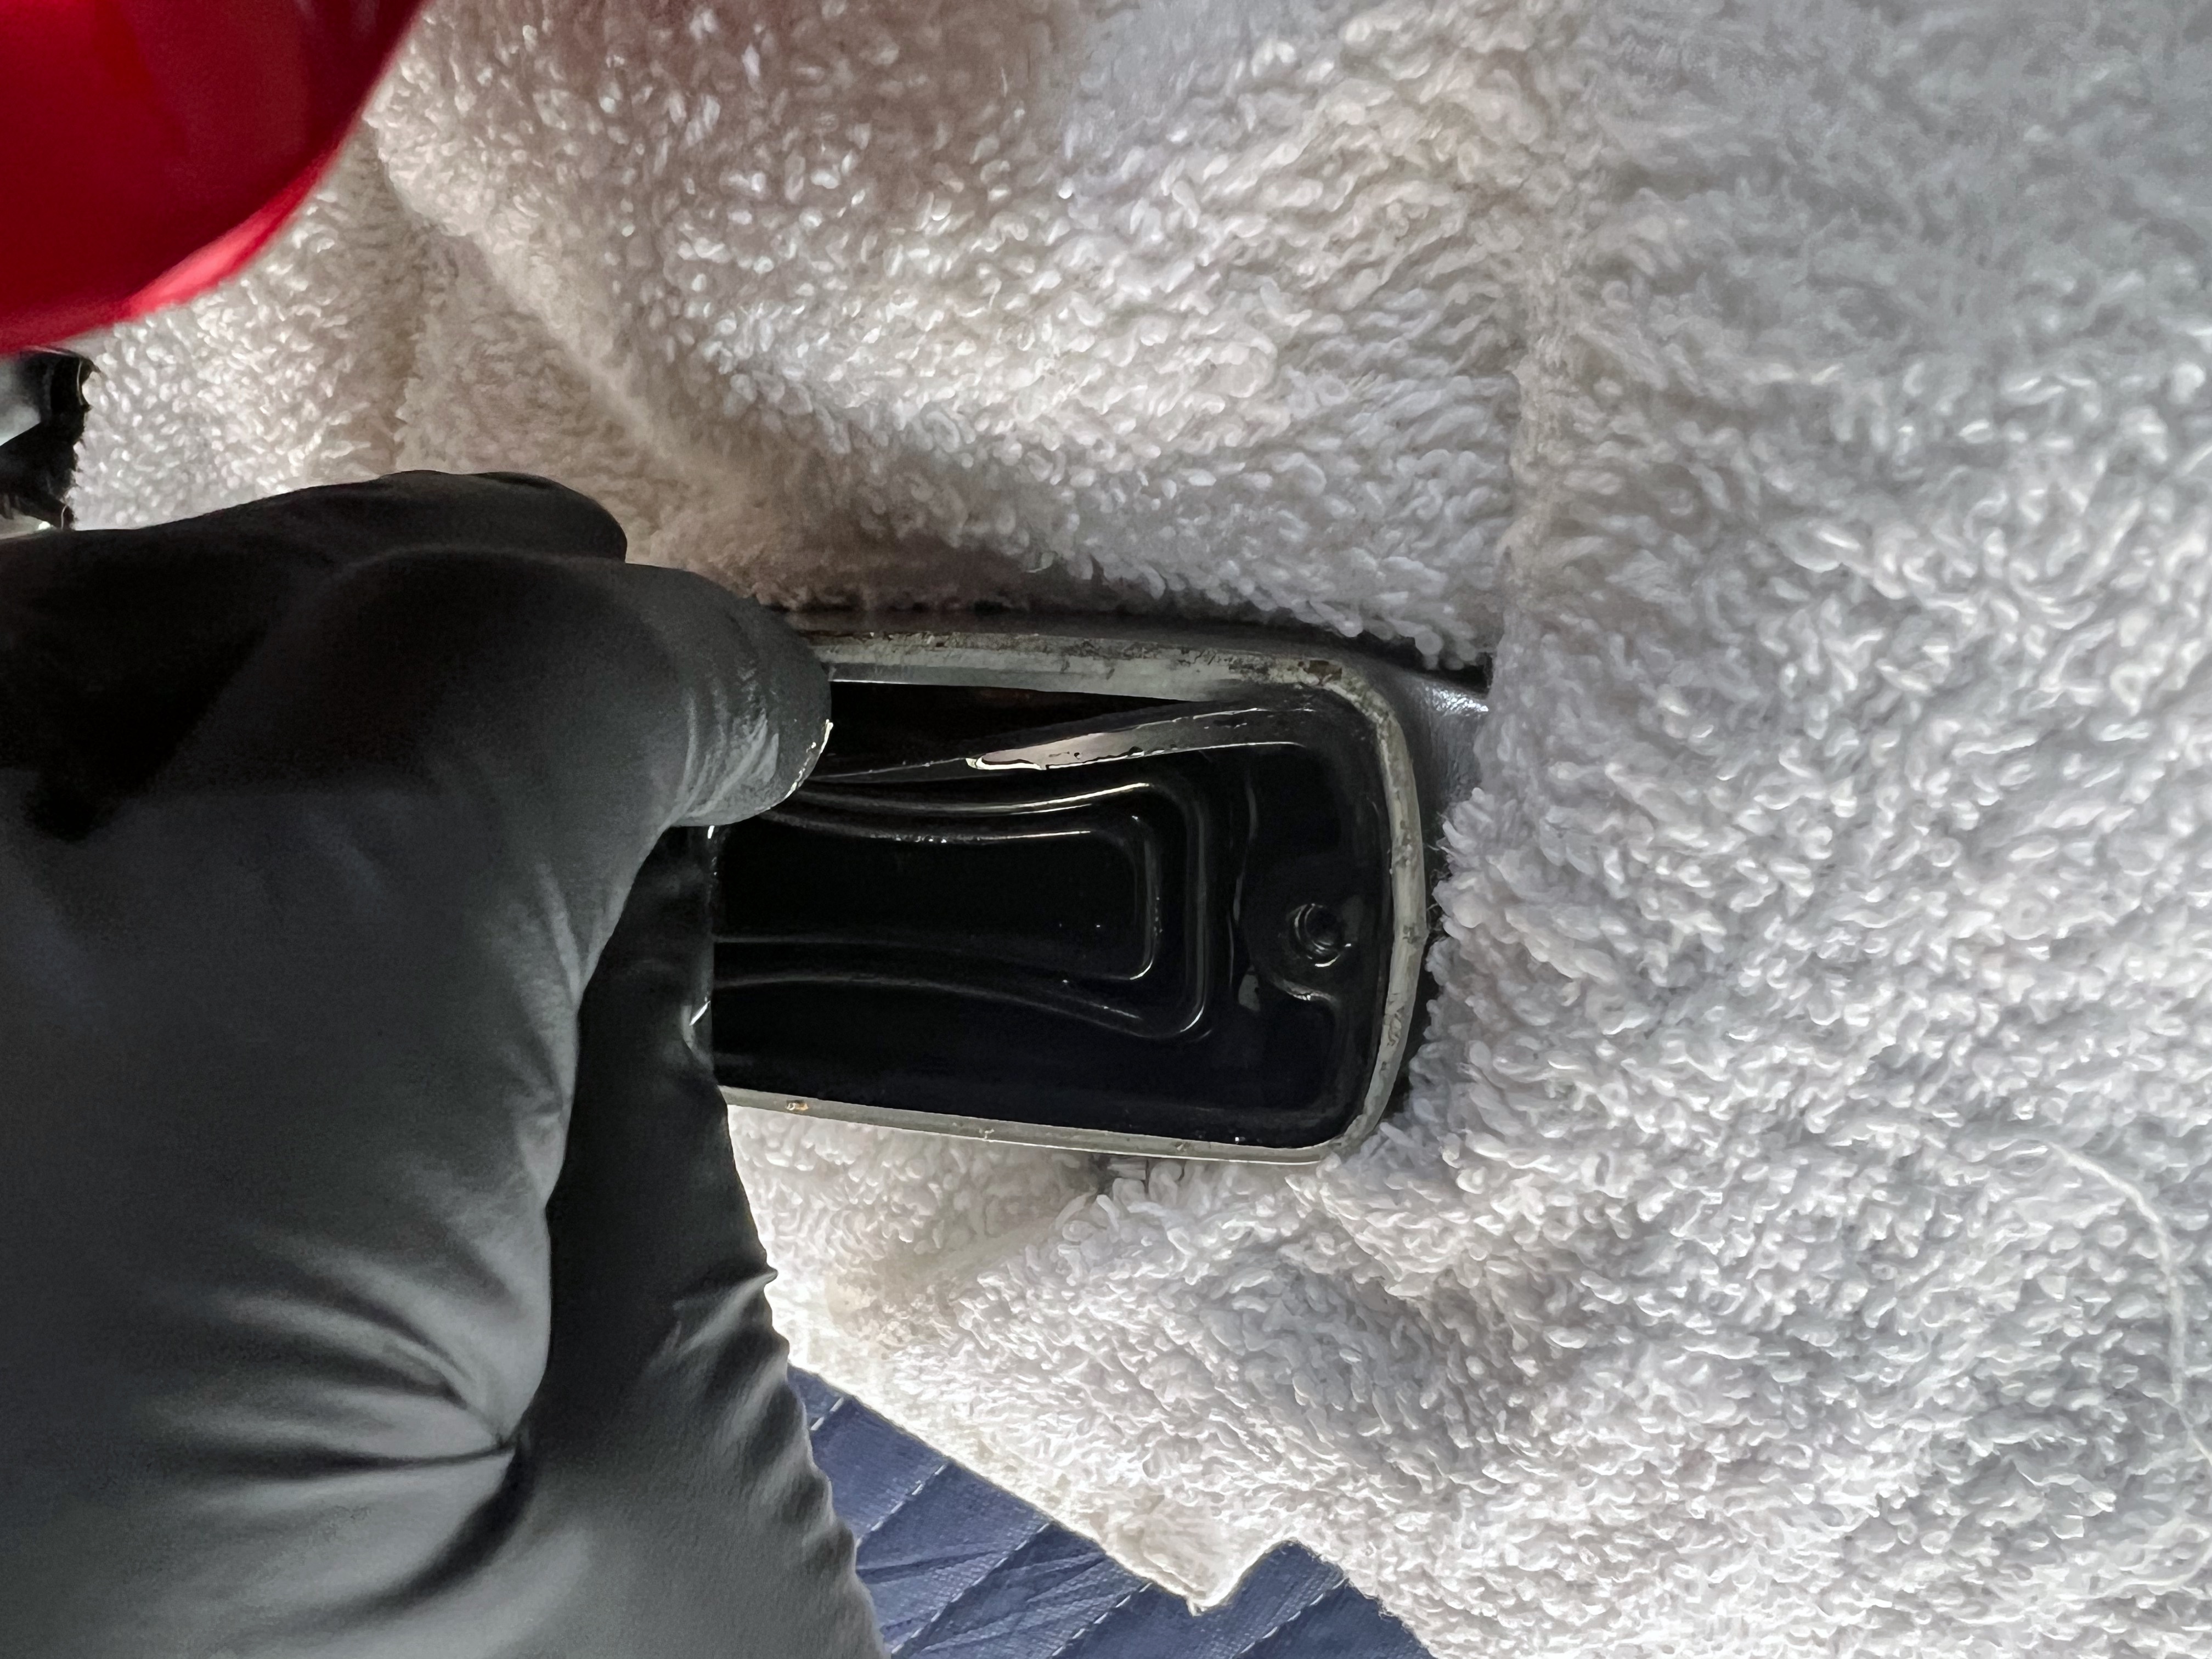
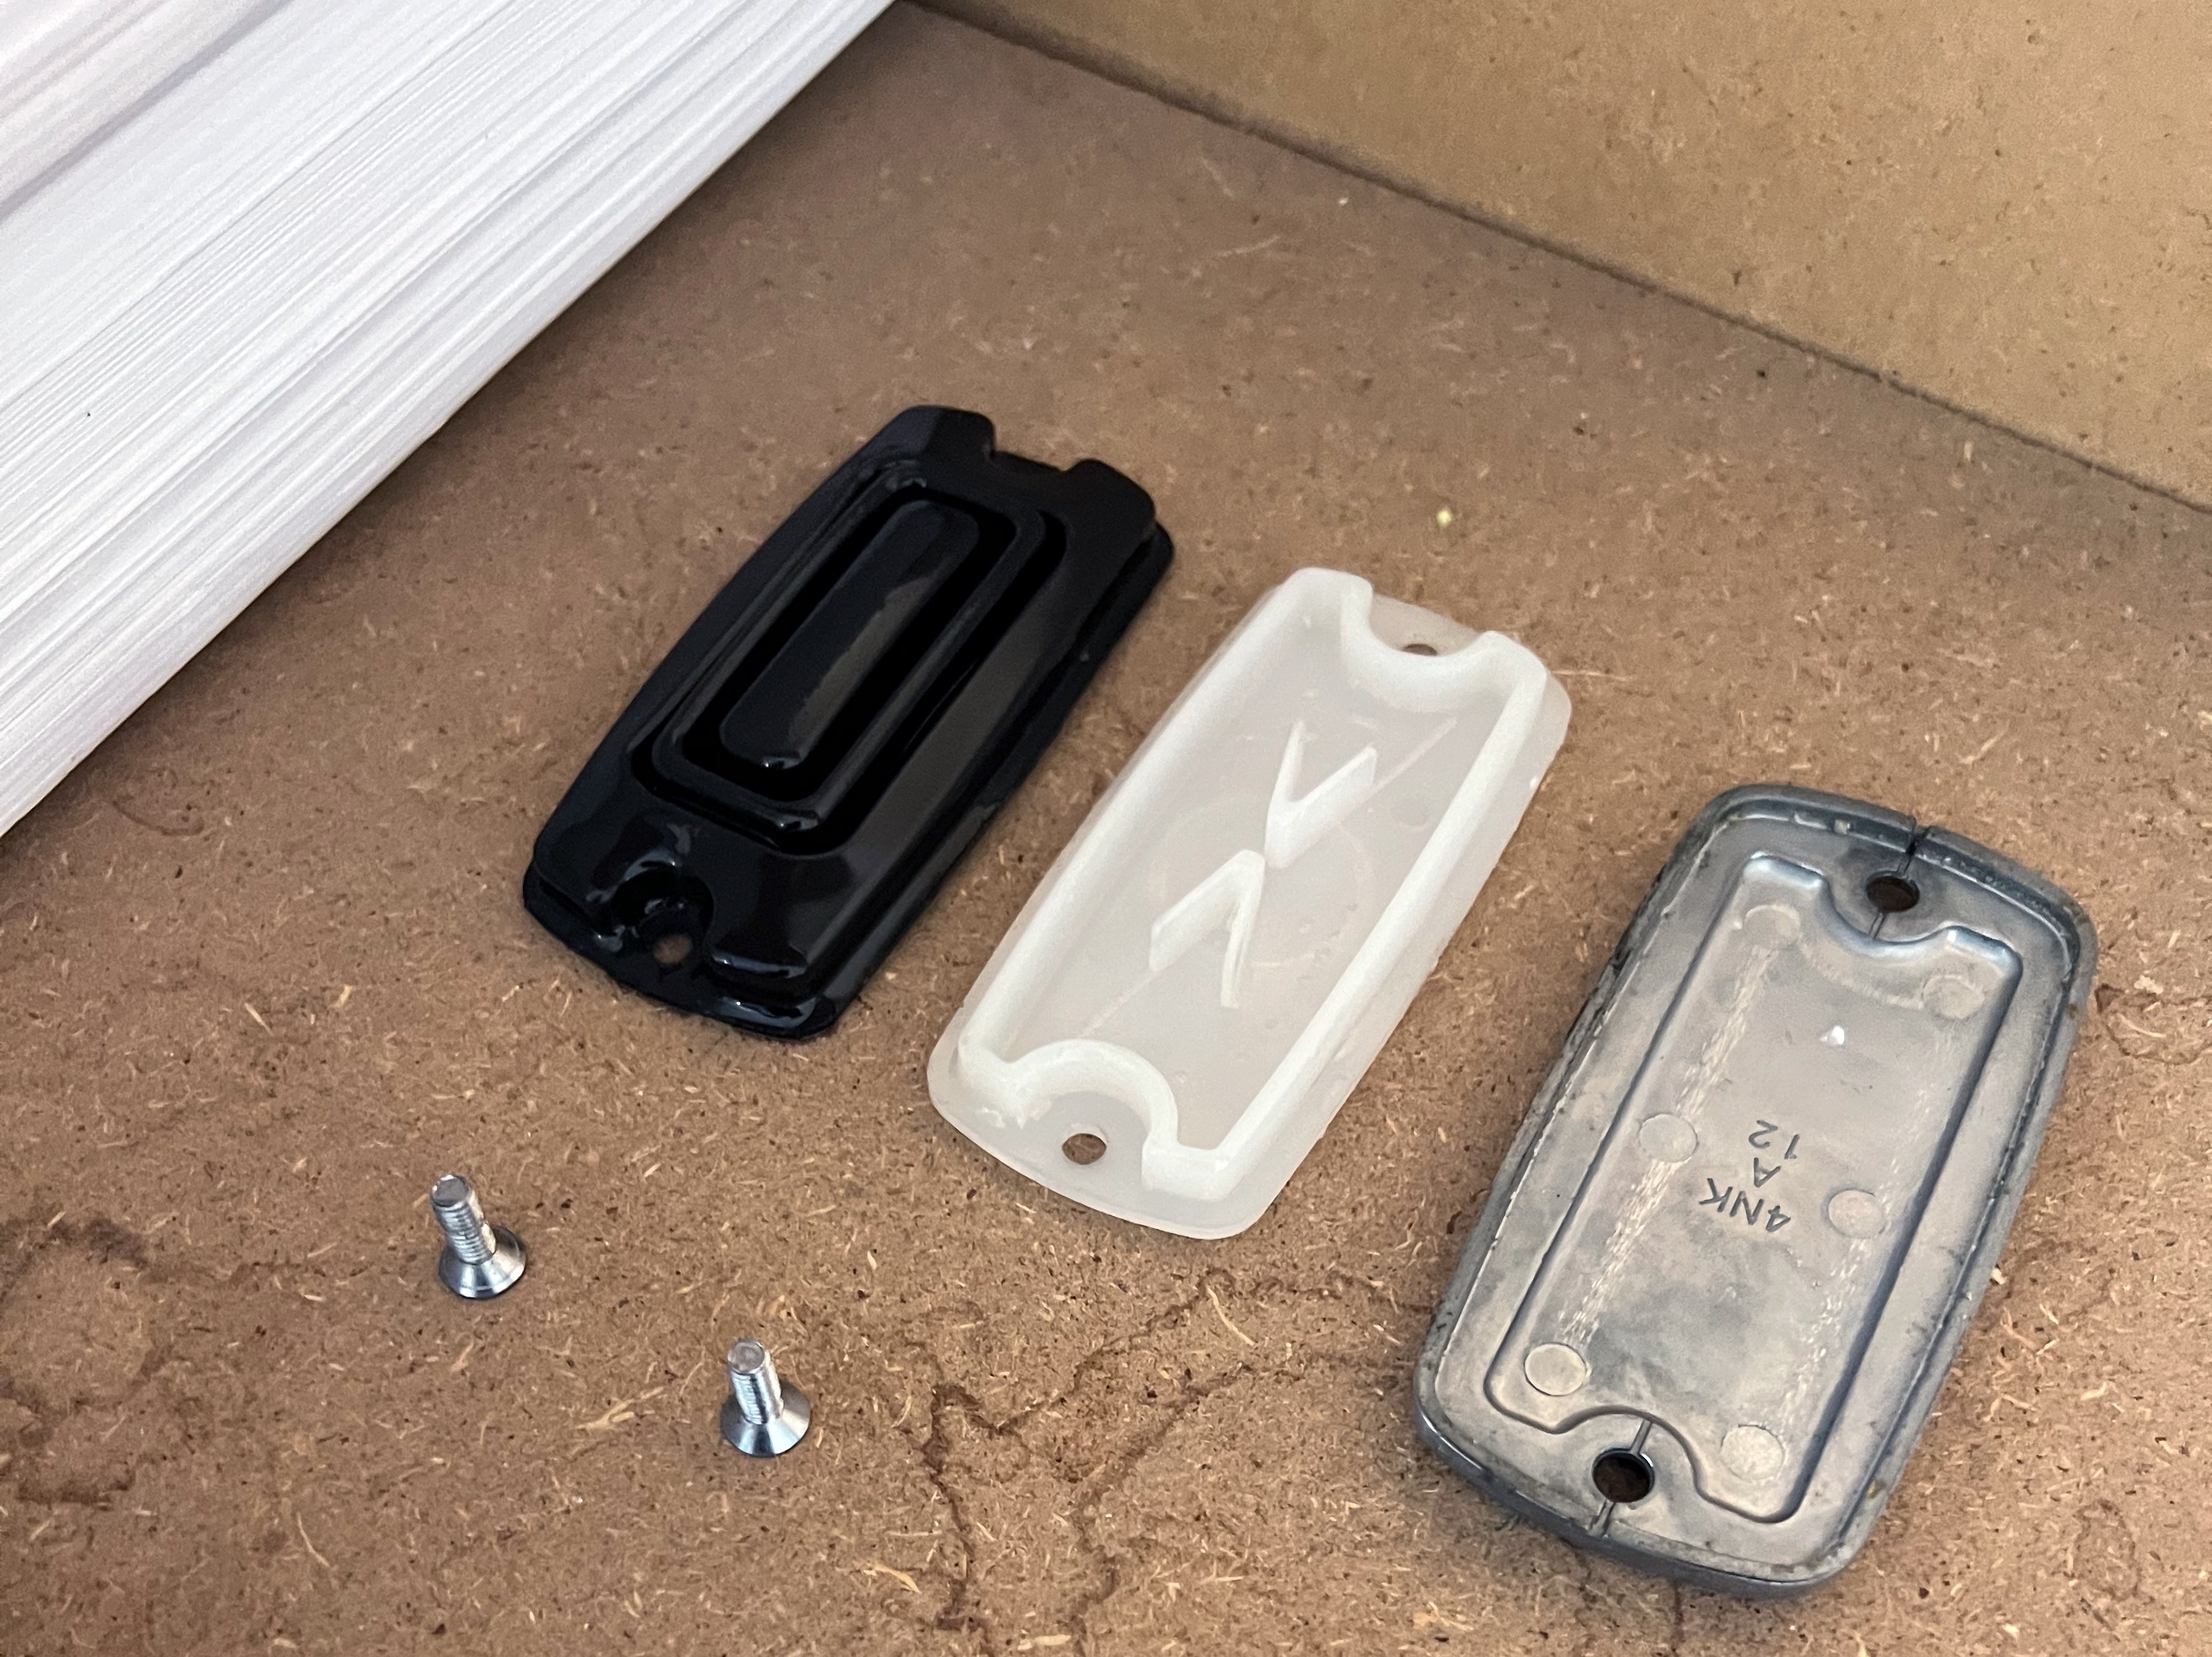
Using a syringe, I remove the existing brake fluid from the Top Reservoir:
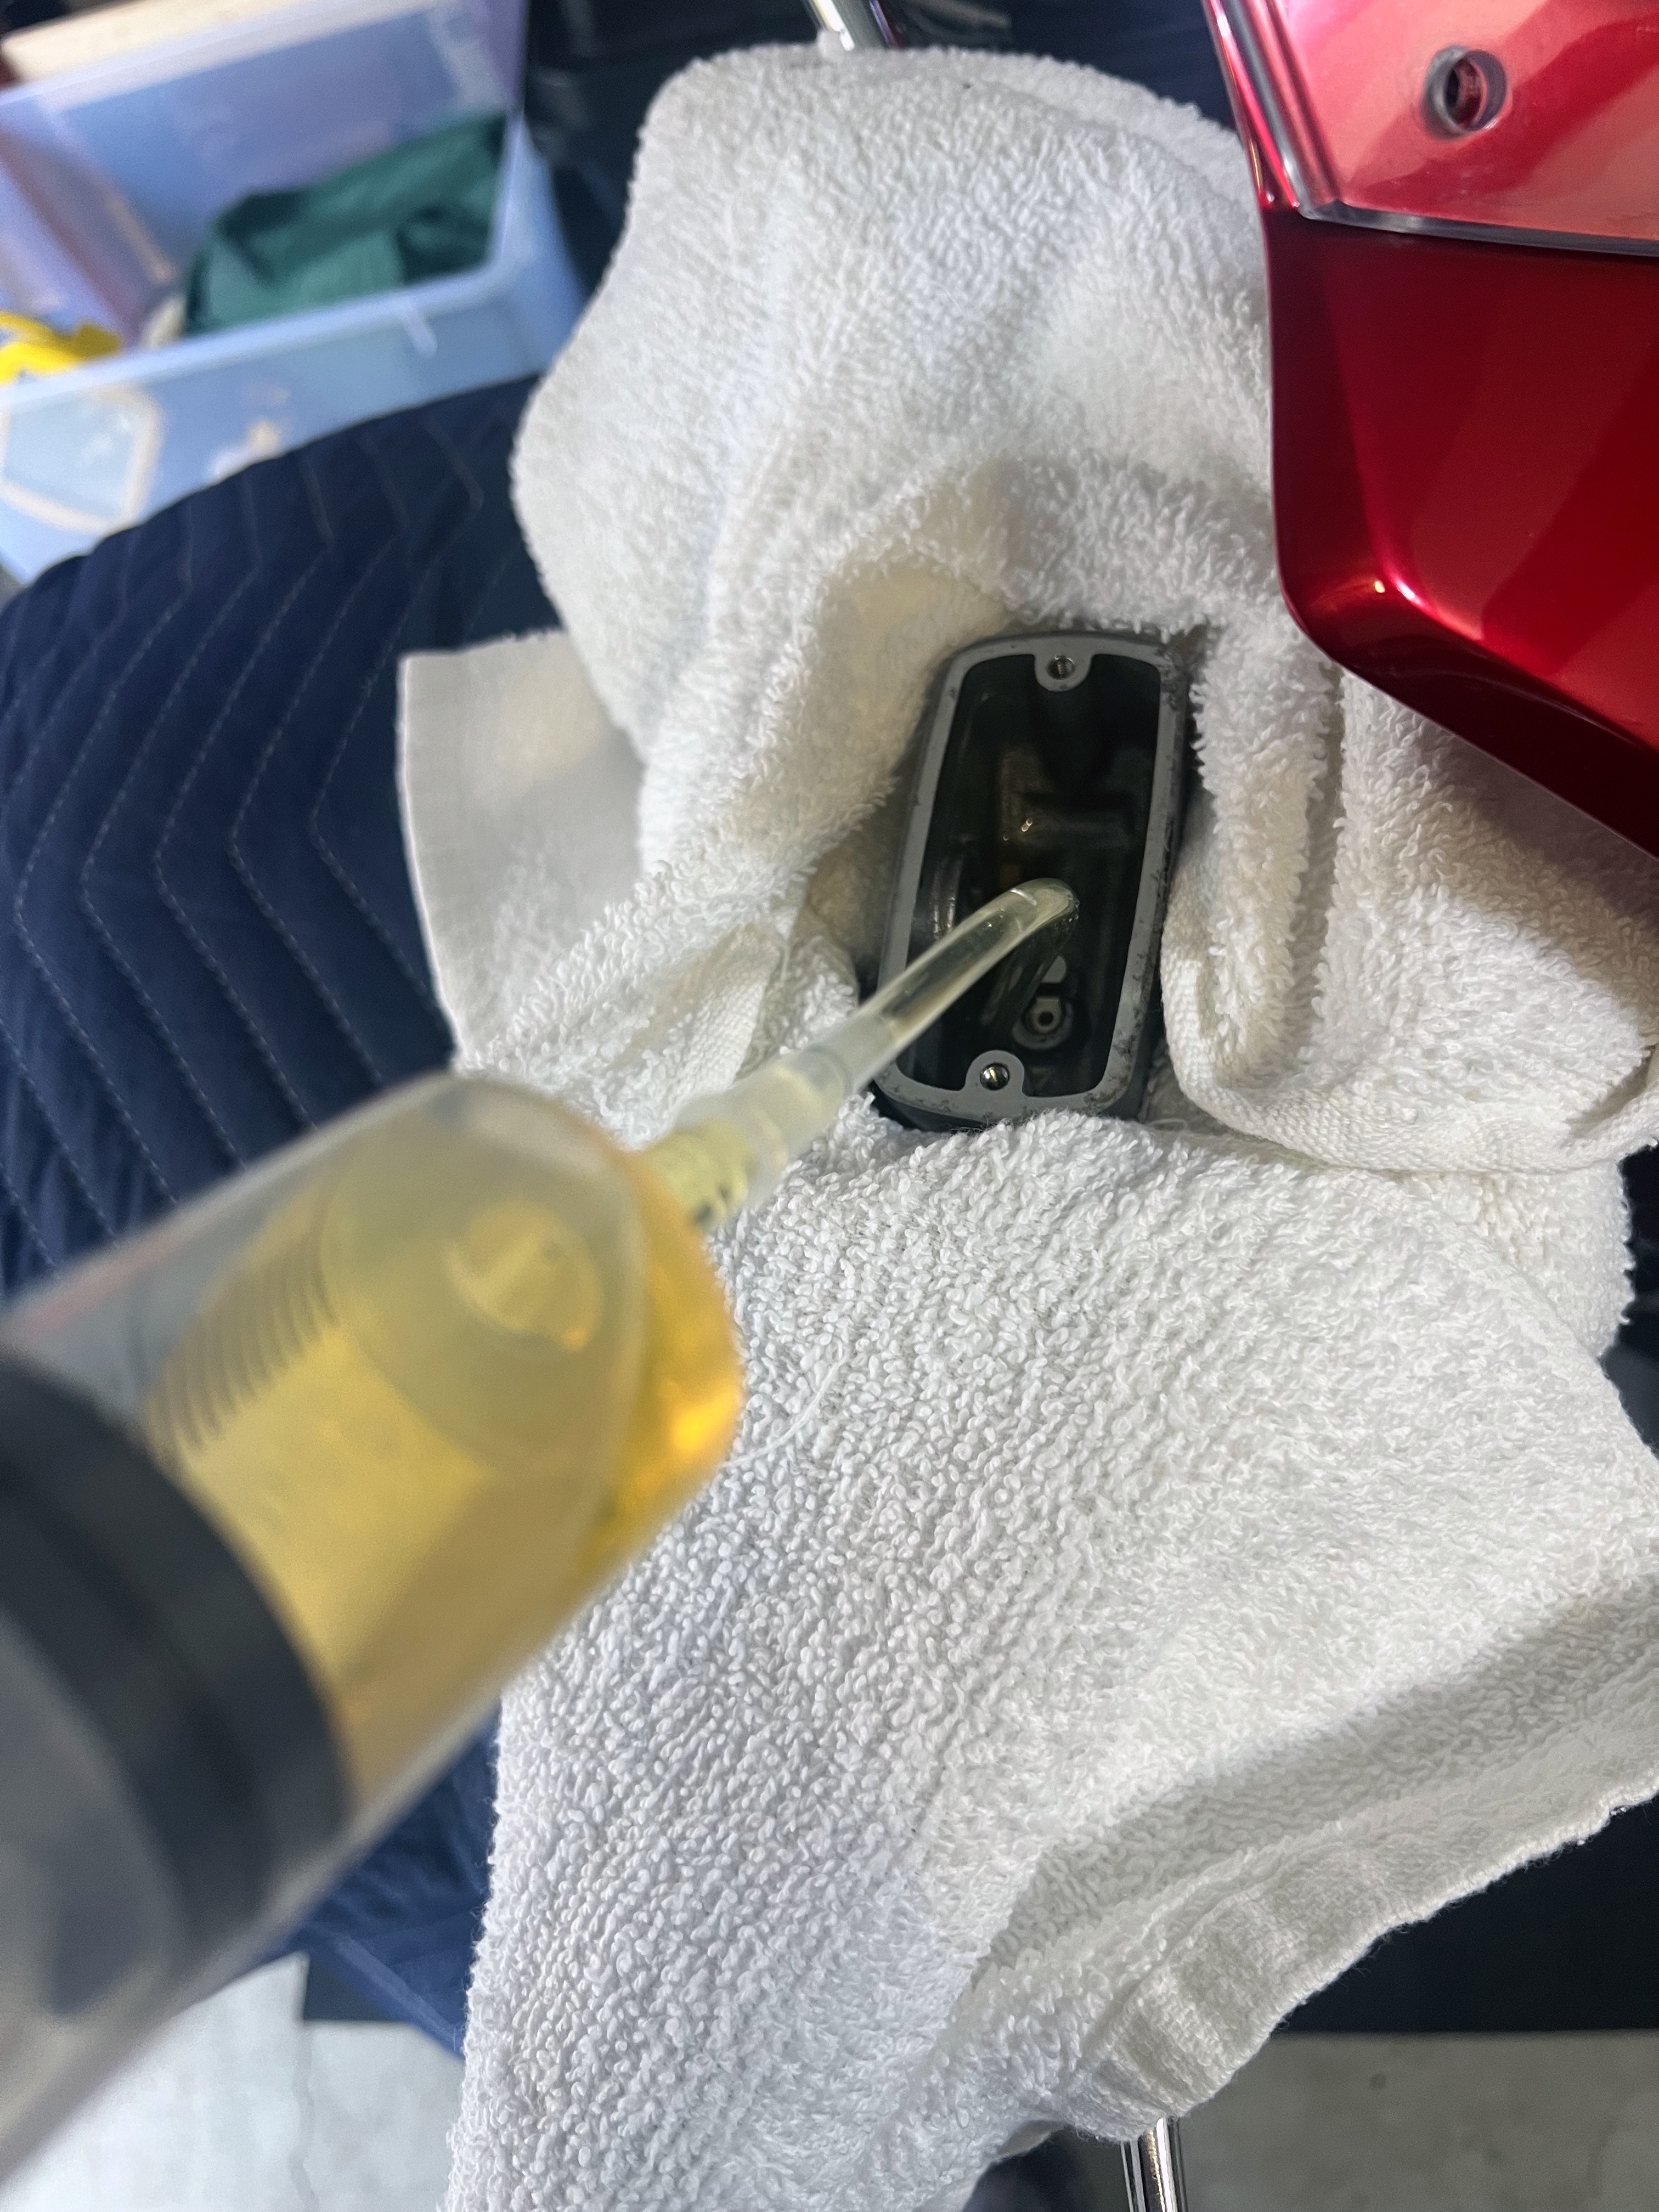
Using the other syringe, I fill the Top Reservoir with new brake fluid. I actuate the front brake continually until I can see brake fluid passing through the drain hose into the collection bucket. I pay close attention to the amount of fluid in the Top Reservoir and the fluid that is passing through the drain hose. I refill the Top Reservoir as necessary. When I add fluid, I close the bleeder valve first. I use a velcro to keep the brake lever depressed while I am filling the Top Reservoir. When it is full, I then loosen the bleeder valve and continue to actuate the brake lever, pushing more fluid and bubbles through the drain hose. This technique helps to prevent air from flowing backward to the Top Reservoir and creating more bubbles to exhaust:
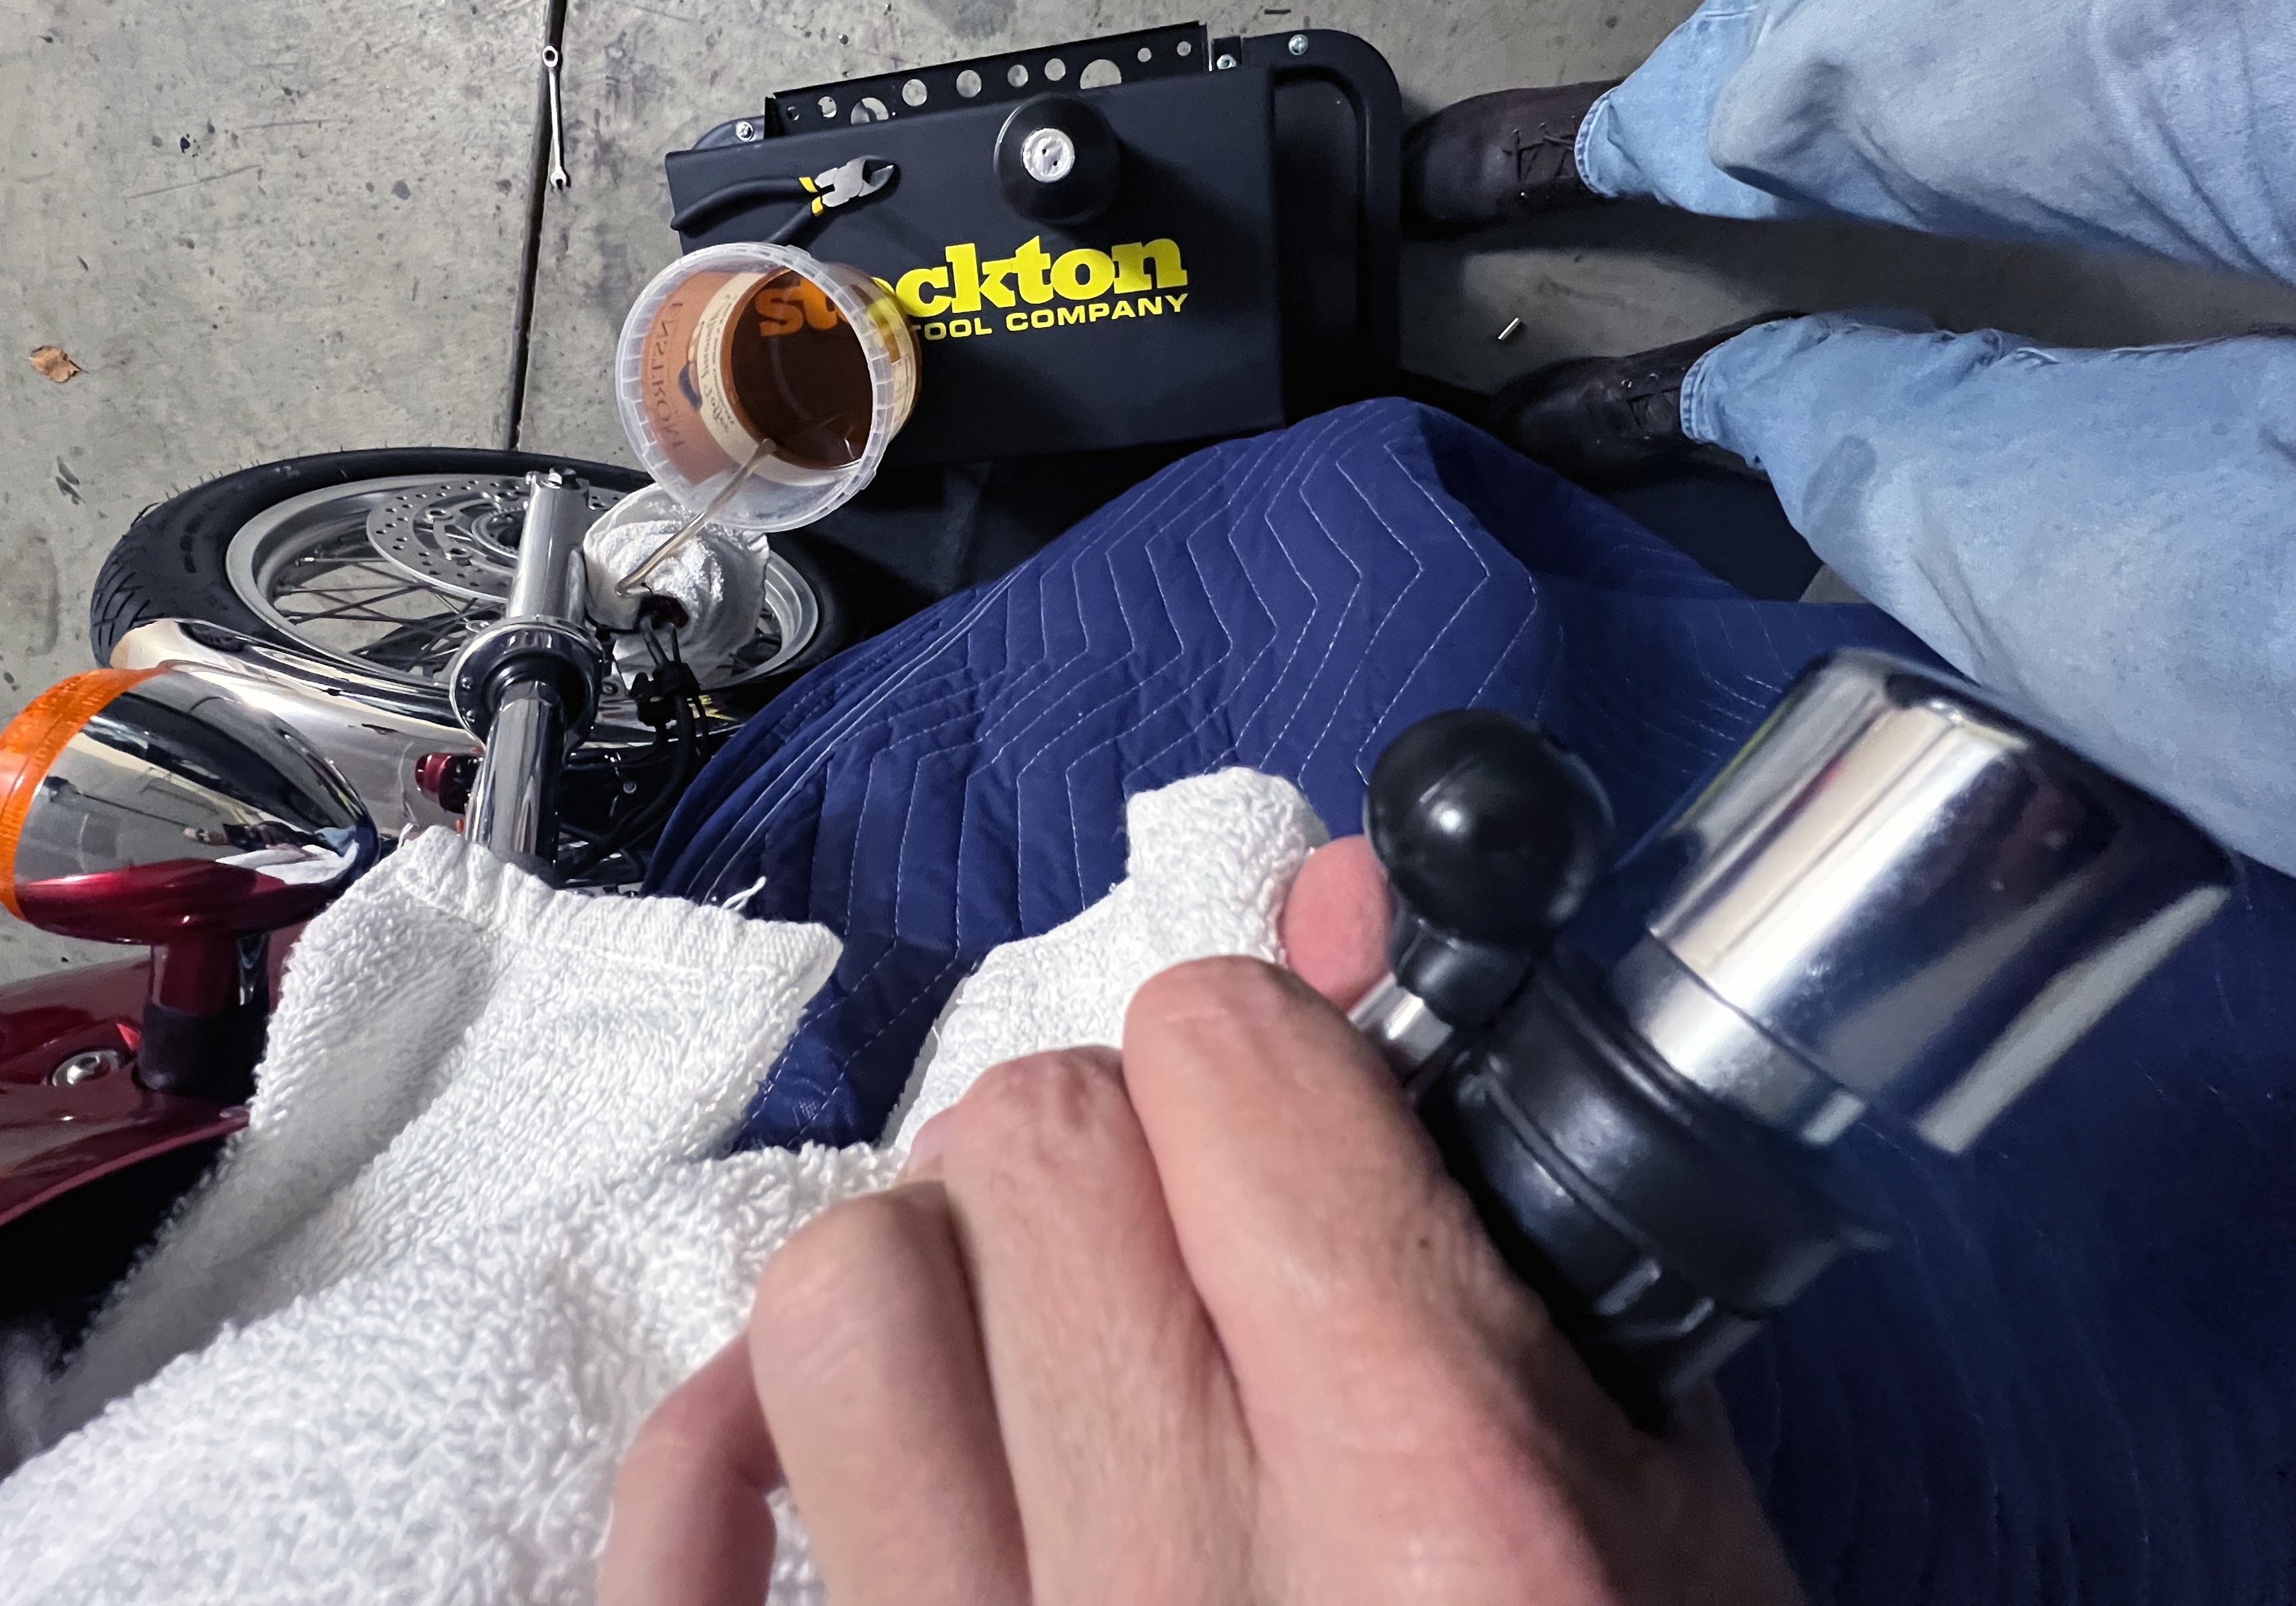
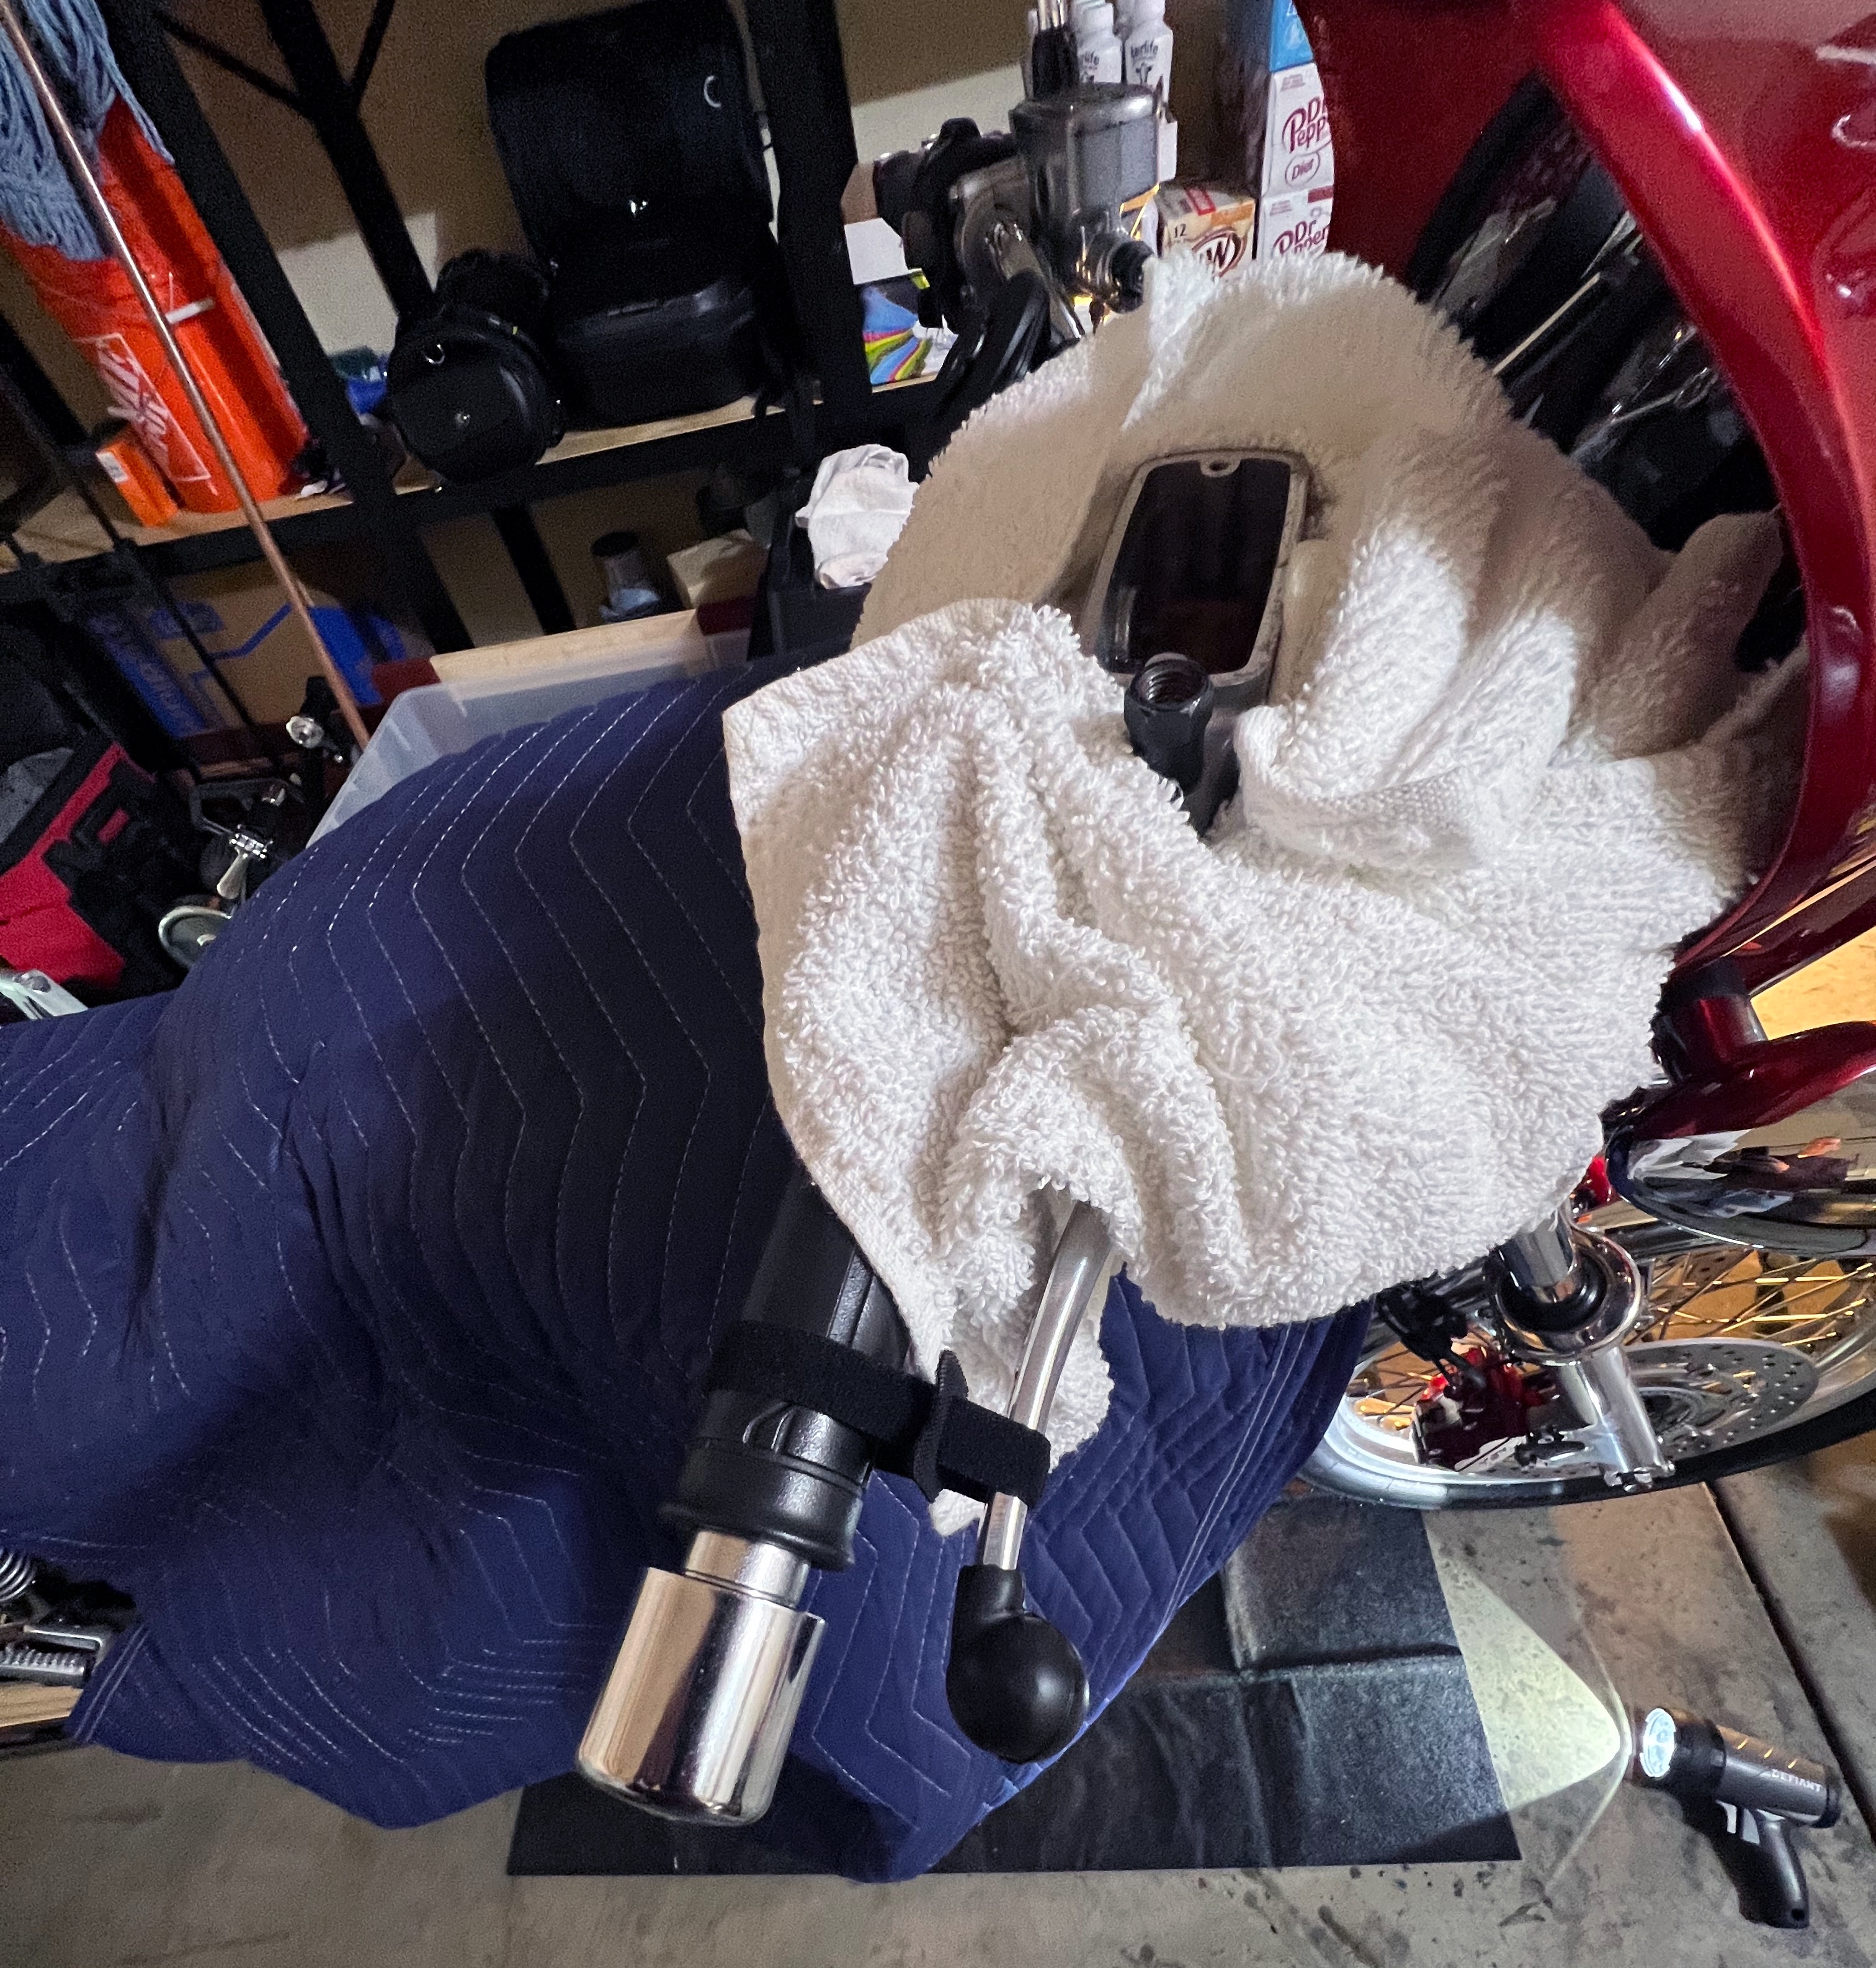
I focus on color and bubbles exiting the hose. When I see the color is consistent with the color of the new fluid and that no bubbles appear in the drain hose, I keep the brake lever fully depressed, tighten the brake caliber bleeder valve, and then actuate the brake again. If everything is right, the brake lever should be very firm and stiff. If it is not, re-open the caliber bleeder valve and continue to bleed the breaks again until the desired state is achieved.
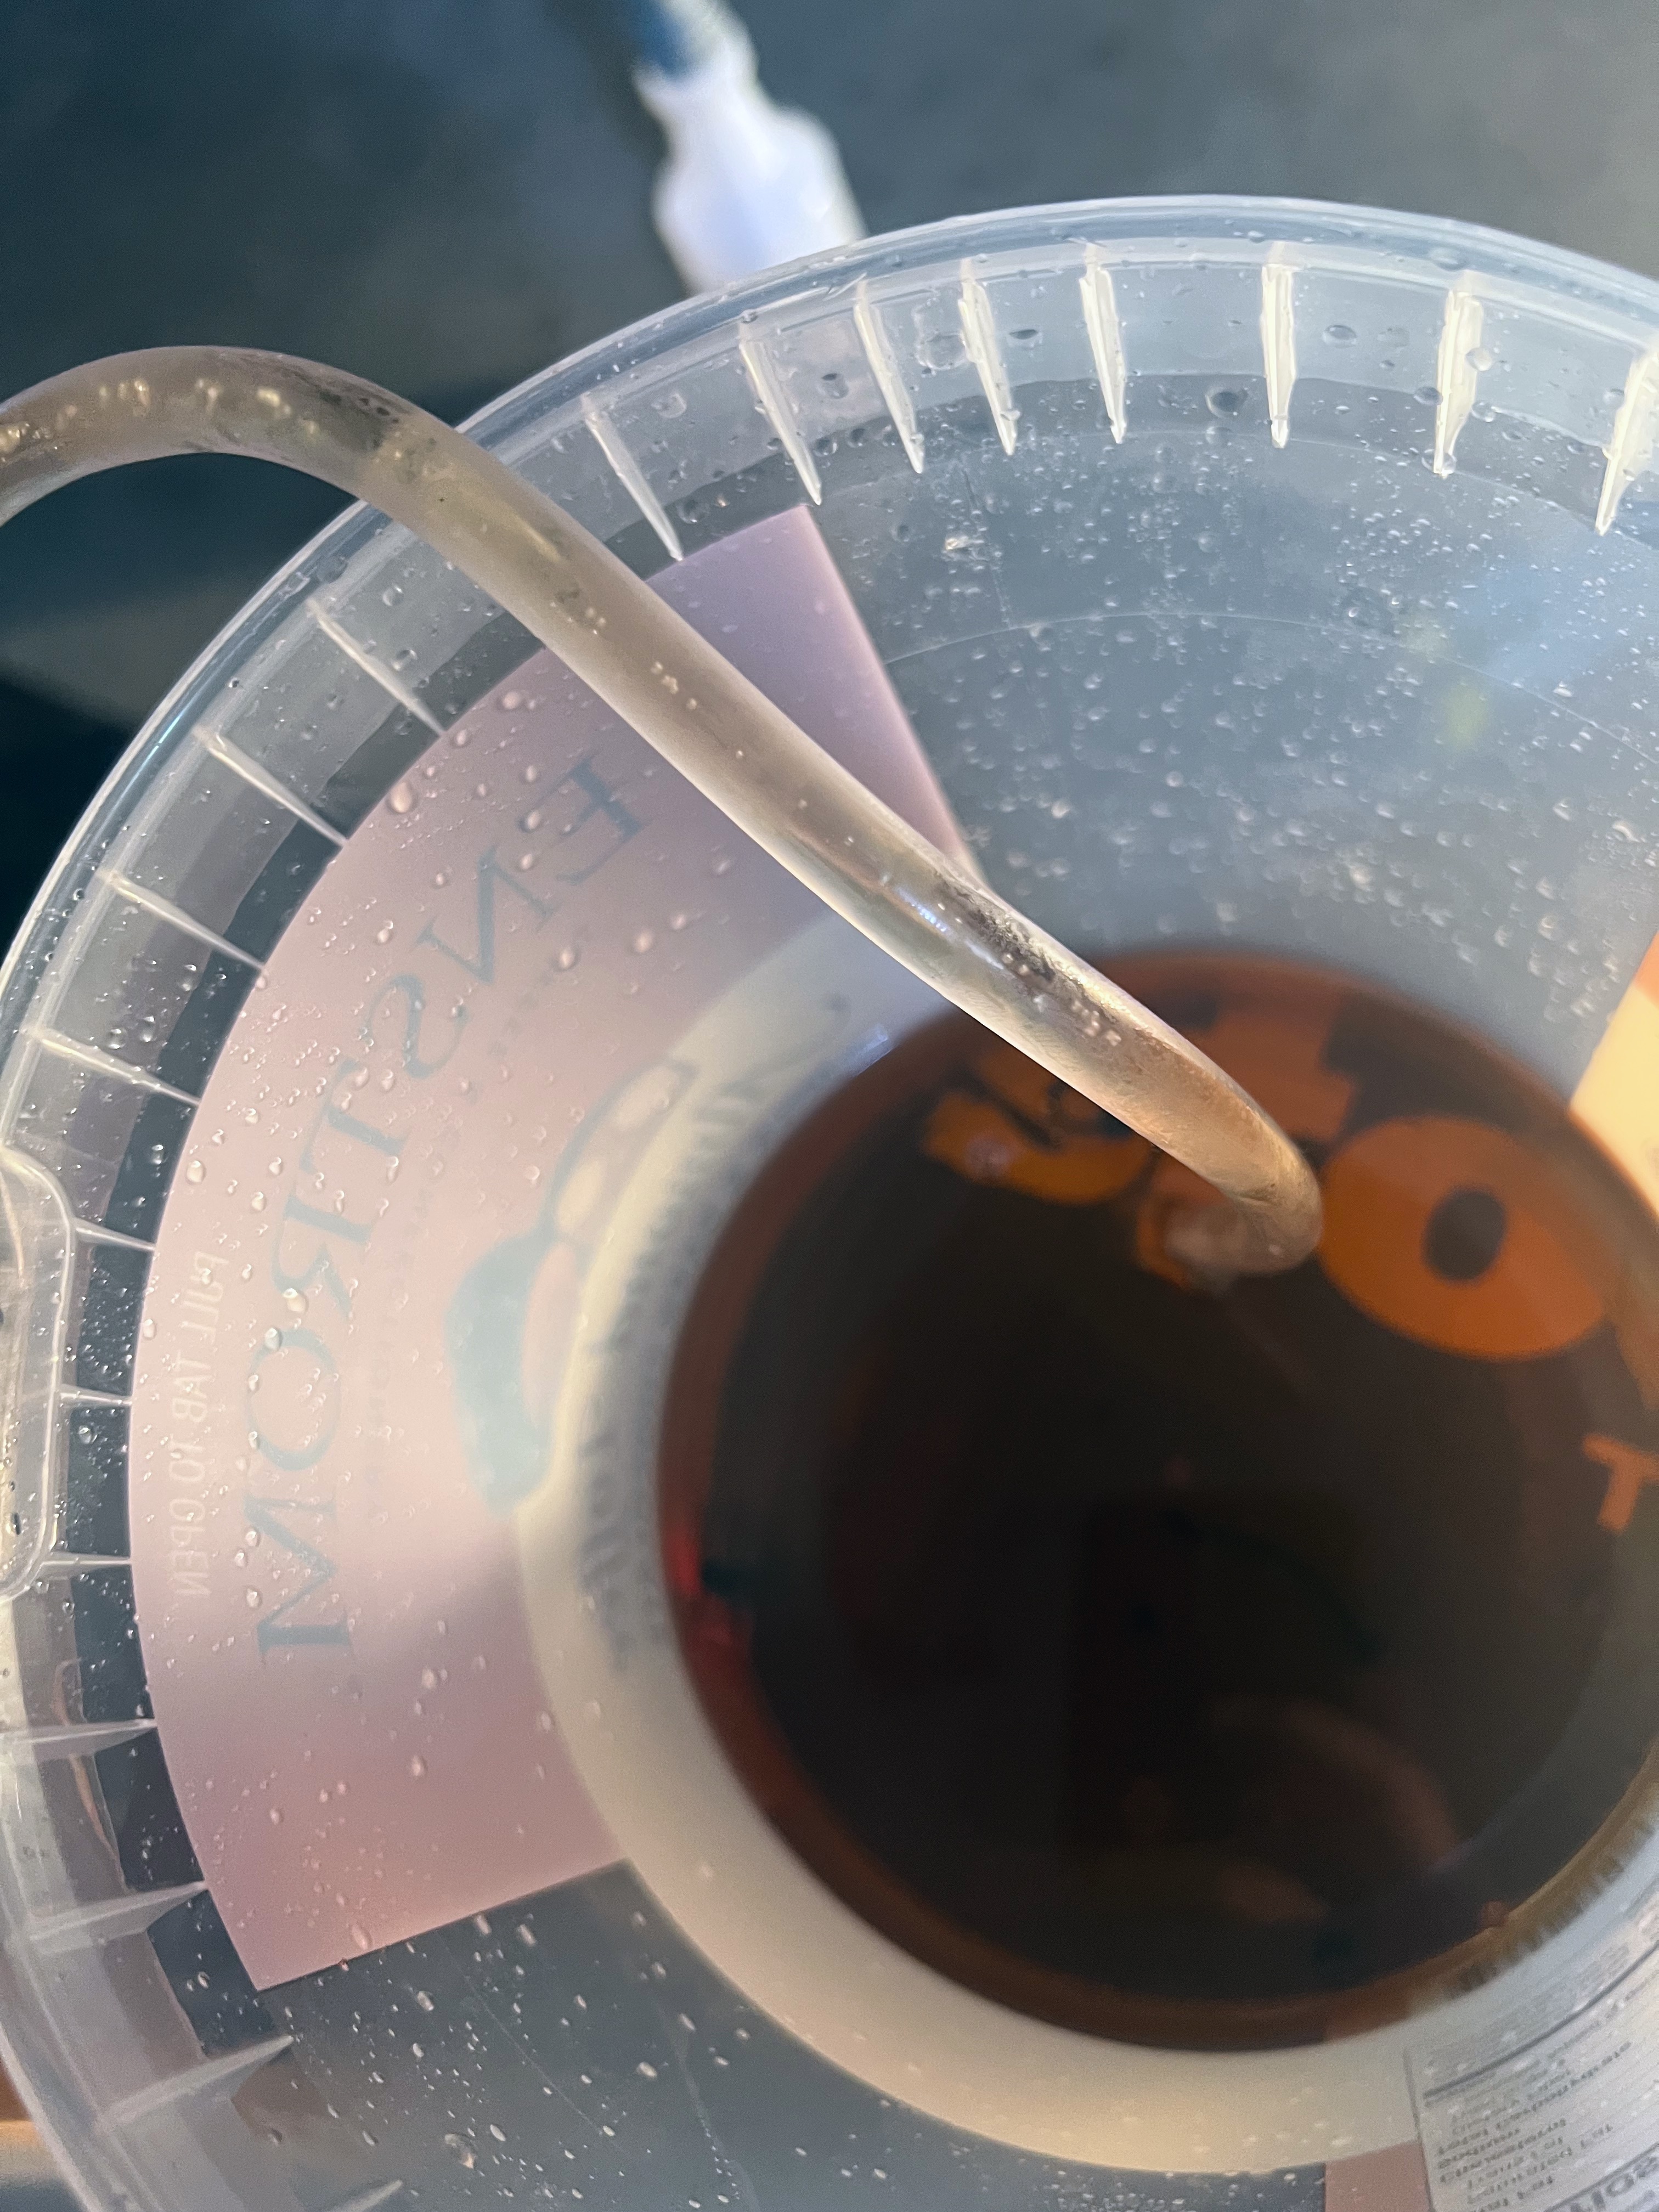
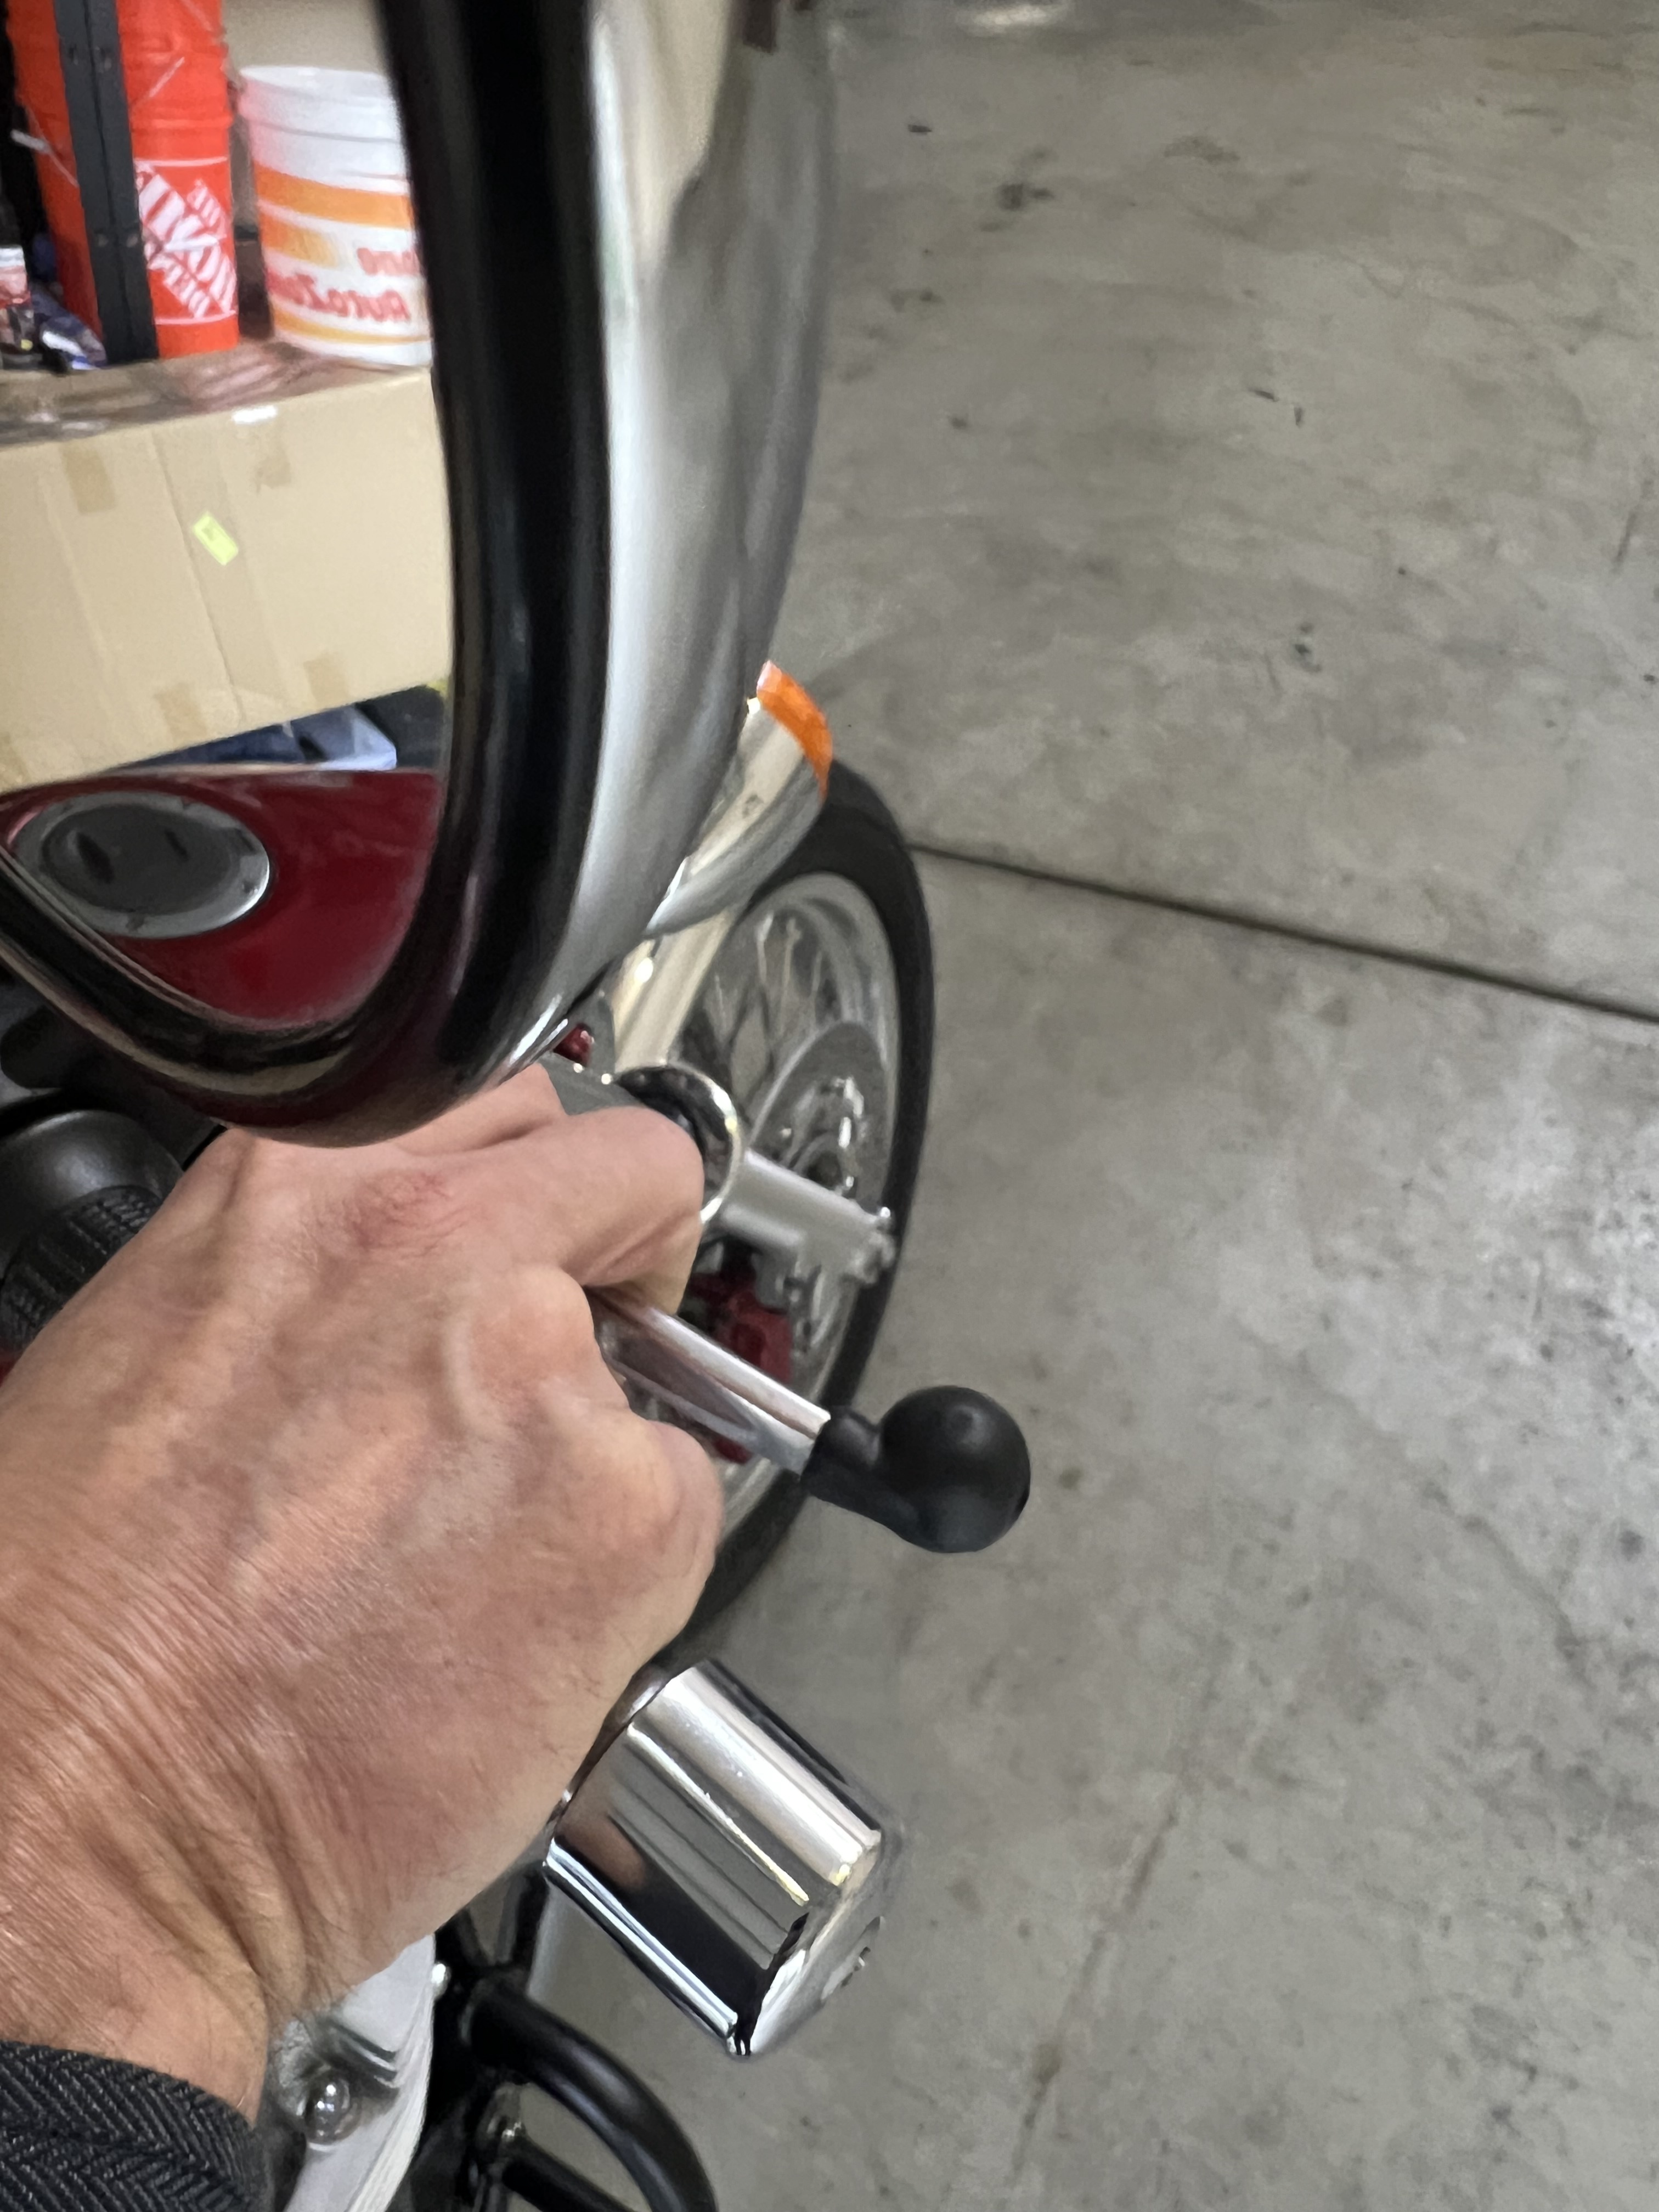
I disconnect the drain hose from the brake caliber bleeder valve, remove the towels protecting the brake caliber, and using a moist towel wipe down the brake caliber.
I repeat the same process for the left front caliber.
When I have bled both calibers properly and the front brake lever is firm and actuates properly, I check the Top Reservoir, add brake fluid if necessary, insert the diaphragm, reservoir cap, and reservoir cover and torque the retention screws to 0.8 Nm (0.6 ft-lbs). I then install the rearview mirror and insert the screws the I removed from the front cowl screen. Please Note: If the Top Reservoir ever needs fluid, I bleed my front calibers and check for leaks. I do not "top off" fluid in between sessions where I bleed my front calibers.
Step 5: Connect a Drain Hose to Rear Brake Caliber
Like the front calibers, I attach a drain hose to the rear brake caliber bleeder valve, secure it with zip tie, loosen it ½ turn with a wrench, cover the brake caliber with shop towels, and place the end of the drain hose into my collection bucket. Next, i remove the tool storage compartment to make room for my make-shift box:
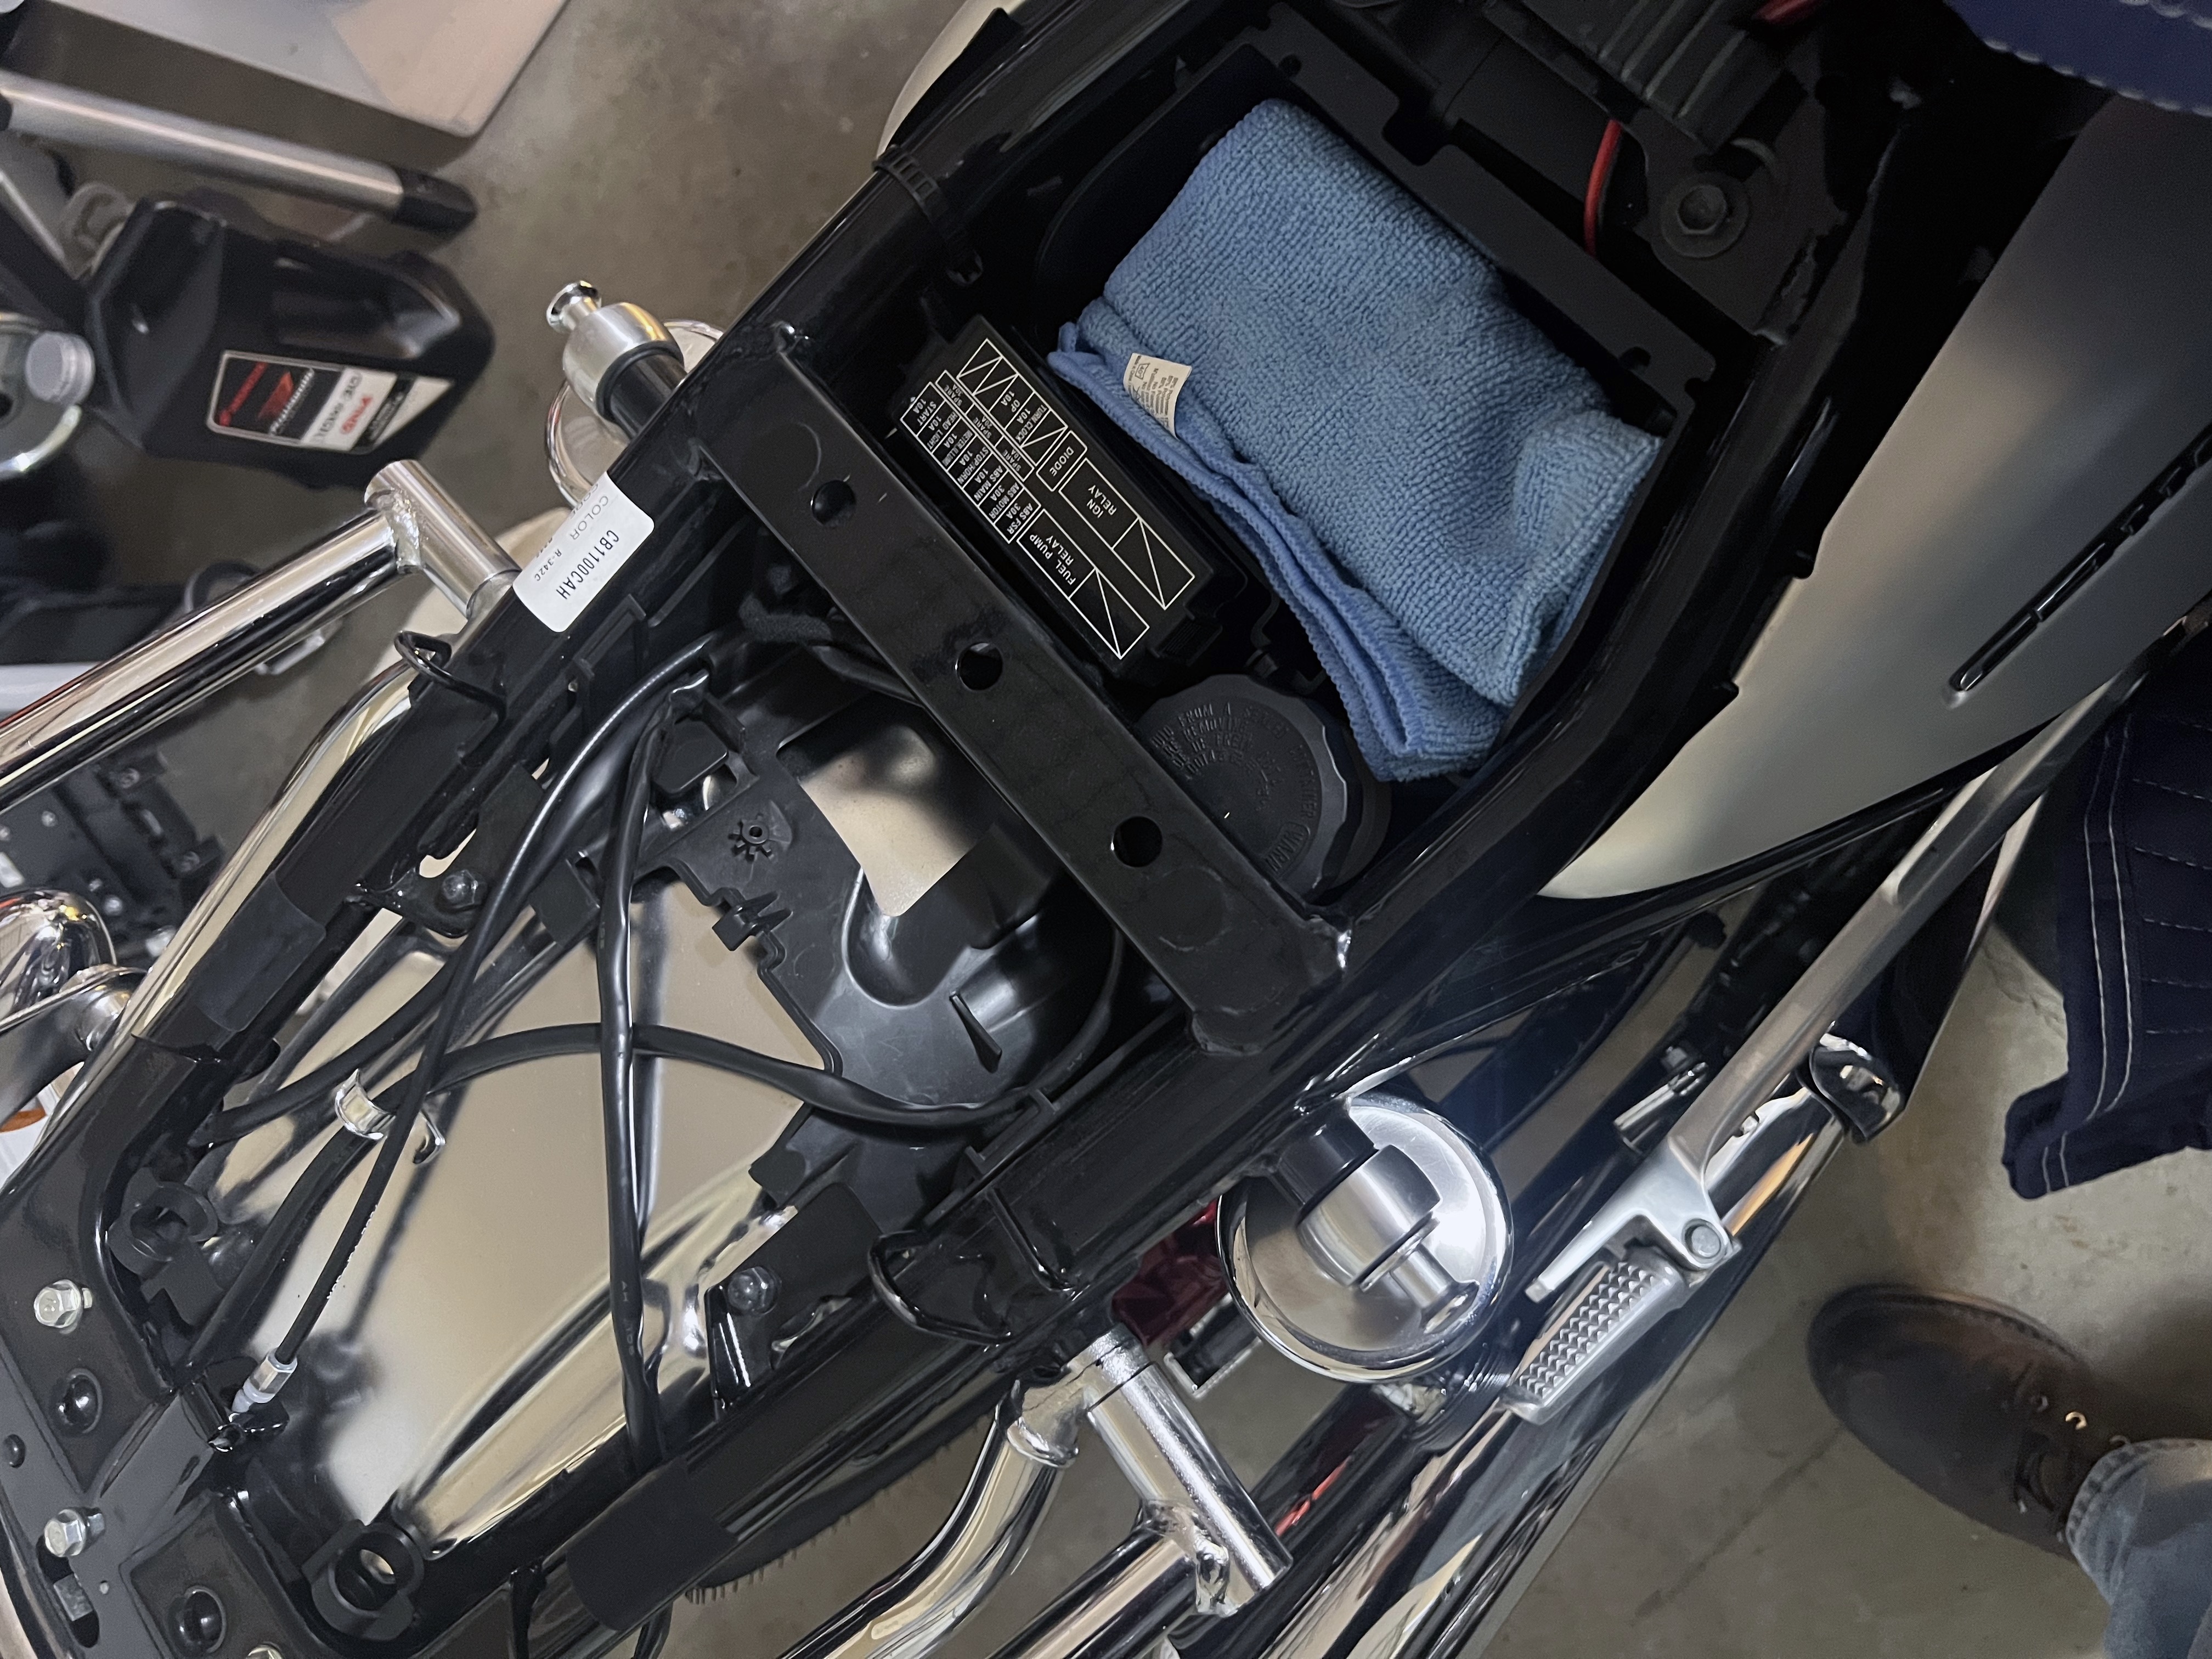
I remove disconnect the mounting bracket for the Rear Reservoir from the frame and relocate it to the make-shift box I inserted to support it. I then remove the Rear Reservoir cap and diaphragm, clean them, and place them on my workbench.
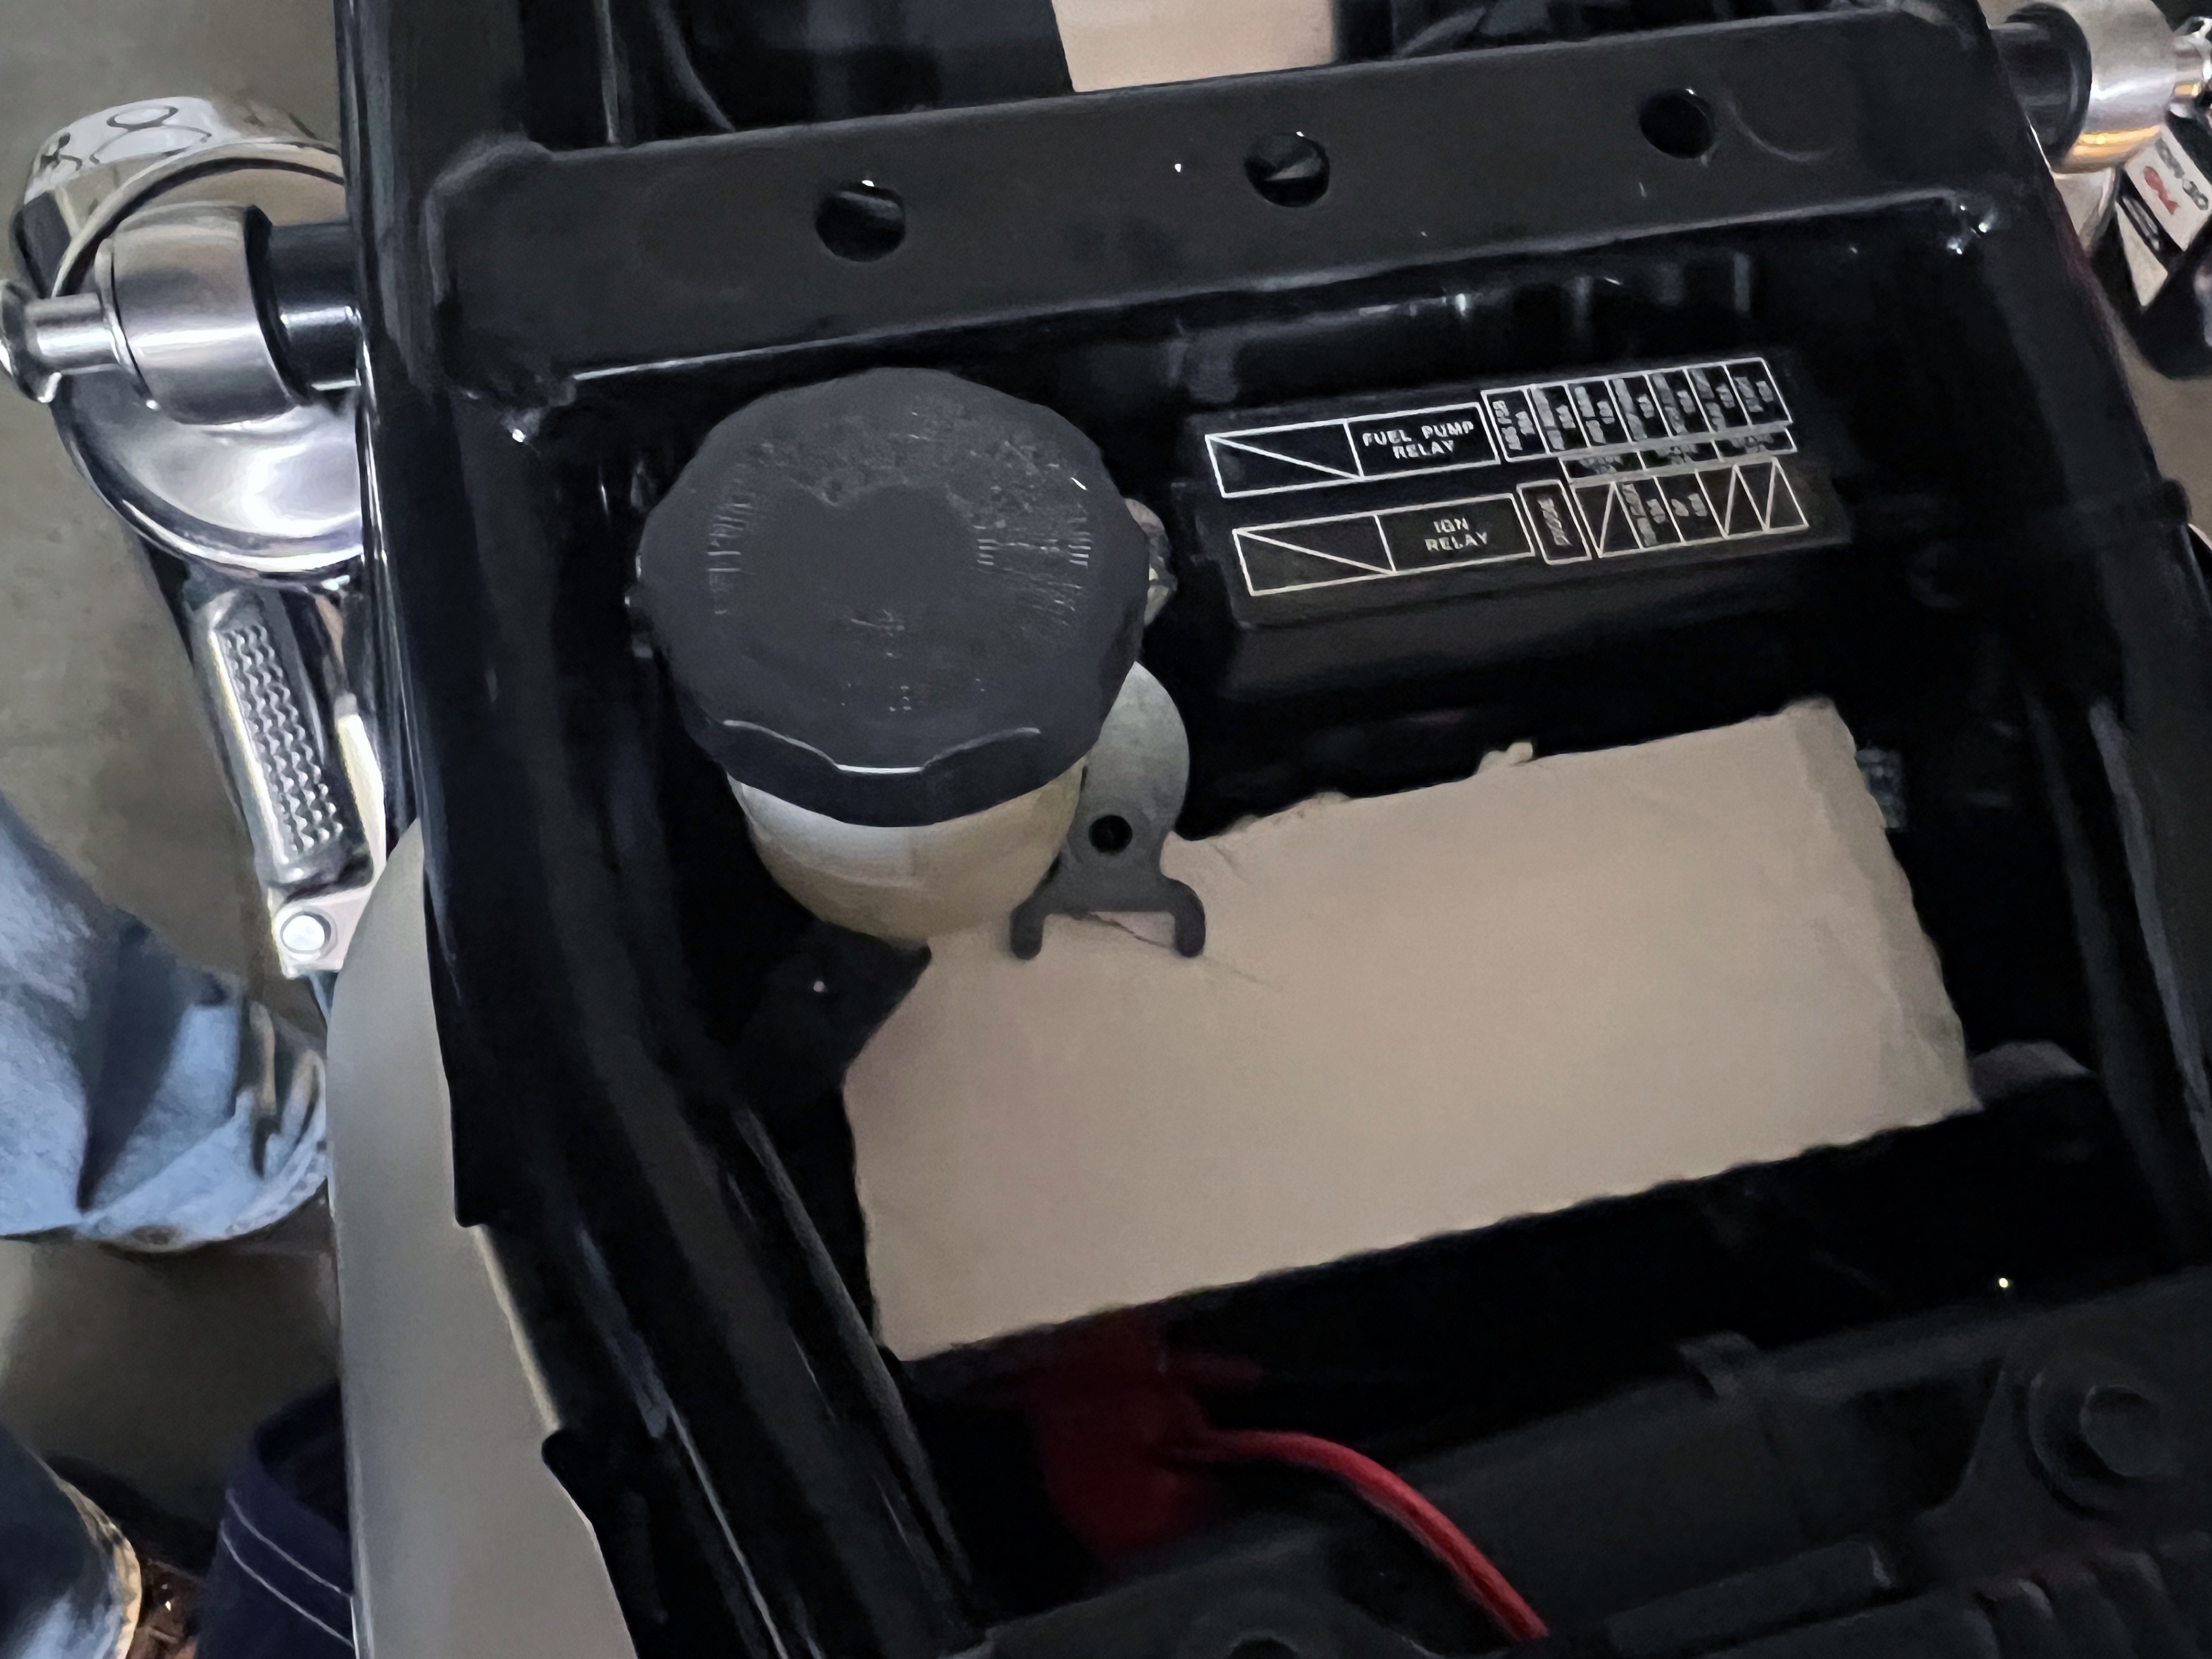
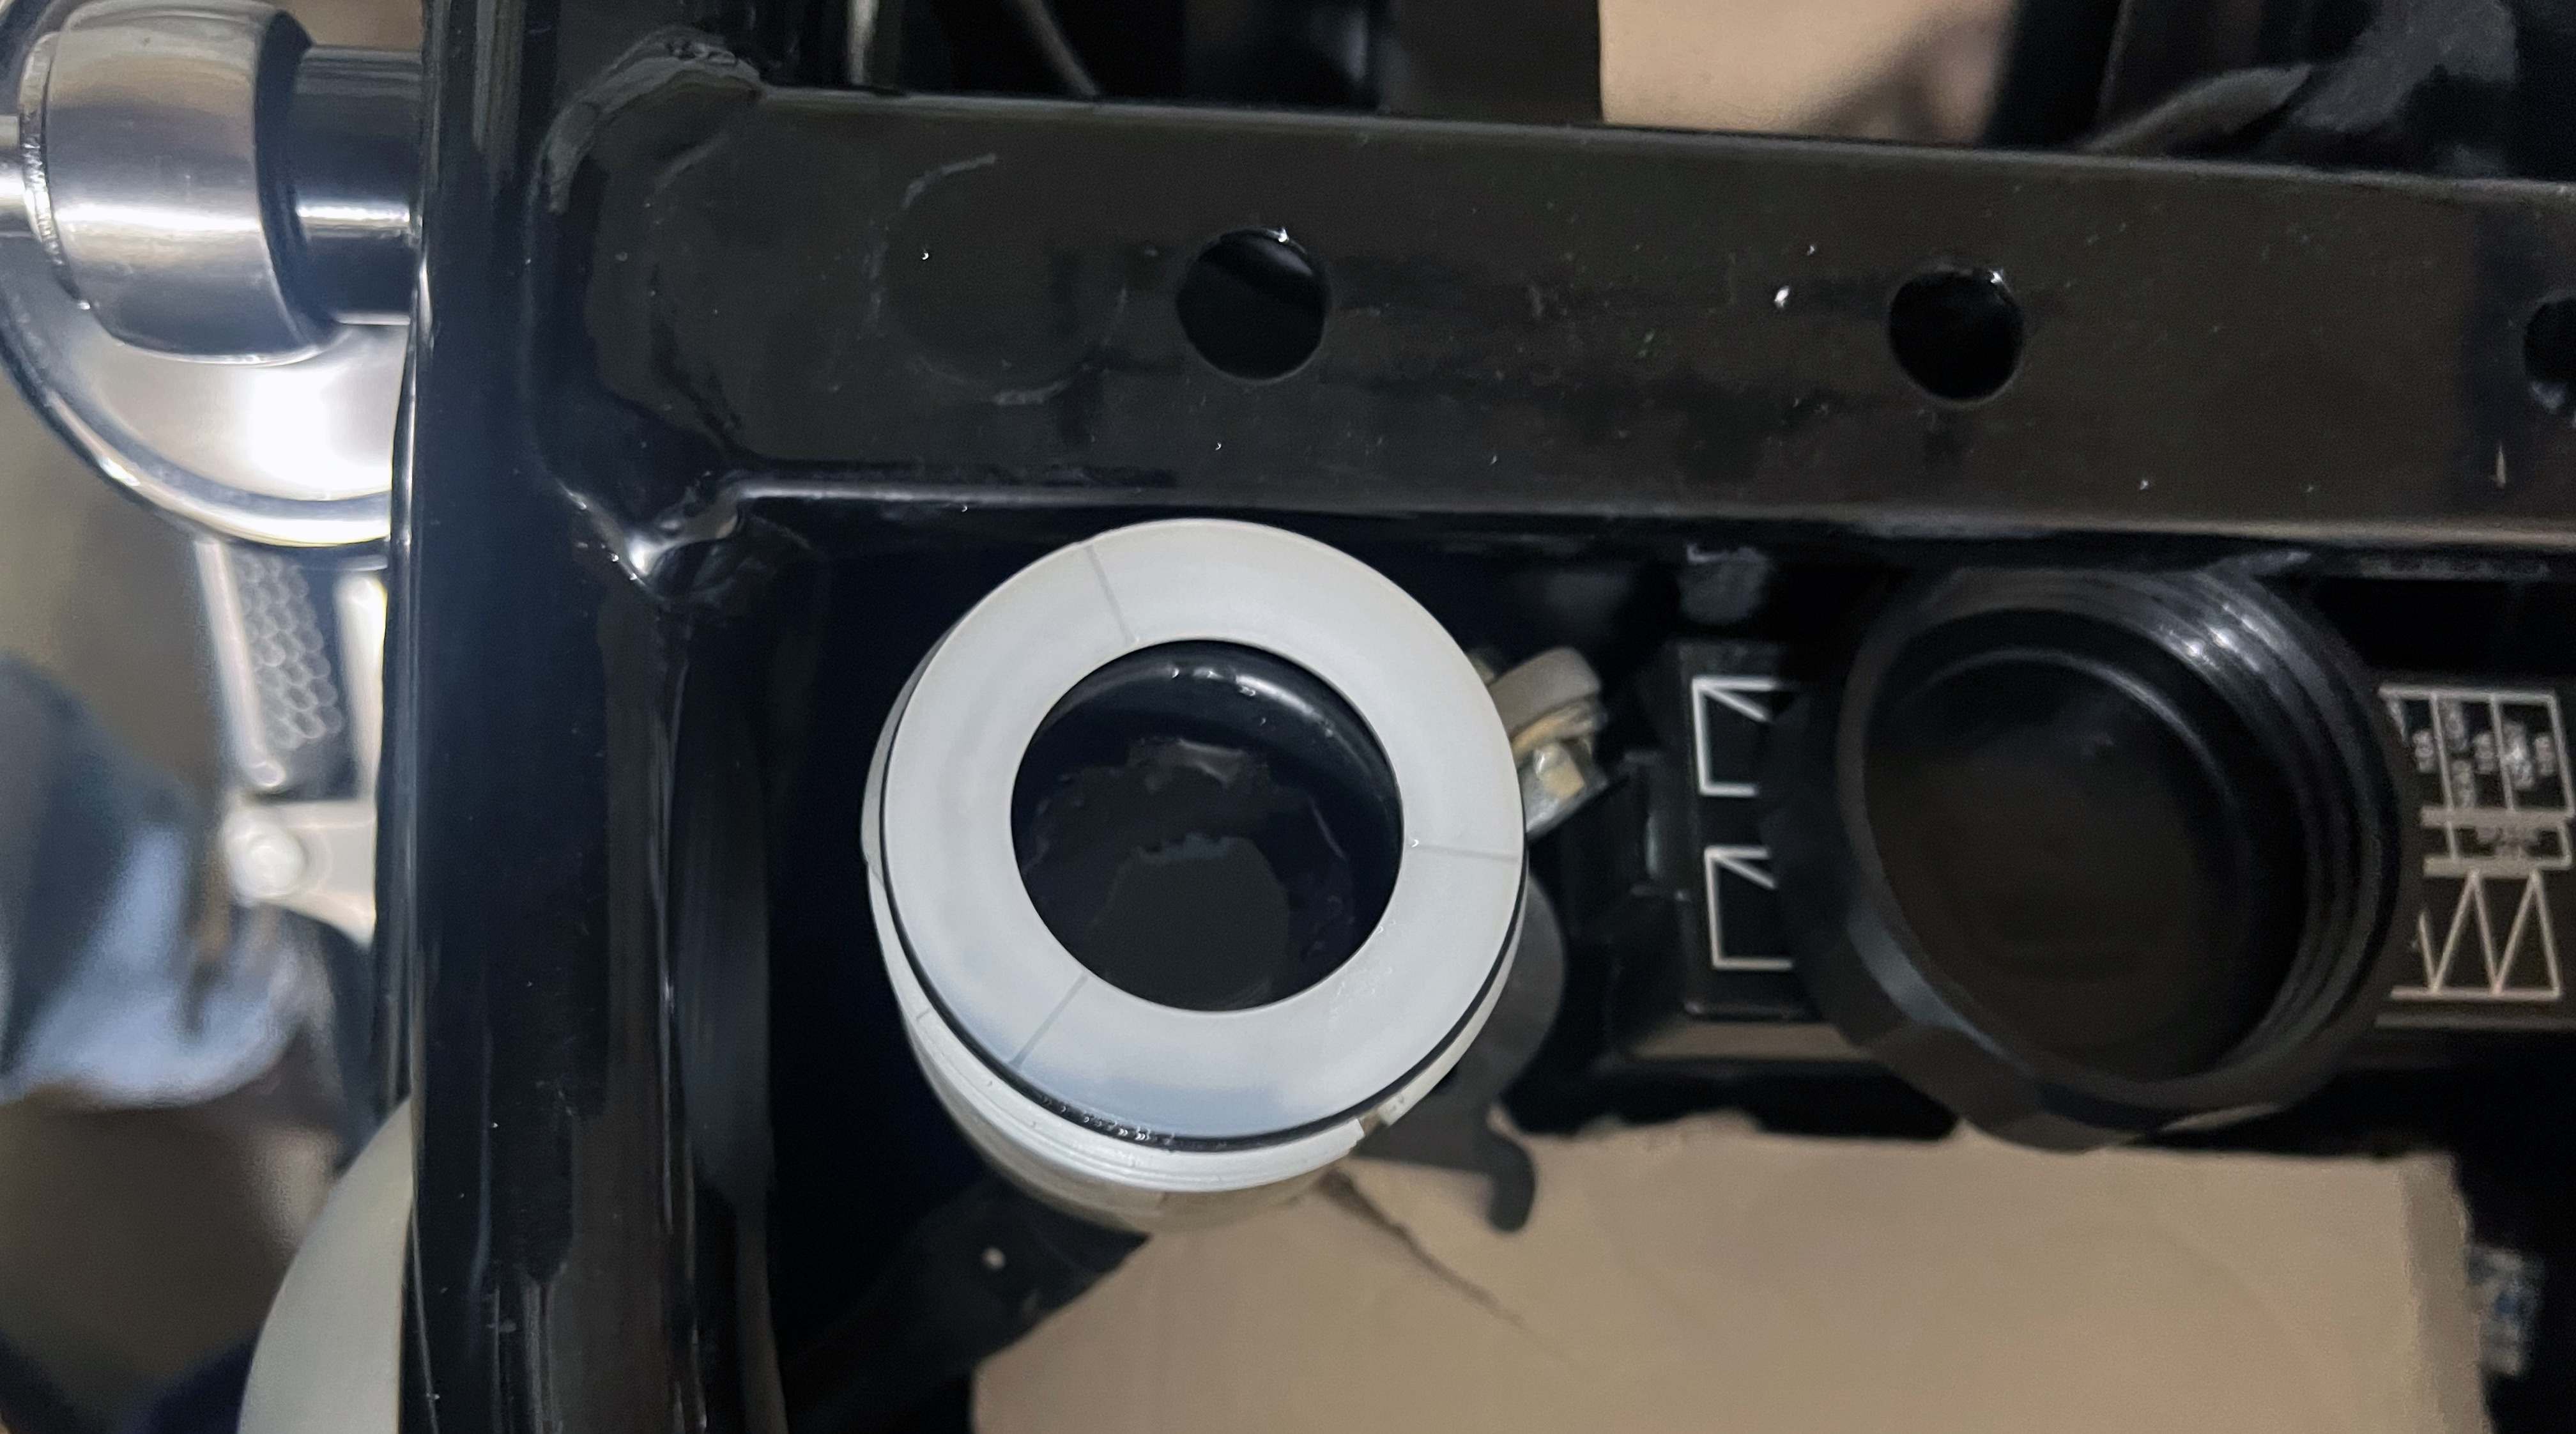
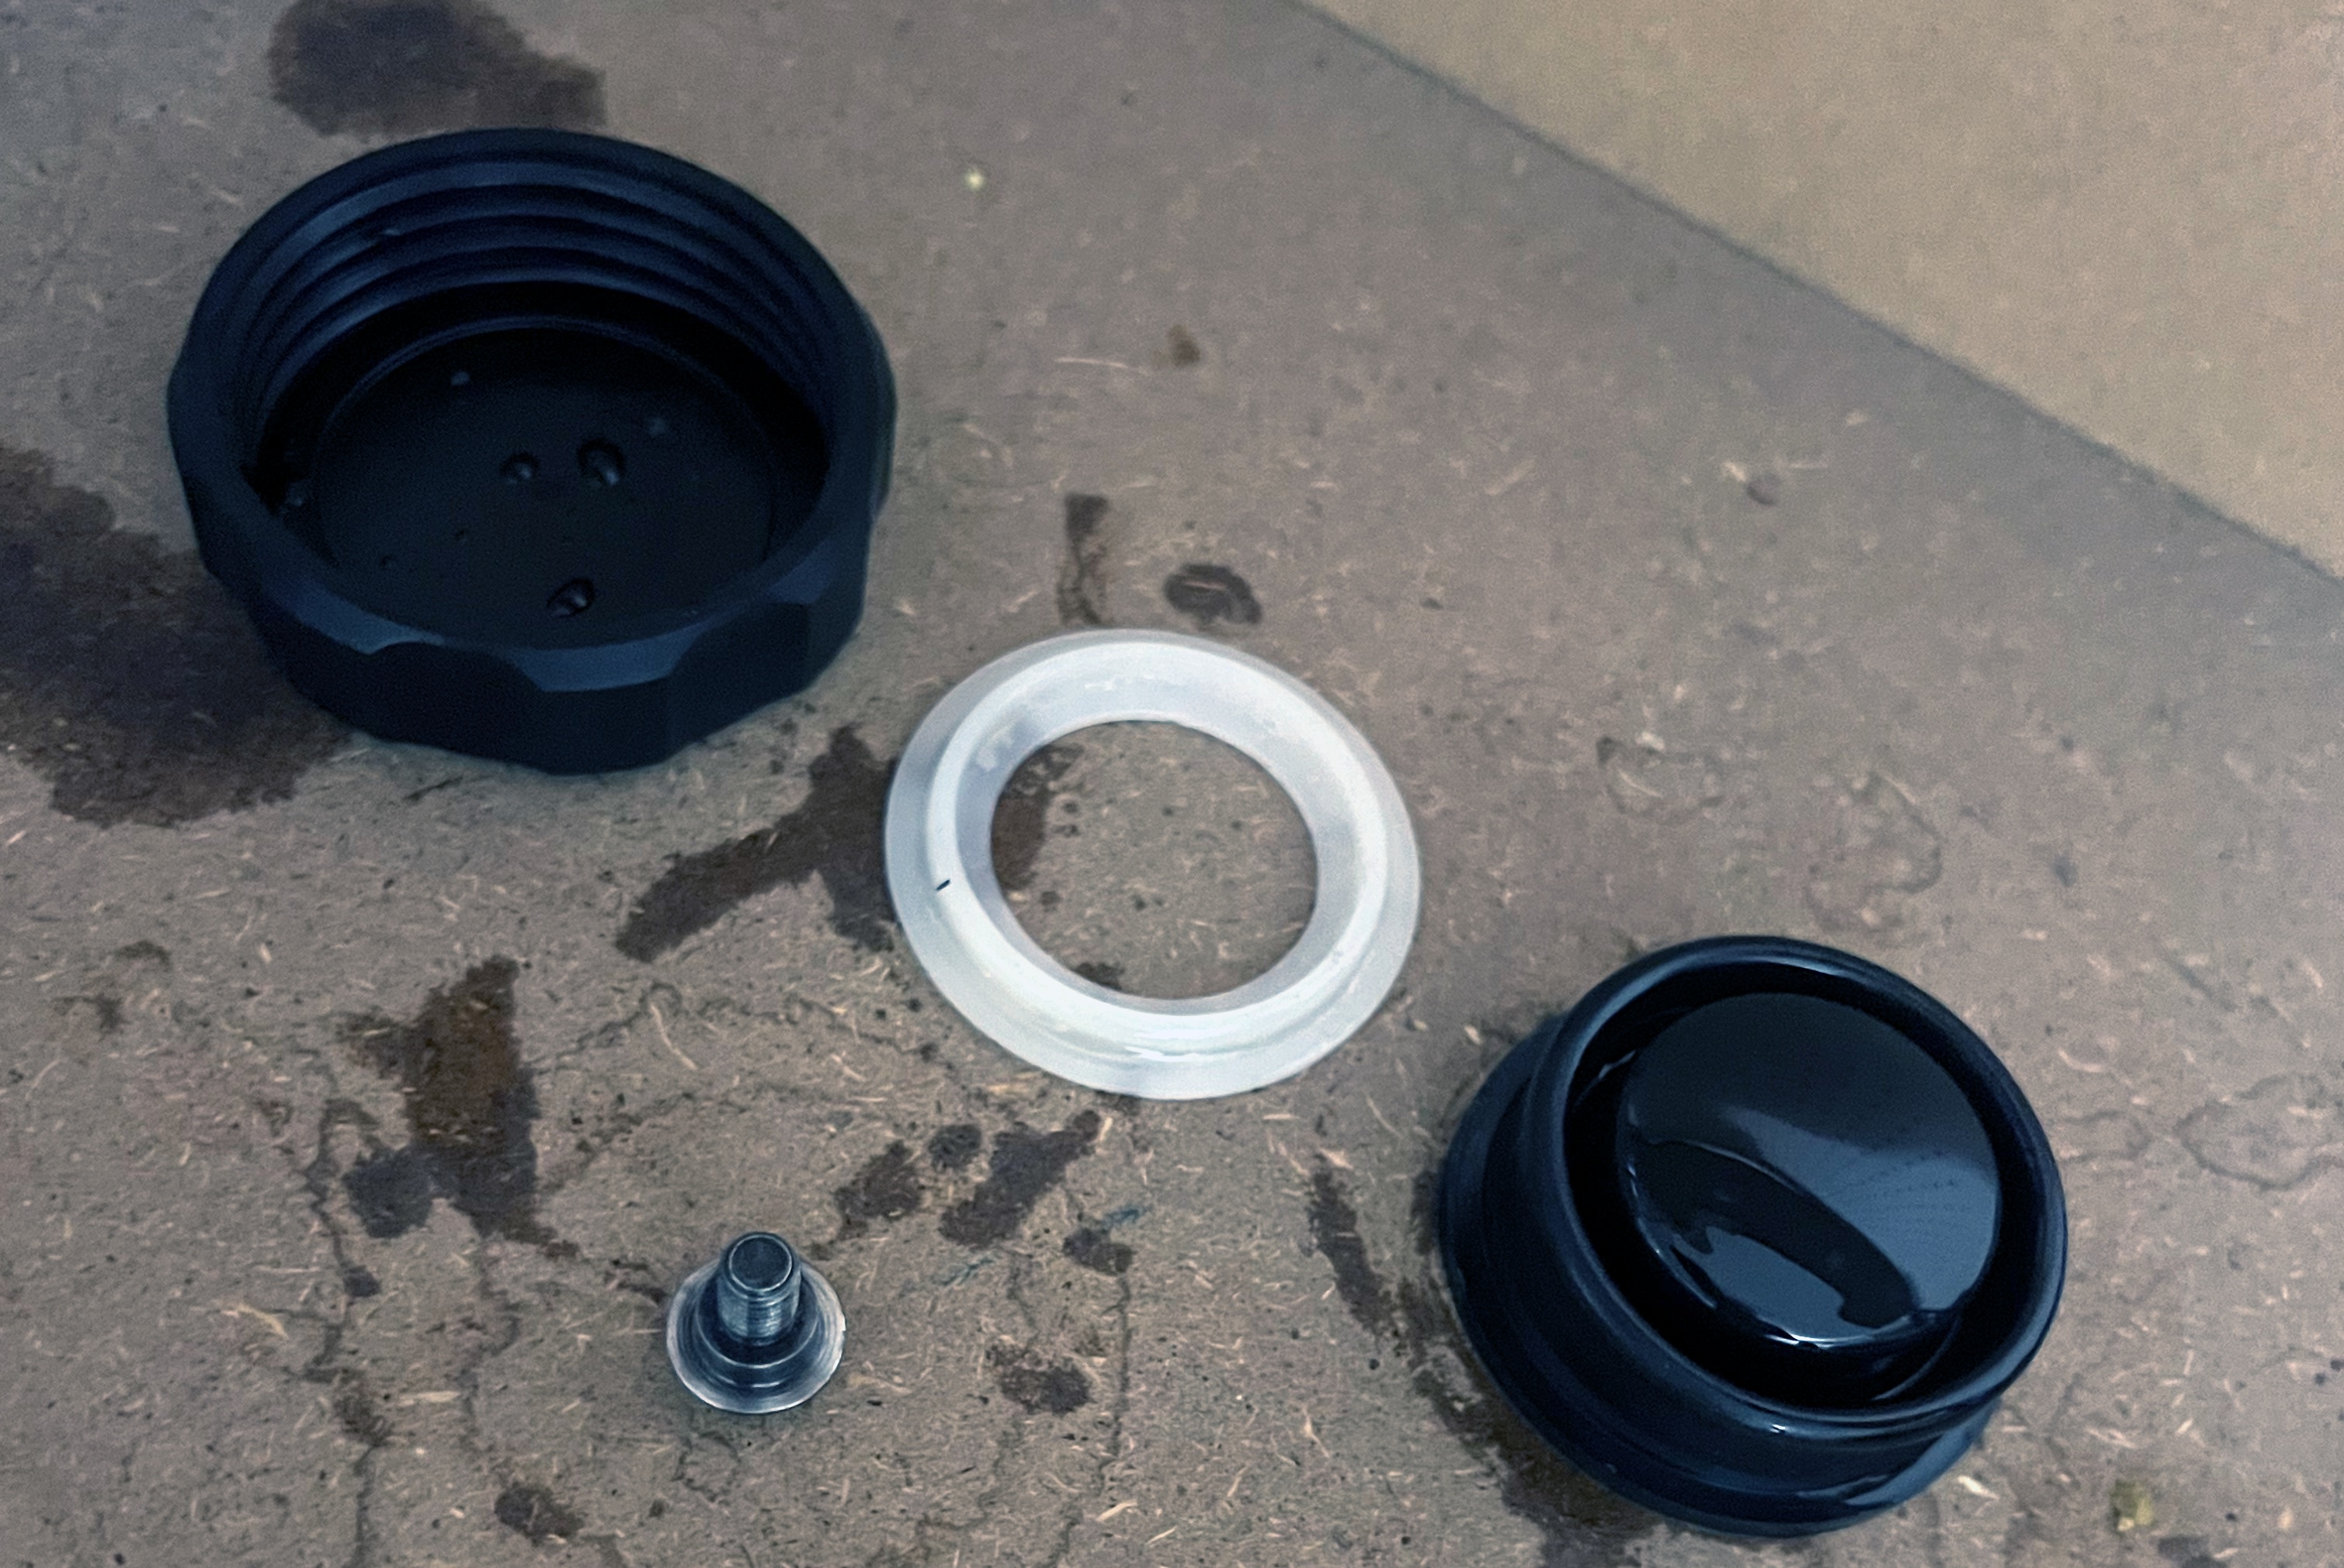
Next, I use a syringe to remove the old brake fluid from the Rear Reservoir. Necy, I fill the Rear Reservoir with new brake fluid. Because I am definitely not ambidextrous, I actuate the rear brake with my left hand while monitoring the flow of brake fluid and bubbles into my collection bucket. When the fluid is solid and clear in the drain hose, I depress the rear brake lever, hold it, and tighten the rear caliber bleeder valve with a wrench, using my right hand.
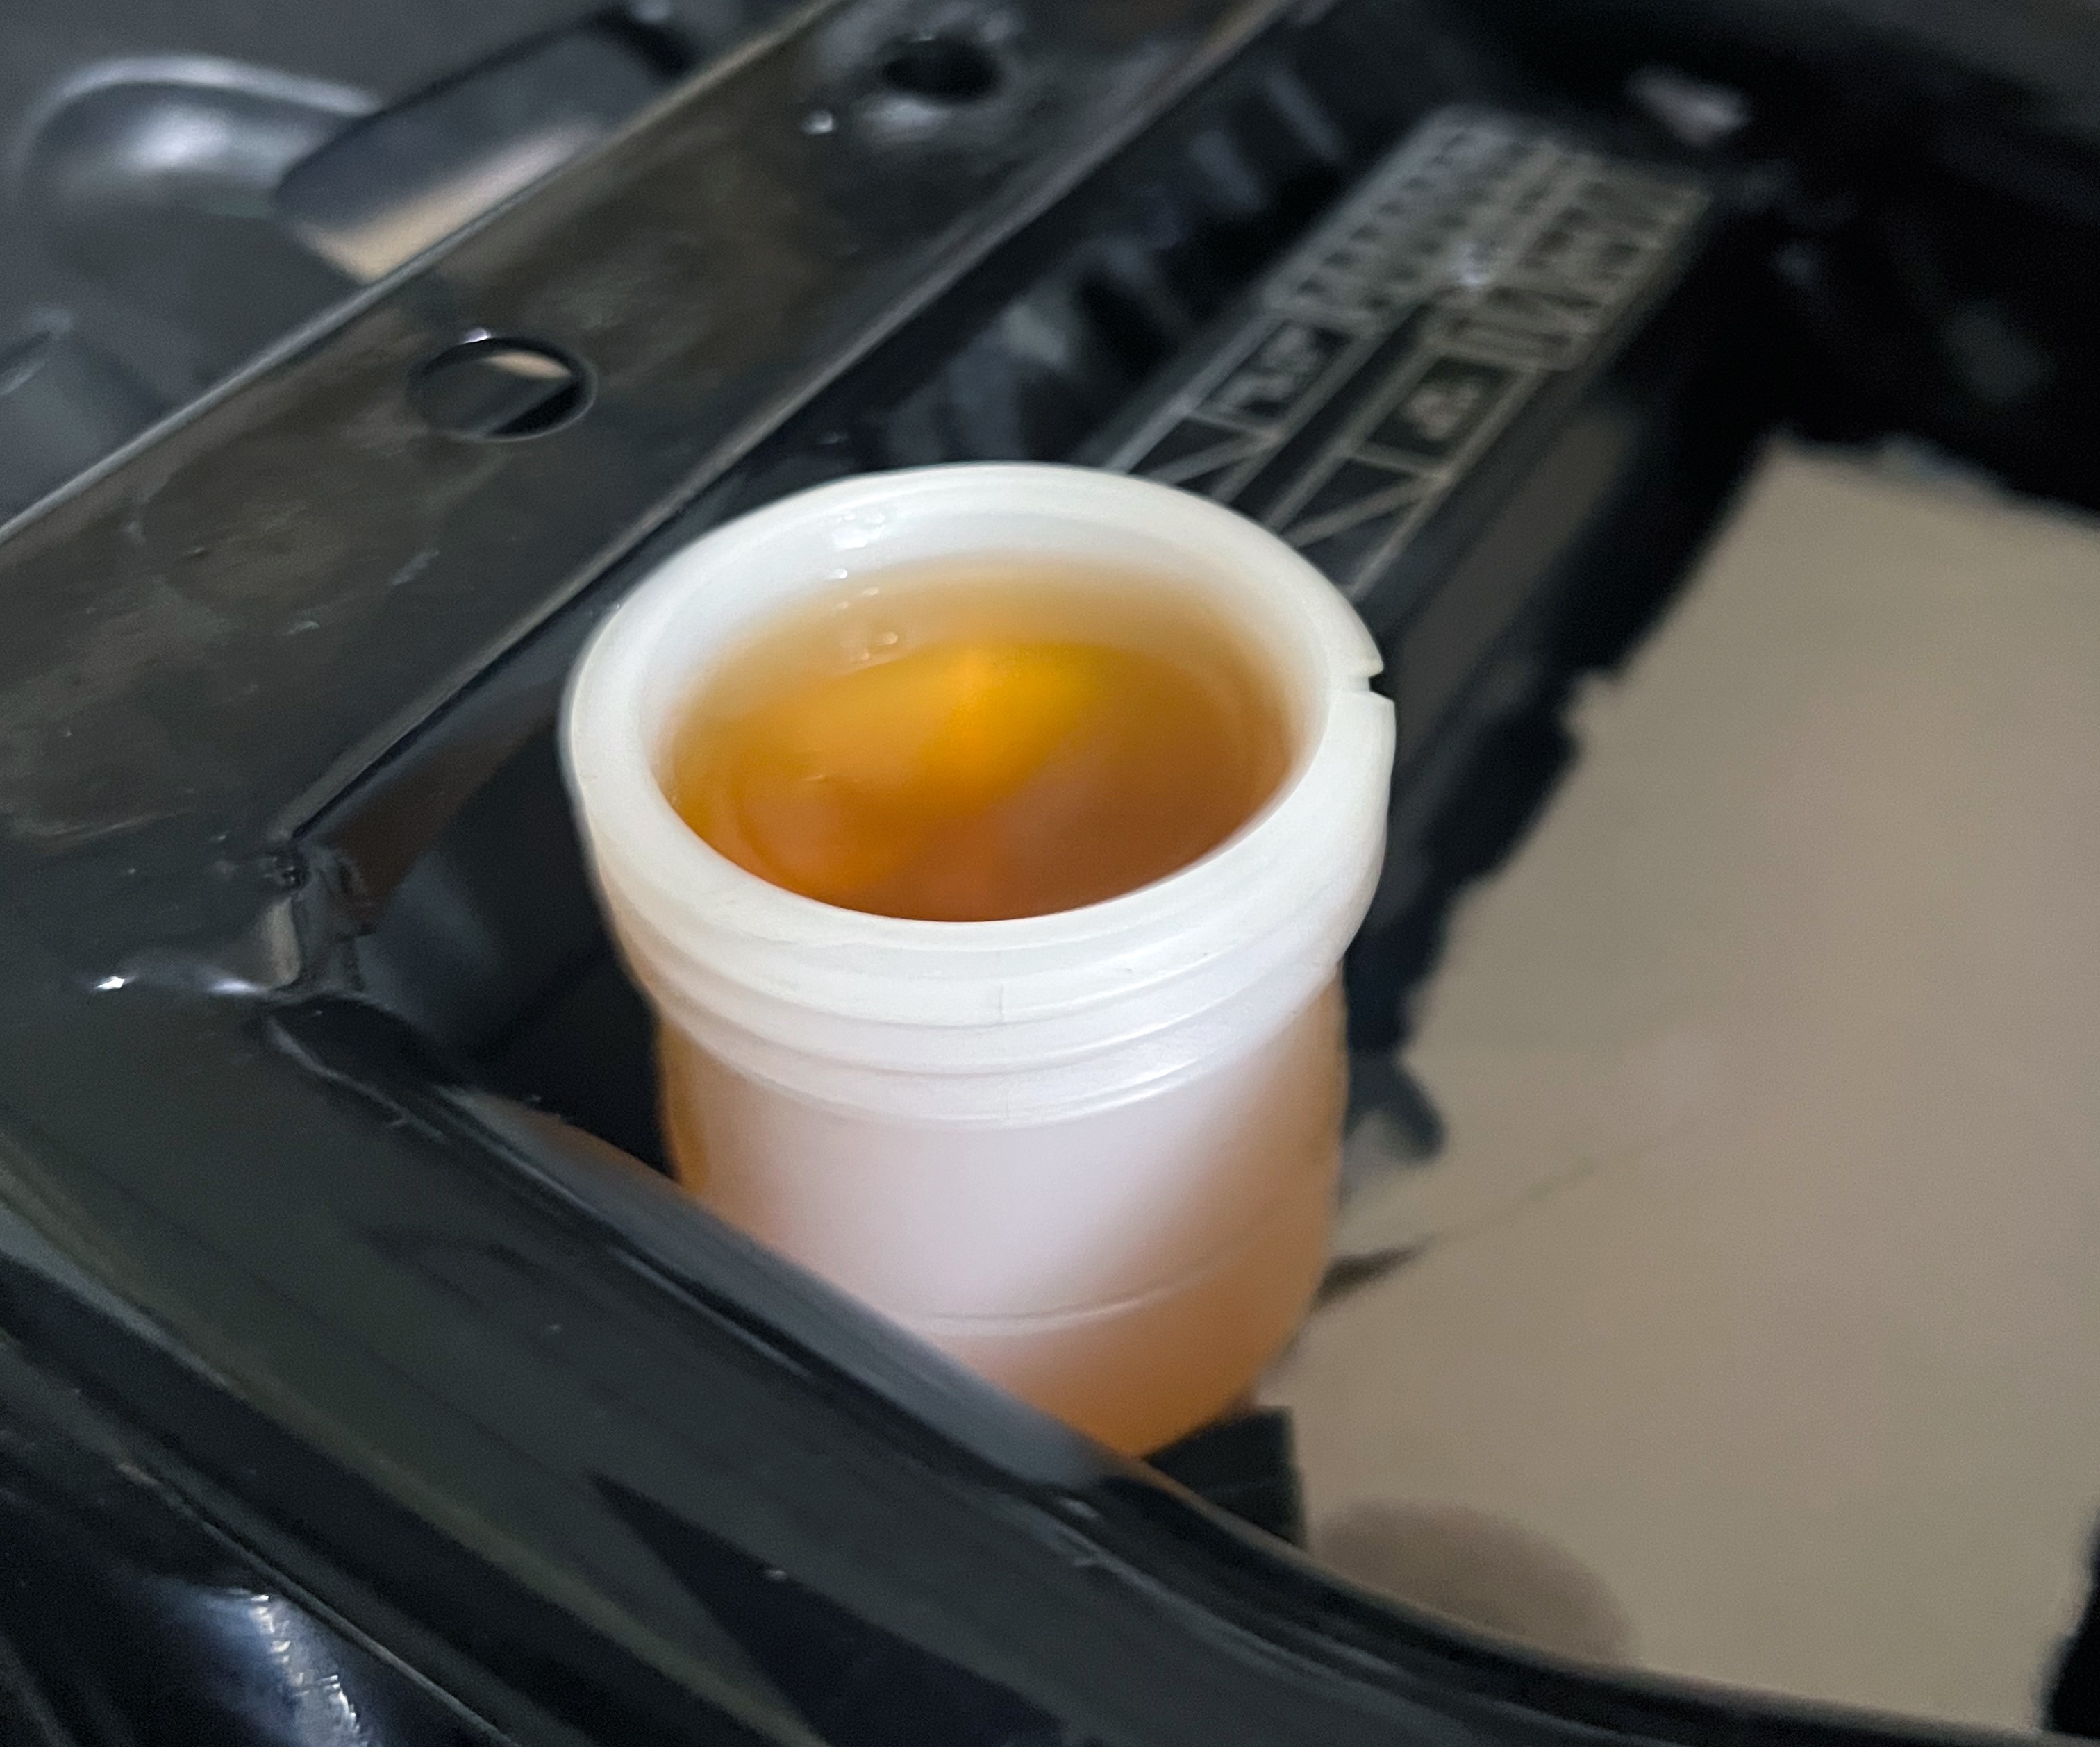
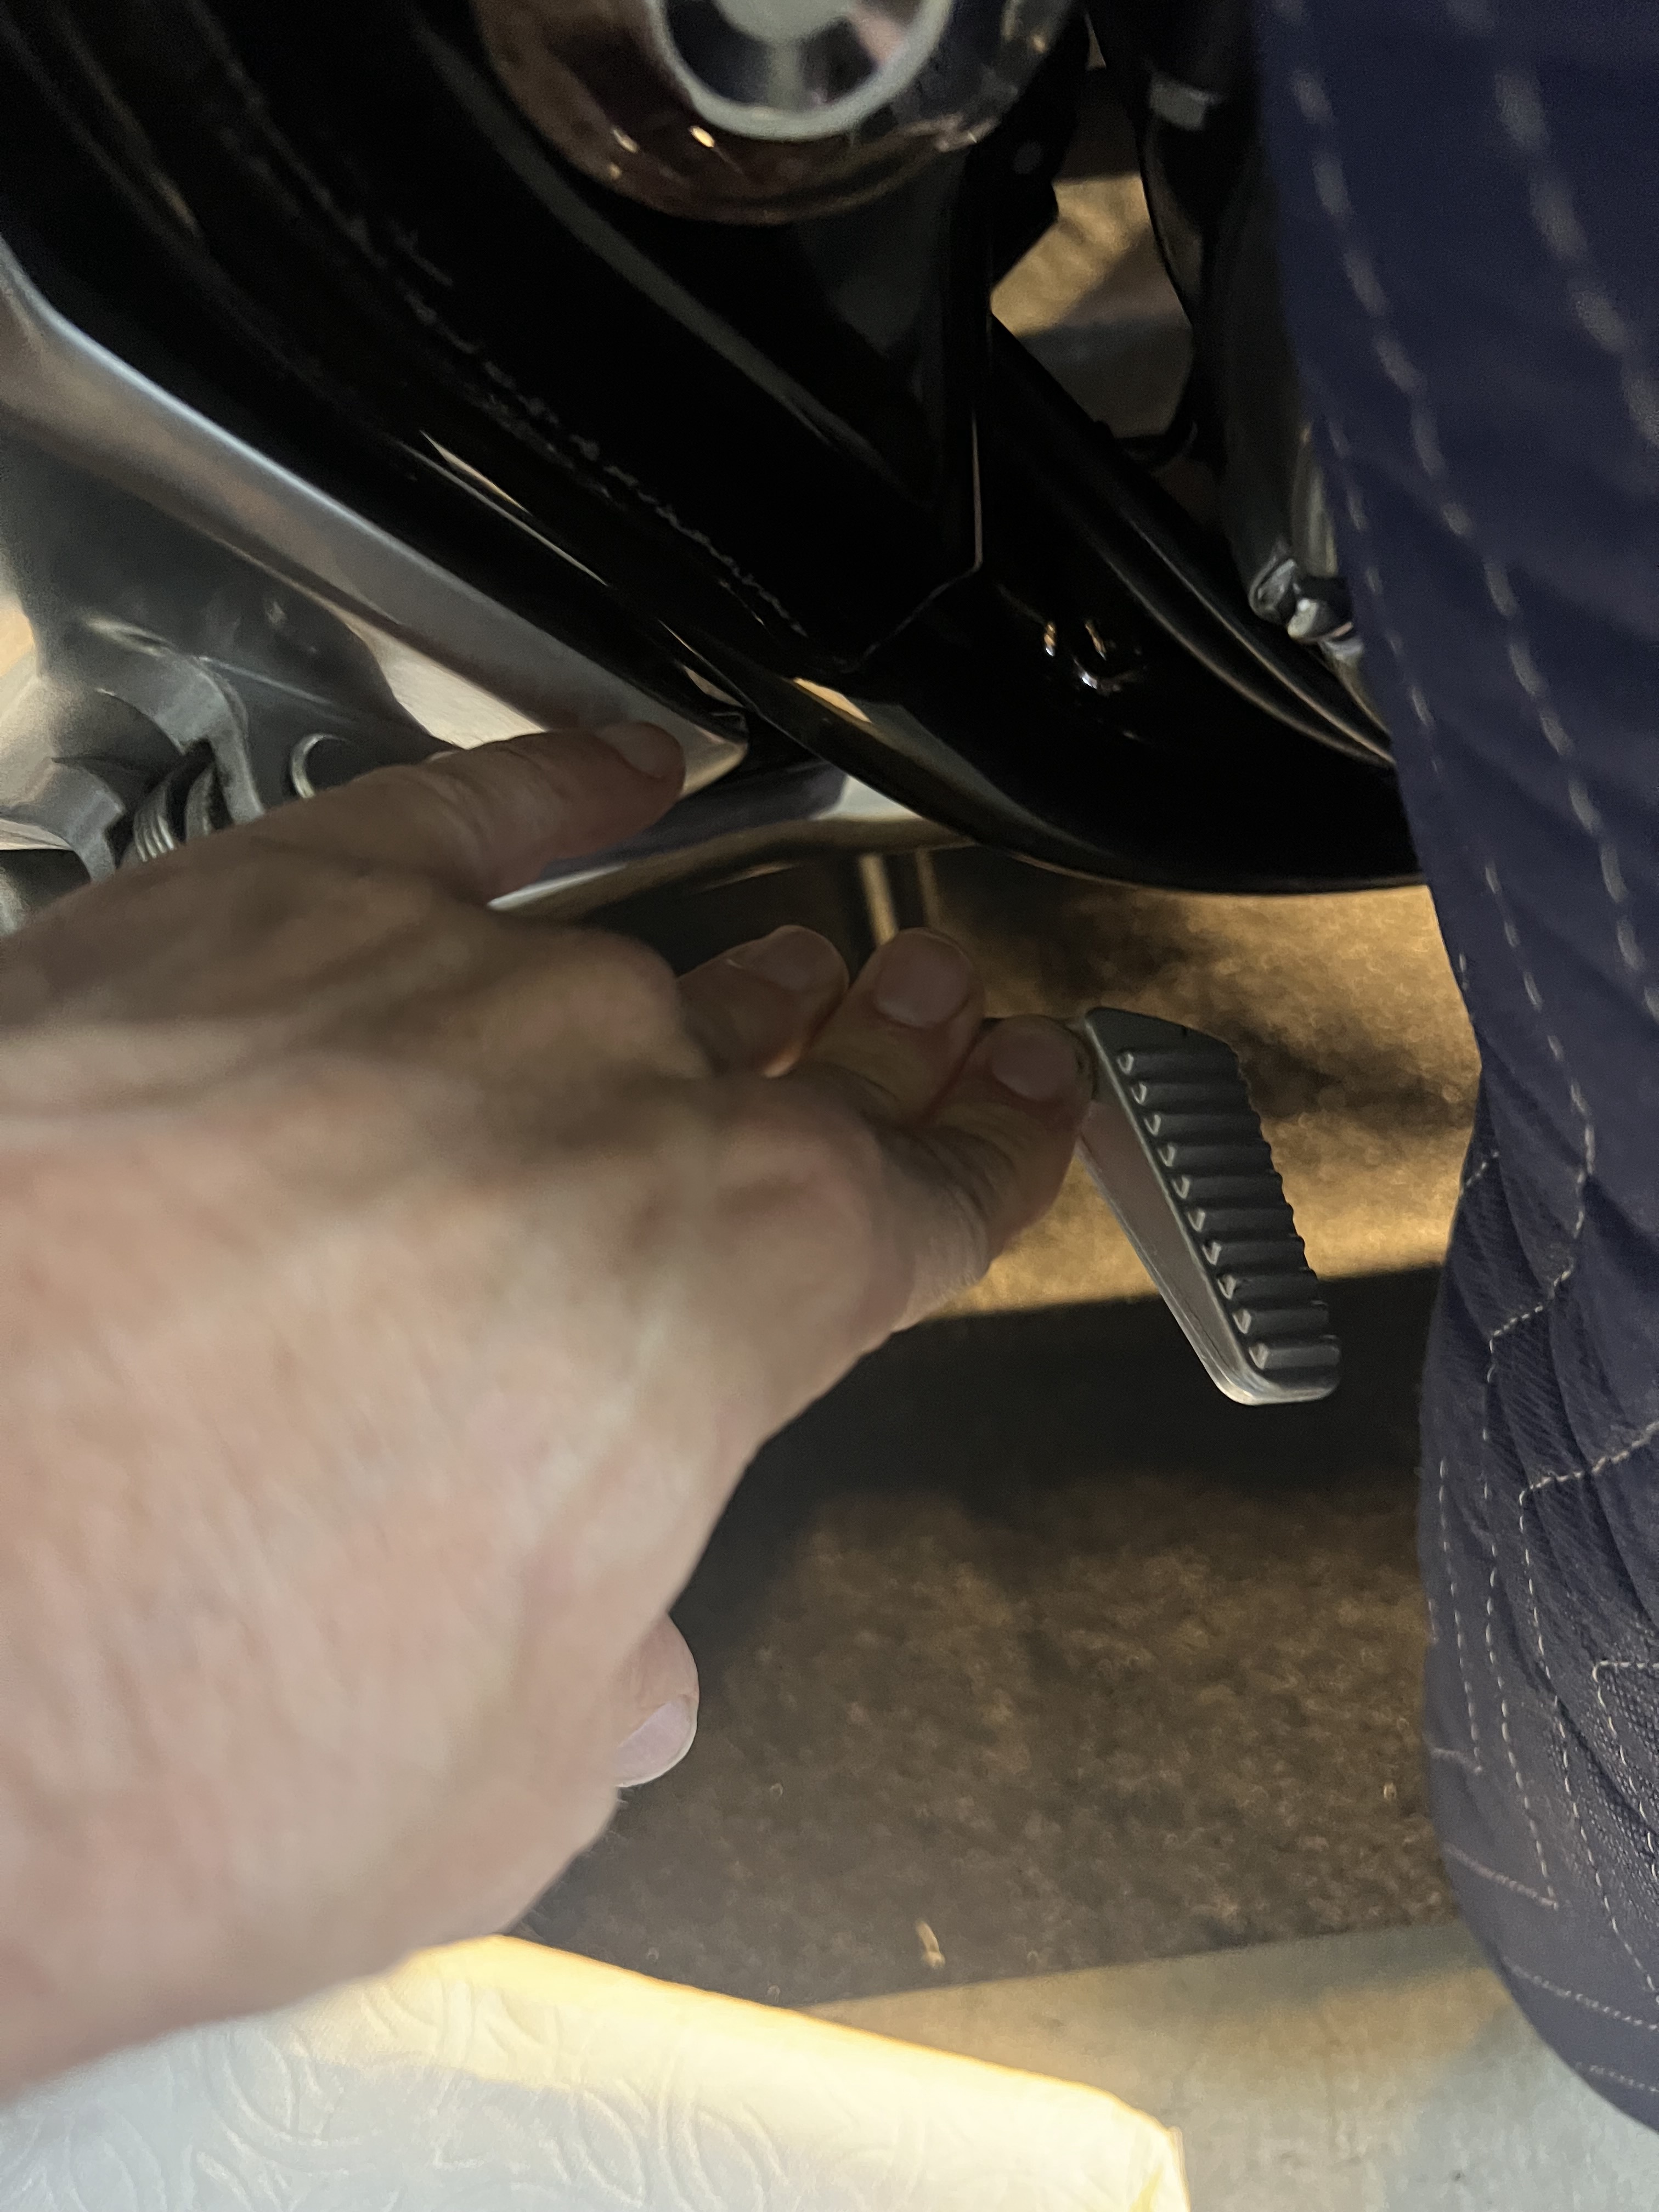
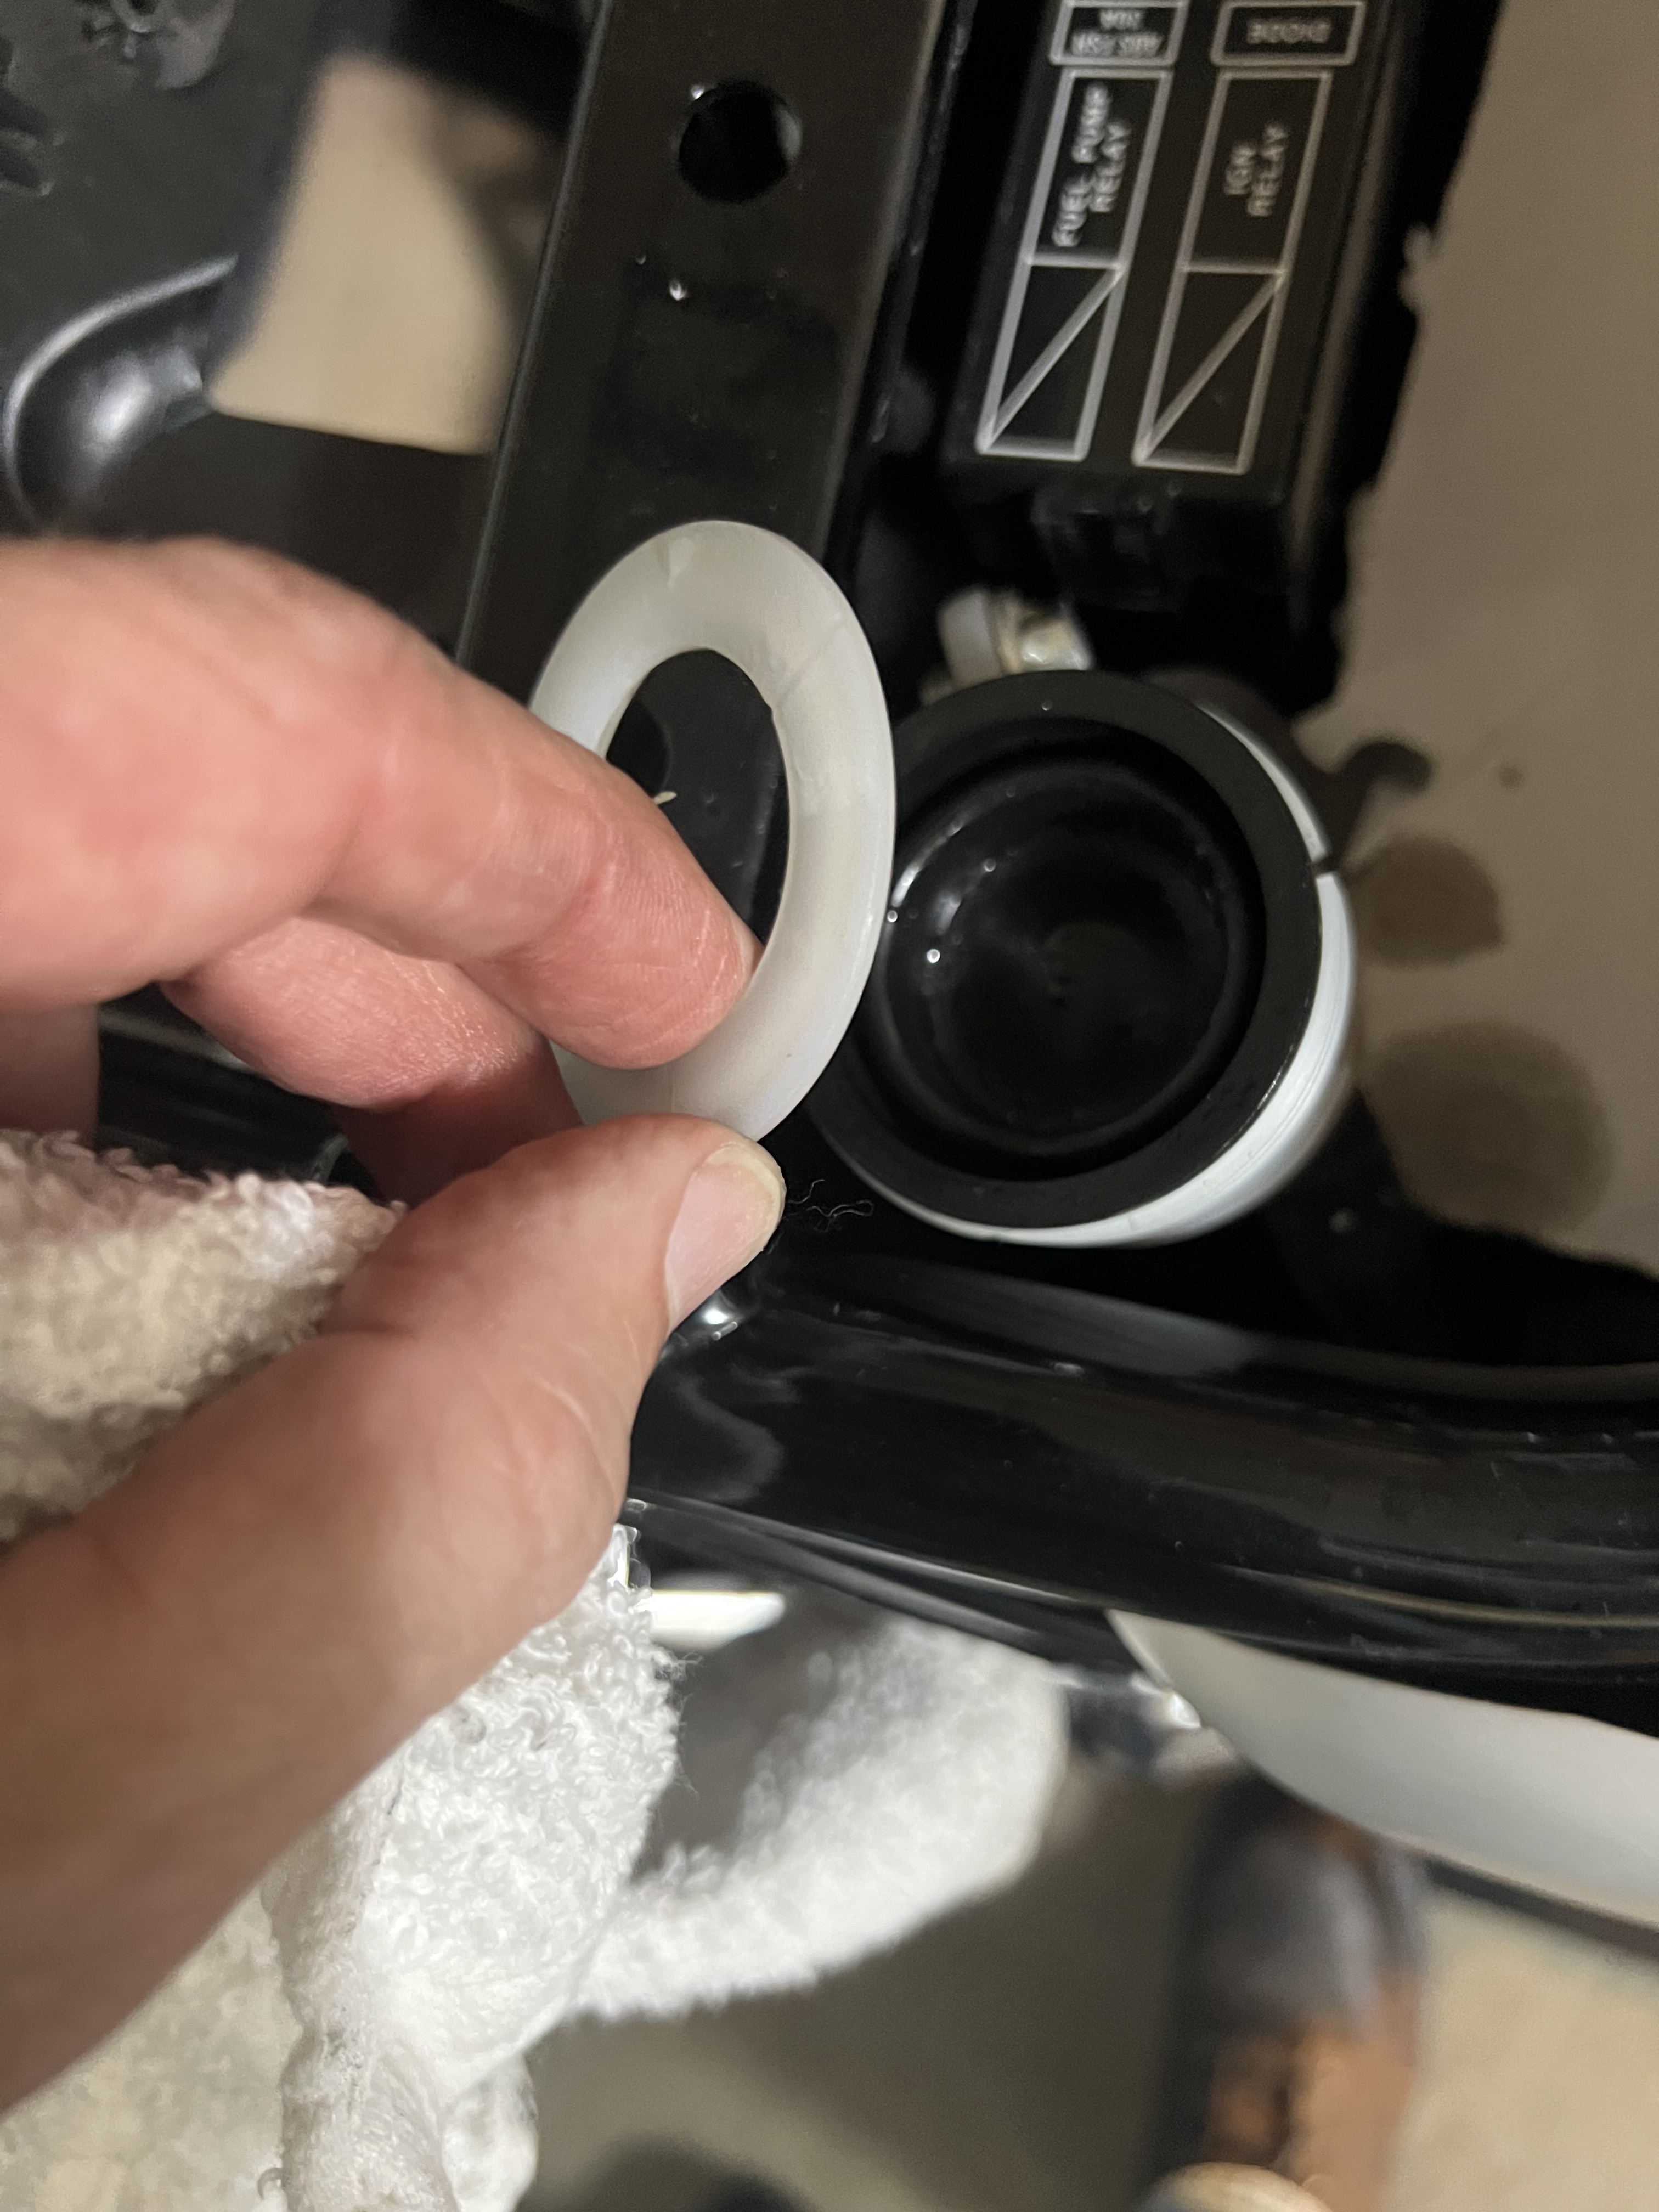
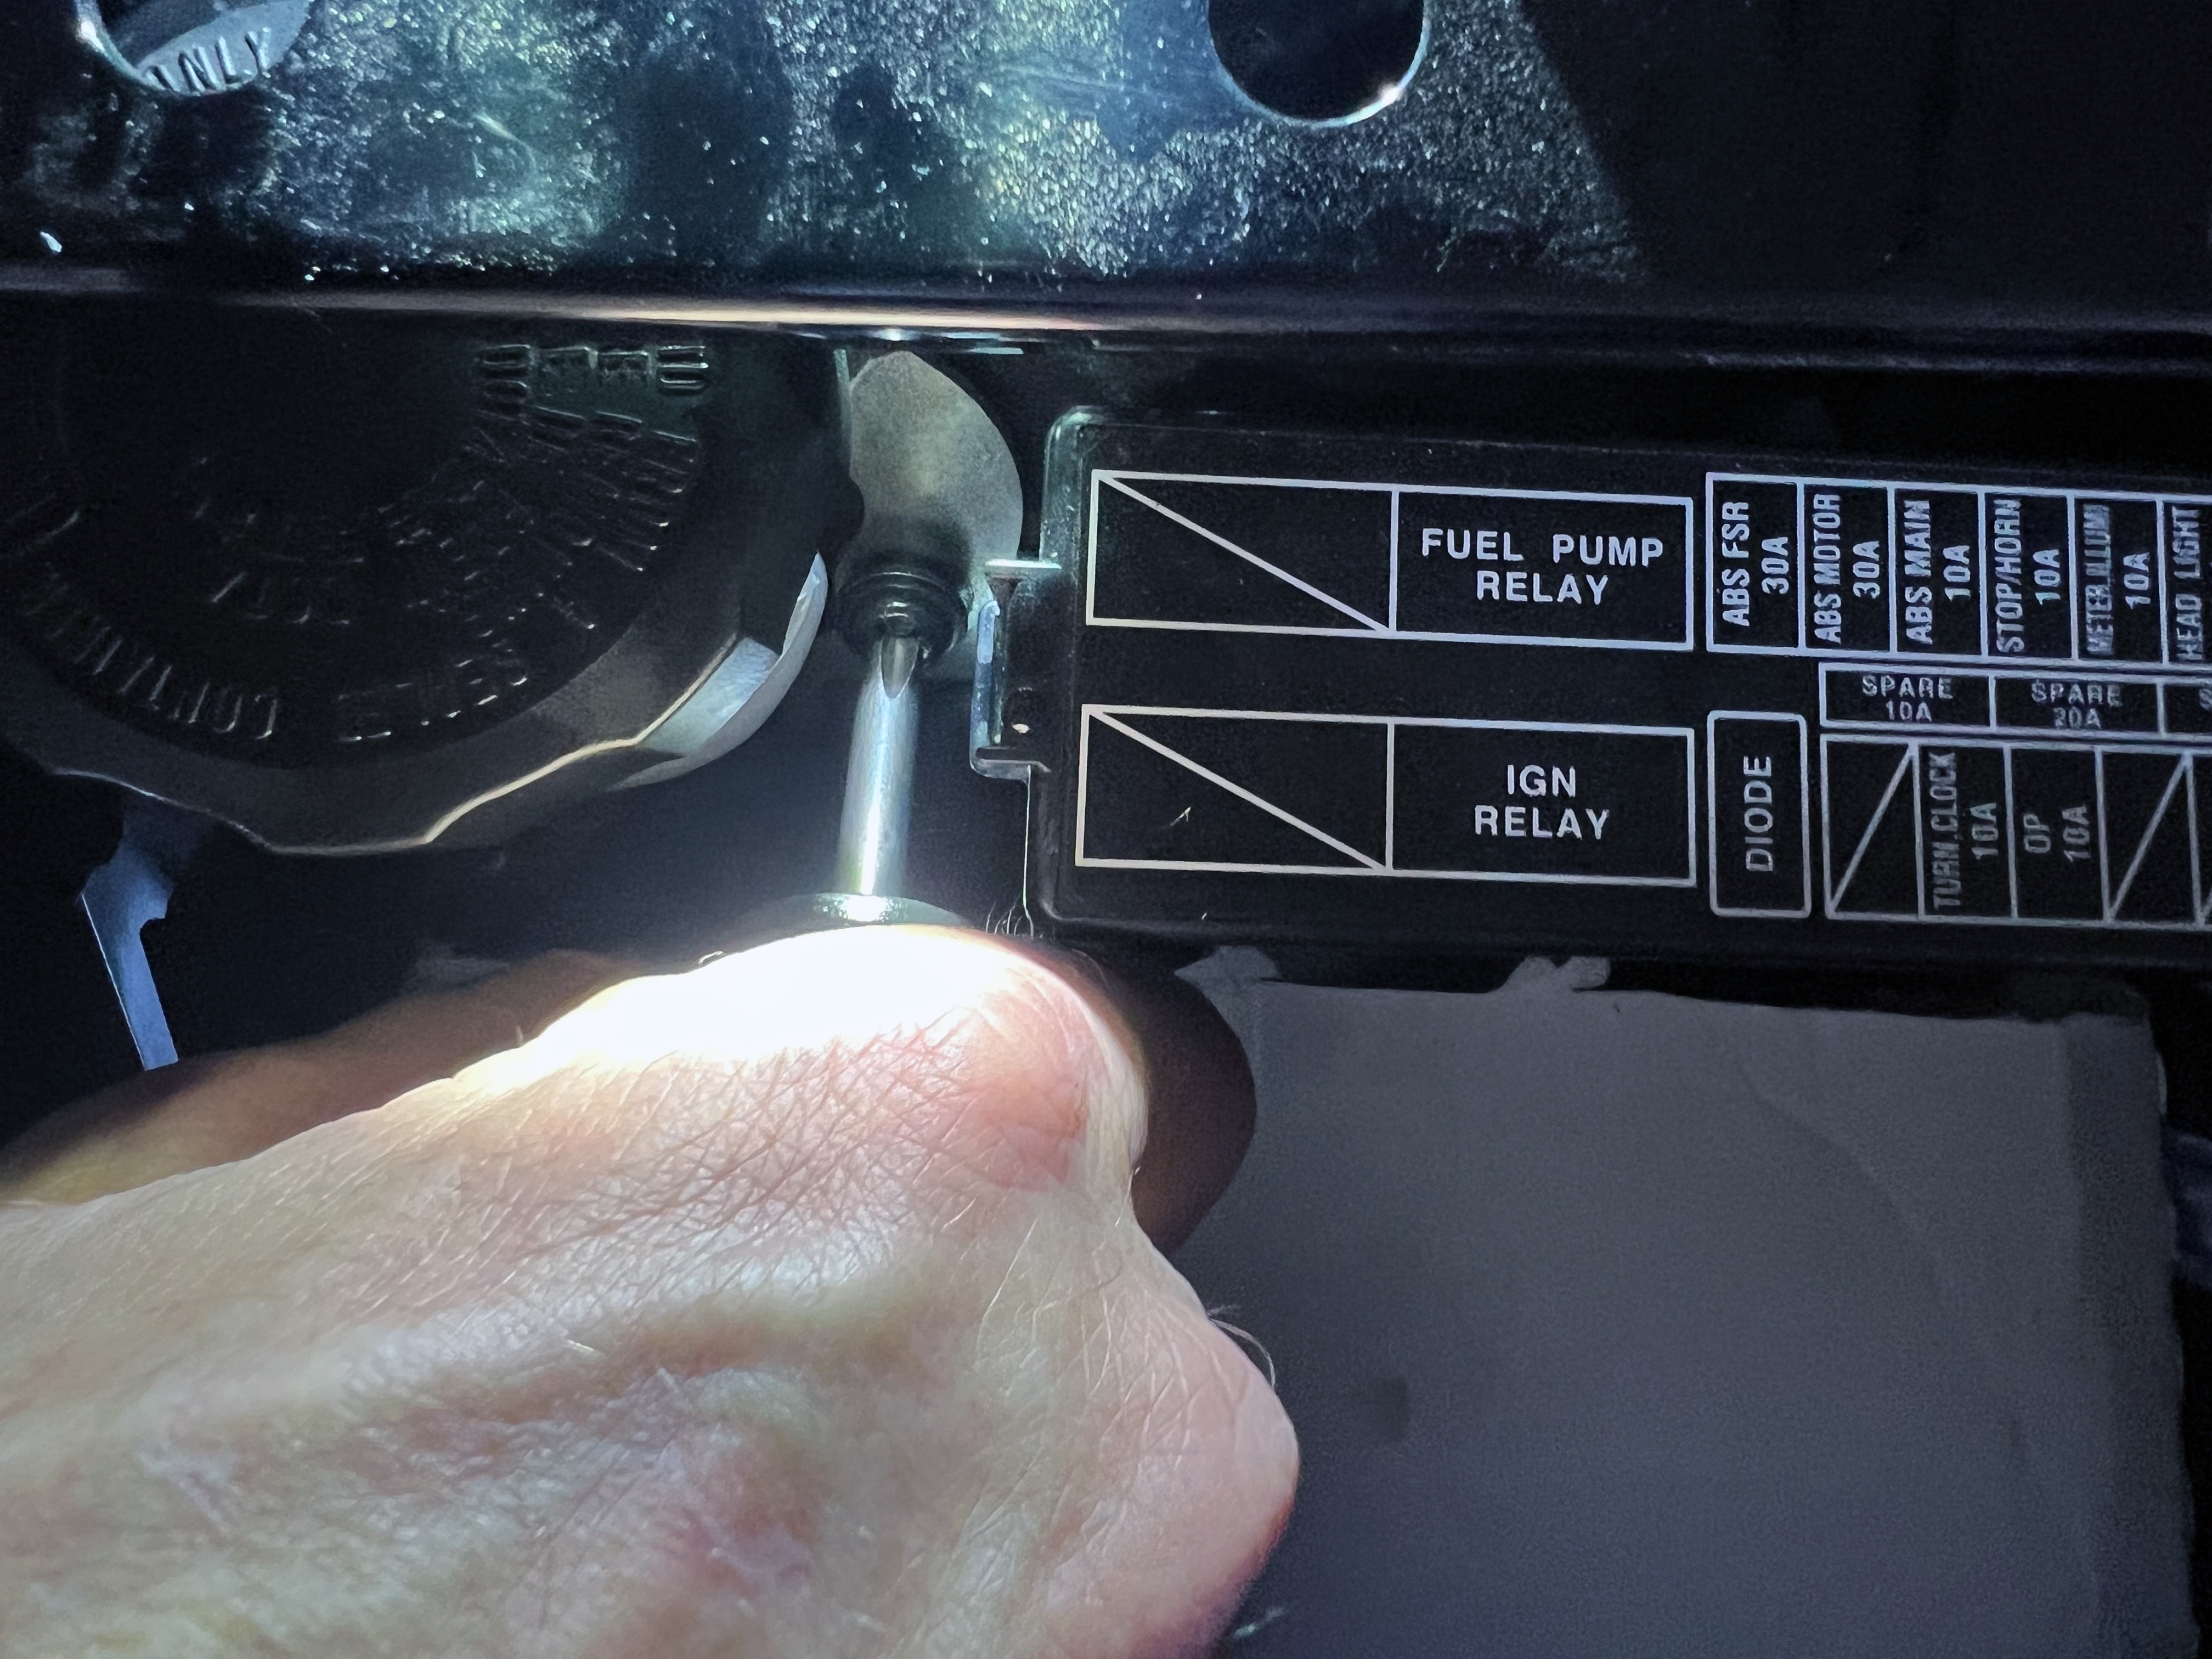
Once I have rear caliber bleeder valve tightened, I disconnect the drain hose from the brake caliber bleeder valve, remove the towels protecting the brake caliber, and using a moist towel wipe down the brake caliber. I then re-assemble the Rear Reservoir and attach it to the frame. I first hand-tighten the Rear Reservoir and then torque the bolt to 0.8 Nm (0.6 ft-lbs).
Step 6: Check ABS
After I change the fluid on the front and rear calibers, I check the ABS on my CB1100EX to make sure it is functioning properly. I use the following protocol:
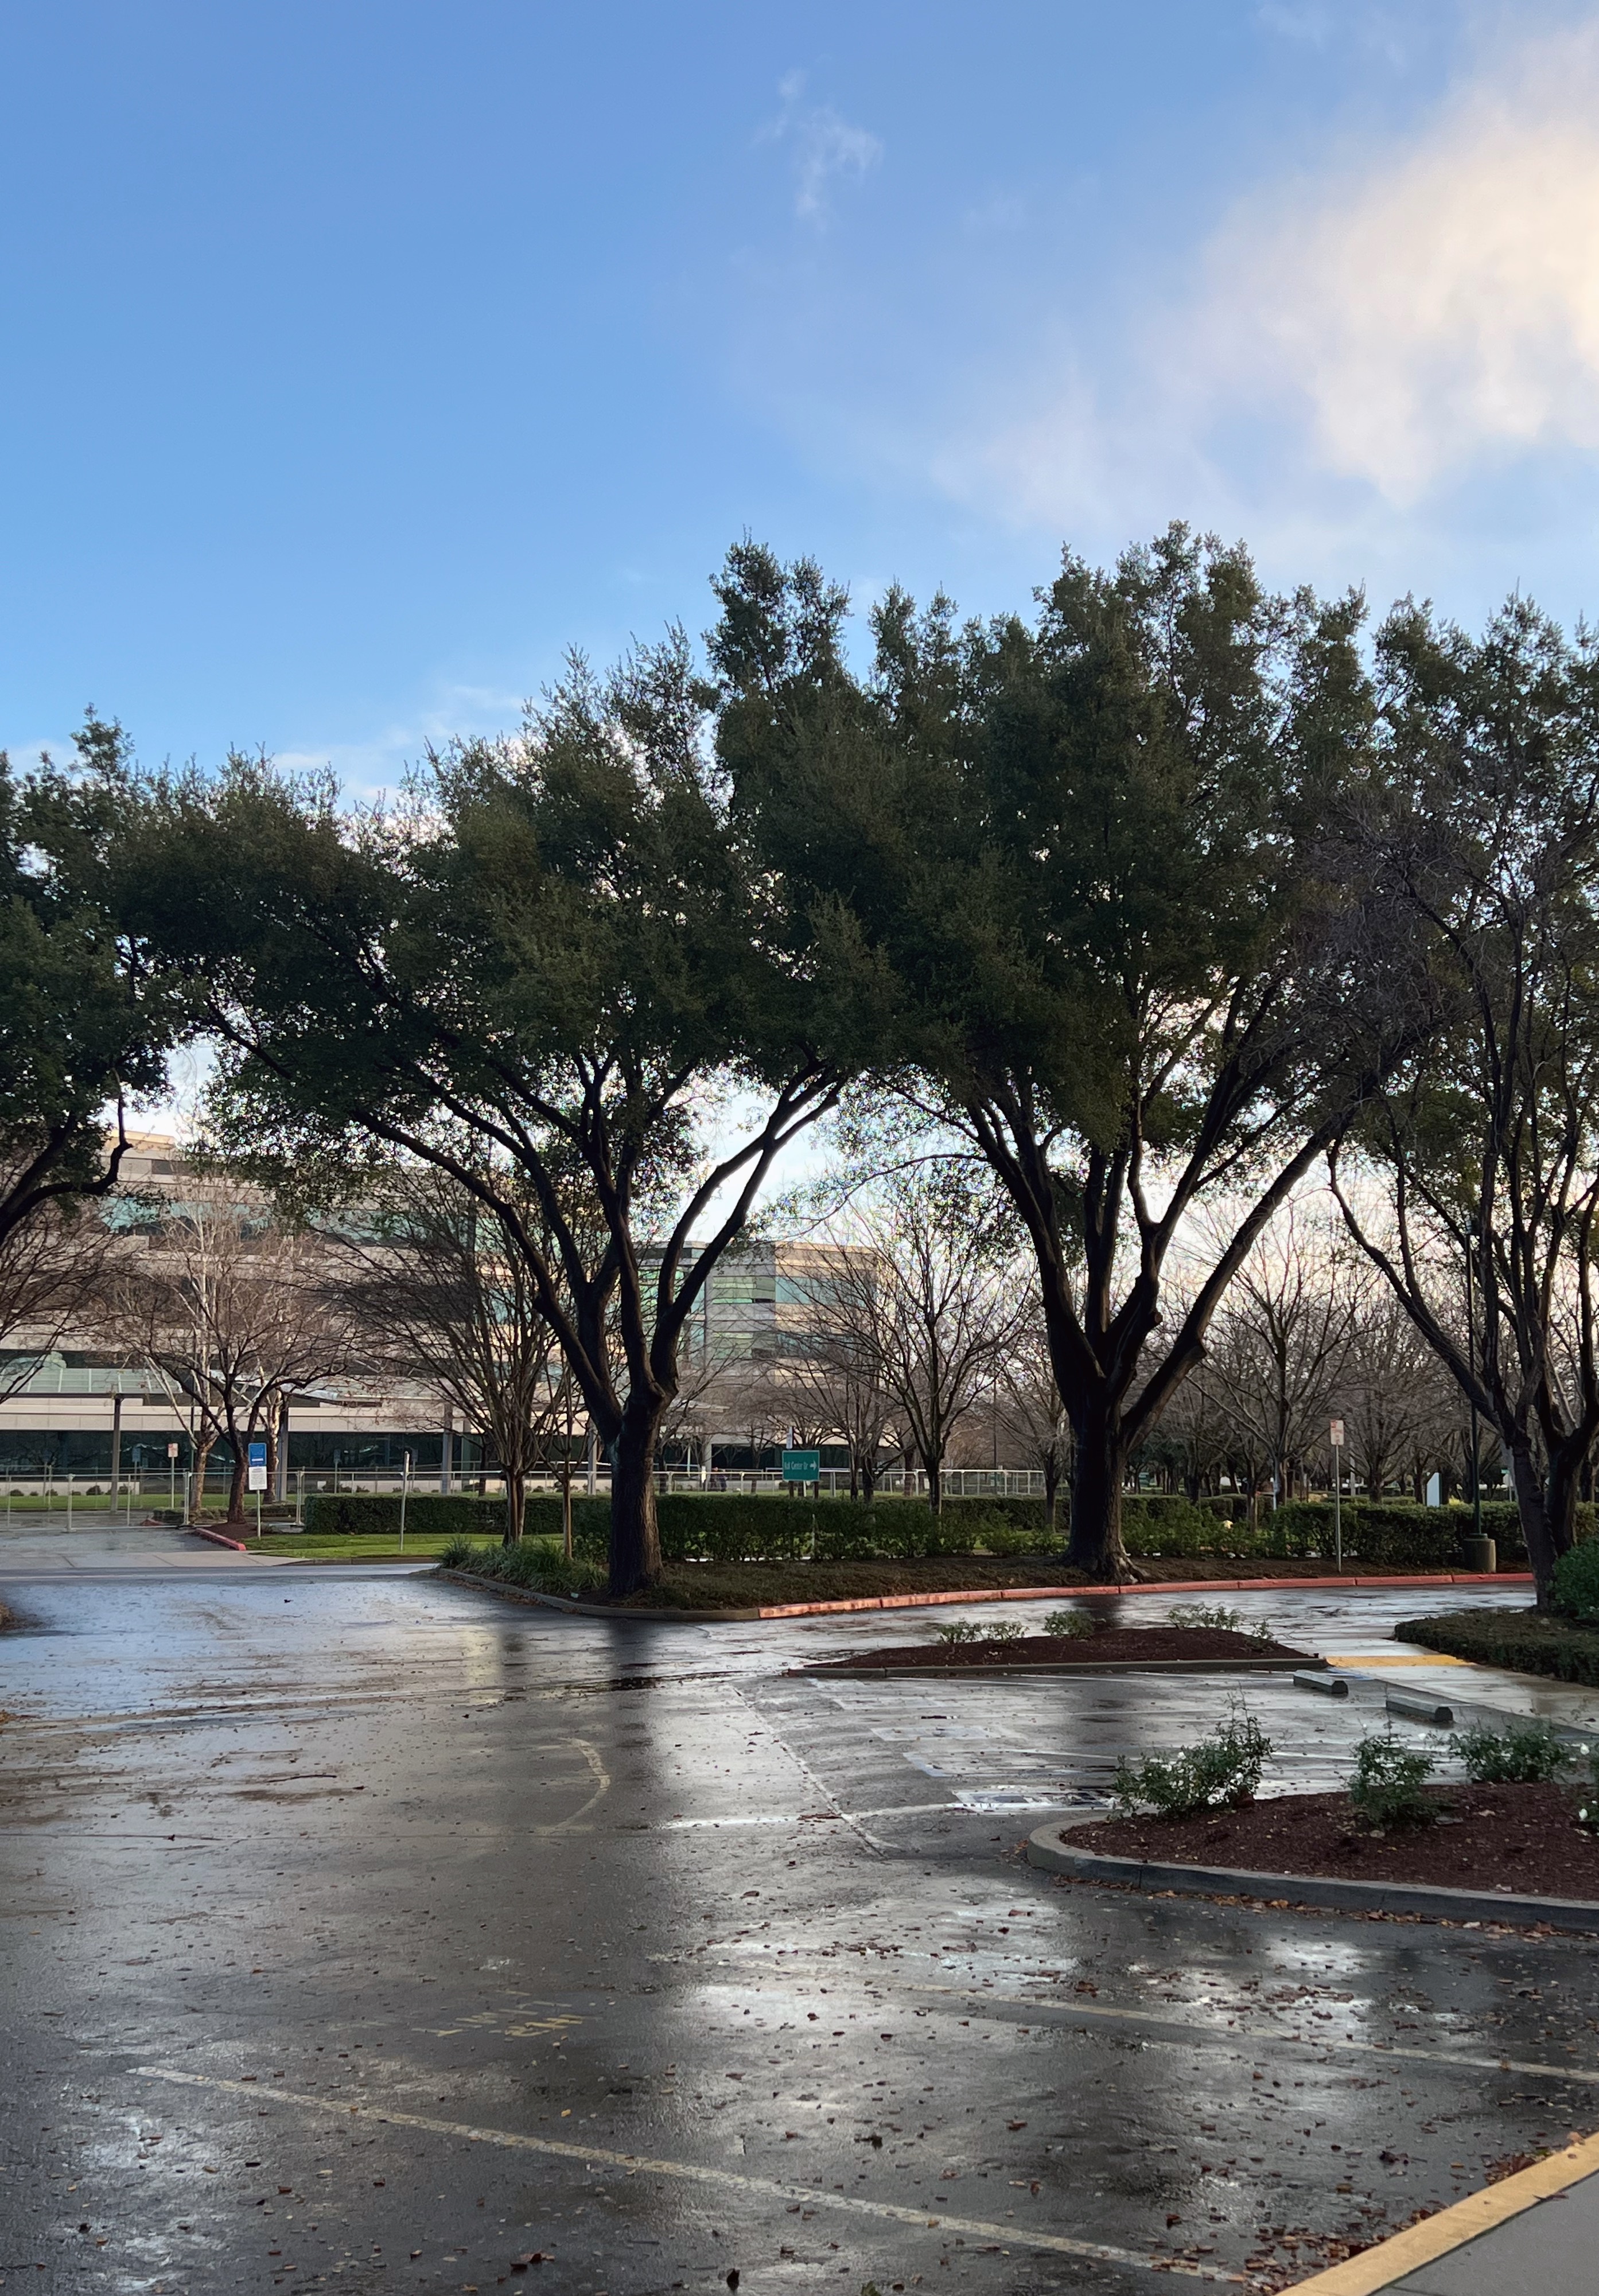
Using a hard braking technique, I then proceed to a neighborhood street, escalate to a city street, and finally I test at speed on the Interstate. I monitor my display to see if any ABS error messages appear.
Note that even if my ABS has problems, I can still stop my motorcycle. I take special care to ensure that my speed and environment enables me to remain in control of my motorcycle at all times.
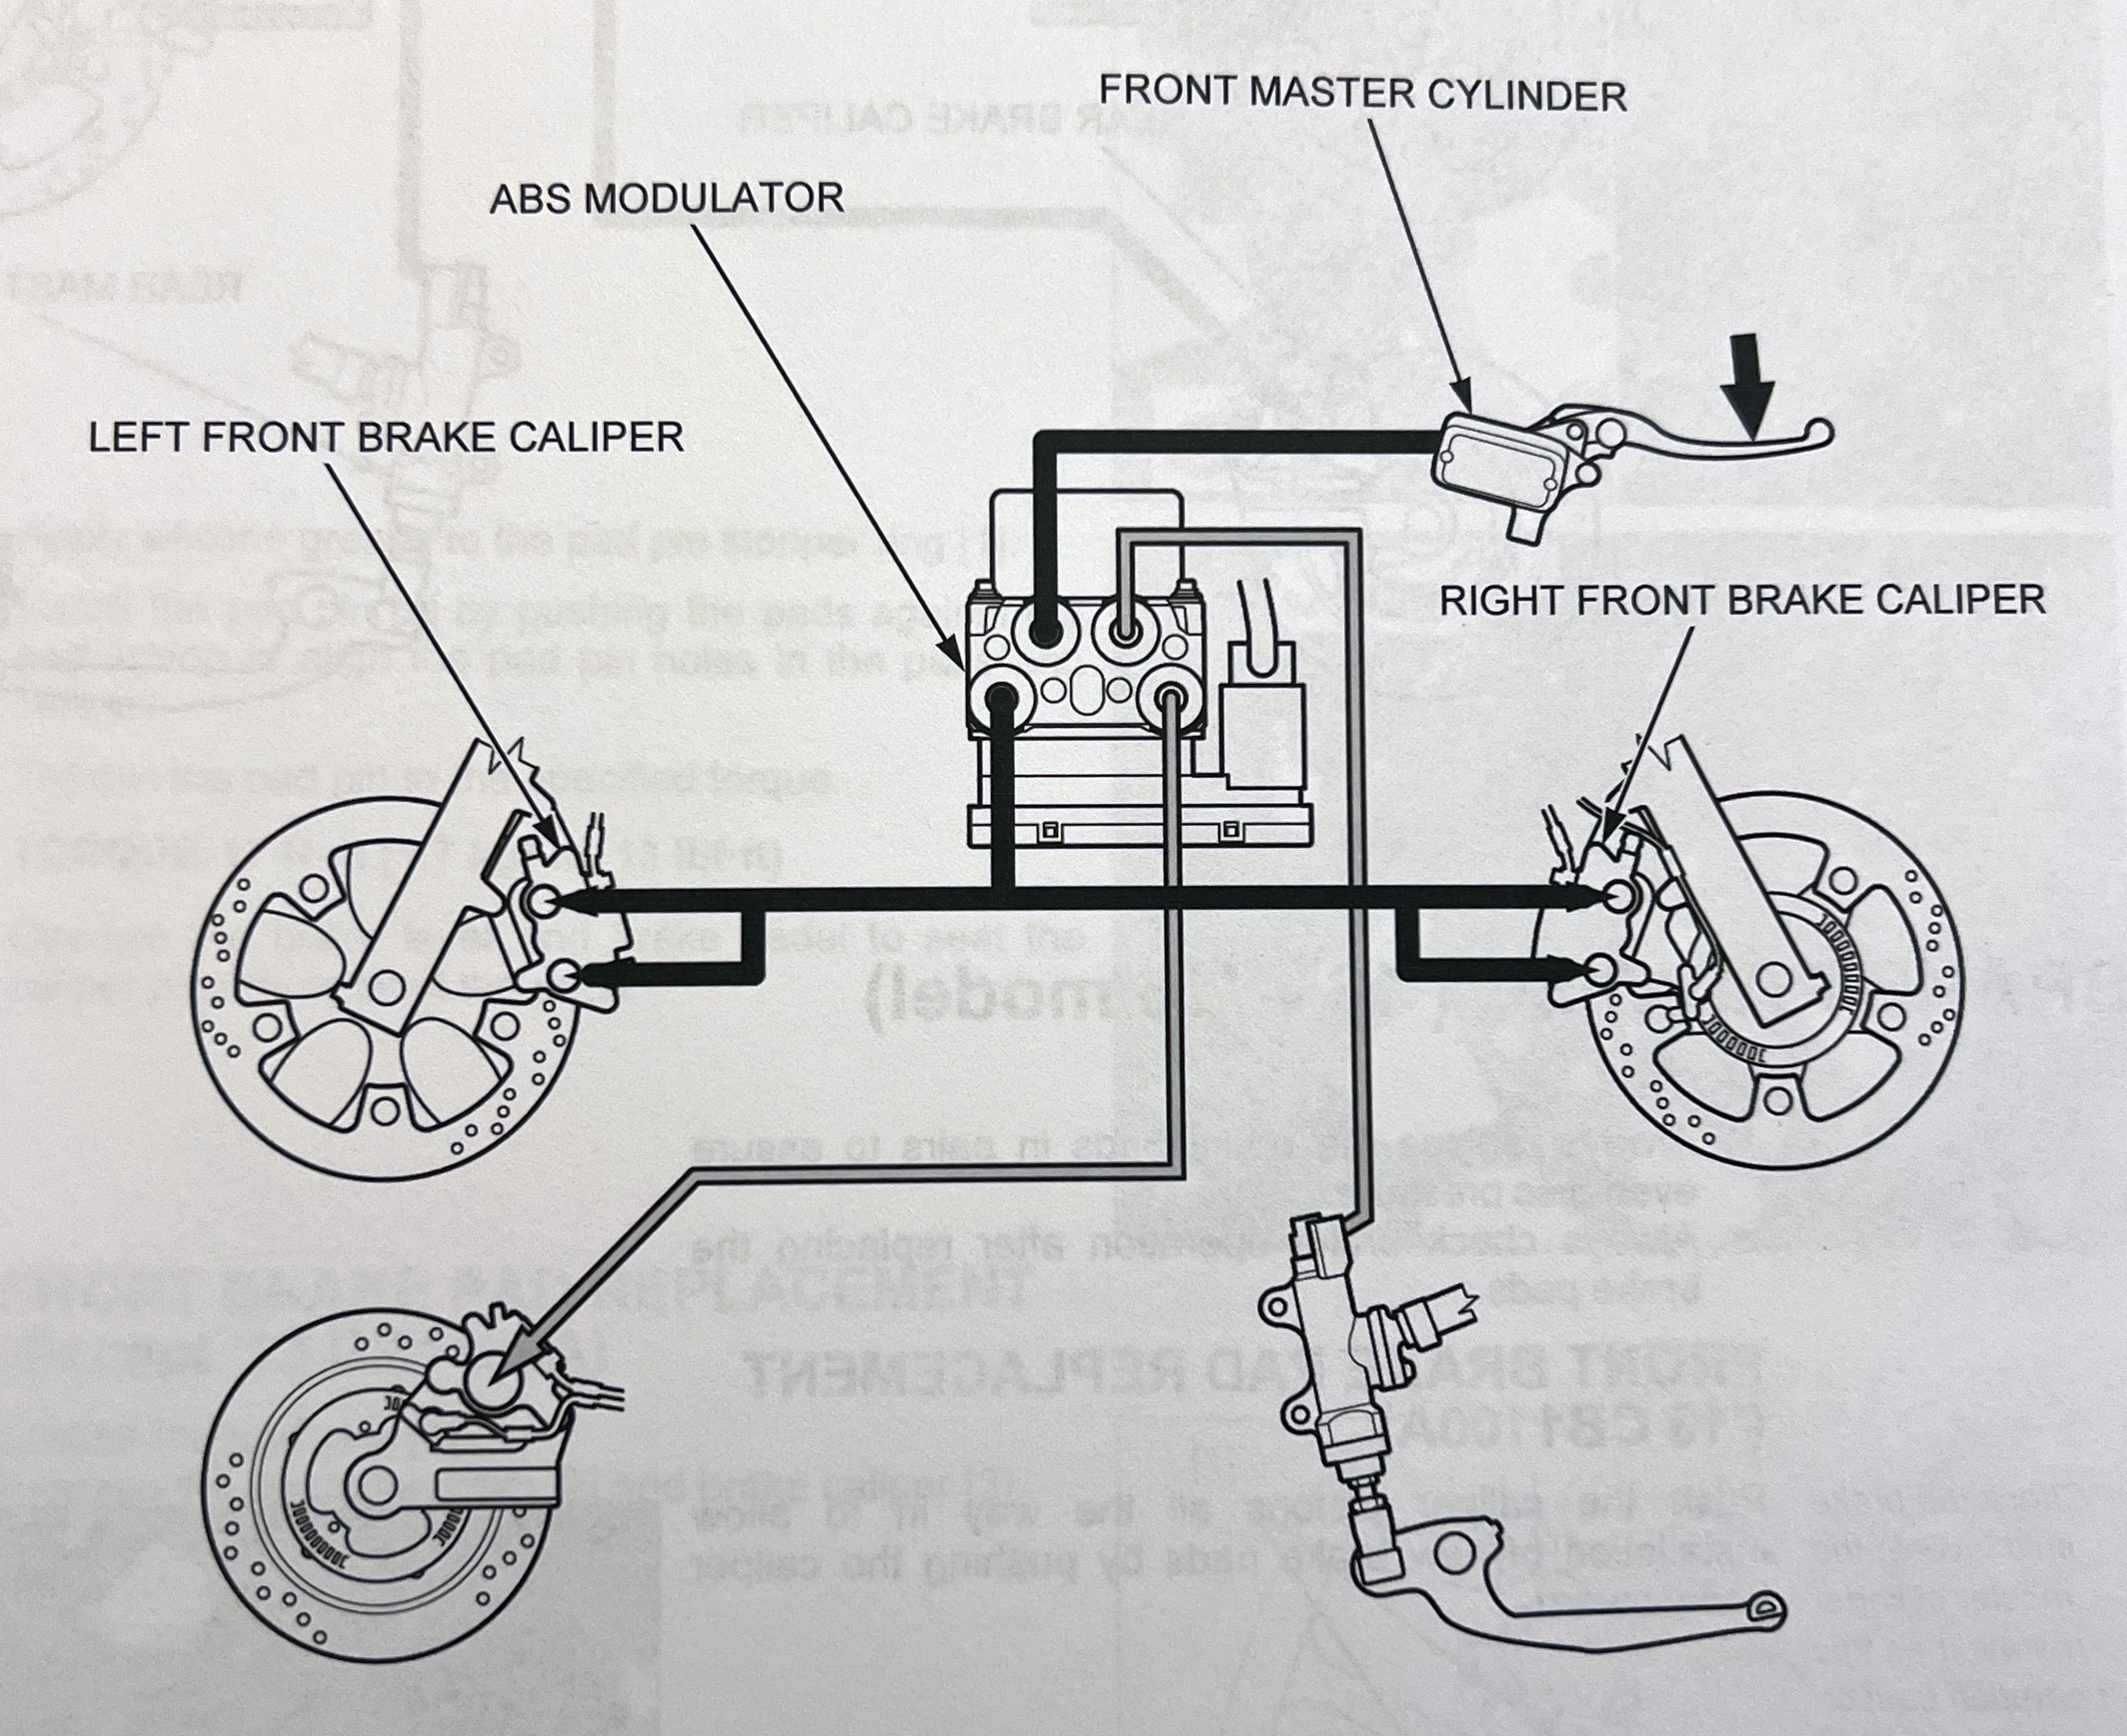
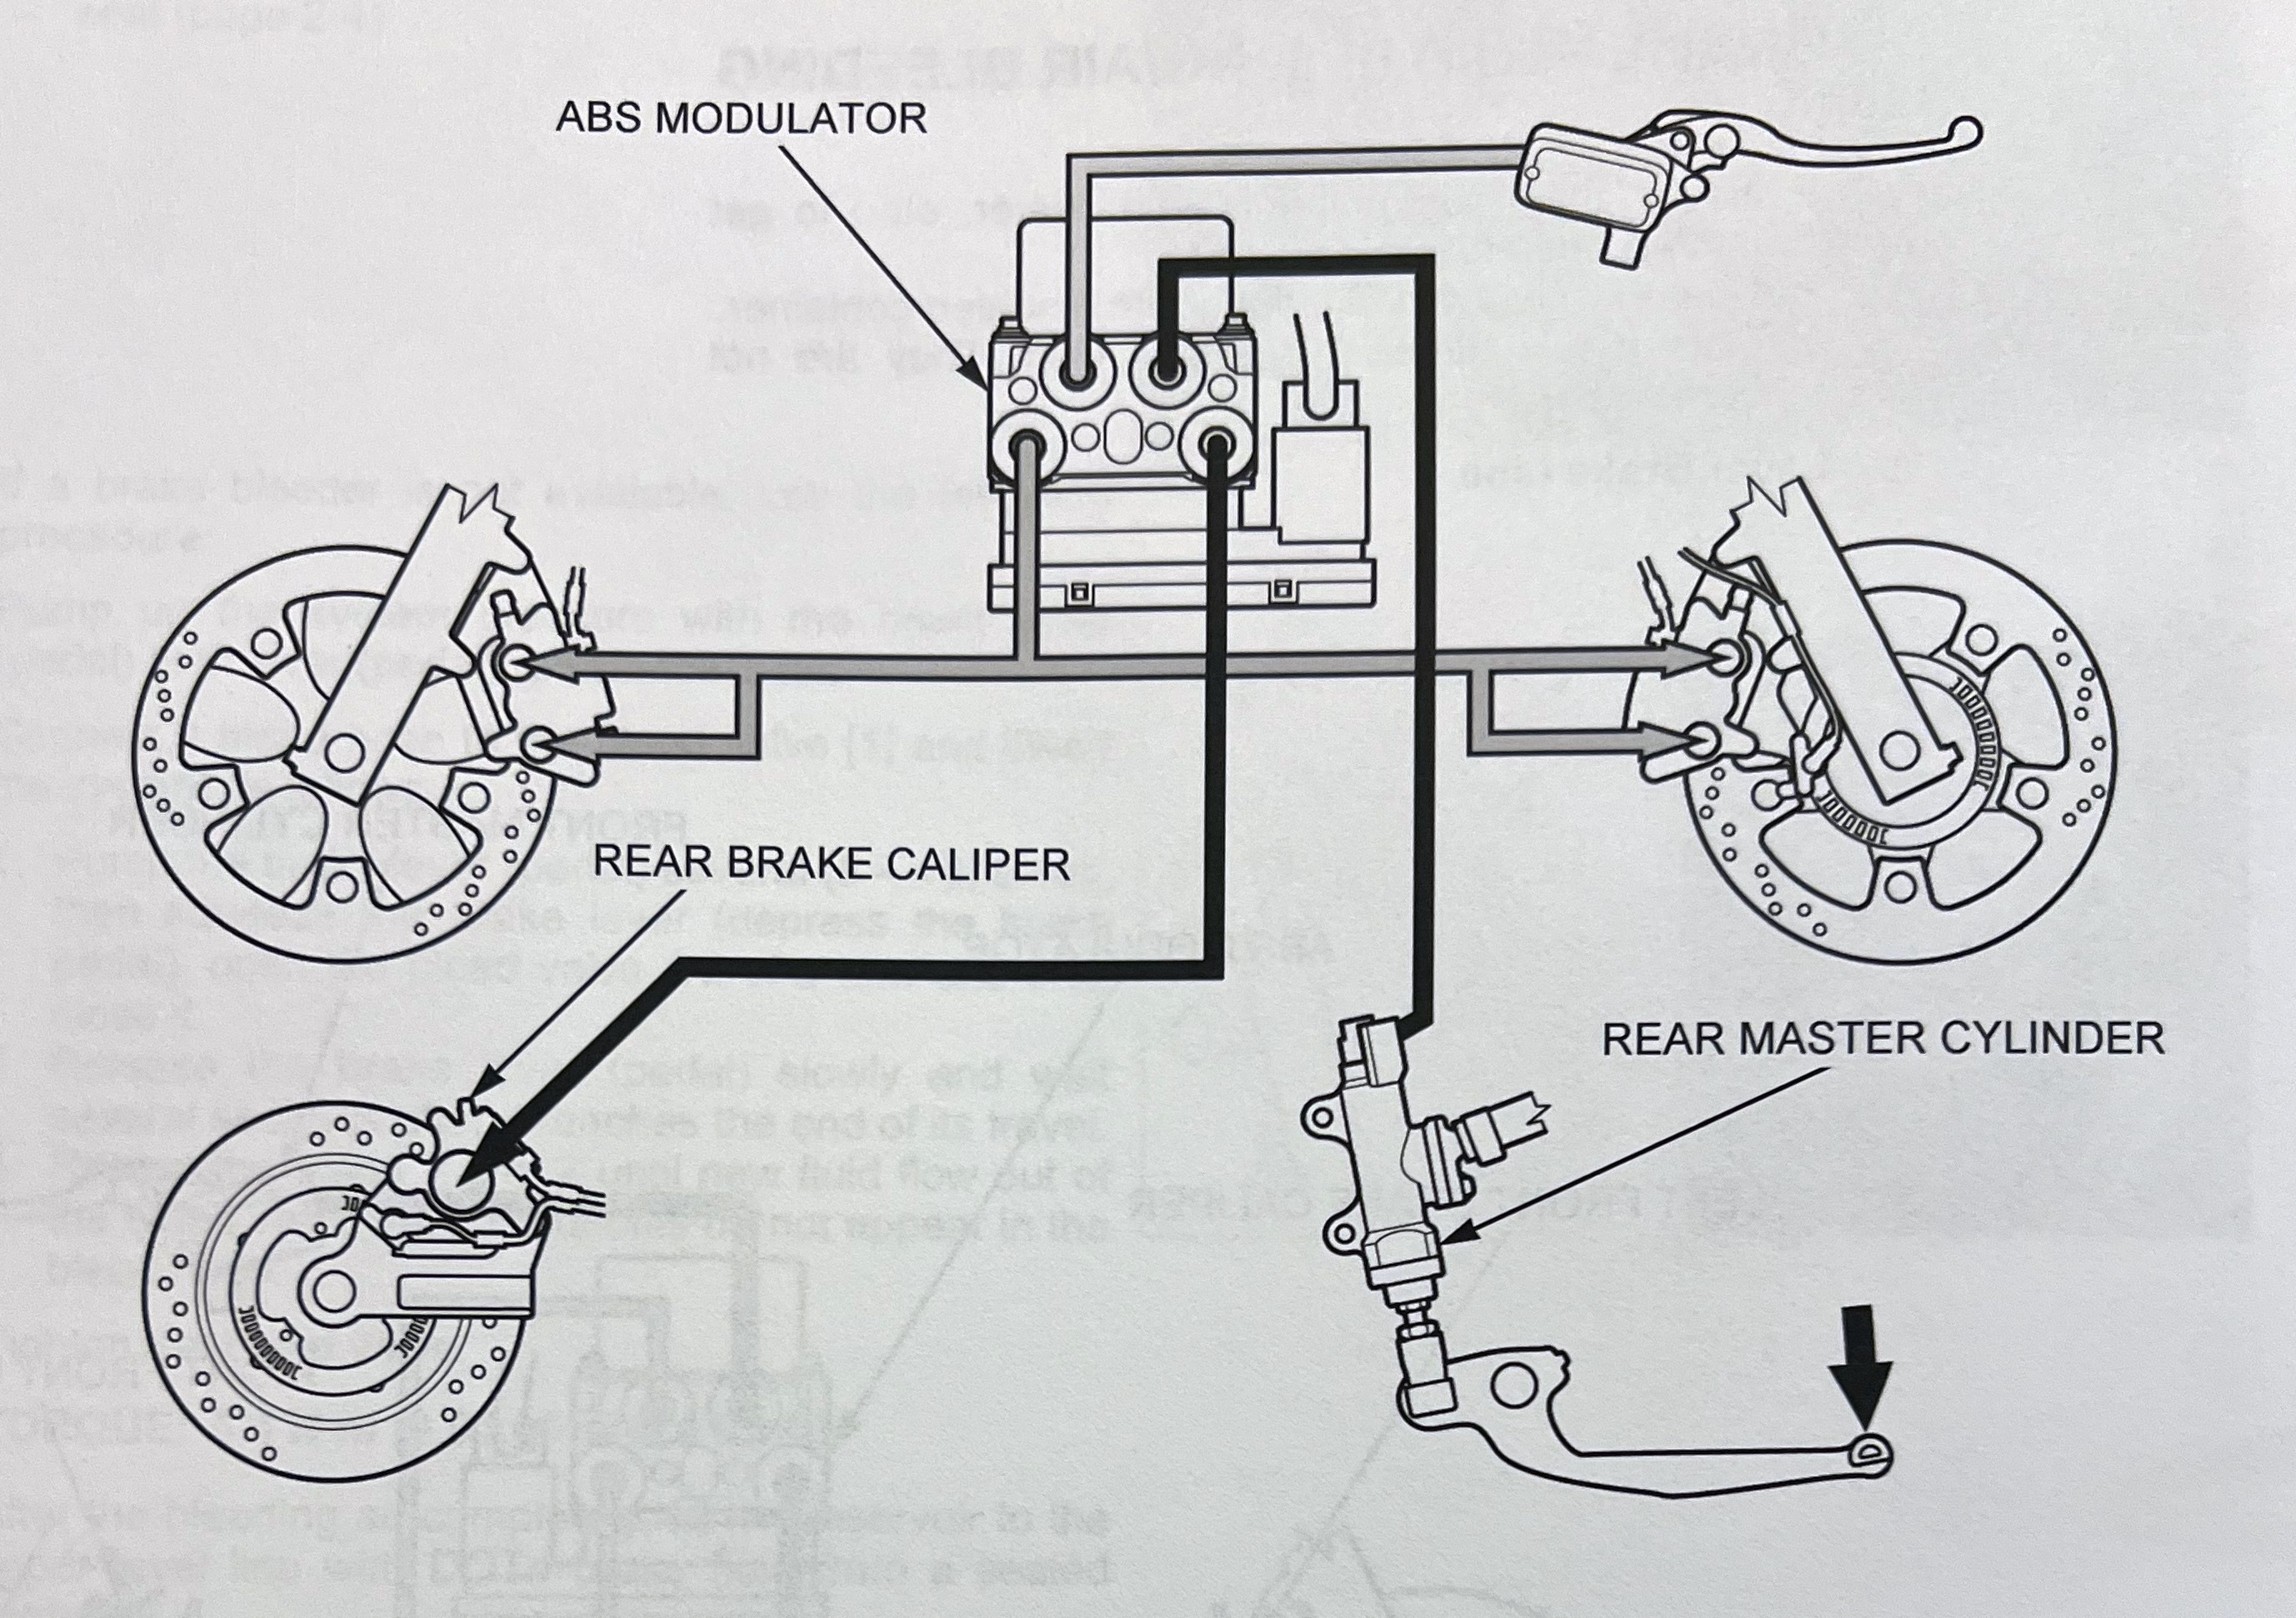
Please see ABS conceptual schematic to see how the ABS links the front calibers and rear calibers when my wheel is about to lock up during hard or emergency braking:
I did have one instance when I encountered an ABS problem following brake fluid replacement. Somehow, I trapped some air in the ABS modulator unit following a brake fluid change. Although I did not encounter a ABS Error / Warning, I heard the ABS Module actuating even when the motorcycle was turned off (the ABS Module is located under the gas tank). I concluded the ABS was trying to prime the brake lines. To correct the problem, I found a slightly slippery parking lot in an office complex, accelerated to 15 miles per hour, and performed several hard stops to intentionally trigger the ABS multiple times. The pulsing action of the ABS pump moved the air out of the modulator. I returned home and listened to see if the ABS Module was actuating. Thankfully, it was not. I then re-bled brake lines until the smallest of all bubbles in CB1100 history was pushed from the ABS to the calipers and into my collection bucket. Life was then truly good.
- “The fluid looks clean.”
- “If it ain’t broke, don’t fix it.”
- “It is a two-person job, and I don’t have a helper.”
Although the braking system of our CB1100 is closed (brake fluid flows through a series of cables and an Anti-lock Braking System (ABS) to actuate brake calibers), the fluid reservoir does have a very small vent to allow for thermal expansion and contraction. Without this vent, our brake system could form a vacuum lock and prevent our brakes from working. But this same feature also enables humidity from the air to mix with the brake fluid as it “sits” in the reservoir. That delusion of brake fluid with water lowers the boiling point of brake fluid over time and can cause brake fluid to become less effective. Motorcyclists who drive aggressively also place additional stress on brake fluid.
For me, I drive in an environment and in a manner that merits an annual brake fluid change. Am I a motorcycle hooligan? No. Do I live in an environment that has 95% humidity year-round? No. However, I ride close to ocean where fog is common; I drive on congested highways that require frequent stops at speed; my motorcycle is heavy; etc.
The Nature of Brake Fluid: The Good and The Bad
Brake fluid is a hydraulic fluid that has an incompressible quality. When properly maintained, the fluid in our braking system will enable force to be applied to our brake calibers to stop on demand. But over time, brake fluid can literally boil from hard stops and the extreme heat created when we apply our brakes. If water is introduced into the brake fluid, the boiling temperature is lessoned. This reality can cause air bubbles to form in the fluid from the vapor or steam that is generated when we apply our brakes, lessoning the force the fluid which can be applied to the brake calibers. Although less so now than in the past, brake fluid is also corrosive. Once brake fluid has been compromised with water, it can accelerate the corrosion of brake calibers and brake lines inside our braking system. Brake fluid can damage painted services, plastics, and various metals.
Step 1: Complete Staging for the Brake Fluid Change
When I change my brake fluid, I plan for the worst. At some point,
- I am going to spill brake fluid on my hands, clothing, and shoes.
- A hose will become dislodged, and fluid will go places where I do not want it to go.
- I will use more fluid than I had anticipated.
I have plenty of shop towels and water available to clean up a spill:
I wear gloves to protect my skin and do everything I can to limit prolong contact:
I protect the metal and painted surfaces of the motorcycle by using furniture blankets and towels. I place the motorcycle on its center stand and make sure I can easily access all calipers:
I purchase OEM Brake Fluid appropriate for my motorcycle. I plan on using 12 ounces per brake caliber plus another 12 ounces to top off each reservoir (4 12-ounce bottles total):
I make sure I have a torque wrench available to tighten things to the engineering specification:
I use syringes to extract and add fluid to the two brake reservoirs, reducing the risk of brake fluid spilling:
The rear brake reservoir on my motorcycle must be unbolted from the frame because a support strut prevents the top of the reservoir from being removed. I use a small cardboard box to “MacGyver” a platform that can support the reservoir once I unbolt it:
I source plenty of clear hose and recycle some kind of open container I can use to easily see brake fluid as it is bled from the system and replaced with new fluid:
Finally, I make sure I have my standard set of motorcycle tools available, a clean flat service I can use to lay things out that I remove from the motorcycle, and good light so I am not squinting.
Step 2: Remove Rearview Mirror Next to Top Reservoir
To avoid possible damage, I remove the rearview mirror from the handlebars. Because I have a cowl on my motorcycle, I must unbolt a few bolts to flex the cowl screen “forward” so that I can rotate the rearview mirror. I stage the rearview mirror and cowl-screen bolts and nuts on my workbench:
Step 3: Connect a Drain Hose to Left Front Brake Caliber
I attach a drain hose to the left front brake caliber bleeder valve, secure it with a zip tie, loosen it ½ turn with a wrench, cover the brake caliber with shop towels, and place the end of the drain hose into my collection bucket:
Step 4: Remove Existing Brake Fluid from the Top Reservoir and Bleed the Front Brake Calibers
I carefully remove the retaining screws from the top cover. Note that these screws are very “soft.” I take special care not to strip them by using the proper bit and making sure my screwdriver is properly seated prior to twisting:
I then remove the reservoir cap and diaphragm from the reservoir, clean them, and stage them on my workbench:
Using a syringe, I remove the existing brake fluid from the Top Reservoir:
Using the other syringe, I fill the Top Reservoir with new brake fluid. I actuate the front brake continually until I can see brake fluid passing through the drain hose into the collection bucket. I pay close attention to the amount of fluid in the Top Reservoir and the fluid that is passing through the drain hose. I refill the Top Reservoir as necessary. When I add fluid, I close the bleeder valve first. I use a velcro to keep the brake lever depressed while I am filling the Top Reservoir. When it is full, I then loosen the bleeder valve and continue to actuate the brake lever, pushing more fluid and bubbles through the drain hose. This technique helps to prevent air from flowing backward to the Top Reservoir and creating more bubbles to exhaust:
I focus on color and bubbles exiting the hose. When I see the color is consistent with the color of the new fluid and that no bubbles appear in the drain hose, I keep the brake lever fully depressed, tighten the brake caliber bleeder valve, and then actuate the brake again. If everything is right, the brake lever should be very firm and stiff. If it is not, re-open the caliber bleeder valve and continue to bleed the breaks again until the desired state is achieved.
I disconnect the drain hose from the brake caliber bleeder valve, remove the towels protecting the brake caliber, and using a moist towel wipe down the brake caliber.
I repeat the same process for the left front caliber.
When I have bled both calibers properly and the front brake lever is firm and actuates properly, I check the Top Reservoir, add brake fluid if necessary, insert the diaphragm, reservoir cap, and reservoir cover and torque the retention screws to 0.8 Nm (0.6 ft-lbs). I then install the rearview mirror and insert the screws the I removed from the front cowl screen. Please Note: If the Top Reservoir ever needs fluid, I bleed my front calibers and check for leaks. I do not "top off" fluid in between sessions where I bleed my front calibers.
Step 5: Connect a Drain Hose to Rear Brake Caliber
Like the front calibers, I attach a drain hose to the rear brake caliber bleeder valve, secure it with zip tie, loosen it ½ turn with a wrench, cover the brake caliber with shop towels, and place the end of the drain hose into my collection bucket. Next, i remove the tool storage compartment to make room for my make-shift box:
I remove disconnect the mounting bracket for the Rear Reservoir from the frame and relocate it to the make-shift box I inserted to support it. I then remove the Rear Reservoir cap and diaphragm, clean them, and place them on my workbench.
Next, I use a syringe to remove the old brake fluid from the Rear Reservoir. Necy, I fill the Rear Reservoir with new brake fluid. Because I am definitely not ambidextrous, I actuate the rear brake with my left hand while monitoring the flow of brake fluid and bubbles into my collection bucket. When the fluid is solid and clear in the drain hose, I depress the rear brake lever, hold it, and tighten the rear caliber bleeder valve with a wrench, using my right hand.
Once I have rear caliber bleeder valve tightened, I disconnect the drain hose from the brake caliber bleeder valve, remove the towels protecting the brake caliber, and using a moist towel wipe down the brake caliber. I then re-assemble the Rear Reservoir and attach it to the frame. I first hand-tighten the Rear Reservoir and then torque the bolt to 0.8 Nm (0.6 ft-lbs).
Step 6: Check ABS
After I change the fluid on the front and rear calibers, I check the ABS on my CB1100EX to make sure it is functioning properly. I use the following protocol:
- No ABS error messages are reported on the display when I hard stop.
- Brake lever tension for the front and rear calibers are firm and consistent with my prior braking experience.
- Braking performance is consistent with my prior experience.
Using a hard braking technique, I then proceed to a neighborhood street, escalate to a city street, and finally I test at speed on the Interstate. I monitor my display to see if any ABS error messages appear.
Note that even if my ABS has problems, I can still stop my motorcycle. I take special care to ensure that my speed and environment enables me to remain in control of my motorcycle at all times.
Please see ABS conceptual schematic to see how the ABS links the front calibers and rear calibers when my wheel is about to lock up during hard or emergency braking:
I did have one instance when I encountered an ABS problem following brake fluid replacement. Somehow, I trapped some air in the ABS modulator unit following a brake fluid change. Although I did not encounter a ABS Error / Warning, I heard the ABS Module actuating even when the motorcycle was turned off (the ABS Module is located under the gas tank). I concluded the ABS was trying to prime the brake lines. To correct the problem, I found a slightly slippery parking lot in an office complex, accelerated to 15 miles per hour, and performed several hard stops to intentionally trigger the ABS multiple times. The pulsing action of the ABS pump moved the air out of the modulator. I returned home and listened to see if the ABS Module was actuating. Thankfully, it was not. I then re-bled brake lines until the smallest of all bubbles in CB1100 history was pushed from the ABS to the calipers and into my collection bucket. Life was then truly good.


