CB350 Resto-Mod Cafe'

Thread starter
Thanks guys. I don't really know this engine that well, but I do study the manual and there's some much info on-line :D

Cormanus, hopefully I've done a good enough job so the paint & other details hold up after putting some miles on it.

-------------
Couple of updates

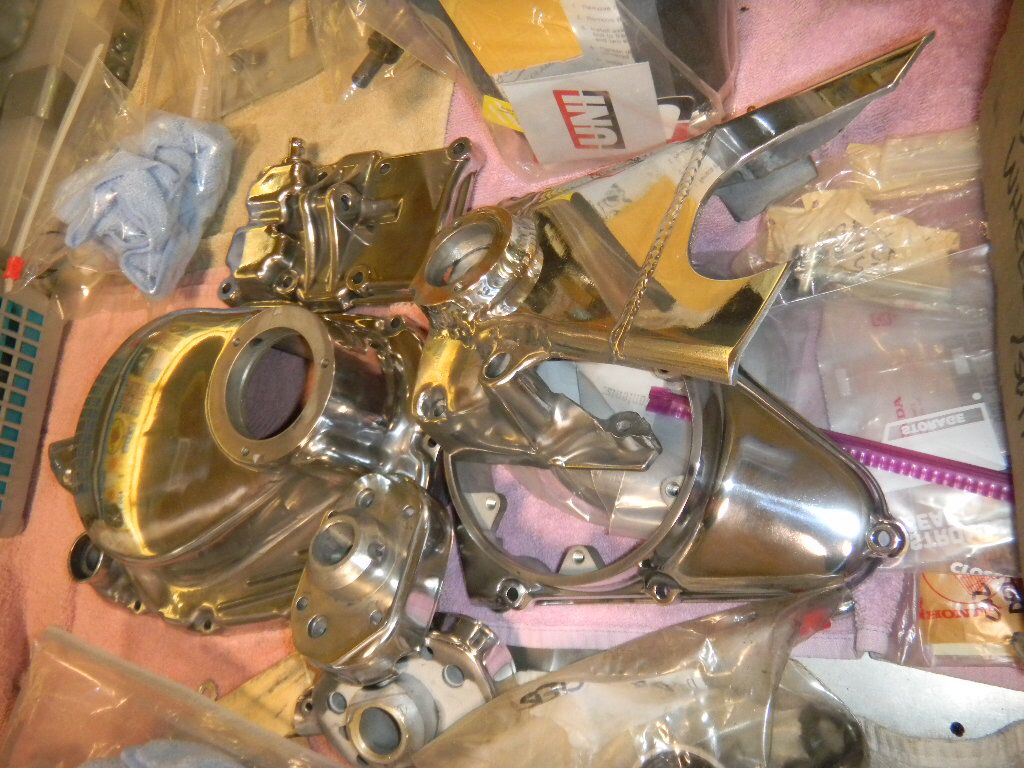
Had done some of the polishing previously, broke out the wheels & rouge. Got my dust mask, goggles and gloves. Man, I really don't like doing this, but it does give my wife a good chuckle... :@. She claims I look like a raccoon or alien when I'm done.

Okay, onto the pics. The parts look way shinier than they are.
7e4c06795a30d222497973bcfa9a6ed8.jpg


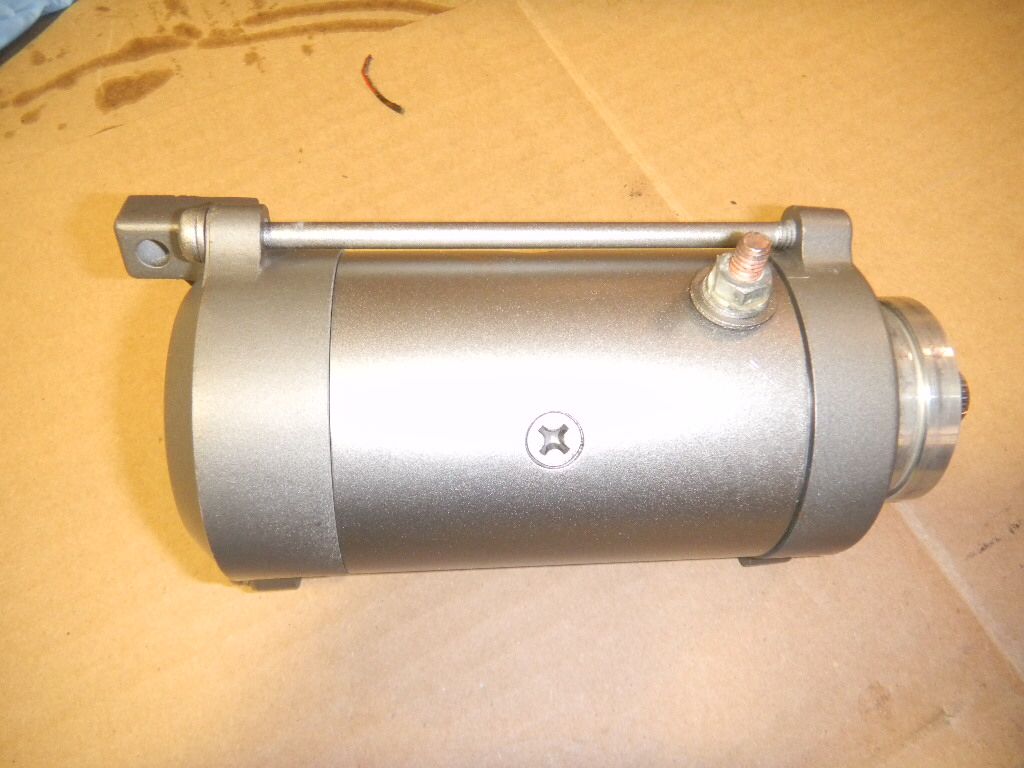
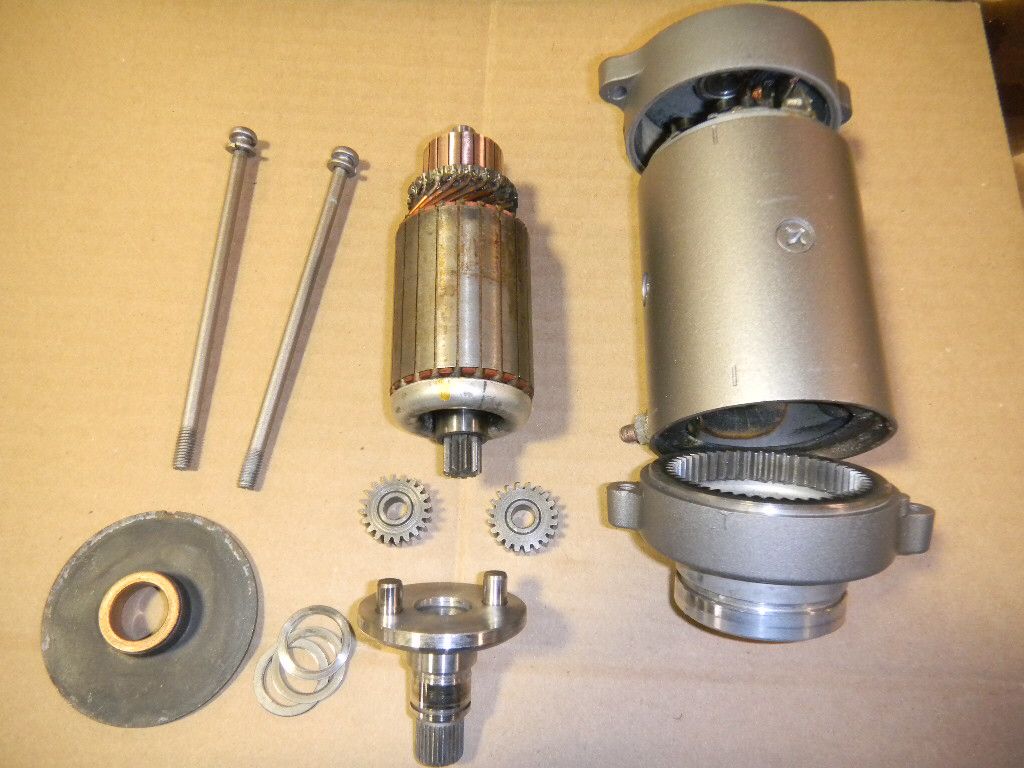
Starter stuff. Needed to be cleaned, painted & tested.
f18d2f5ac8c071bbc3ff4fe62fbdb817.jpg


ff16617dd44d2f844ce1646efe5b906d.jpg
 
Thread starter
Engine updates

Won't be using the cable drive for the tachometer. Found a piece of scrap aluminum (scratched up, but will work). Machined it so it would fit in the bore of the tach housing.
More on this later.
9fff31d1d150a1043e229a22f93a128b.jpg


Pistons being installed
c34c726795513c0ab1fc1853bd88aa12.jpg


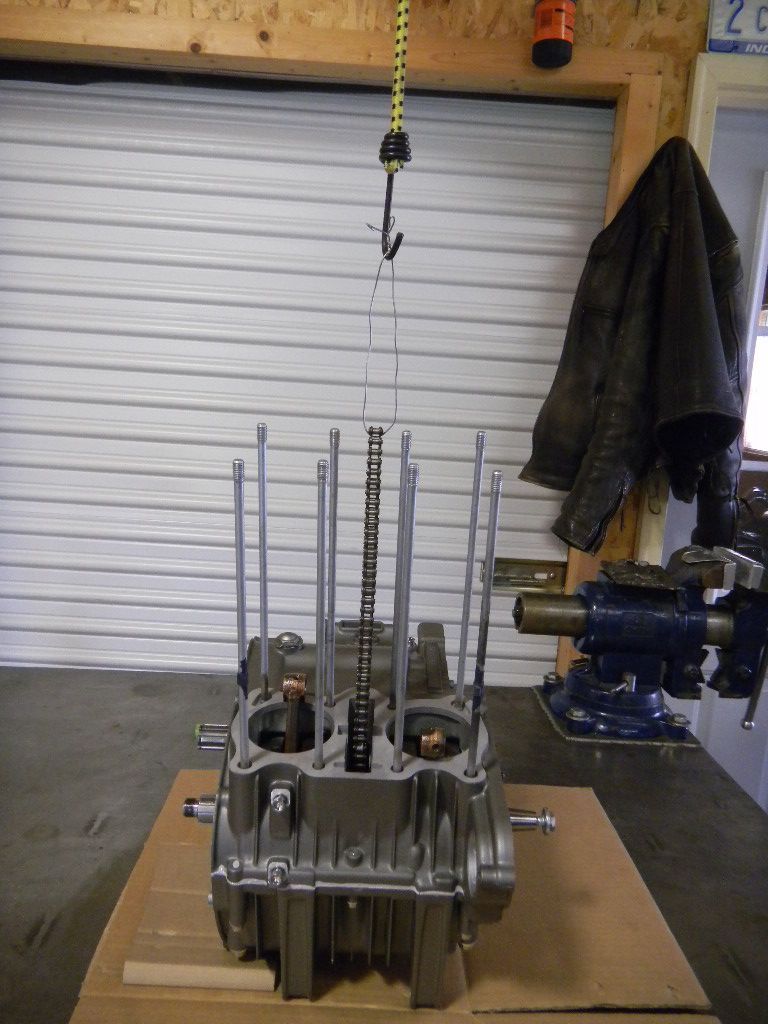
Cylinder, timing chain, rollers & guide
086098c76103b83a51d3b0086cebdb4c.jpg


Sometimes I wished I had three hands.
Timing chain was to kept up during assembly. Trick is to devise a way that is easy to "unhook" to keep adding parts.
Used a bungee cord, connected to the garage door rail, then a piece of wire to go between the cord and the chain.
0235e982411cae2474e467b9661b3c43.jpg


Cylinder head & camshaft sprocket
091d679cff43705ff95eaf22cc9c072c.jpg


The tach drive "plug" in place. There's a seal in the bore, which explains why the piece looked strange. I'll replace the screw with an Allen head later.
94349d93dad70a74bbb8e5ad478f79f9.jpg


Pic of the camshaft (red stuff is assembly lube).
Valves adjusted, .002" Intake, .004" Exhaust
5c3e39c65b416110b82cb1468f1f48e9.jpg


This is as far as I'll go until it's in the frame. My brother & his son are coming over for some welding. I'll see if I can bribe them.
2202ff30f49d593f17281681e25acf5b.jpg
 
Fantastic, Ray. I'm full of admiration.
 
Cormanus_imp said:
Fantastic, Ray. I'm full of admiration.
+1 you have quite the mechanical ability. I'm so jealous.
 
Razor, A friend uses one of those vibrating vats full of walnut shells to clean all his odd shaped small parts. Pretty inexpensive at Harbor Freight. That might be a good replacement for the buffing you hate.
 
Thread starter
Thanks for your interest and comments.


Inhouse Bob_imp said:
Razor, A friend uses one of those vibrating vats full of walnut shells to clean all his odd shaped small parts. Pretty inexpensive at Harbor Freight. That might be a good replacement for the buffing you hate.
Don't have a vibratory tumbler, but I know someone who does. Might have to try it out. Funny thing about walnut shells; tried them a while back in the cabinet, and didn't get the results I was looking for. Maybe the tumbler is the way to go. Thanks for the tip :D

------------------
Kinda neat what a bag of Fritos and drinks can do...
Brother helped me put the engine in the frame

Prep'd frame beforehand
337cf8f22b26127f0b4f471ee01e17b7.jpg


ffa62b980bb3131f632b99950c1498e3.jpg


Installed the starter
8ca33449009cf5a0cac6a5250c373ef1.jpg


Much more to do. Approaching a couple of "milestones". Still need to fab a push rod for the clutch slave, and then there's the "body work & paint".

Thanks for your interest. I'll try to be prompt with updates.
 
Thread starter
Hi Chip, thanks for the kind words.

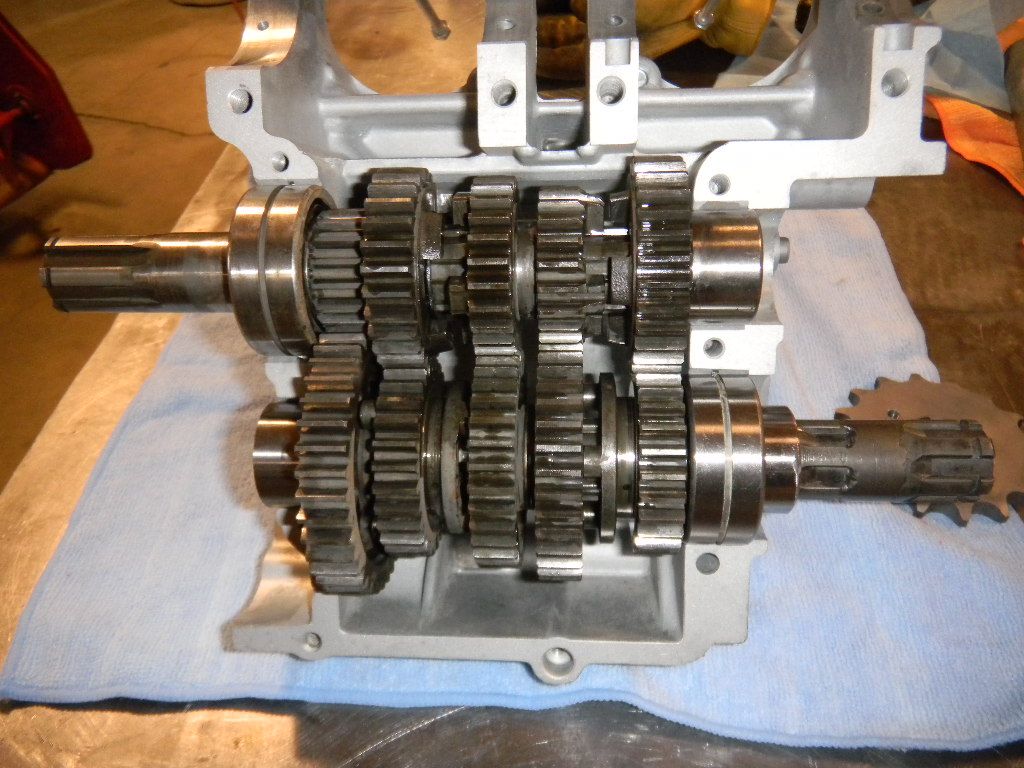
I posted a photo of the extended counter shaft (output shaft, where the sprocket connects). It's probably the part of the project that gets the most questions. The shaft had to be extended or lengthened to accommodate the wider swing arm. In most cases; the choice is to buy or fab an offset sprocket and make some sort of out board bearing support.

Since I scrimped on this previously; here's more details

Original shaft and another just like it was checked for material type ("spark tested"), and checked for hardness. Also did the sprocket. All of these were annealed. Annealing brings the metal back to its original state (or close to it), makes it much easier to machine and weld.

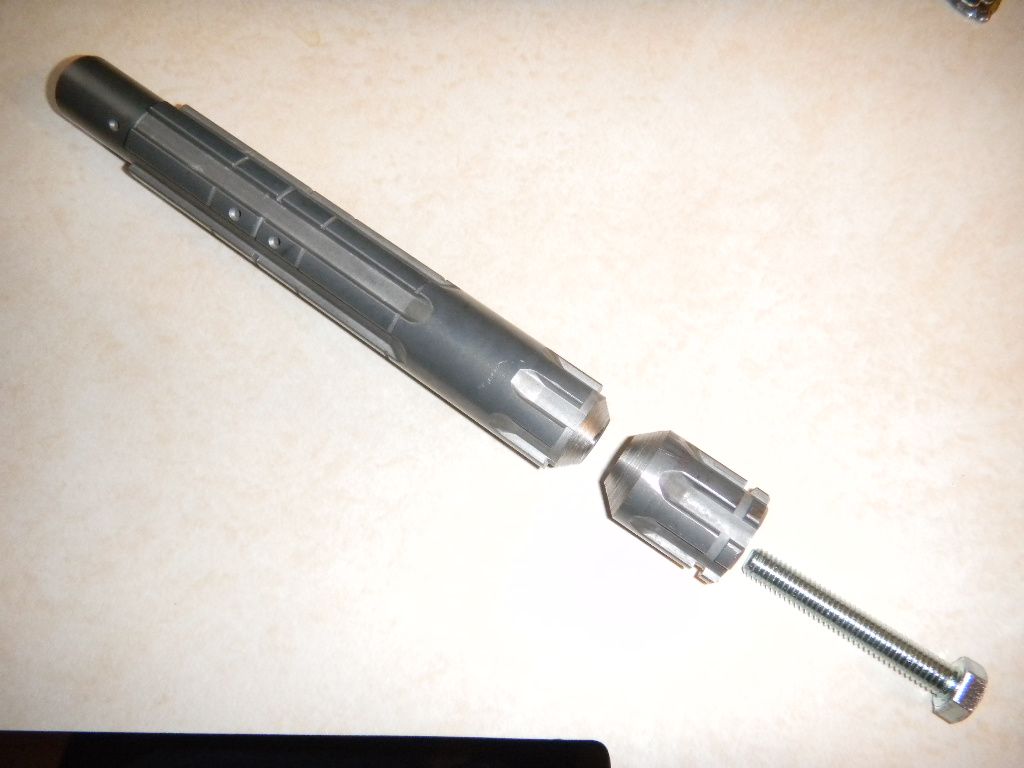
Here's the original shaft and 34mm of the other shaft. Drilled and threaded for keeping the two pieces together during welding. The bevel on each allows a deeper- stronger weld.
f590e1500e933905fb9b369c76c93599.jpg


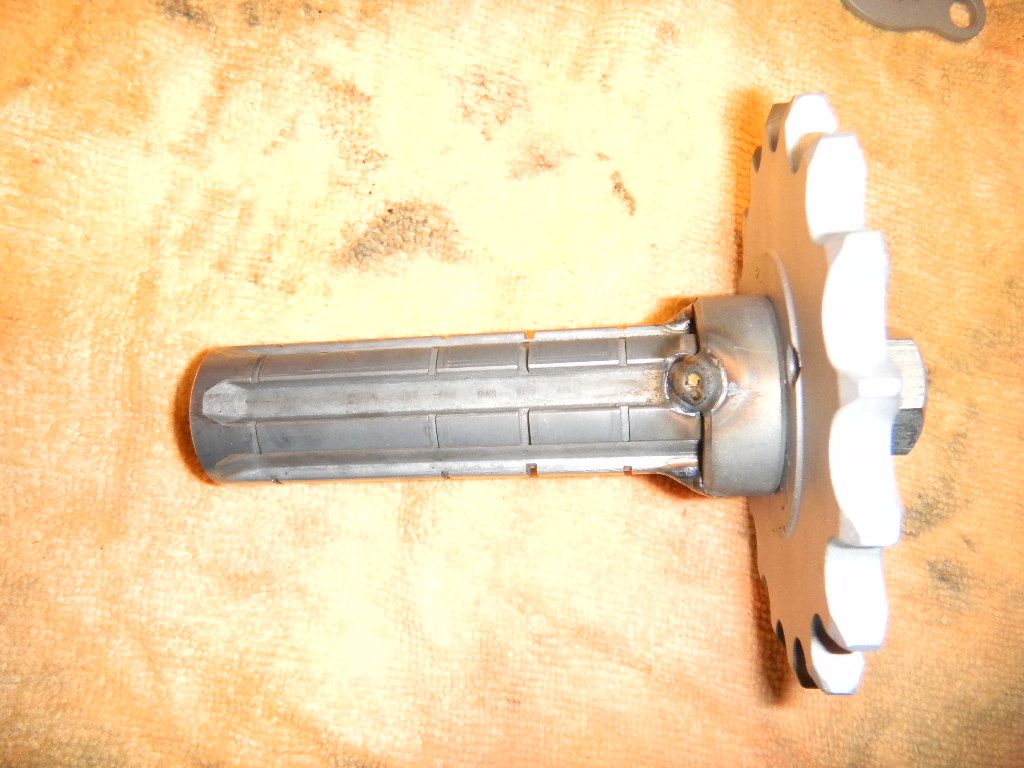
Made a tool for turning the sprocket by taking the remaining piece of shaft, welded a sleeve, trued it on the lathe, and narrowed the sprocket to fit the 525 size chain.
bd6b4fbc32f4bb655c5414c88d639296.jpg


Here's the shaft (lower one) temporarily installed after heat treating to get the durameter back to 60.
f1efd421e287ecdcac71da922c3da278.jpg
 
Razor_imp said:
Hi Chip, thanks for the kind words.

I posted a photo of the extended counter shaft (output shaft, where the sprocket connects). It's probably the part of the project that gets the most questions. The shaft had to be extended or lengthened to accommodate the wider swing arm. In most cases; the choice is to buy or fab an offset sprocket and make some sort of out board bearing support.

Since I scrimped on this previously; here's more details

Original shaft and another just like it was checked for material type ("spark tested"), and checked for hardness. Also did the sprocket. All of these were annealed. Annealing brings the metal back to its original state (or close to it), makes it much easier to machine and weld.

Here's the original shaft and 34mm of the other shaft. Drilled and threaded for keeping the two pieces together during welding. The bevel on each allows a deeper- stronger weld.
f590e1500e933905fb9b369c76c93599.jpg


Made a tool for turning the sprocket by taking the remaining piece of shaft, welded a sleeve, trued it on the lathe, and narrowed the sprocket to fit the 525 size chain.
bd6b4fbc32f4bb655c5414c88d639296.jpg


Here's the shaft (lower one) temporarily installed after heat treating to get the durameter back to 60.
f1efd421e287ecdcac71da922c3da278.jpg
Razor,

Dude you're killing me. You detail fabrications like the one above like it's as simple and obvious as making a pot of coffee. To just about everyone else here what you so casually describe would be as impossible for us to pull off as a successful moon landing. I'm staring at your whole build like the RCA dog and asking myself, "Who is this guy."

What do you do for a living and how did you acquire these skills? Unreal.

Chip
 
Razor_imp said:
Hi Chip, thanks for the kind words.

I posted a photo of the extended counter shaft (output shaft, where the sprocket connects). It's probably the part of the project that gets the most questions. The shaft had to be extended or lengthened to accommodate the wider swing arm. In most cases; the choice is to buy or fab an offset sprocket and make some sort of out board bearing support.

Since I scrimped on this previously; here's more details

Original shaft and another just like it was checked for material type ("spark tested"), and checked for hardness. Also did the sprocket. All of these were annealed. Annealing brings the metal back to its original state (or close to it), makes it much easier to machine and weld.

Here's the original shaft and 34mm of the other shaft. Drilled and threaded for keeping the two pieces together during welding. The bevel on each allows a deeper- stronger weld.
f590e1500e933905fb9b369c76c93599.jpg


Made a tool for turning the sprocket by taking the remaining piece of shaft, welded a sleeve, trued it on the lathe, and narrowed the sprocket to fit the 525 size chain.
bd6b4fbc32f4bb655c5414c88d639296.jpg


Here's the shaft (lower one) temporarily installed after heat treating to get the durameter back to 60.
f1efd421e287ecdcac71da922c3da278.jpg
Sounds like you have a rubber part. I think you meant Rockwell (as in hardness scale)?

Did you xray the welds as well? With torsion and fatigue loading on a location like that would make me feel better knowing the welds were near perfect.
 
Thread starter
What do you do for a living and how did you acquire these skills? Unreal.

Chip
[/QUOTE]

Always had a taste for mechanical things. Loved to take stuff apart, and see what made them tick :) Can remember when I was 8 or 9, took my bike apart, dad asked "what are doing?"... "just gonna paint it and lube the bearings". Throughout the years my parents were very supportive; even when I painted the car port walls black from the floor to 4ft high (thought it would hide the grease & oil). After I moved out; my mom said it took three coats of primer & paint to get back to white... sorry mom.
kennyw_imp said:
Razor_imp said:
Hi Chip, thanks for the kind words.

I posted a photo of the extended counter shaft (output shaft, where the sprocket connects). It's probably the part of the project that gets the most questions. The shaft had to be extended or lengthened to accommodate the wider swing arm. In most cases; the choice is to buy or fab an offset sprocket and make some sort of out board bearing support.

Since I scrimped on this previously; here's more details

Original shaft and another just like it was checked for material type ("spark tested"), and checked for hardness. Also did the sprocket. All of these were annealed. Annealing brings the metal back to its original state (or close to it), makes it much easier to machine and weld.

Here's the original shaft and 34mm of the other shaft. Drilled and threaded for keeping the two pieces together during welding. The bevel on each allows a deeper- stronger weld.
f590e1500e933905fb9b369c76c93599.jpg


Made a tool for turning the sprocket by taking the remaining piece of shaft, welded a sleeve, trued it on the lathe, and narrowed the sprocket to fit the 525 size chain.
bd6b4fbc32f4bb655c5414c88d639296.jpg


Here's the shaft (lower one) temporarily installed after heat treating to get the durameter back to 60.
f1efd421e287ecdcac71da922c3da278.jpg
Sounds like you have a rubber part. I think you meant Rockwell (as in hardness scale)?

Did you xray the welds as well? With torsion and fatigue loading on a location like that would make me feel better knowing the welds were near perfect.
Sounds like you have a rubber part. I think you meant Rockwell (as in hardness scale)?

Did you xray the welds as well? With torsion and fatigue loading on a location like that would make me feel better knowing the welds were near perfect.
Hi kennyw, you're correct; it should read Rockwell. Place I used for heat treating did x-ray, said it was good to go. The hardest part for them was keeping the shaft to within specs (no more than .003" out of round).

Thanks for your interest and catching my error. Something tells me your're in the metallurgy business or have formal education, pretty cool!
 
Mechanical engineering background of 20 years tells me you don't want a rubber crankshaft. No other use for the word durometer that I know of.
 
Thread starter
Updates

Cleaned & lubed the advance unit, installed the points and wired them in.
832bfe16b3a4f8e18825ad04500ec8e8.jpg


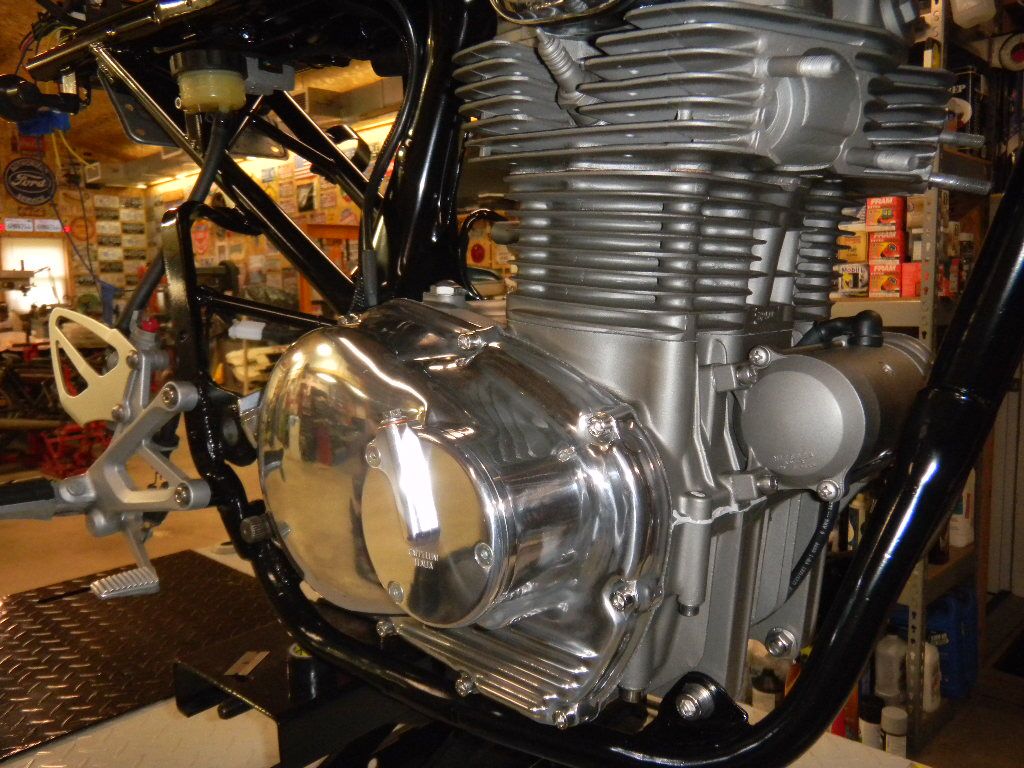
The stock oil filter is a centrifugal type. Not a big fan, so did a little research and came up with this. Uses a stock Suzuki oil filter cartridge
b274d33912e171c8dd38440c015980bb.jpg


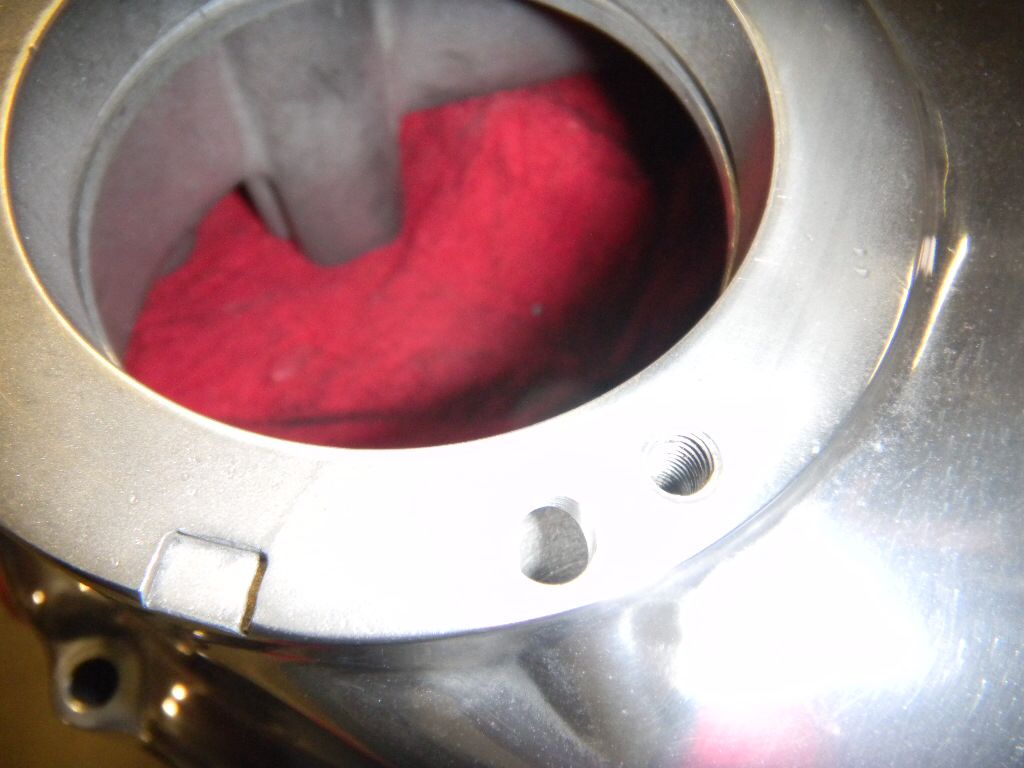
Instructions called for drilling a hole in the side cover.
96893feb36053bf692dcf34cca958f8d.jpg


Also called to cut or machine the stock filter drum to 22mm
The section that's left is used as a spacer for the gears, washers & nut.
e8e758d3953f2f7d8348f04b32df1524.jpg


Assembly installed
8b3ec655a852f58fc1559a673600fafc.jpg


Wasn't looking right, so off it came. Broke out the sandpaper and buffing wheel.
b8b4440b54015c84e77508fc715158e2.jpg


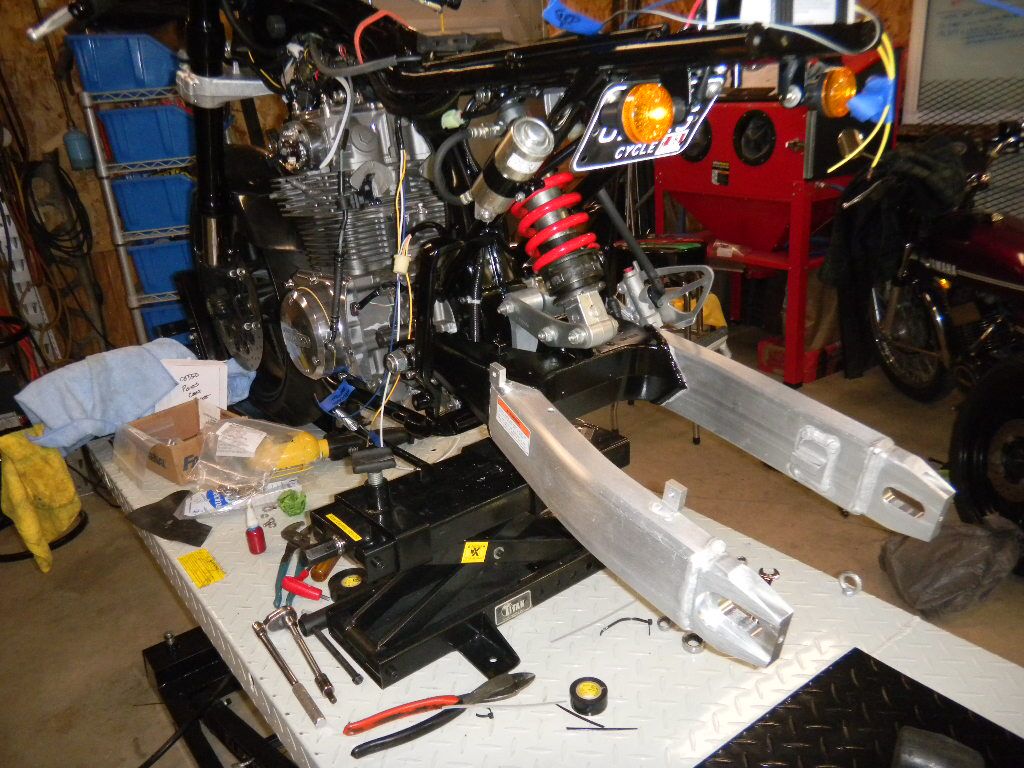
Cleaned up the swingarm & shock assembly.
97f5a70e88eb7313518890b19dc4a6fd.jpg


Friend is stopping over tomorrow. He's got a cool Deutsch connector for the stator wires. More on this later.
 
Razor,

With labor factored in you have a $50,000 CB-350!! The coolest danged thing. How close to Detroit are you? When my GT gets back from Europe it's going to Dearborn where I will pick it. Maybe I can stop by to see your CB350. Cheers.

Chip
 
Back
Top