CB350 Resto-Mod Cafe'

redbirds_imp said:
Amazing Ray. Beautiful work and look forward to the final result.:thumbsup::worship:
+1
 
Thread starter
Thanks guys. I'm really enjoying this project.

More pics

2c7e8be53a11e26e7875827cf8c31f08.jpg


1feacf45f6ddc073e5b43a294d3e0a9c.jpg
 
Thread starter
Mike546_imp said:
Very nice work! You inspiring me to do another build.
Cant wait to see the end result.
I'm sure your next one will be great! Look forward to knowing what you're thinking.
---------

Some updates

Been debating where to hang the license plate. First choice was underneath the tail light. I could do this, but it would be at such an angle that it wouldn't be visible from the rear. Next choice was a vertical mount.

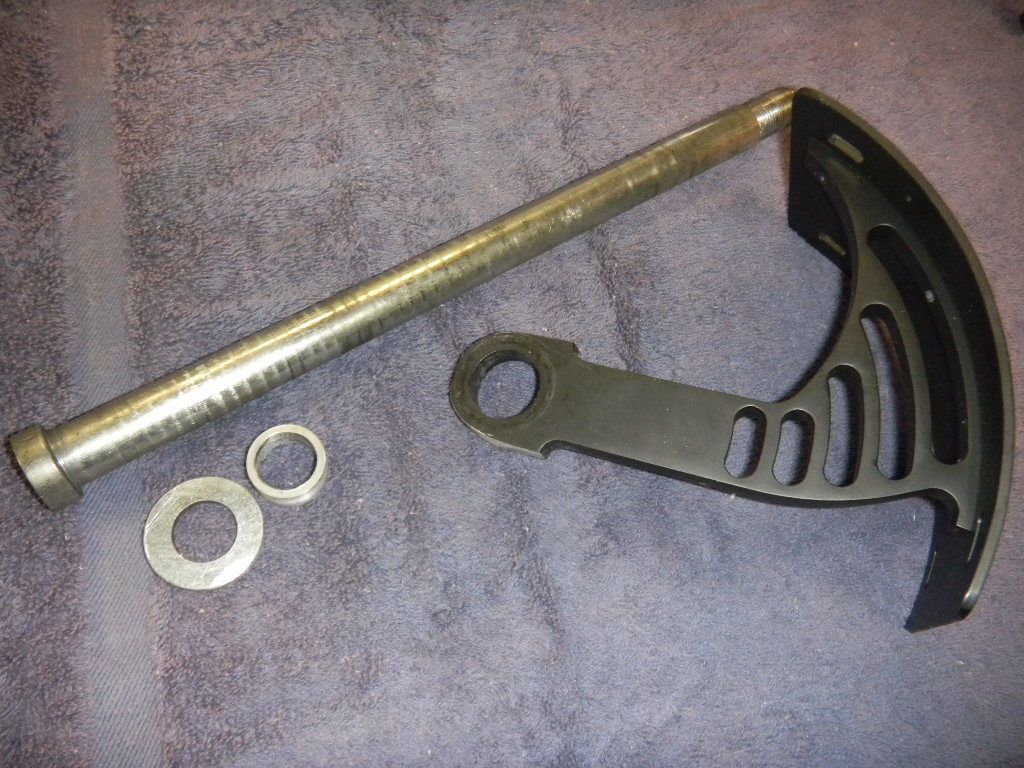
Purchased a generic mount, machined a washer and bushing. Also, got a longer used shaft which needed to be cut down and rethreaded.
04cbd563611f1cce1e0685fd764485df.jpg


976bfa4948451be2e6cc5f50973e2e1d.jpg


a856b00debc31ad35fb6d8c059367cc6.jpg


Wasn't 100% sold on the vertical mount, and after some feedback from others... it'll go on the wall of shame.

Third option is less "chopper-sinister", and more modern ninja. Very simple.
5ecab3d282381d2298b2e2a318911259.jpg


bb0a3b813a8825211d64b46dcc0133f7.jpg


cdb6ec3d7fdfef1b1e7b872fd55f3156.jpg


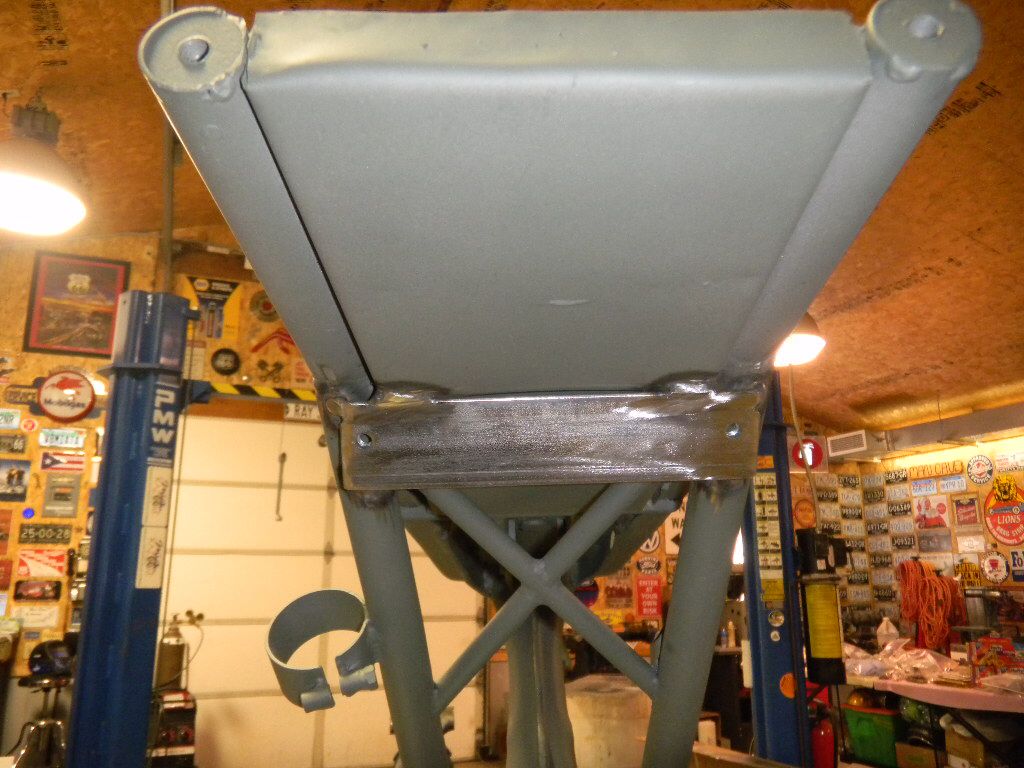
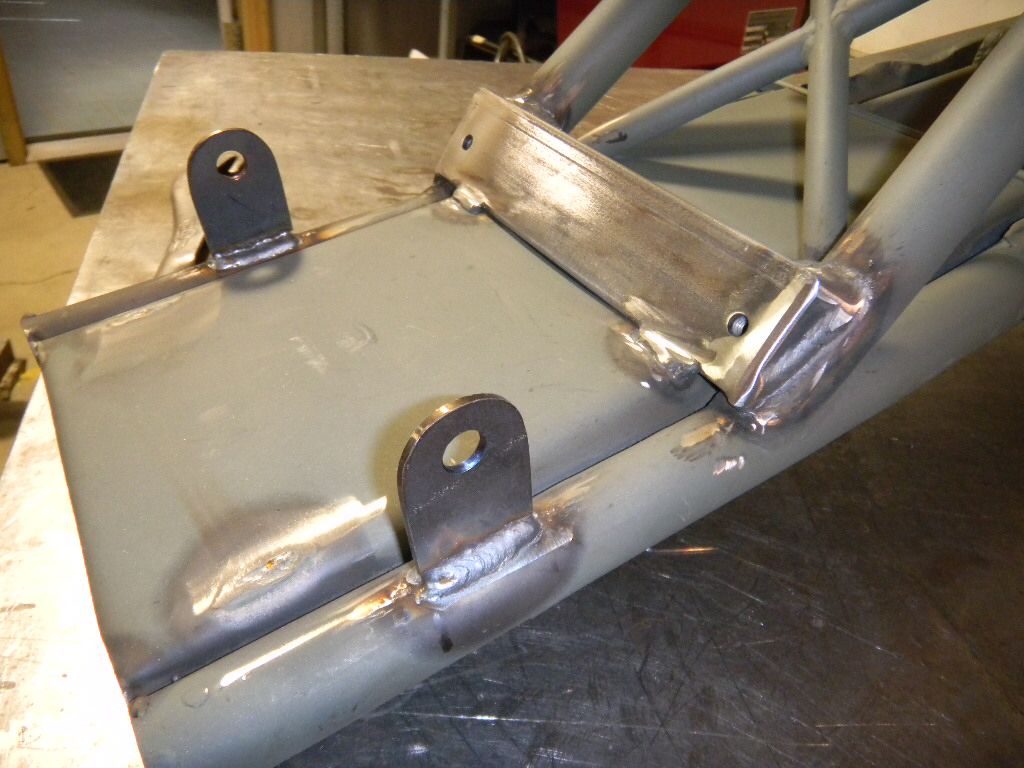
Sometimes I wonder if my head is screwed on. Forgot the battery hold down brackets. A little metal work, grinding & welding.

ce0b3a1d857458a46979575749b2f6b4.jpg


c468a7b1ed2b2a97dc4dfd7796050a0c.jpg


While I was at it; decided to relocate the turn signals to the frame vs the seat cowl. Boxed in the license plate bracket too.

e6f4b65065da486970a6556177ab5e66.jpg


Sanded things down, and reprimed for painting (hopefully today)
6d6eedaeac6d83307a21e5595097ce48.jpg
 
Razor, you keep posting up the fab work and Mike will be buying all the stuff necessary to have a machine shop in his house!

He's fanatical and obsessive..... A great combination.

I know him well.
 
G'day DABRoadie. Welcome. Tell us about yourself? Are you a CB1100 owner? Or do you just pop in from time to time to give your mate Mike a stir?
 
Thread starter
Cormanus_imp said:
G'day DABRoadie. Welcome. Tell us about yourself? Are you a CB1100 owner? Or do you just pop in from time to time to give your mate Mike a stir?
+1, I've got a buddy that loves to "stir"


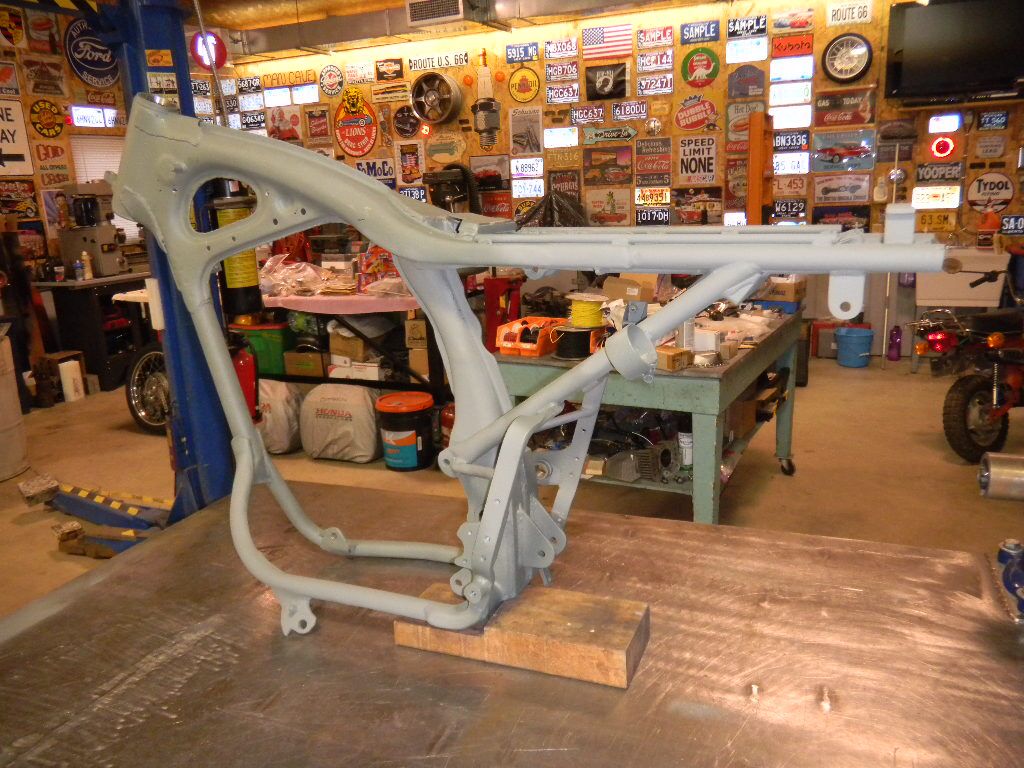
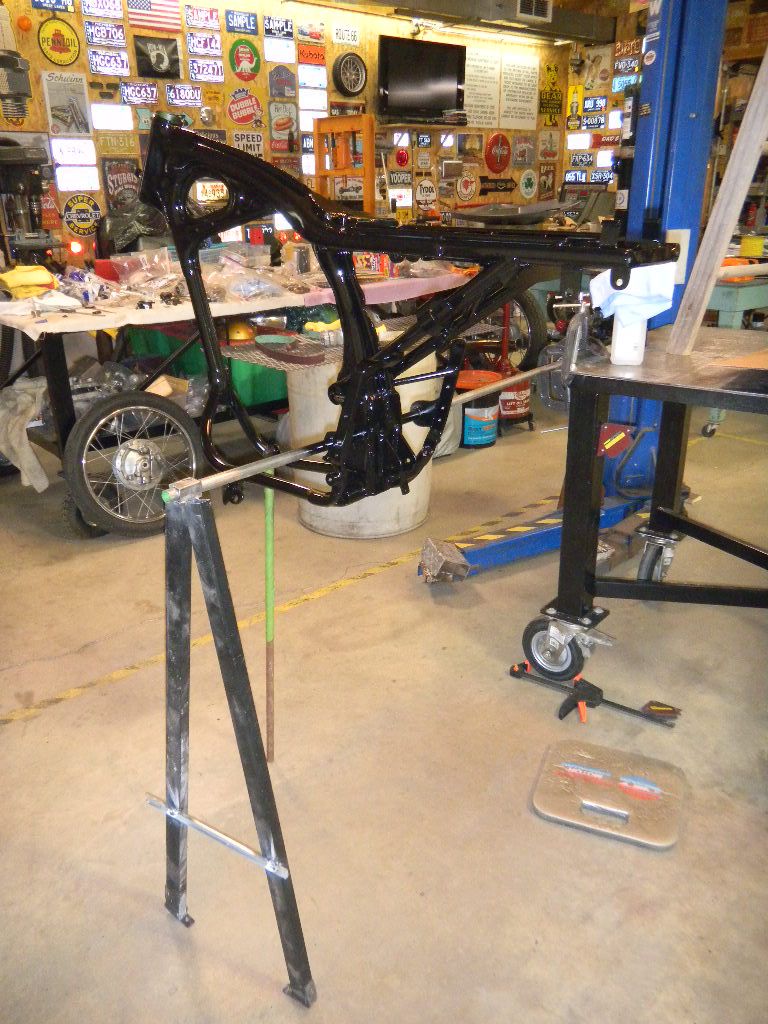
A bit of progress. Made a makeshift rotisserie. Painted the frame with about 1 1/2 cans of Rustoleum epoxy appliance paint. Went on well, looks good.

b58791b98ff0d6edb453f7374d5a3b6e.jpg
 
Cormanus_imp said:
G'day DABRoadie. Welcome. Tell us about yourself? Are you a CB1100 owner? Or do you just pop in from time to time to give your mate Mike a stir?

No I don't have a CB1100. I ride a Yamaha Roadstar....... Mikes my brother so I joined up to keep an eye on him.


And his next protect which I'm sure will be unveiled soon. He just can't seem to sit still.


(See the way I'm planting the seed)


And Razor, well his talent speaks for itself. Awesome work.
 
Wow Razor that is a heck of a workshop you have there. I love the Yooper plate on the wall.


2014 CB1100 DLX
2013 CB1100 Std
1990 BMW K75 RT
 
You're welcome here, DABRoadie. Seems we like most people who like riding bikes.
 
Thread starter
Elipten_imp said:
Wow Razor that is a heck of a workshop you have there. I love the Yooper plate on the wall.


2014 CB1100 DLX
2013 CB1100 Std
1990 BMW K75 RT
We try to go up north a few times a year. Great country up there!
Shop has been a labor of love since 1992.
DABRoadie_imp said:
Cormanus_imp said:
You're welcome here, DABRoadie. Seems we like most people who like riding bikes.

Thanks guys and who knows I may own an 1100 someday.

Sorry for the hijack.

Thanks guys and who knows I may own an 1100 someday.

Sorry for the hijack.
No problem, have to agree with Cormanus; your more than welcome here.
More to share.

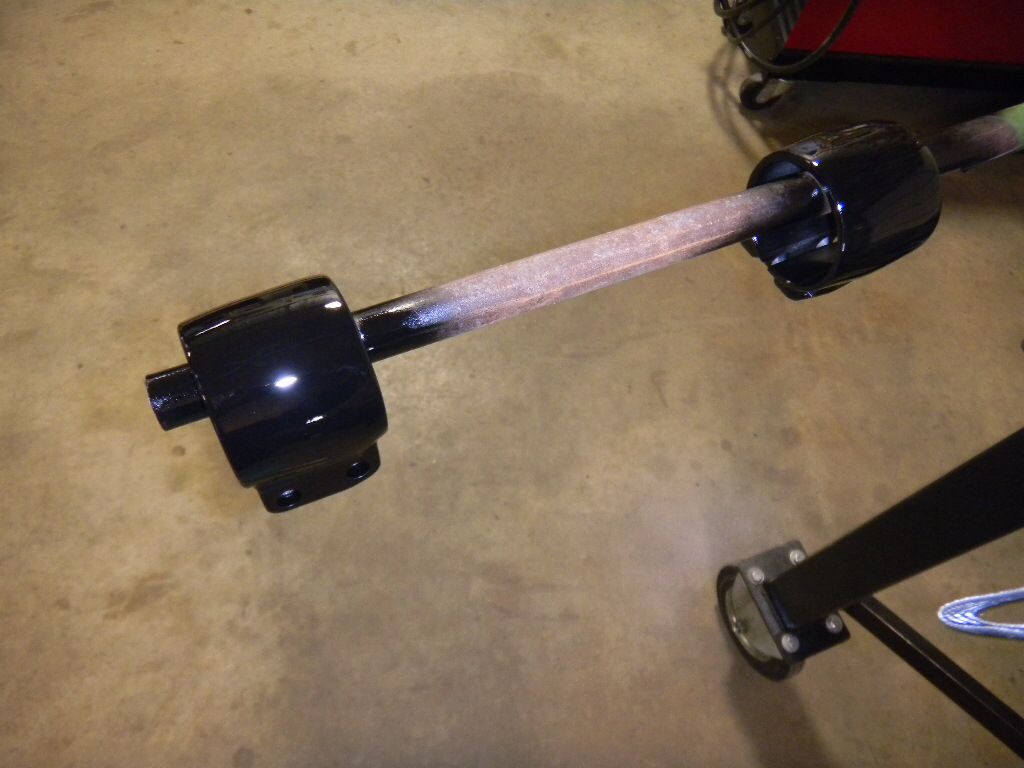
The headlight bracket clamps that I bought were to big (brackets hit the tank, didn't want to reduce the turning radius).

Ended up getting a used/damaged lower triple tree. Cut off the ends, flapper wheeled them down, and then finished them off with 120 grit paper. Bead blasted them afterwards.

Left one is just after the flapper wheel, right is done, ready for paint.
1b60b777f79655416949d2a8a4cd85a7.jpg


Two coats of epoxy paint.
7b1f82eb33b1d48582a8a4a30526849e.jpg


Installed
10c2cb304e737e5415522d5a4649f310.jpg


Misc
14efb5d5f9ed90cab5d740fea703bb40.jpg


5d84f5b0fa593ee81ce642f217fbb4ff.jpg
 
Thread starter
Some updates

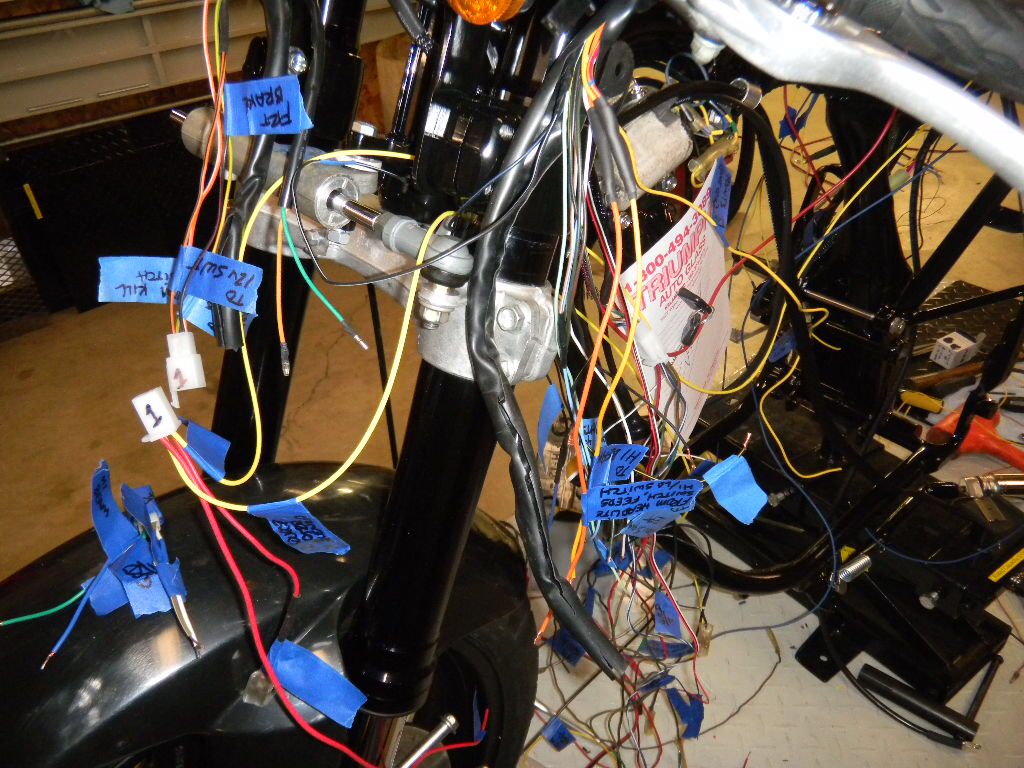
Electrical isn't my favorite thing.
fd5bc60792187d9256a73329e0a2e703.jpg


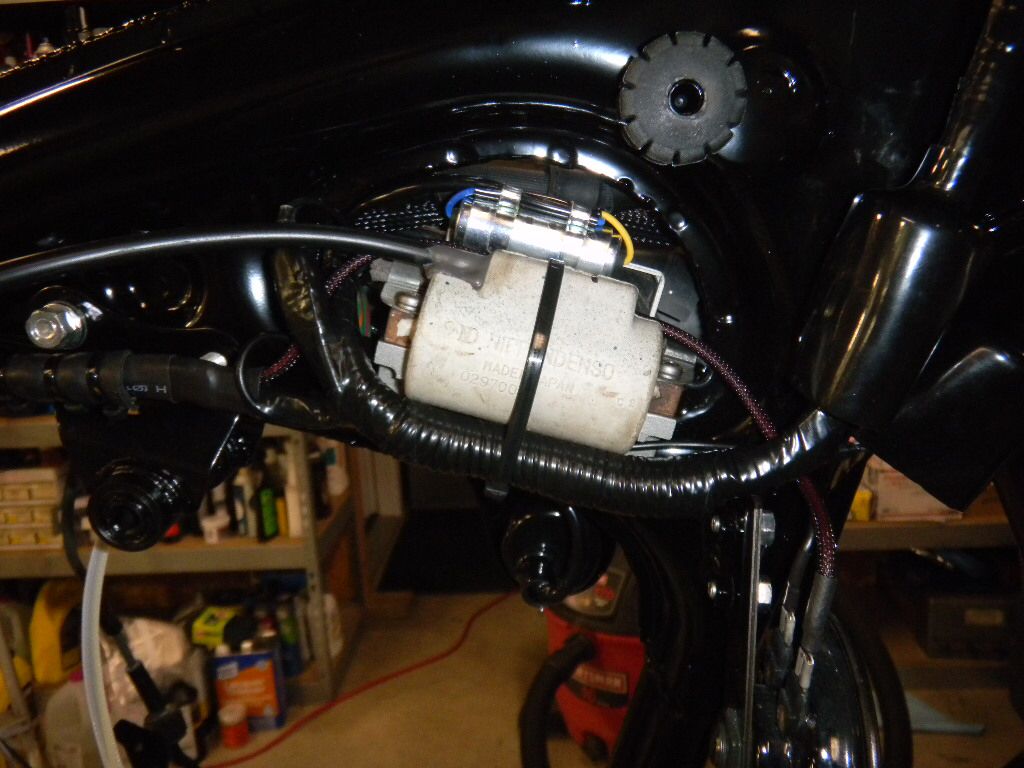
Right side finished
b488ee37bcd1d371d70f56d1179b4dc8.jpg


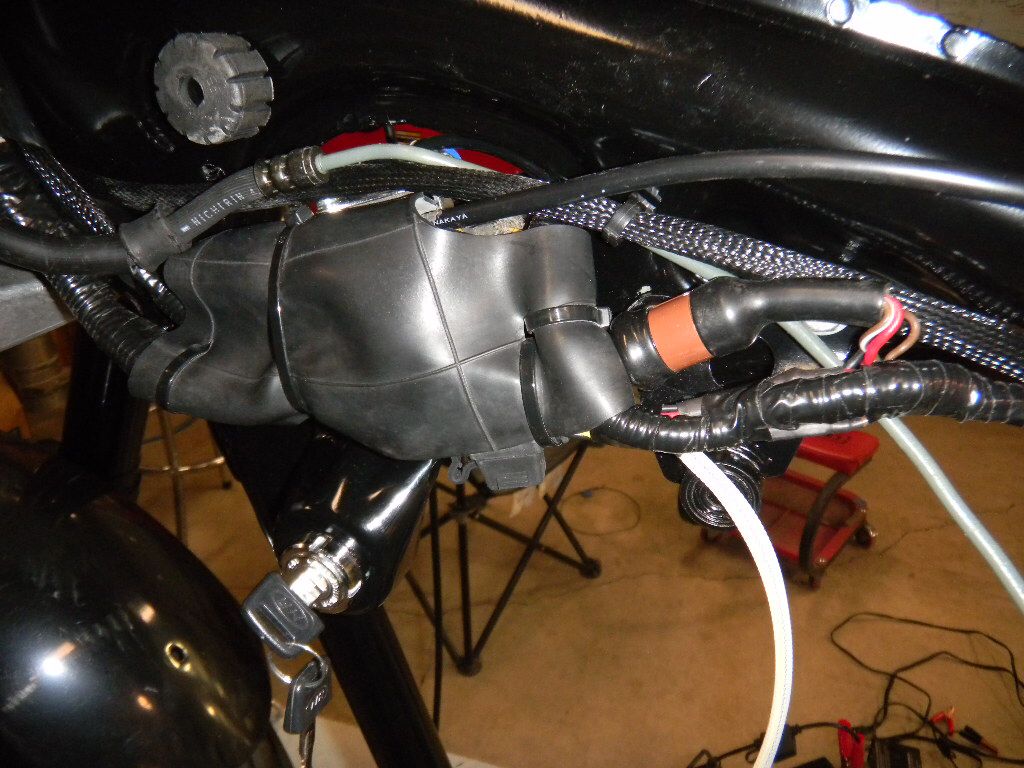
Left side looks the same under the inner tube, just a lot more wires. Had about a 1/4" clearance between the tank, needed a little insurance.
Fuse holder on the bottom goes to the GPS tach/speedo.
e39f7ee68406f8309e5b3f8efd92c4b3.jpg


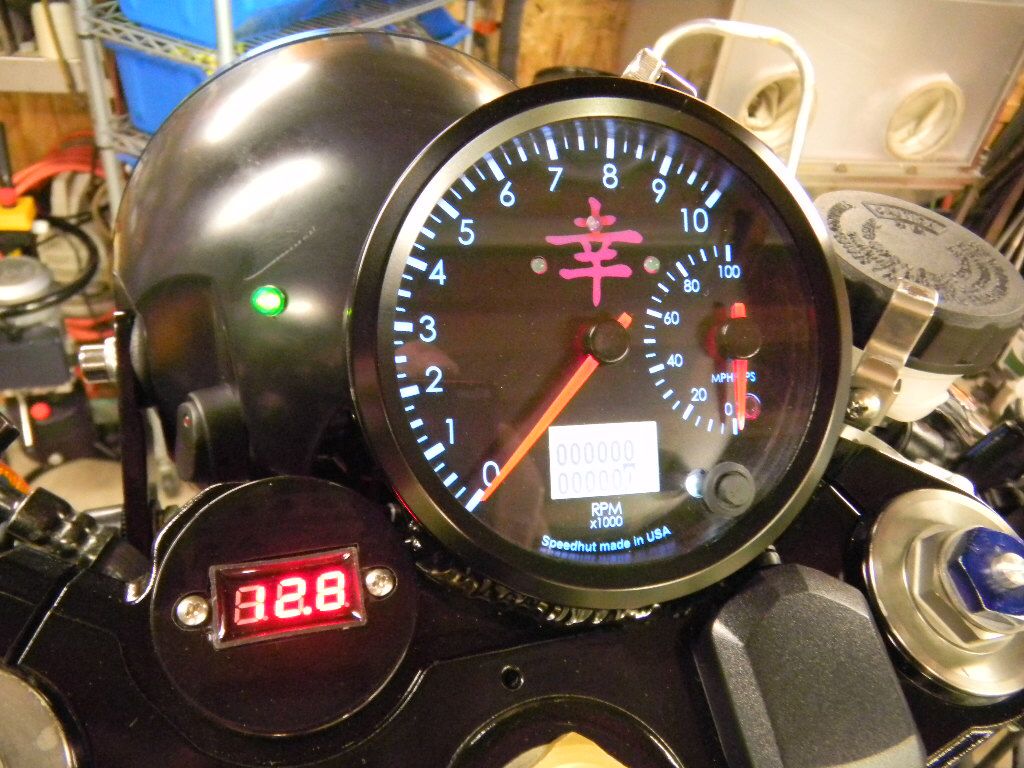
"Dash", GPS antenna on lower right, green light is neutral indicator, switch on headlight housing is for the low beam (high beams are triggered through the hi/low switch or the pass switch. Volt meter is to keep track of the vintage technology.
4b19e2ce29a52c0e3017888da2959c2e.jpg


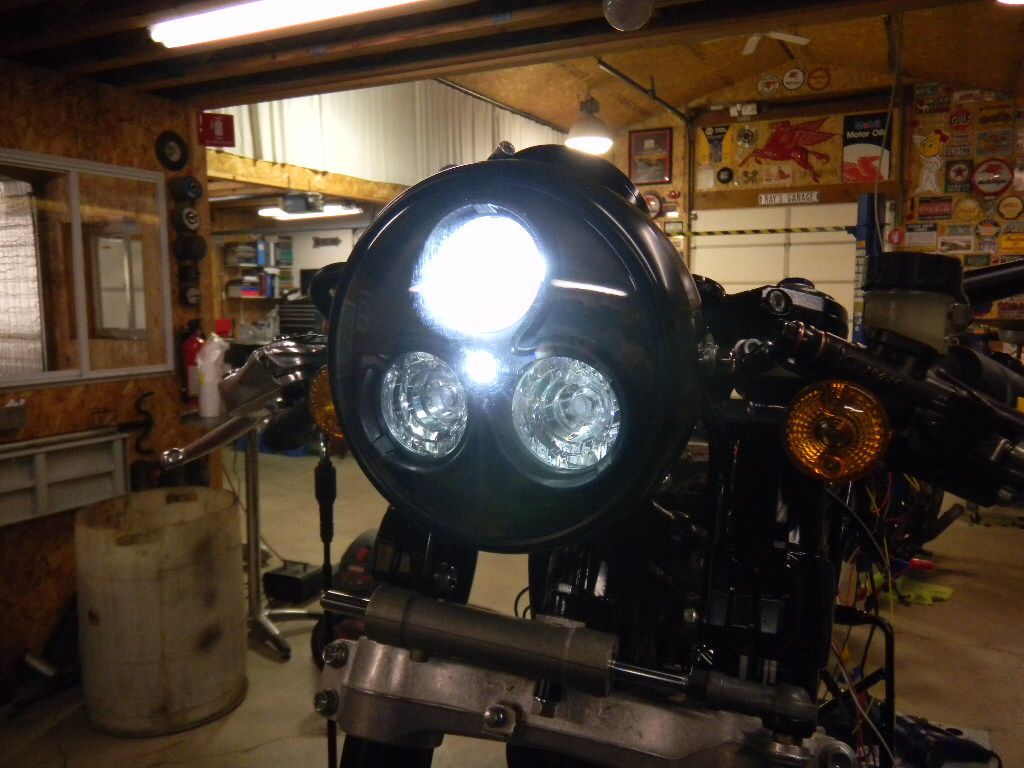
Low beam
dd4fbcd99e535ba5888ad650cb0f616b.jpg


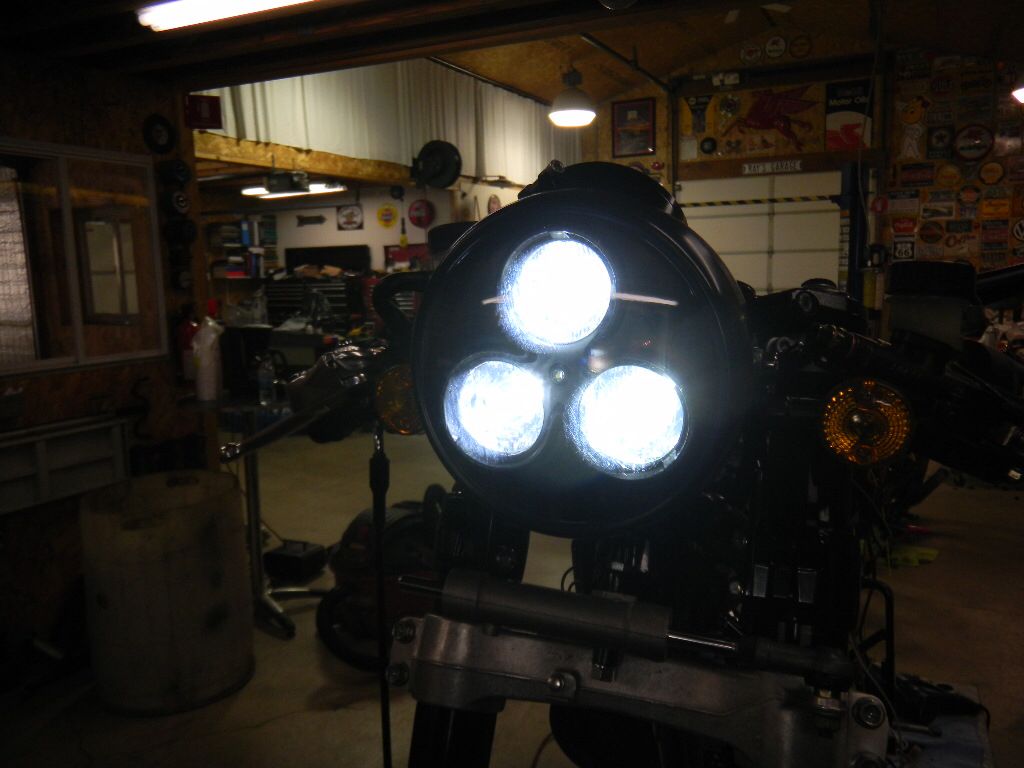
High beam
02be0b6460633dd3a87bb94a3d5ffac0.jpg


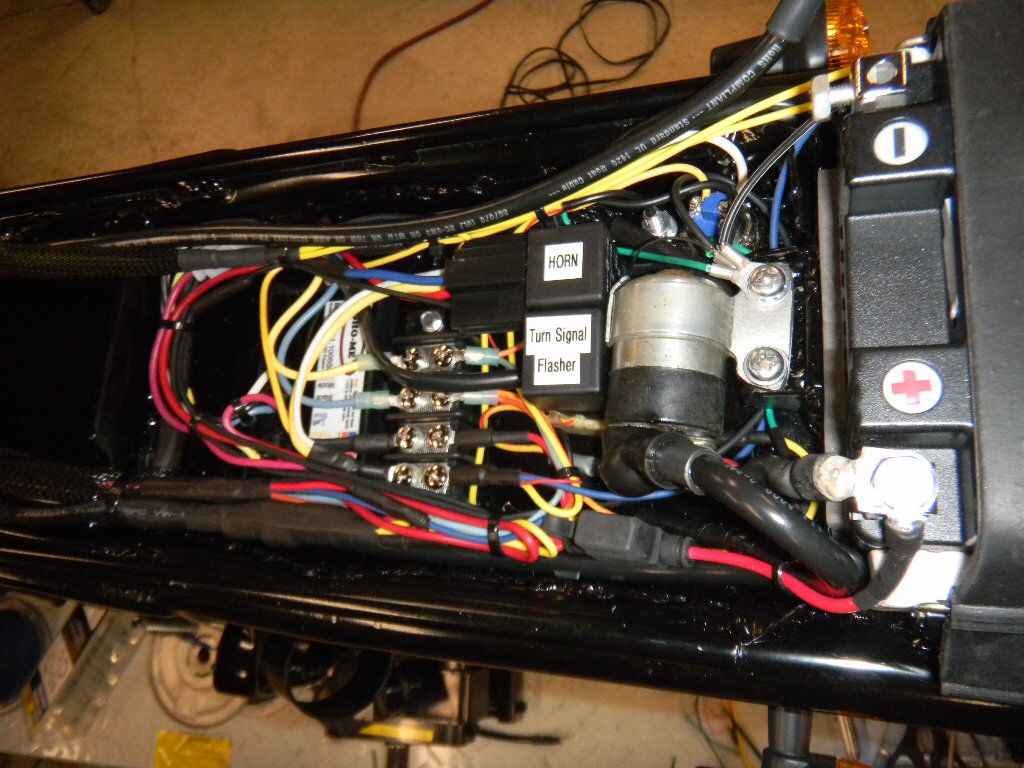
Got the turn signals and strobe temporarily wired in under the seat. Waiting on a sealed LED flasher to finish.

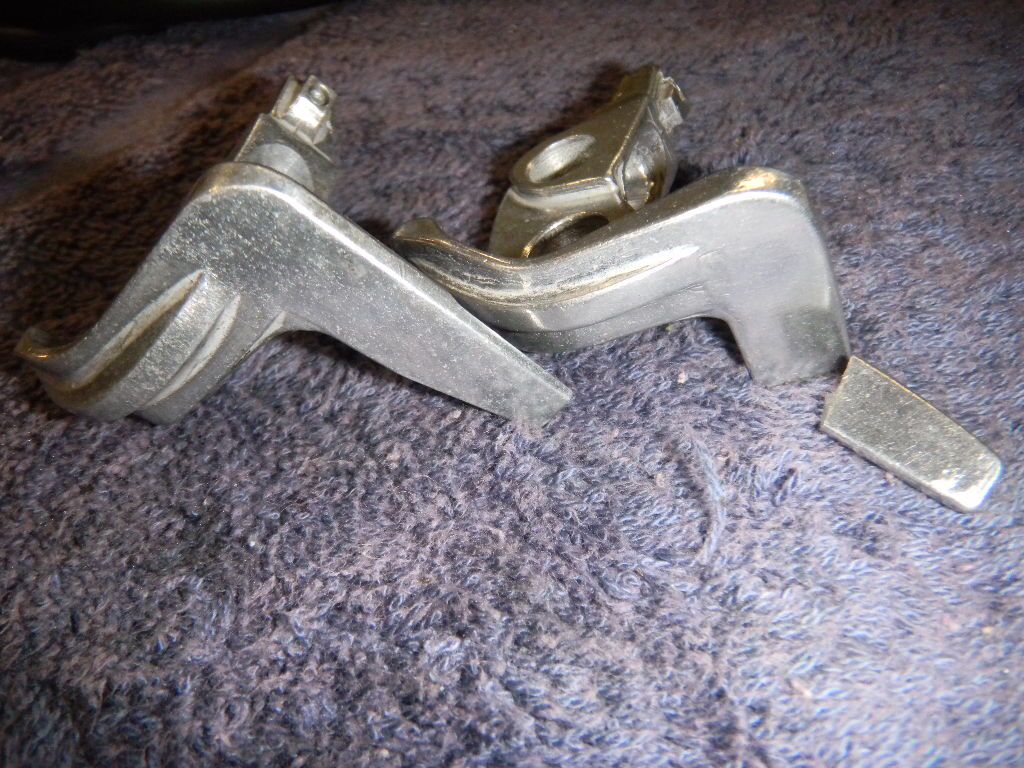
Edit, forgot the photo of the front brake micro switch lever. Broke the original trying to heat & tweak it.
Left is the replacement, right goes on the wall of shame.
29c64aa8b221f6bf0b30b88c14466de8.jpg


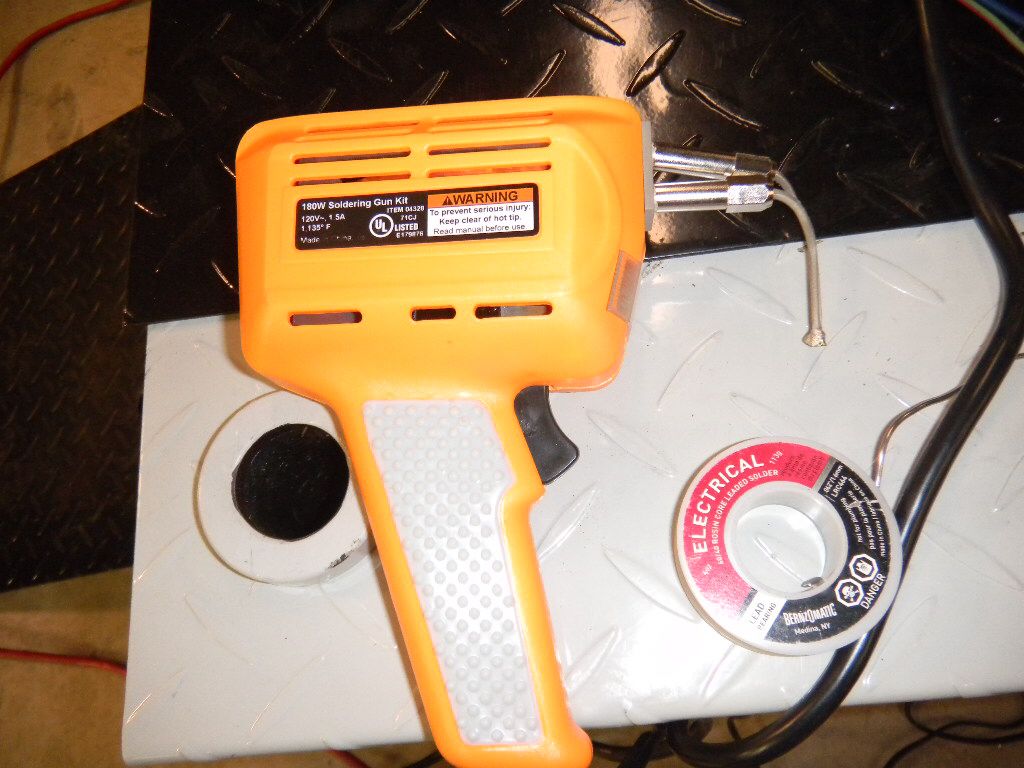
Seems like they'd do drop testing for soldering guns from 2ft. Had this one for about three years, bought it at Harbor Freight.
e4550d3654565bd0f69e8594d7a9933e.jpg
 
LOL love all the little blue piece of tape. looks like something I would do. My brother would just wing it.

Looking cool Ray. Must truly be a labor of love.
 
Thread starter
The ferret_imp said:
LOL love all the little blue piece of tape. looks like something I would do. My brother would just wing it.

Looking cool Ray. Must truly be a labor of love.
Blue tape is a good friend (keeps me sane... or close to it)

Update. I'm about 90% done with the electrical. Still need to do the stator, neutral light and tail light wiring.

Here's what it looks like under the seat.
3f67a4c77c8e3115d0280ecc4c4f4b45.jpg


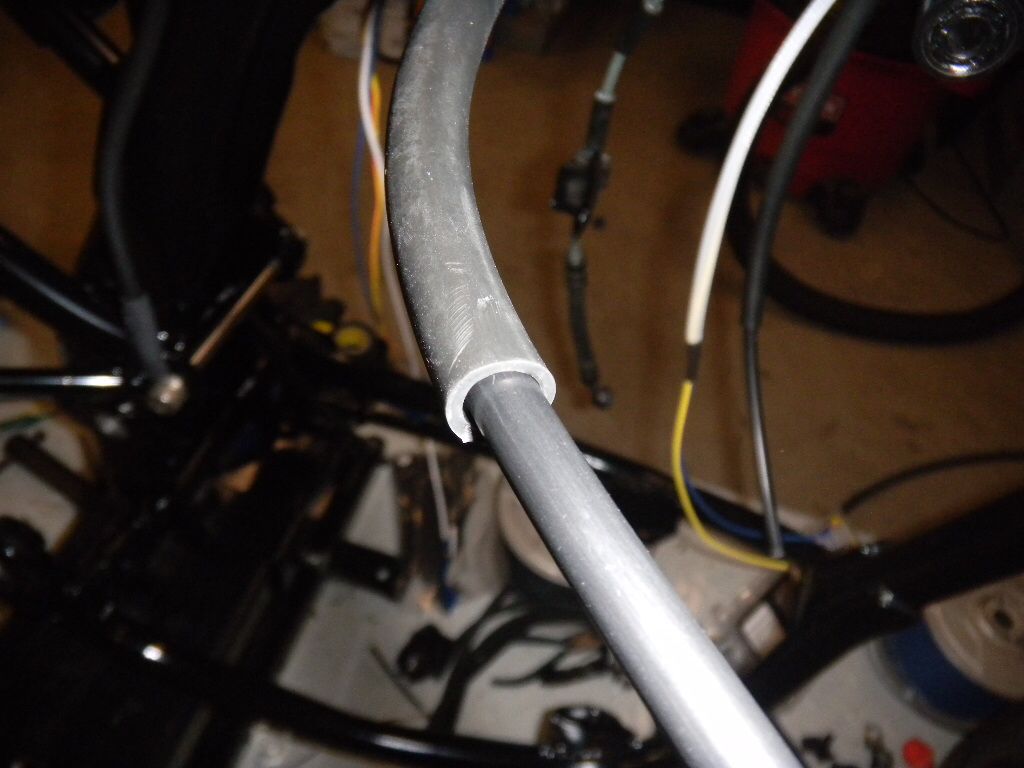
Got my hands on some black Tygon tubing and inserted it over the spark plug wires (similar to stock)
097176301d9557c7ad4accc3bb5587d8.jpg


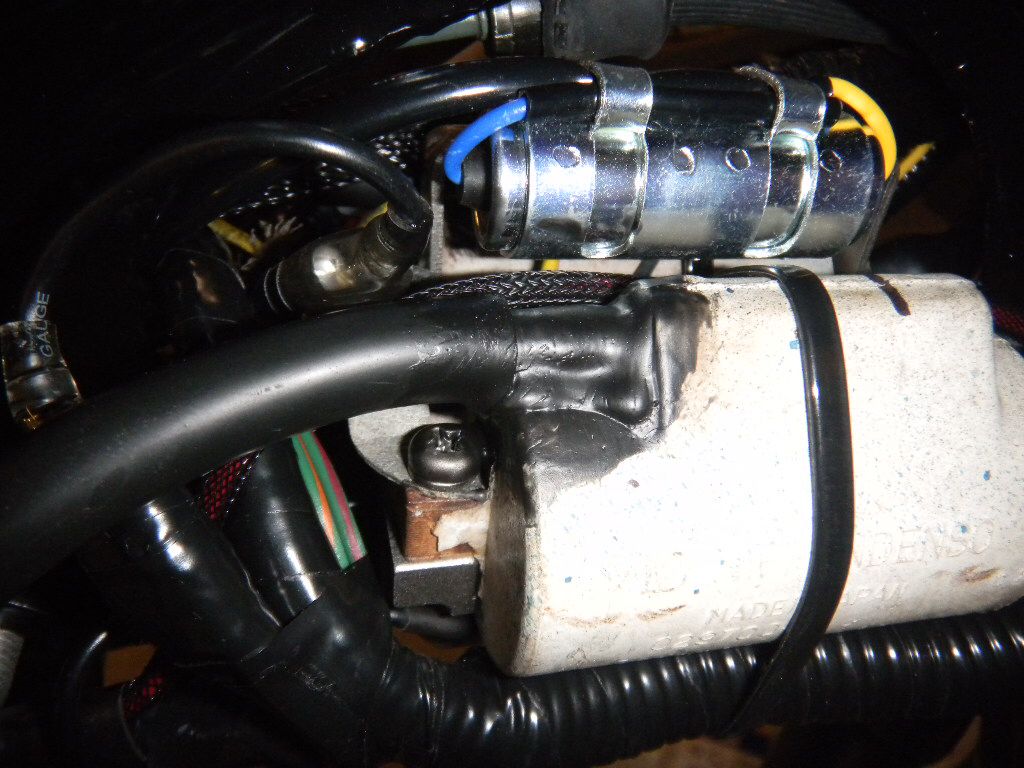
Took some liquid electrical tape and adhered & sealed the top end. Amazing how well it works.
57b604642dbb679a7441339fe03ab8dc.jpg


With any luck; should start to reassemble the engine next week.
 
Thread starter
Started assembling the engine. Got the lower end done. Woke up the next morning questioning whether I had installed the "sealing ball".

I hadn't... :@. Splitting the case was the easy part, cleaning the fresh Yamabond was quite the task.
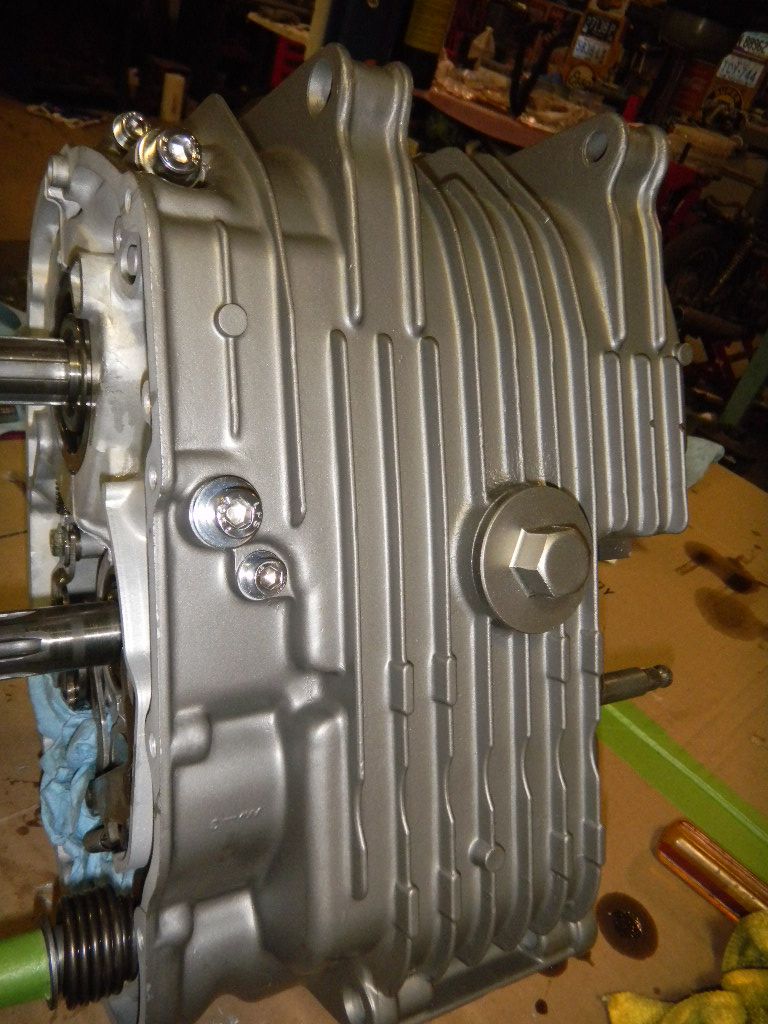
The sealing ball is rubber and seals between the oil gallery and the right crankshaft bearing race. Some choose to leave it out, but I remembered seeing the flat spot on the ball when I removed it. Indication of a bit of oil pressure.

Here's a pic of the dreaded sealing ball in the case.
8e3697fd225a638d13c944db6b75708d.jpg


Lower end done.
29167a13927bec626a0d416836e8d8ce.jpg
 
Well, you will certainly know this bike inside and out lol
 
I dunno, Razor, I'm not sure I'd want to dirty that beautiful thing with oil. :thumbsup:
 
Back
Top