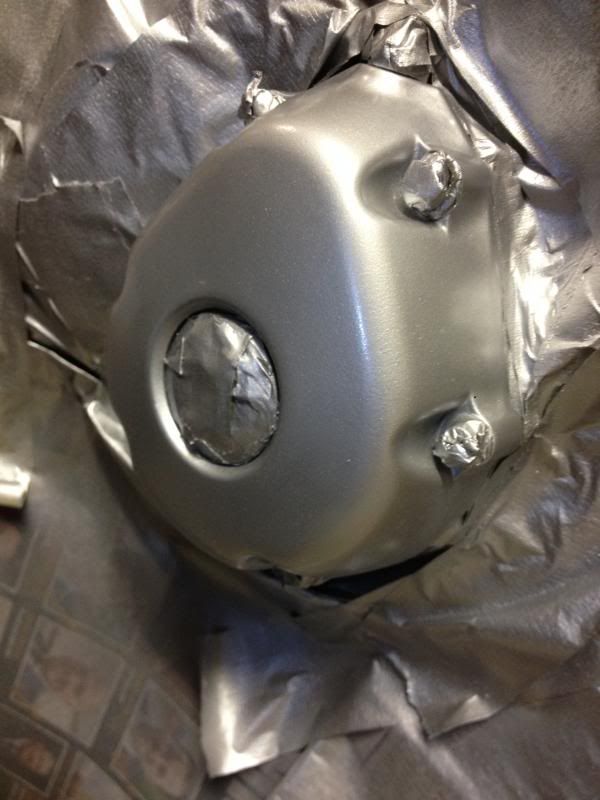
Bush mechanic - a little Gravel Rash removed

Pterodactyl_imp

Road warrior
Thread starter
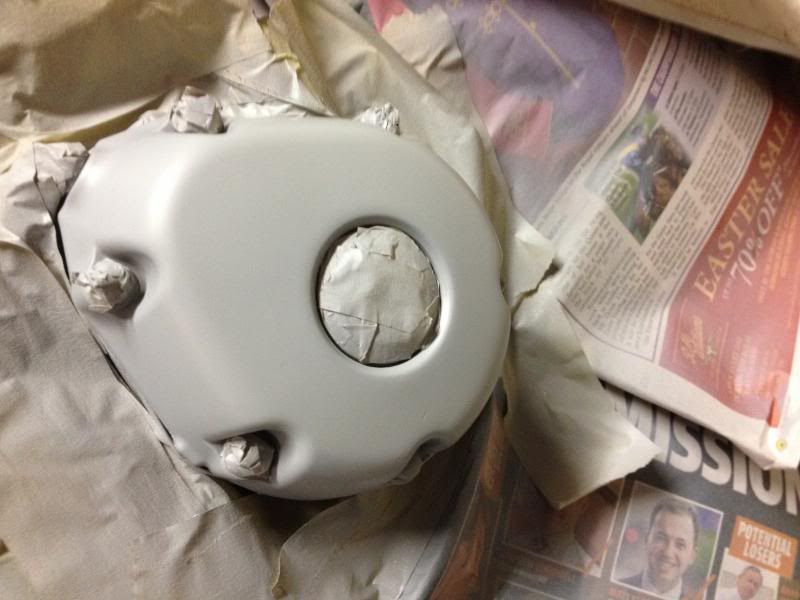
Masked up and etch primed
55d06406bef4e35333667ada67f75b4f.jpg


Aluminium engine paint
ef965777cff8909b0a2df014fe18bfc4.jpg


Three coats then Clear Coat, 2 coats
93a3aeb5ea69ef477b992e749812521b.jpg


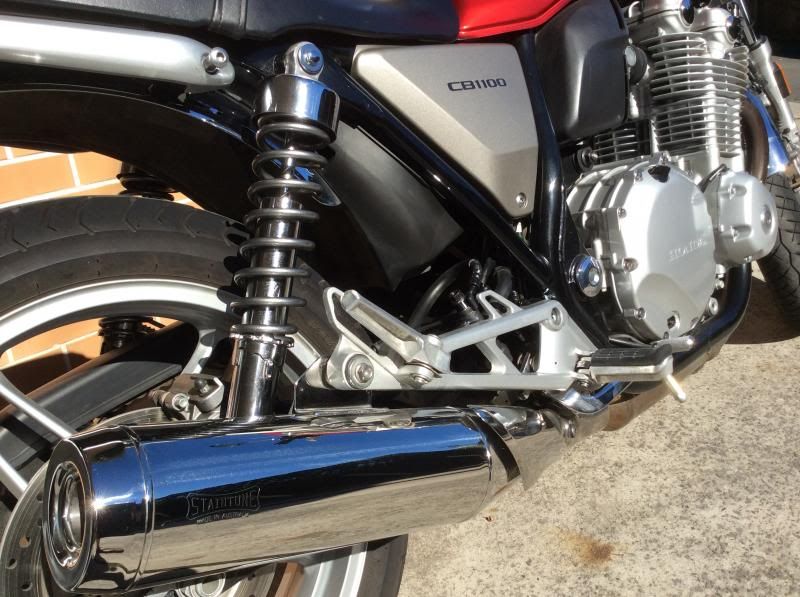
Fit the Staintune
08998711a6ceab65defd4d8390a98e2c.jpg


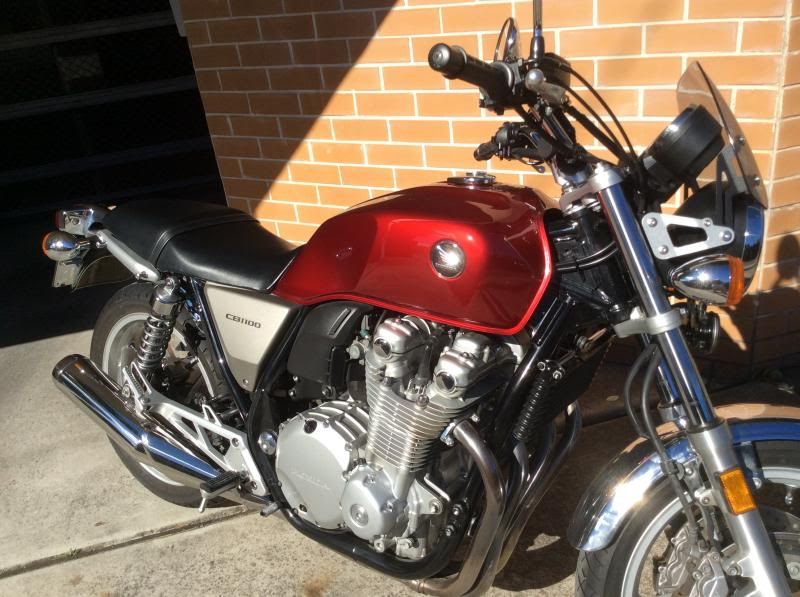
When it cures, I'll give it a little polish up and the Last Blast is (nearly) as good as new. Well, good enough for the Bush Mechanic. :rolleyes:
2e4c7e38071e8fcc29a8503e1bad19f8.jpg

4a6316ea0fcd810ee8d12f86111047ff.jpg


Cheers
 
Thread starter
Aussie_imp said:
Looks good. I couldn't tell the difference. How are you finding the Dart?
I haven't yet. I am still one armed but going crazy enough to give it a try soon. If I hang over the tank I should be able to avoid straightening my left arm. Clutch operation not a problem. To keep the missus happy will leave it for another week.

Cheers

Just watching our evening news. For those of you living in Tornado land, I sincerely hope that you, your families and friends are all OK.

Tony
 
Nice work Ptero... in the future might I suggest you keep the rubber side down and the shiny bits up eh?
 
Pterodactyl_imp said:
Aussie_imp said:
Looks good. I couldn't tell the difference. How are you finding the Dart?
I haven't yet. I am still one armed but going crazy enough to give it a try soon. If I hang over the tank I should be able to avoid straightening my left arm. Clutch operation not a problem. To keep the missus happy will leave it for another week.

Cheers

Just watching our evening news. For those of you living in Tornado land, I sincerely hope that you, your families and friends are all OK.

Tony
Take your time my brother. Just 'cause we're young and handsome it doesn't mean we have to be young and reckless too. She'll be there when you're ready.

Very nice restoration work there, BTW. I almost envy you having the fun project to work on. Almost...
 
Bike looks great, pterodactyl. Were there scratches in the cover? How'd you get them out?

Wise words from the Spaceman. Don't be too hasty.
 
Thread starter
Cormanus_imp said:
Bike looks great, pterodactyl. Were there scratches in the cover? How'd you get them out?

Wise words from the Spaceman. Don't be too hasty.
Rubbed them out with ever decreasing grades of wet and dry (1200 the last). Not deep enough to need a file or compromise the integrity of the casing, but very ugly. If your bike is unfortunate to suffer "drop rash" it is not a hard job, just takes patience. If anyone is tempted, it is best to rub the whole casing back rather than try to patch.

Better still take ferret's advice :)

And thanks Spaceman, I'll take that on board.

Cheers
 
Pterodactyl_imp said:
Cormanus_imp said:
Bike looks great, pterodactyl. Were there scratches in the cover? How'd you get them out?

Wise words from the Spaceman. Don't be too hasty.
Rubbed them out with ever decreasing grades of wet and dry (1200 the last). Not deep enough to need a file or compromise the integrity of the casing, but very ugly. If your bike is unfortunate to suffer "drop rash" it is not a hard job, just takes patience. If anyone is tempted, it is best to rub the whole casing back rather than try to patch.

Better still take ferret's advice :)

And thanks Spaceman, I'll take that on board.

Cheers
Thank you kind sir.

By the way, wasn't there a wonderful film called Bush Mechanics?
 
Thread starter
Cormanus_imp said:
Pterodactyl_imp said:
Cormanus_imp said:
Bike looks great, pterodactyl. Were there scratches in the cover? How'd you get them out?

Wise words from the Spaceman. Don't be too hasty.
Rubbed them out with ever decreasing grades of wet and dry (1200 the last). Not deep enough to need a file or compromise the integrity of the casing, but very ugly. If your bike is unfortunate to suffer "drop rash" it is not a hard job, just takes patience. If anyone is tempted, it is best to rub the whole casing back rather than try to patch.

Better still take ferret's advice :)

And thanks Spaceman, I'll take that on board.

Cheers
Thank you kind sir.

By the way, wasn't there a wonderful film called Bush Mechanics?
No worries. There was a TV doco, a little offbeat but kinda engaging:

http://www.abc.net.au/tv/documentaries/stories/s359476.htm

A short YouTube excerpt:

Bush Mechanics

Cheers
 
Fit the Staintune
ec7fd6a84a403b08025301a8befa0863.jpg


G`day Pterodactyl, I see you have a Staintune fitted and wonder what clearance you have between the bottom shock absorber mounting bolt and the exhaust itself with no rider whilst on centre stand or sidestand. I had one sent through by my brother and the clearance seems minimal after comparing with the original unit which has a factory deformation in that area to allow a large clearance. Photo would be greatly appreciated.

Regards
 
Thread starter
Tyke57nz_imp said:
Fit the Staintune
ec7fd6a84a403b08025301a8befa0863.jpg


G`day Pterodactyl, I see you have a Staintune fitted and wonder what clearance you have between the bottom shock absorber mounting bolt and the exhaust itself with no rider whilst on centre stand or sidestand. I had one sent through by my brother and the clearance seems minimal after comparing with the original unit which has a factory deformation in that area to allow a large clearance. Photo would be greatly appreciated.

Regards
7aa2a80ed450347c3d1dce2c66e70d51.jpg

Side stand

fb50c90a842d1619465b20bab3ecd2c2.jpg

Centrestand

Clearance is about 5mm, by eye. If you want precise will measure tomorrow. When the suspension is working there should not be a problem. I have applied a deal of force and can't put the muffler against the suspension. I think you would have to have a severe drop for contact to occur. Monitoring of the mounting bushes should be part of routine checks. On the other hand if you want to remove the lower shock mounting bolt then the Staintune would have to be removed. Not a big deal. There are a number of members on the forum with Staintunes and no reported problems. If I can be of any further help let me know.

Cheers
 
If your Staintune lacks clearance near the shock, loosen all bolts (actually, completely remove rear bolt) and twist the entire muffler in order to reorient its positioning at the point where it attaches to the exhaust. You will eventually find a position which allows the rear of the Staintune to clear the shock by a nice margin and also seats the rear mount bolt and rear exhaust mount tab nicely with the rear factory mount point. I experienced the same issue and am OCD with respect to these things. I think what happens is that we're all happy to simply get the thing on at the first attempt...it is only later that we focus on the details (primarily how it hangs at the rear mount point). Again, I suggest you budget 15-20 minutes to the effort...twist it around and push it in and out as necessary at the point where the Staintune connects with the factory pipe, it is likely not bent or improperly manufactured...you just need to find the positioning which seats the Staintune correctly at both ends.
 
Pterodactyl_imp said:
Tyke57nz_imp said:
Fit the Staintune
ec7fd6a84a403b08025301a8befa0863.jpg


G`day Pterodactyl, I see you have a Staintune fitted and wonder what clearance you have between the bottom shock absorber mounting bolt and the exhaust itself with no rider whilst on centre stand or sidestand. I had one sent through by my brother and the clearance seems minimal after comparing with the original unit which has a factory deformation in that area to allow a large clearance. Photo would be greatly appreciated.

Regards
7aa2a80ed450347c3d1dce2c66e70d51.jpg

Side stand

fb50c90a842d1619465b20bab3ecd2c2.jpg

Centrestand

Clearance is about 5mm, by eye. If you want precise will measure tomorrow. When the suspension is working there should not be a problem. I have applied a deal of force and can't put the muffler against the suspension. I think you would have to have a severe drop for contact to occur. Monitoring of the mounting bushes should be part of routine checks. On the other hand if you want to remove the lower shock mounting bolt then the Staintune would have to be removed. Not a big deal. There are a number of members on the forum with Staintunes and no reported problems. If I can be of any further help let me know.

Cheers
Thanks for that, appreciate the time and effort. Was getting a bit late for me last night, will go out with a different mindset and get it sorted.
xpacpal1x_imp said:
If your Staintune lacks clearance near the shock, loosen all bolts (actually, completely remove rear bolt) and twist the entire muffler in order to reorient its positioning at the point where it attaches to the exhaust. You will eventually find a position which allows the rear of the Staintune to clear the shock by a nice margin and also seats the rear mount bolt and rear exhaust mount tab nicely with the rear factory mount point. I experienced the same issue and am OCD with respect to these things. I think what happens is that we're all happy to simply get the thing on at the first attempt...it is only later that we focus on the details (primarily how it hangs at the rear mount point). Again, I suggest you budget 15-20 minutes to the effort...twist it around and push it in and out as necessary at the point where the Staintune connects with the factory pipe, it is likely not bent or improperly manufactured...you just need to find the positioning which seats the Staintune correctly at both ends.
Thanks for the info, was running a little late and probably should have left everything in the box till today. Will go out with a different mindset and it will all be sorted. Cheers
 
Watched the youtube link about "Bush Mechanics", they remind me of some people I know back in Louisiana, in fact, I have a cousin that is probably an alpha "Bush Mechanic". :D
Bike looks great, Ptero. How's the arm?
 
Back
Top