rdprdp01
Administrator
Thread starter
My meticulous plan for my CB1100EX, motorcycle riding, and retirement did not play out as expected. A house fire, a housing shortage, and a struggling economy led me to improvise. The fire did make the move easy. With thoughtful packing, everything that survived the fire fit in my car. I guess if I squint, that was a good thing. ☺
But motorcycle parking and storage was a real issue. I did not have an enclosed, climate-controlled place to park one of the most beautiful motorcycles ever manufactured, adorned with beaucoup chrome, incredible stainless steel, and flawless metallic paint. I have parked previous motorcycles outside using a traditional draped cover, but my CB1100EX deserved something far better.
With the zeal of an old nerd on an espresso binge, I began designing a proper shelter. I was constrained by dollars (a dedicated motorcycle shop was not financially feasible) and time (I had 30 days to complete everything). Bottom line: I needed something well-designed, built on a solid foundation, in stock, relatively inexpensive, capable of meeting the extreme weather conditions of the Texas Hill Country, and able to be assembled in a weekend.
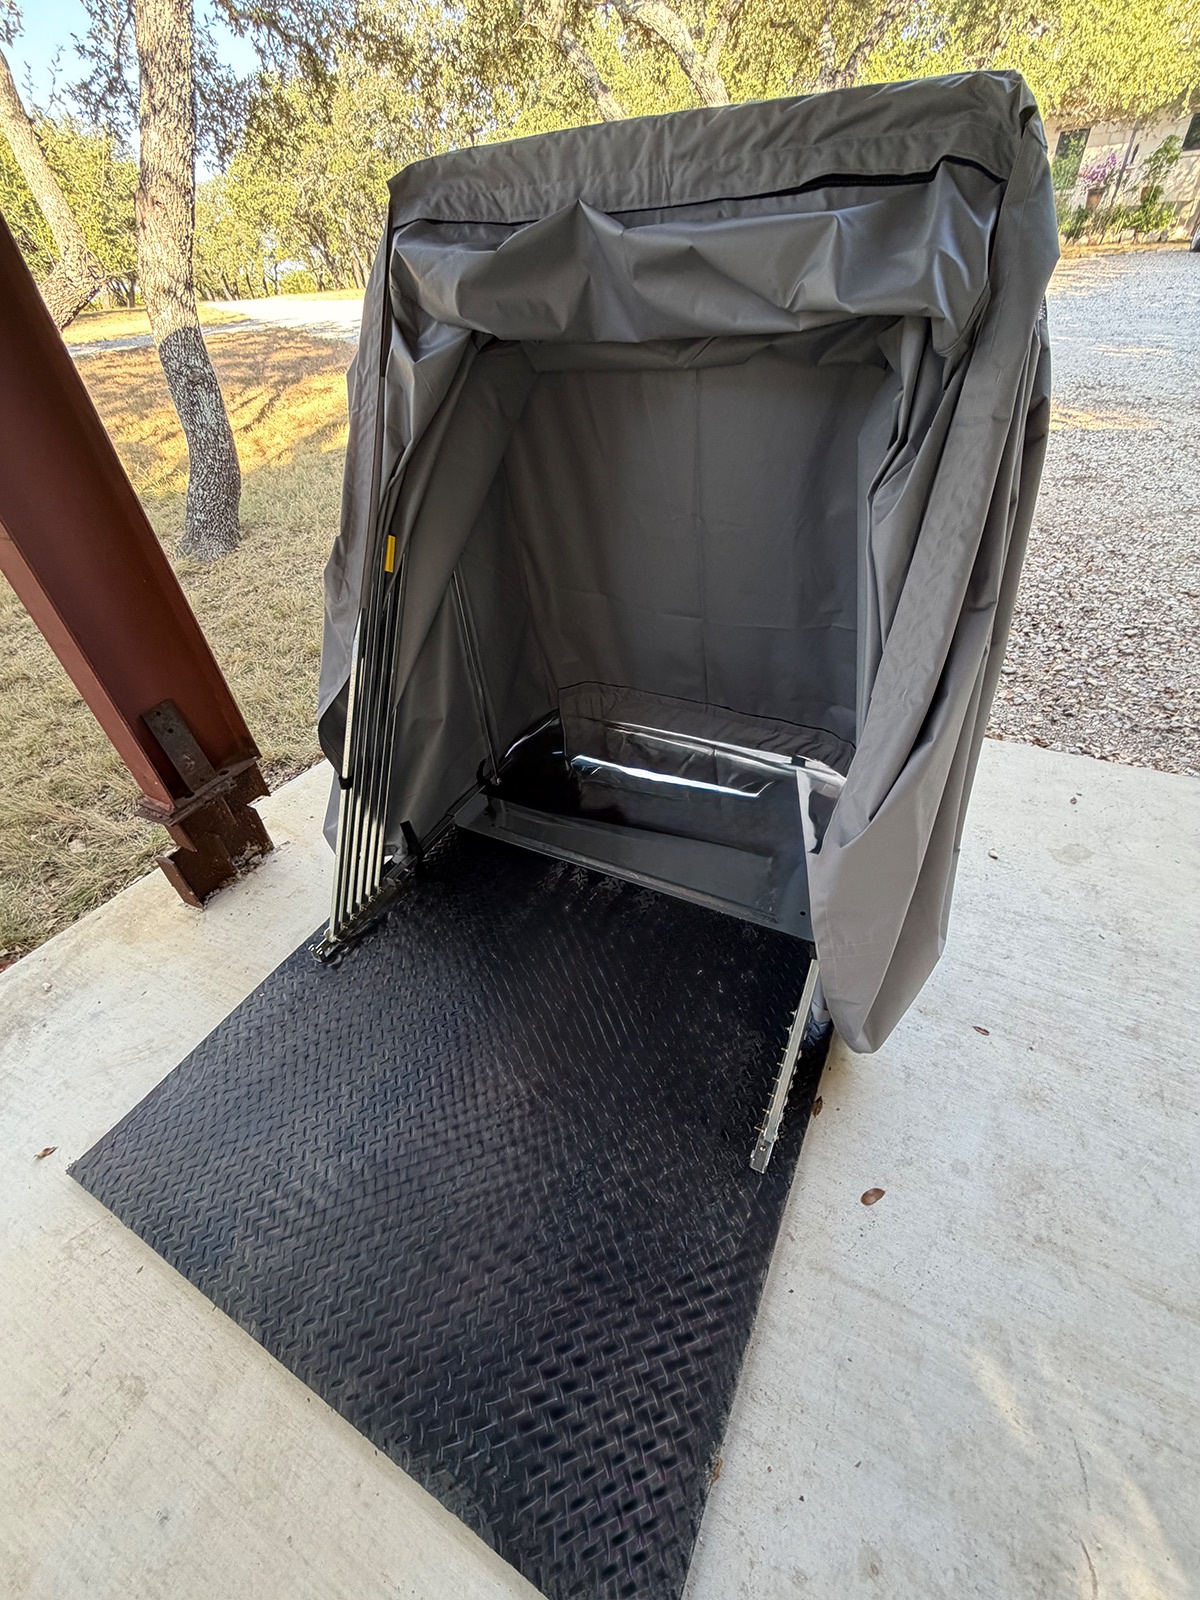
Here is what I landed on for anyone else facing a similar problem. The best “system” I found for protecting and parking a CB1100 is the Bike Shield ($370 USD). It has a relatively small footprint and uses a sturdy galvanized tubular frame to support a robust tarp that repels water and dust. Crucially, the cover never touches the motorcycle, so it cannot abrade the finish when opened or closed, nor does it trap surface moisture against the metal. It is affordable, replacement tarps are readily available, and with proper UV/waterproofing care, I believe I can keep the shelter functional and looking sharp for at least a decade.
Please see it deployed under my carport below, along with the daily game of Tetris required to make everything fit.
Carport & Cover
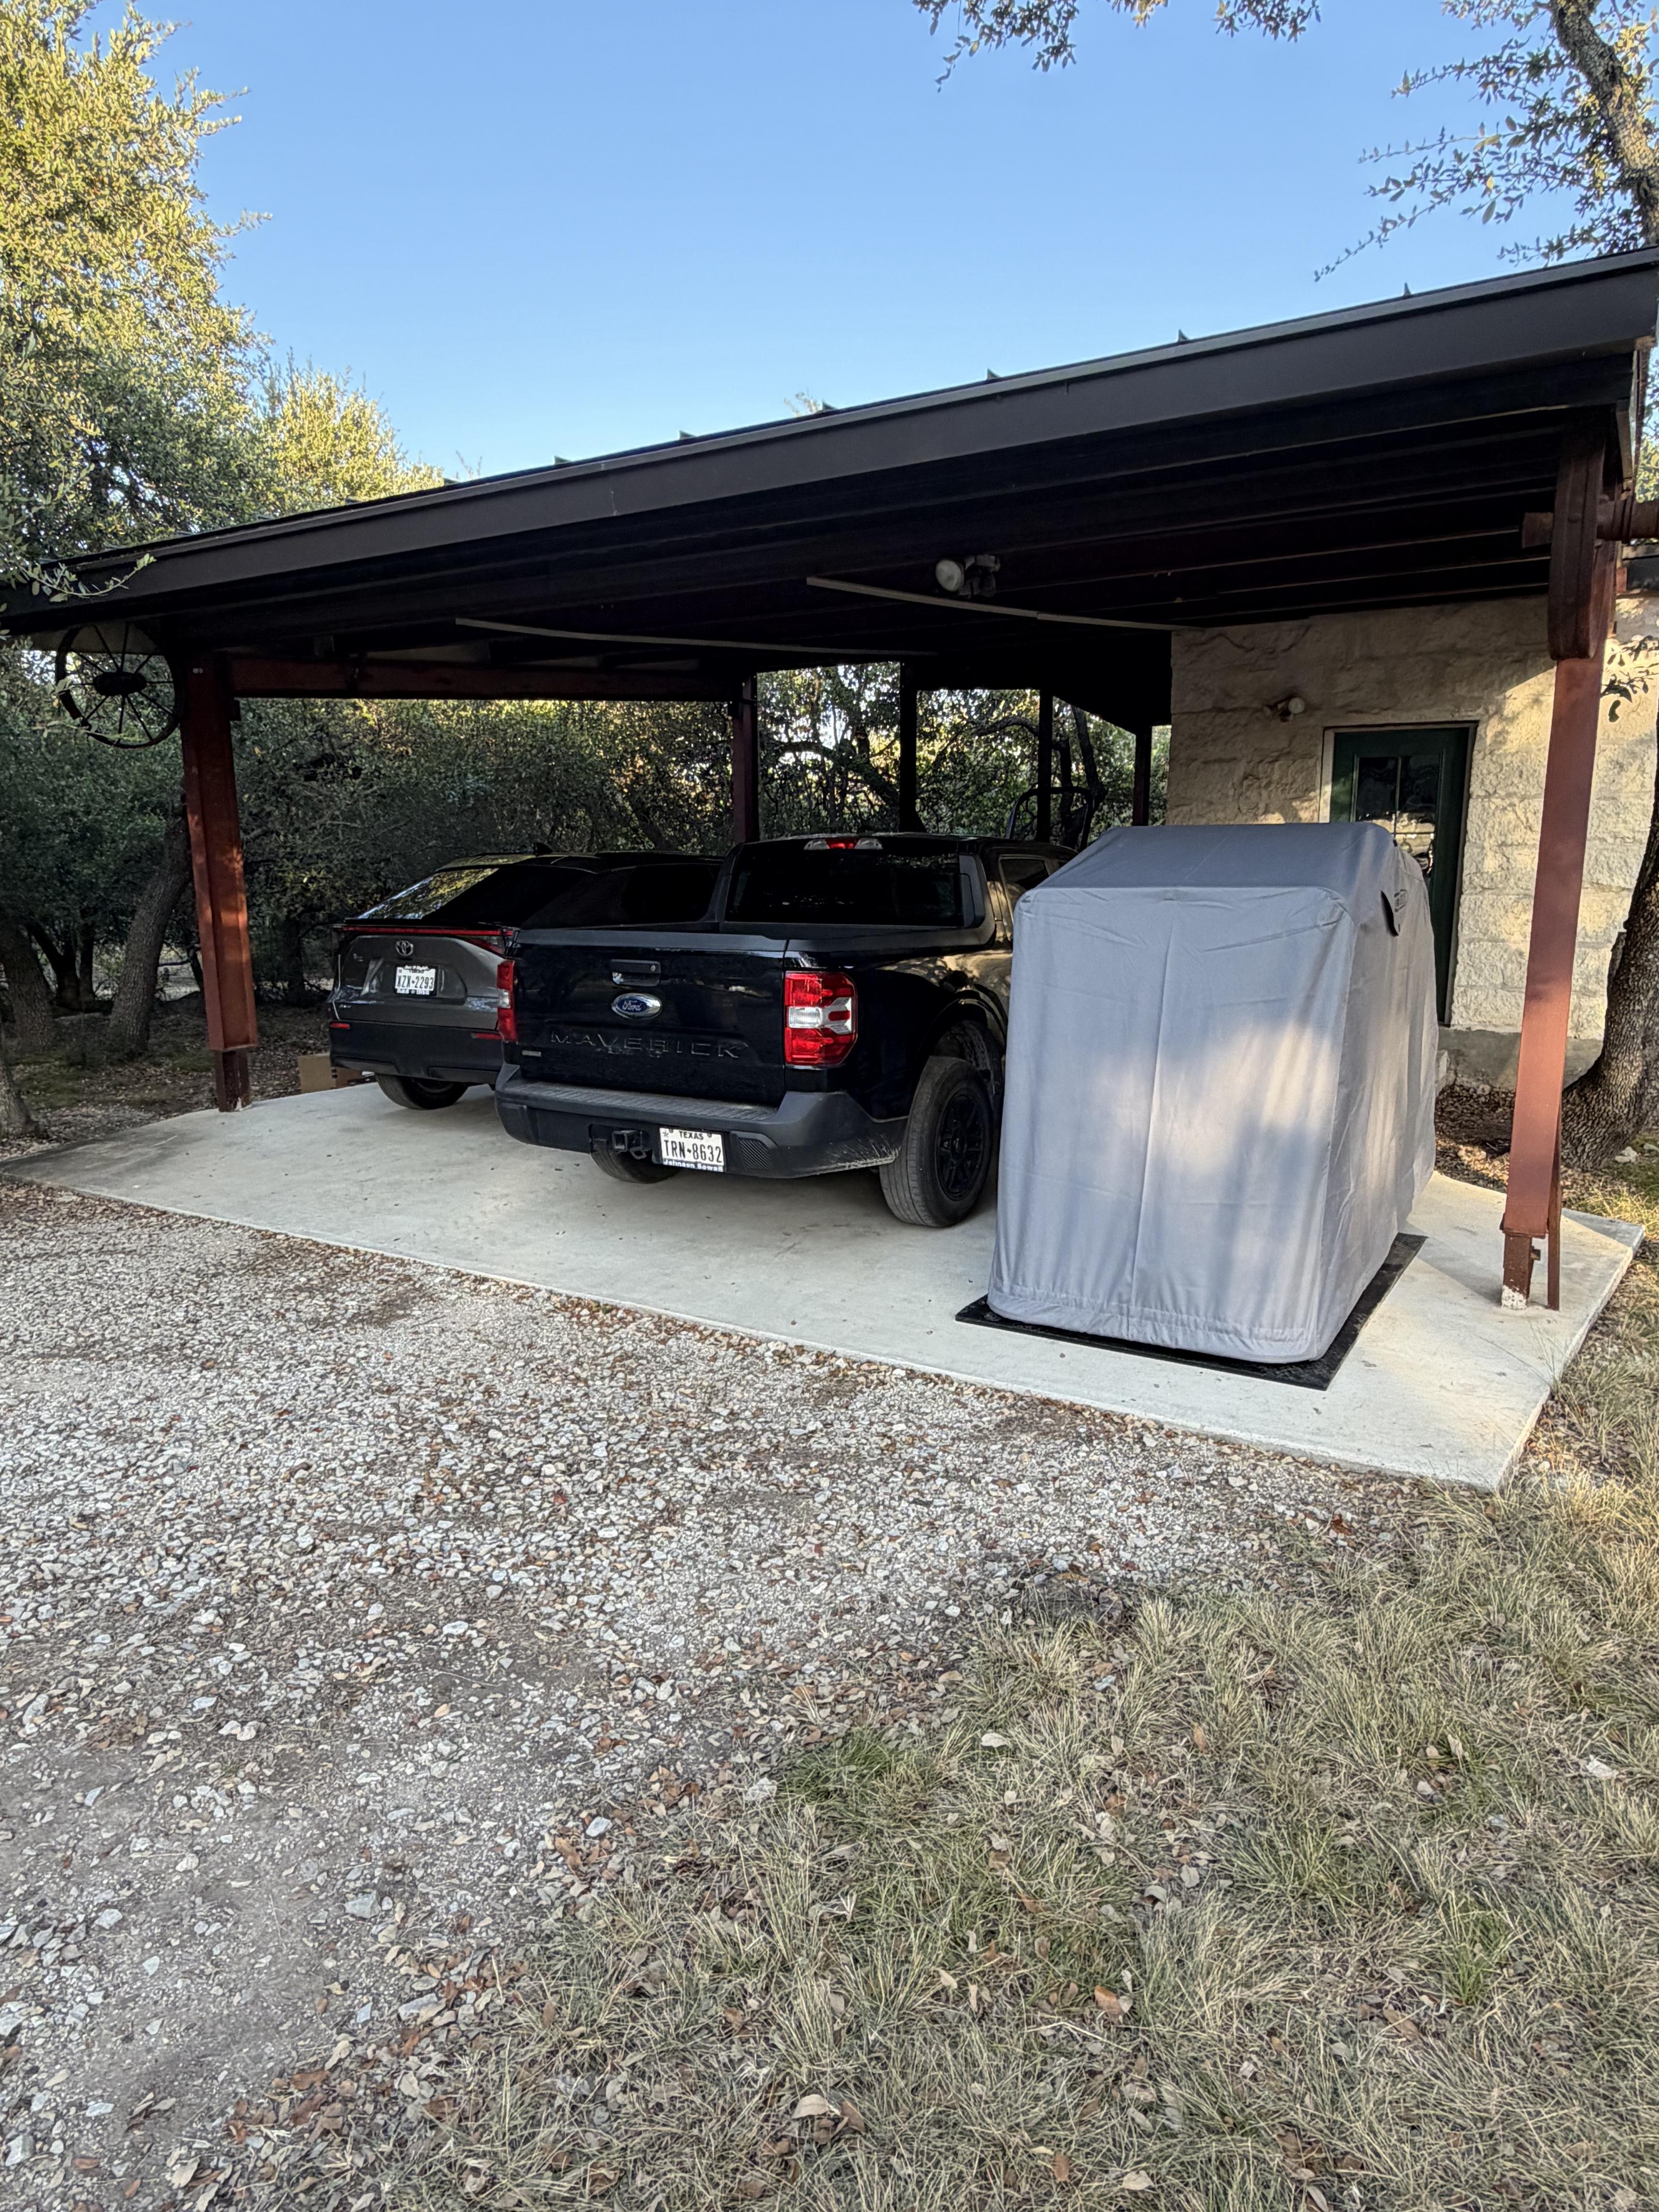
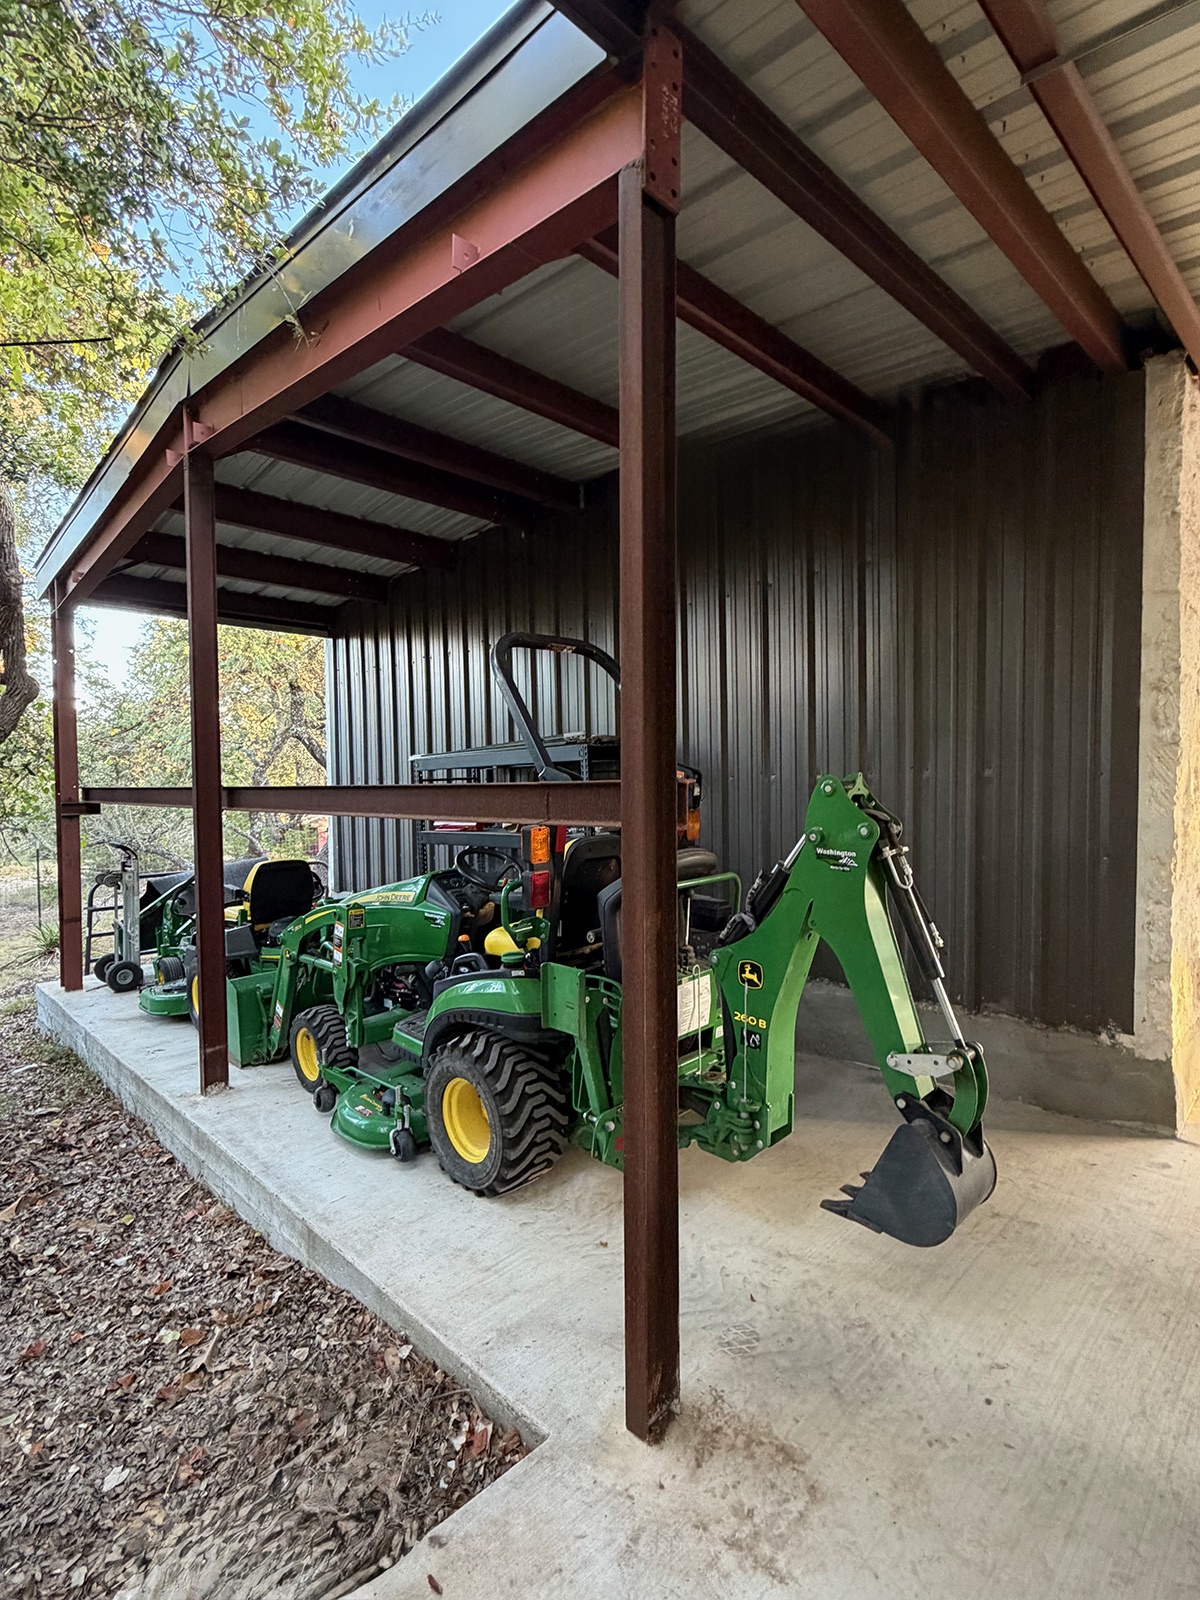
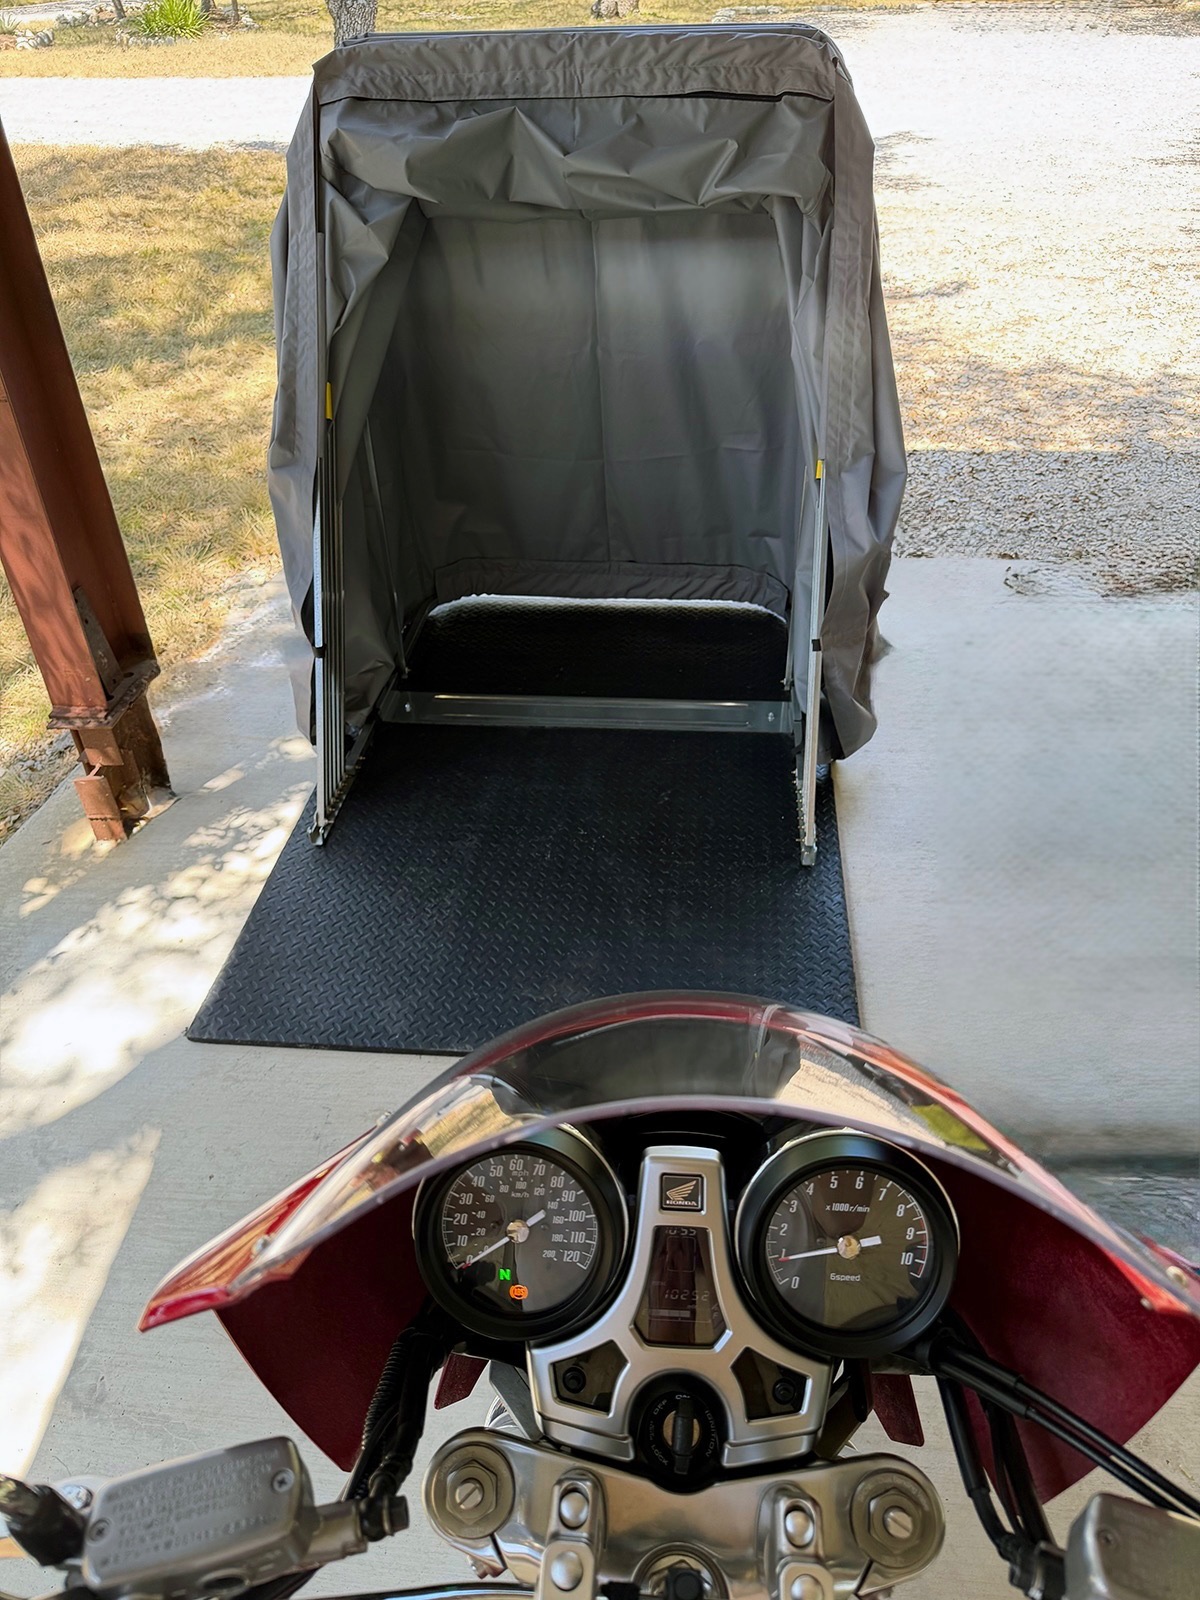
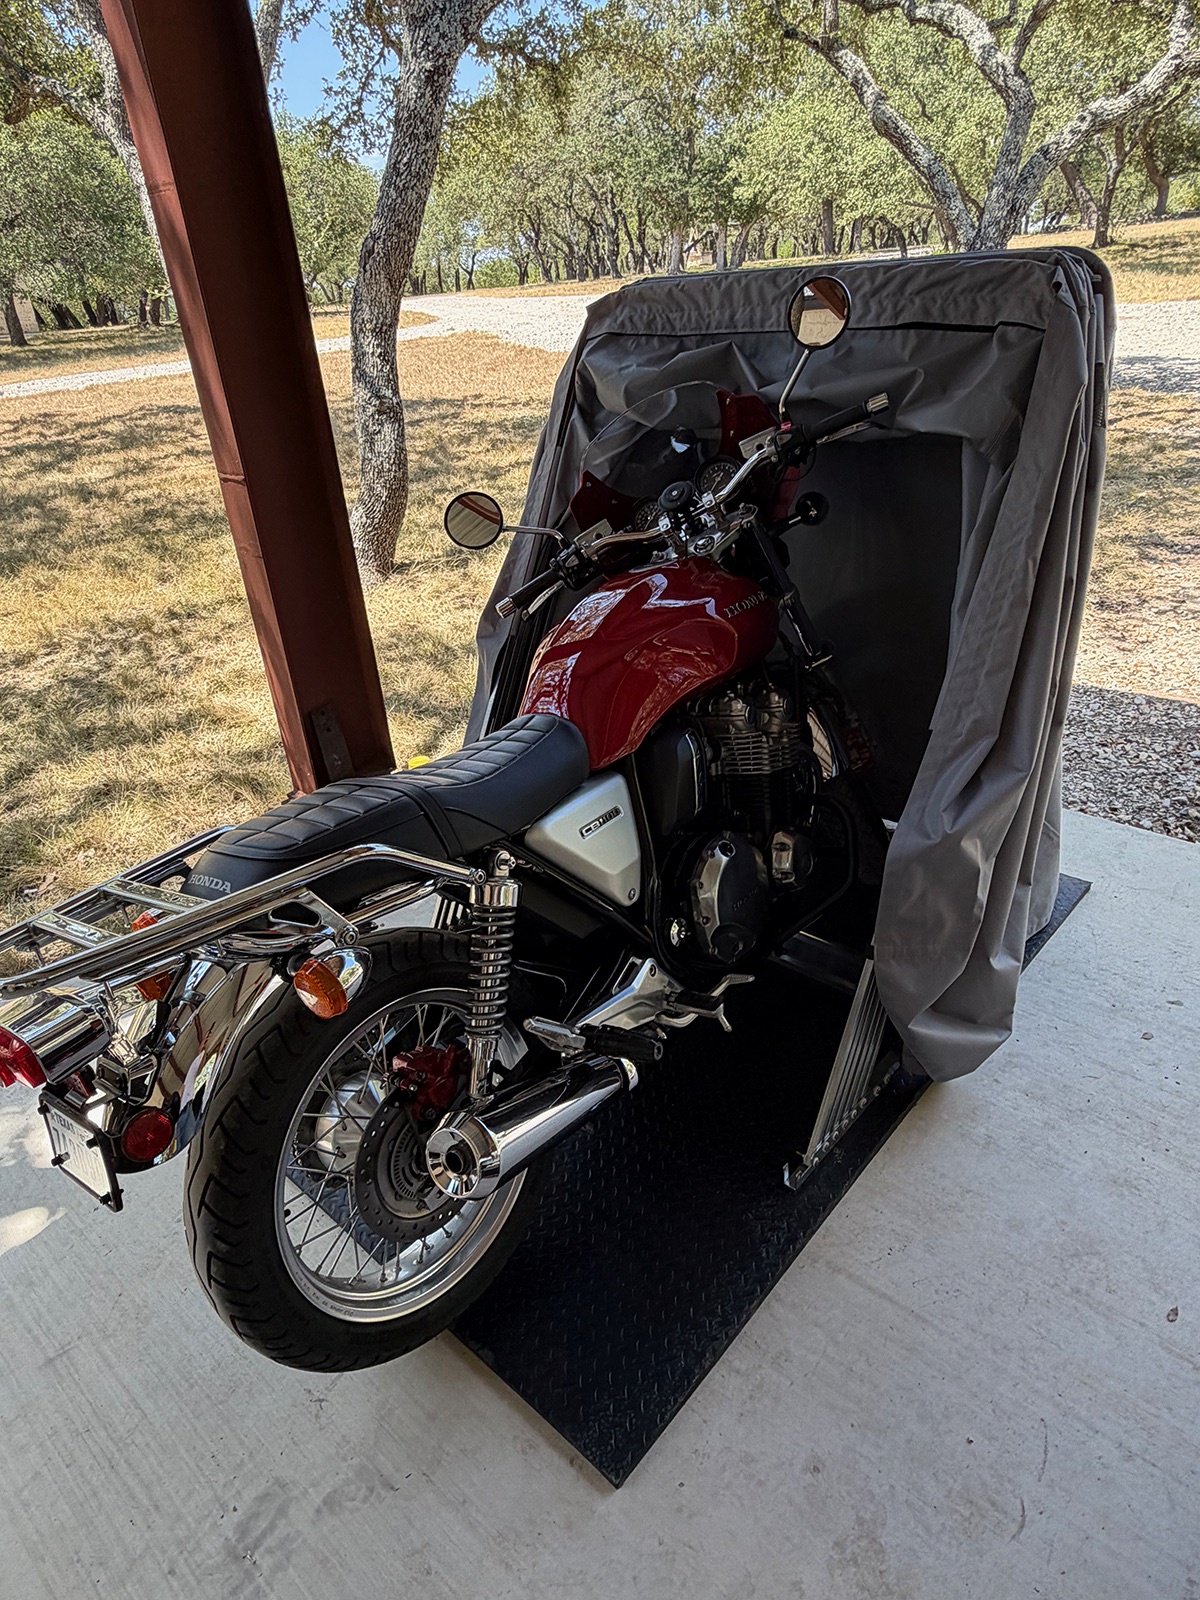
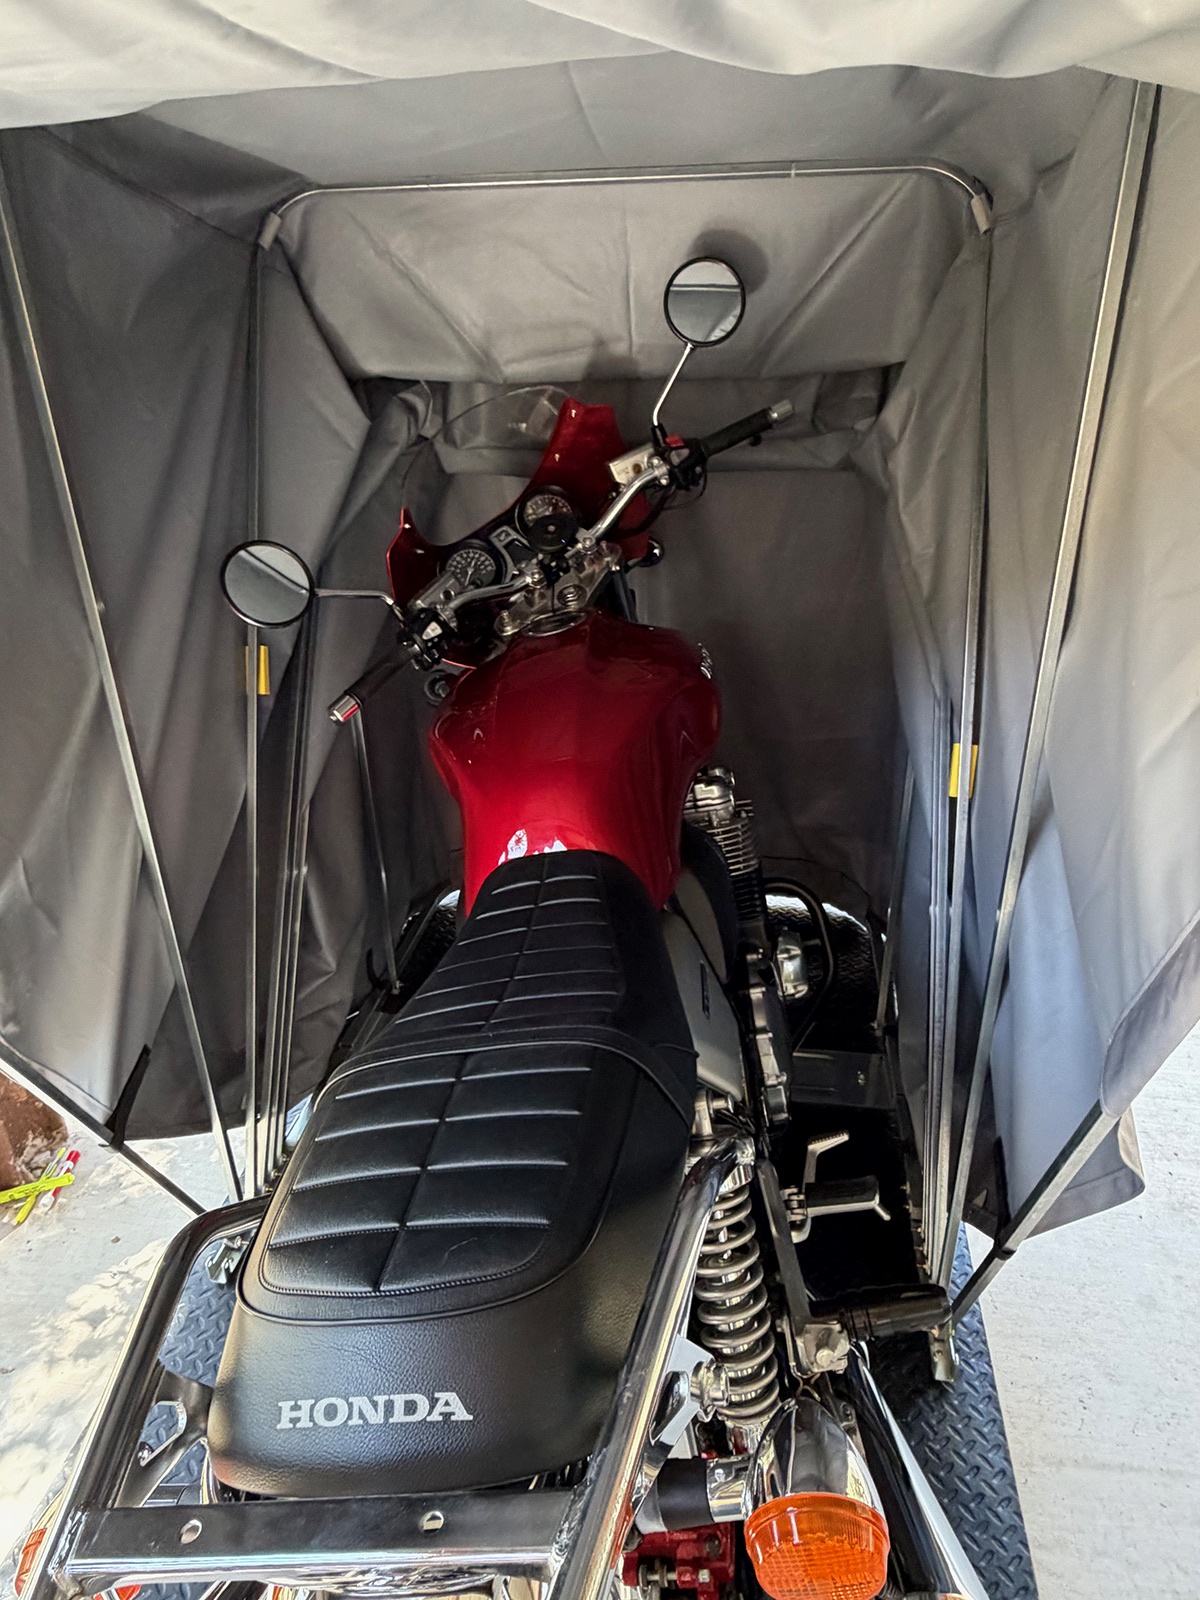
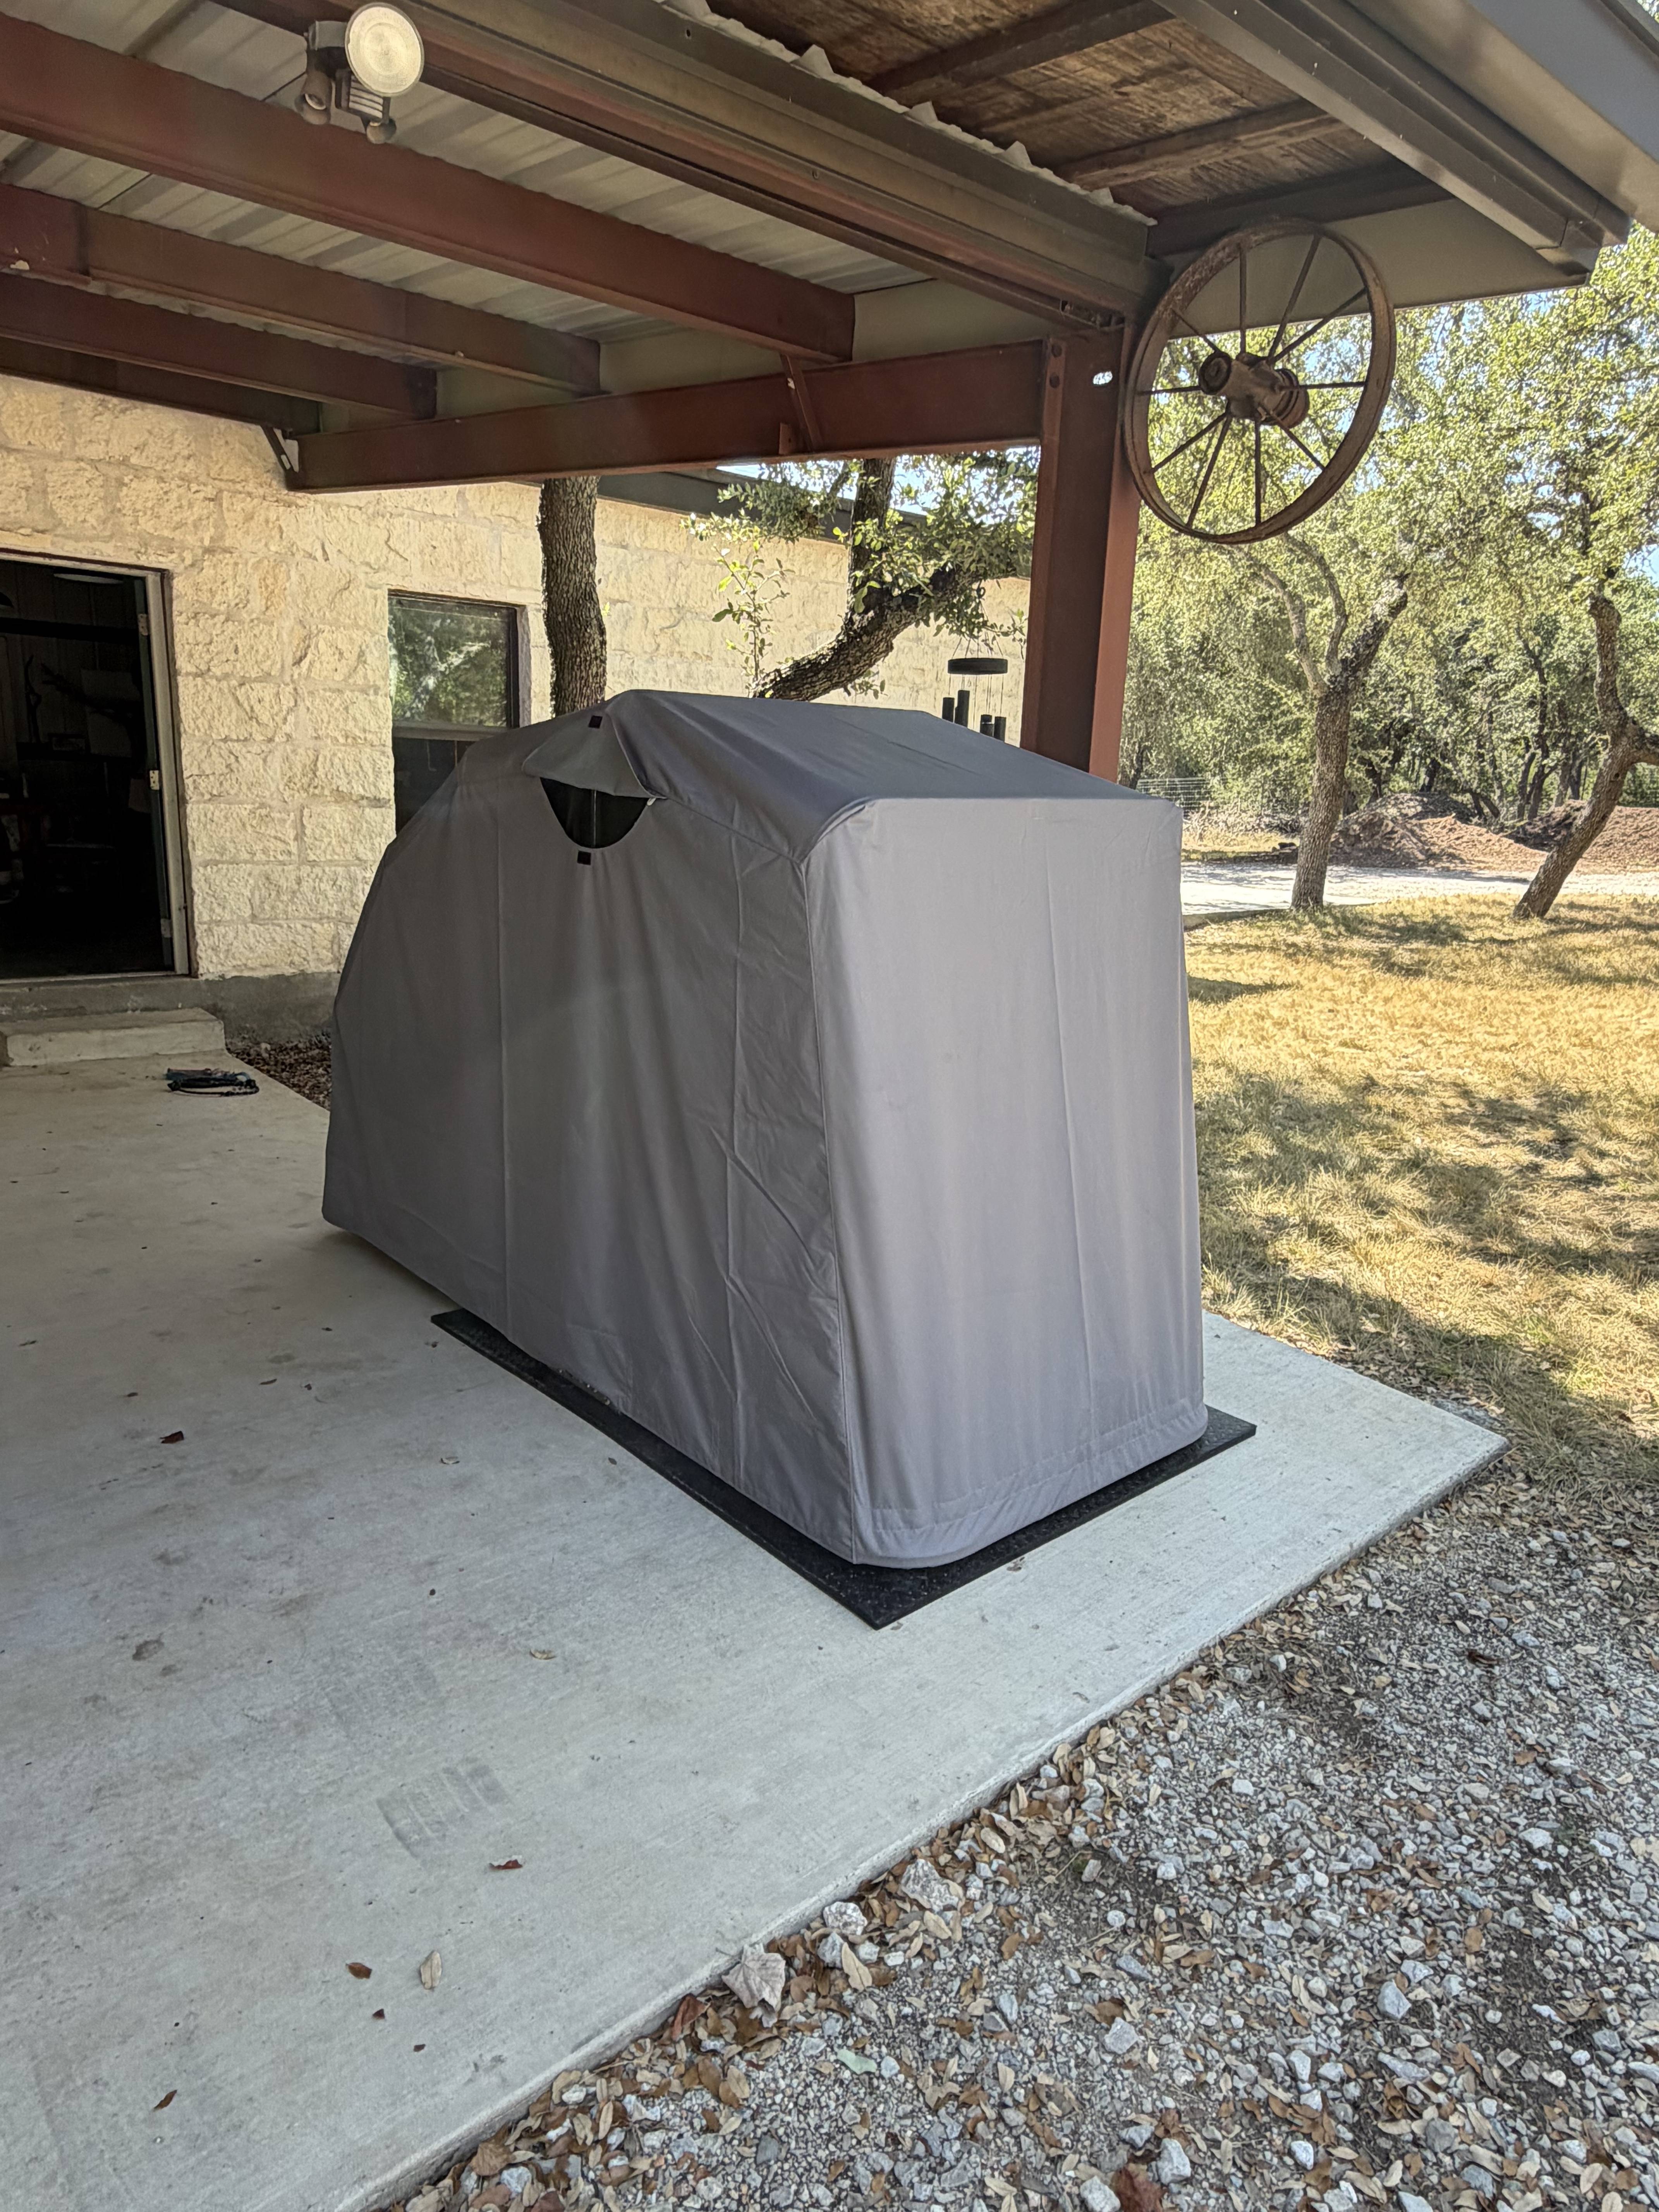
For those asking why I don't simply park it in the 500-square-foot garage attached to the carport: that space houses a working ceramic studio, complete with a kiln, for an accomplished artist who remains perpetually anxious about me riding motorcycles. Notice was served early that two wheels would never cross the studio threshold, in the subtle hope that lack of parking might inspire retirement from two-wheeled life. Like all prior efforts, it failed miserably.
My lovely artist offered to reverse her ruling once the avalanche of Amazon delivery boxes began arriving, but I assured her I was on a mission and that everything was working out splendidly. I was subsequently sent to time-out for offering to find a support group to help her come to terms with loving a lifelong motorcyclist. Even after 40+ years together, I still manage to strike a nerve every now and then.
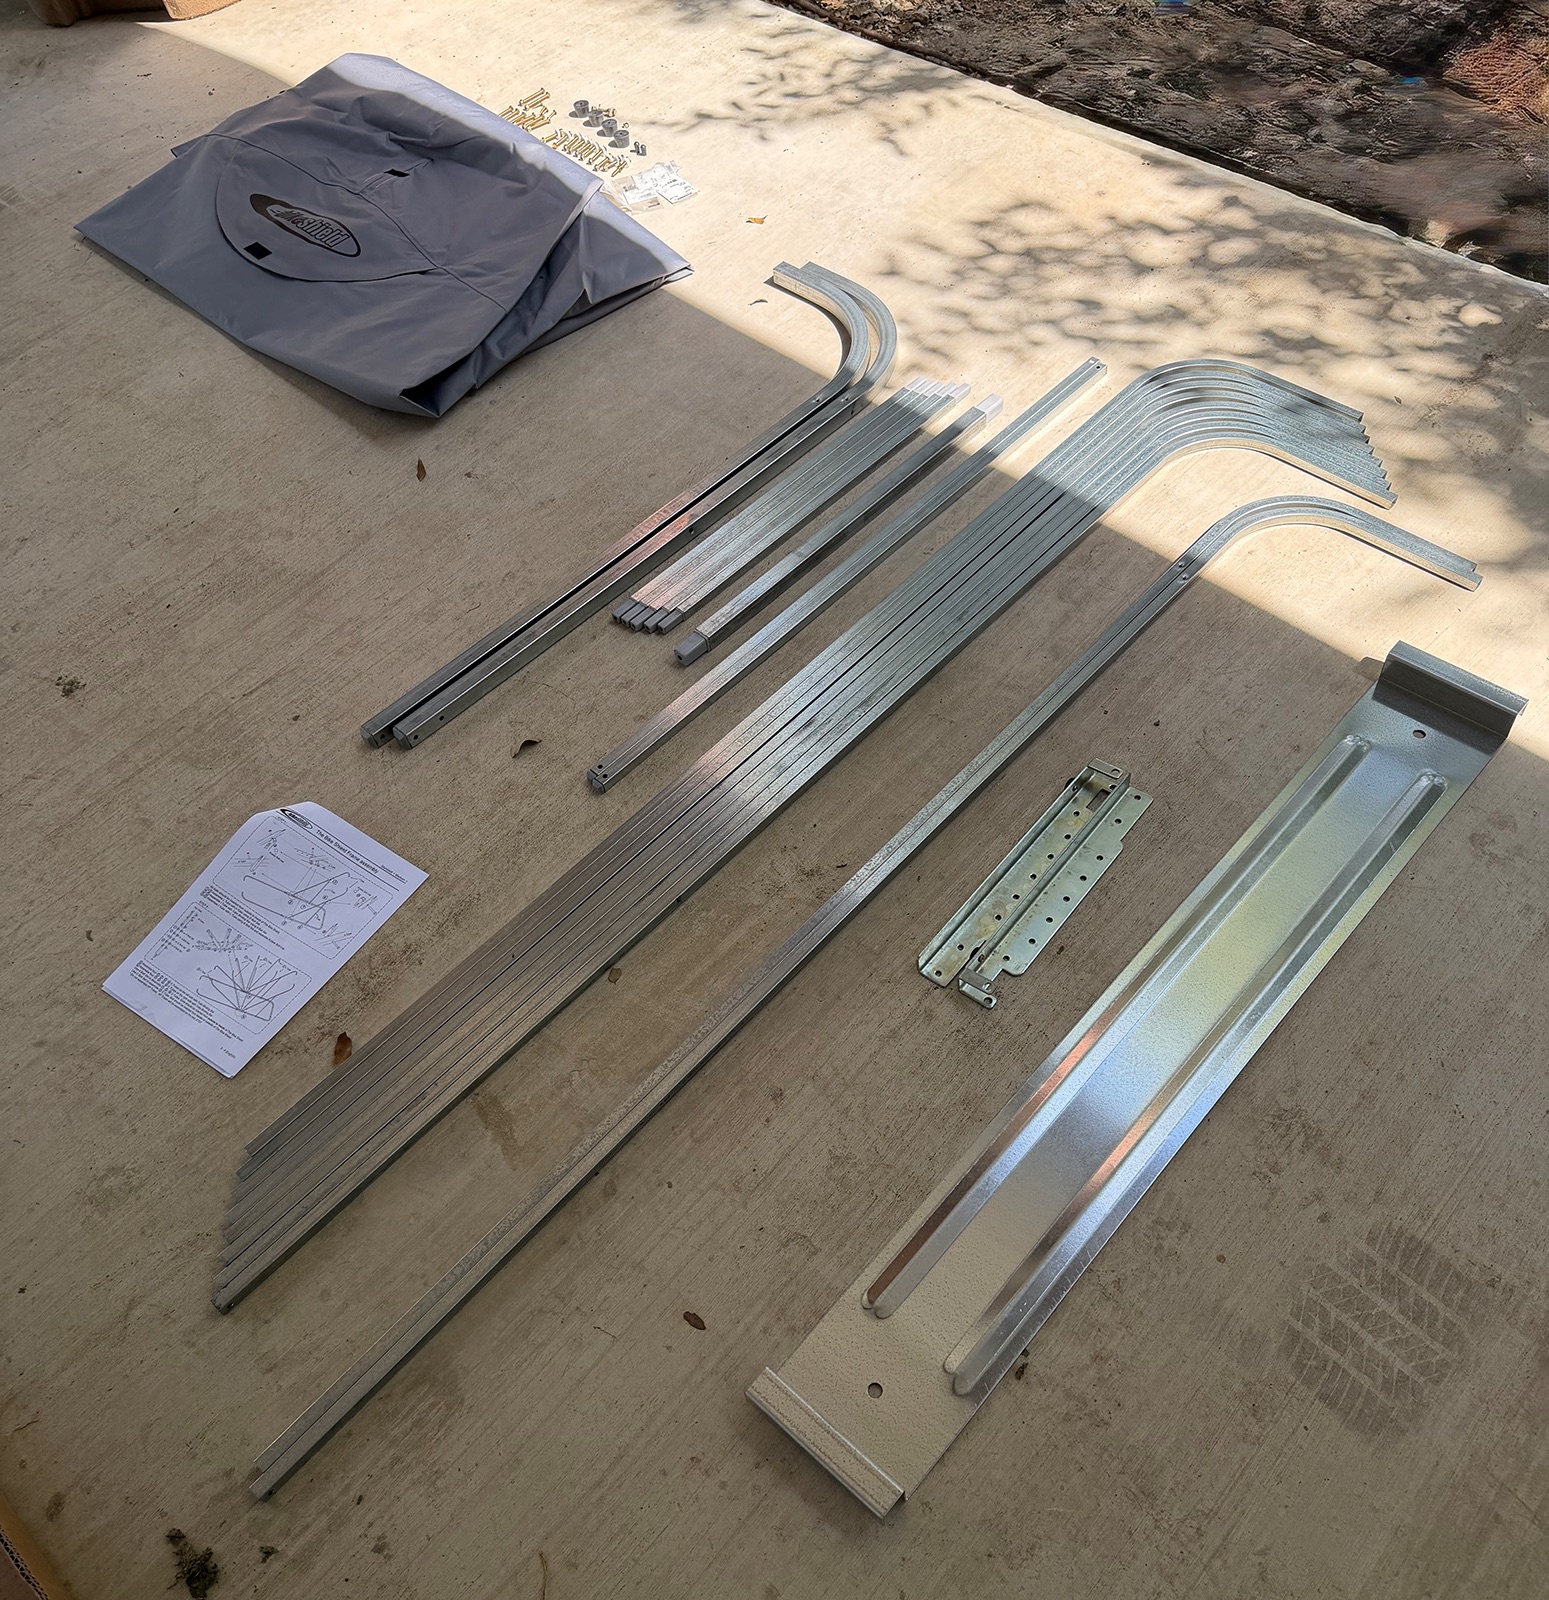
I will spare you the 100+ photos taken during assembly. See the manufacturer's installation manual (mediocre at best) along with a link to an installation video that rates a solid C-.
If this project sparks your interest, here is the hardware breakdown and lessons learned from spending eight hours making nearly every mistake possible. (I am also happy to hop on FaceTime or swap PMs with anyone planning a similar setup):
Assembly & Installation Tools: Source hammers, drills, sockets, wrenches, shop vac, and safety gear
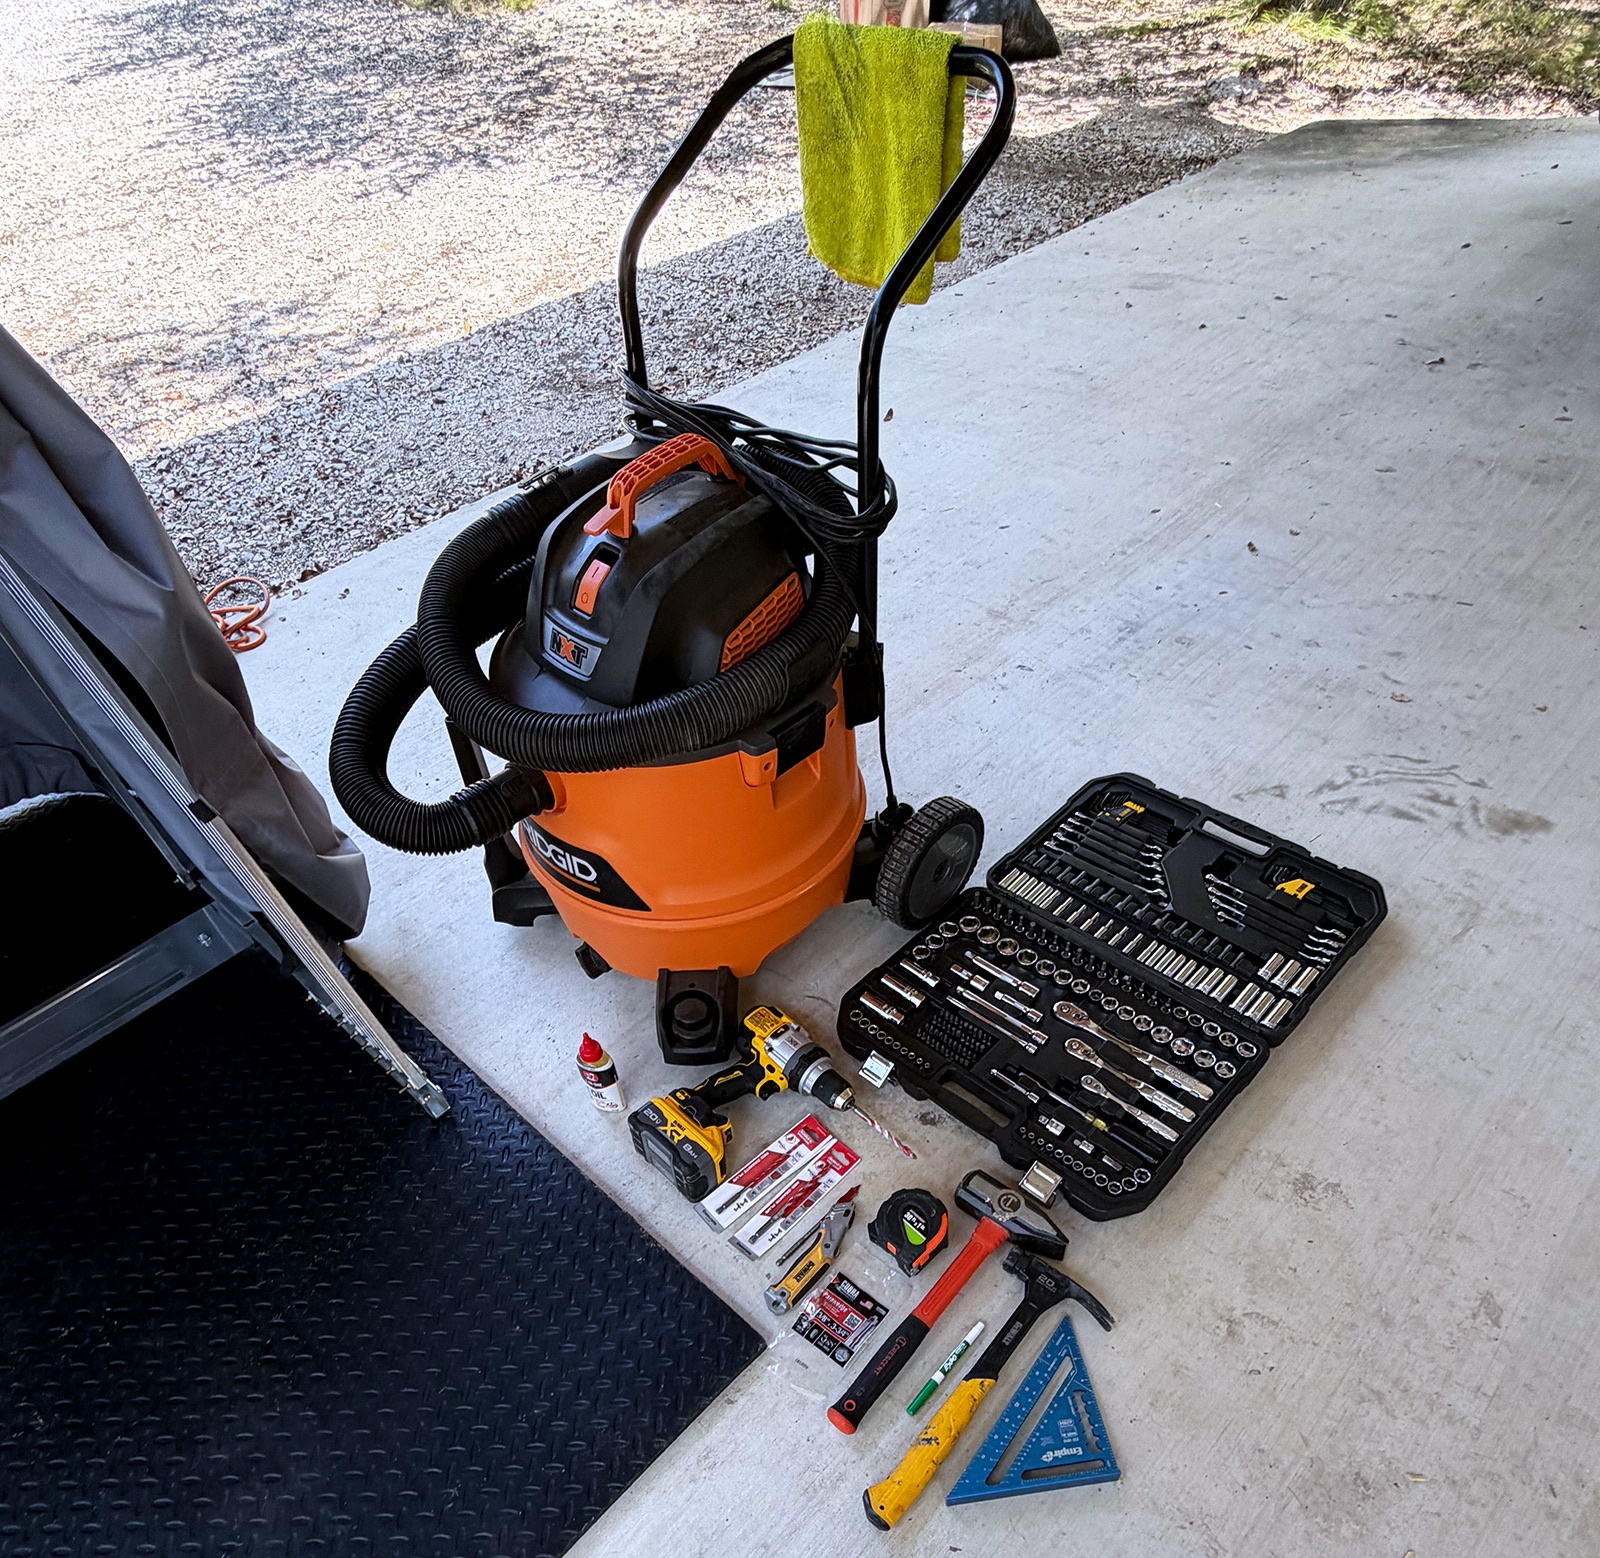
10’ x 10’ Staging Area: Clear a space to lay out the various components.
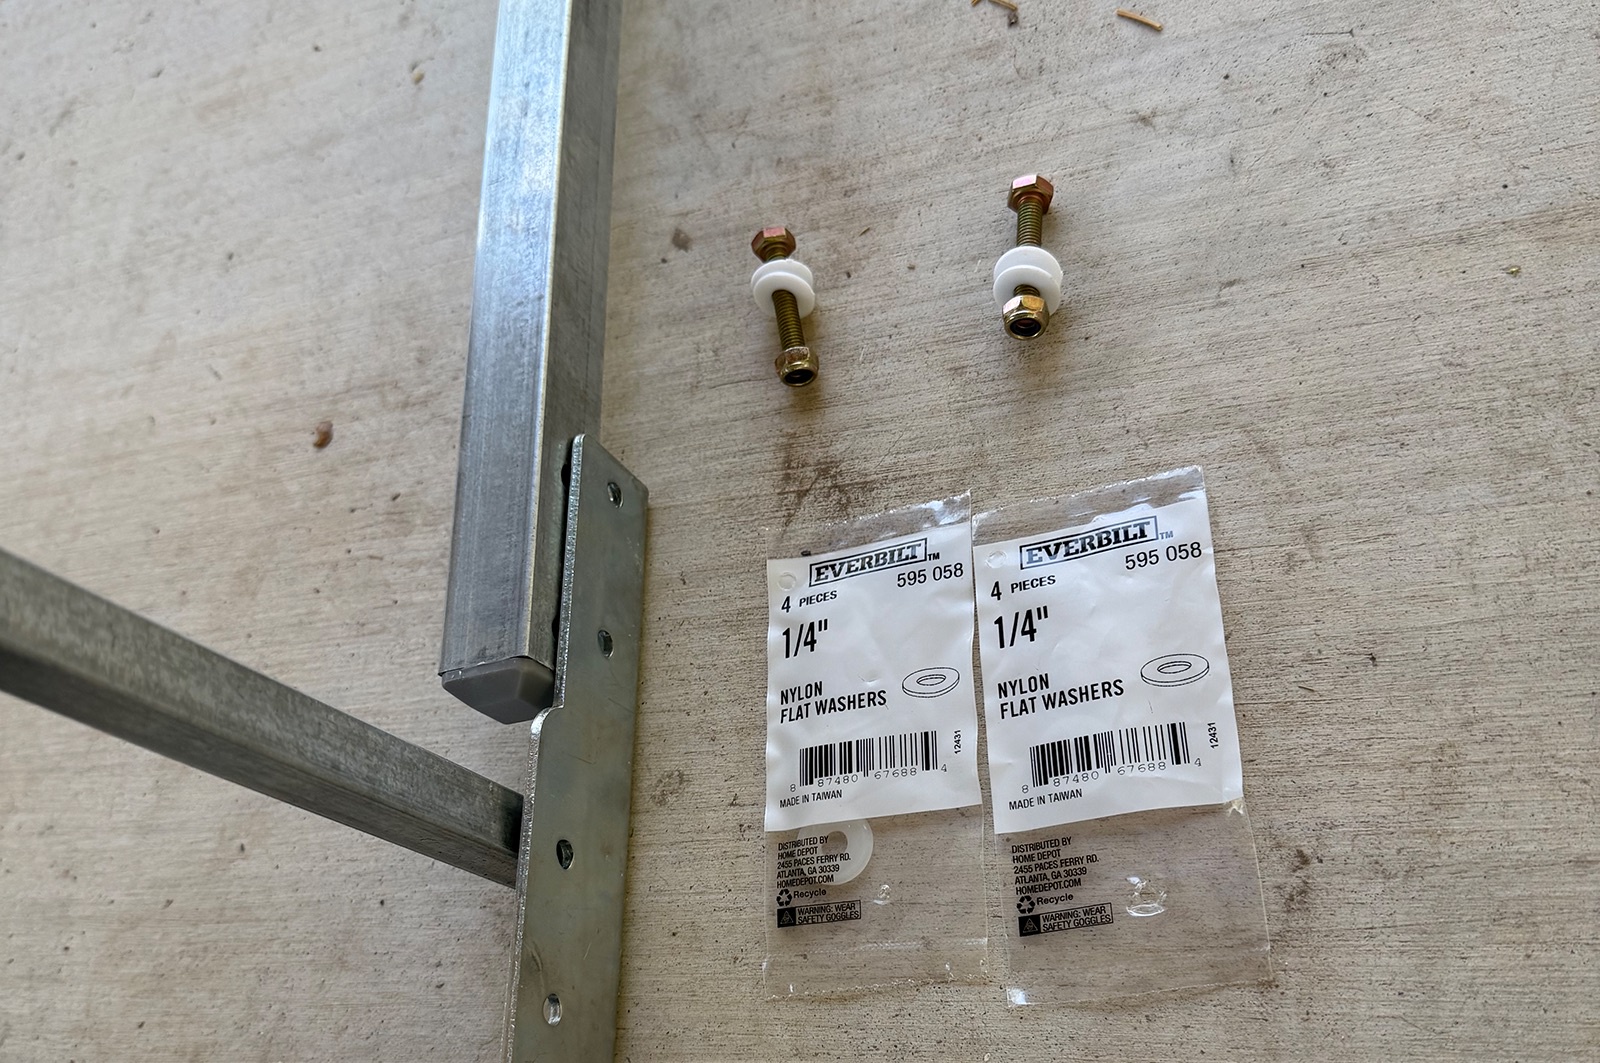
Nylon Washers: Replace the brittle plastic washers supplied in the box with nylon washers.
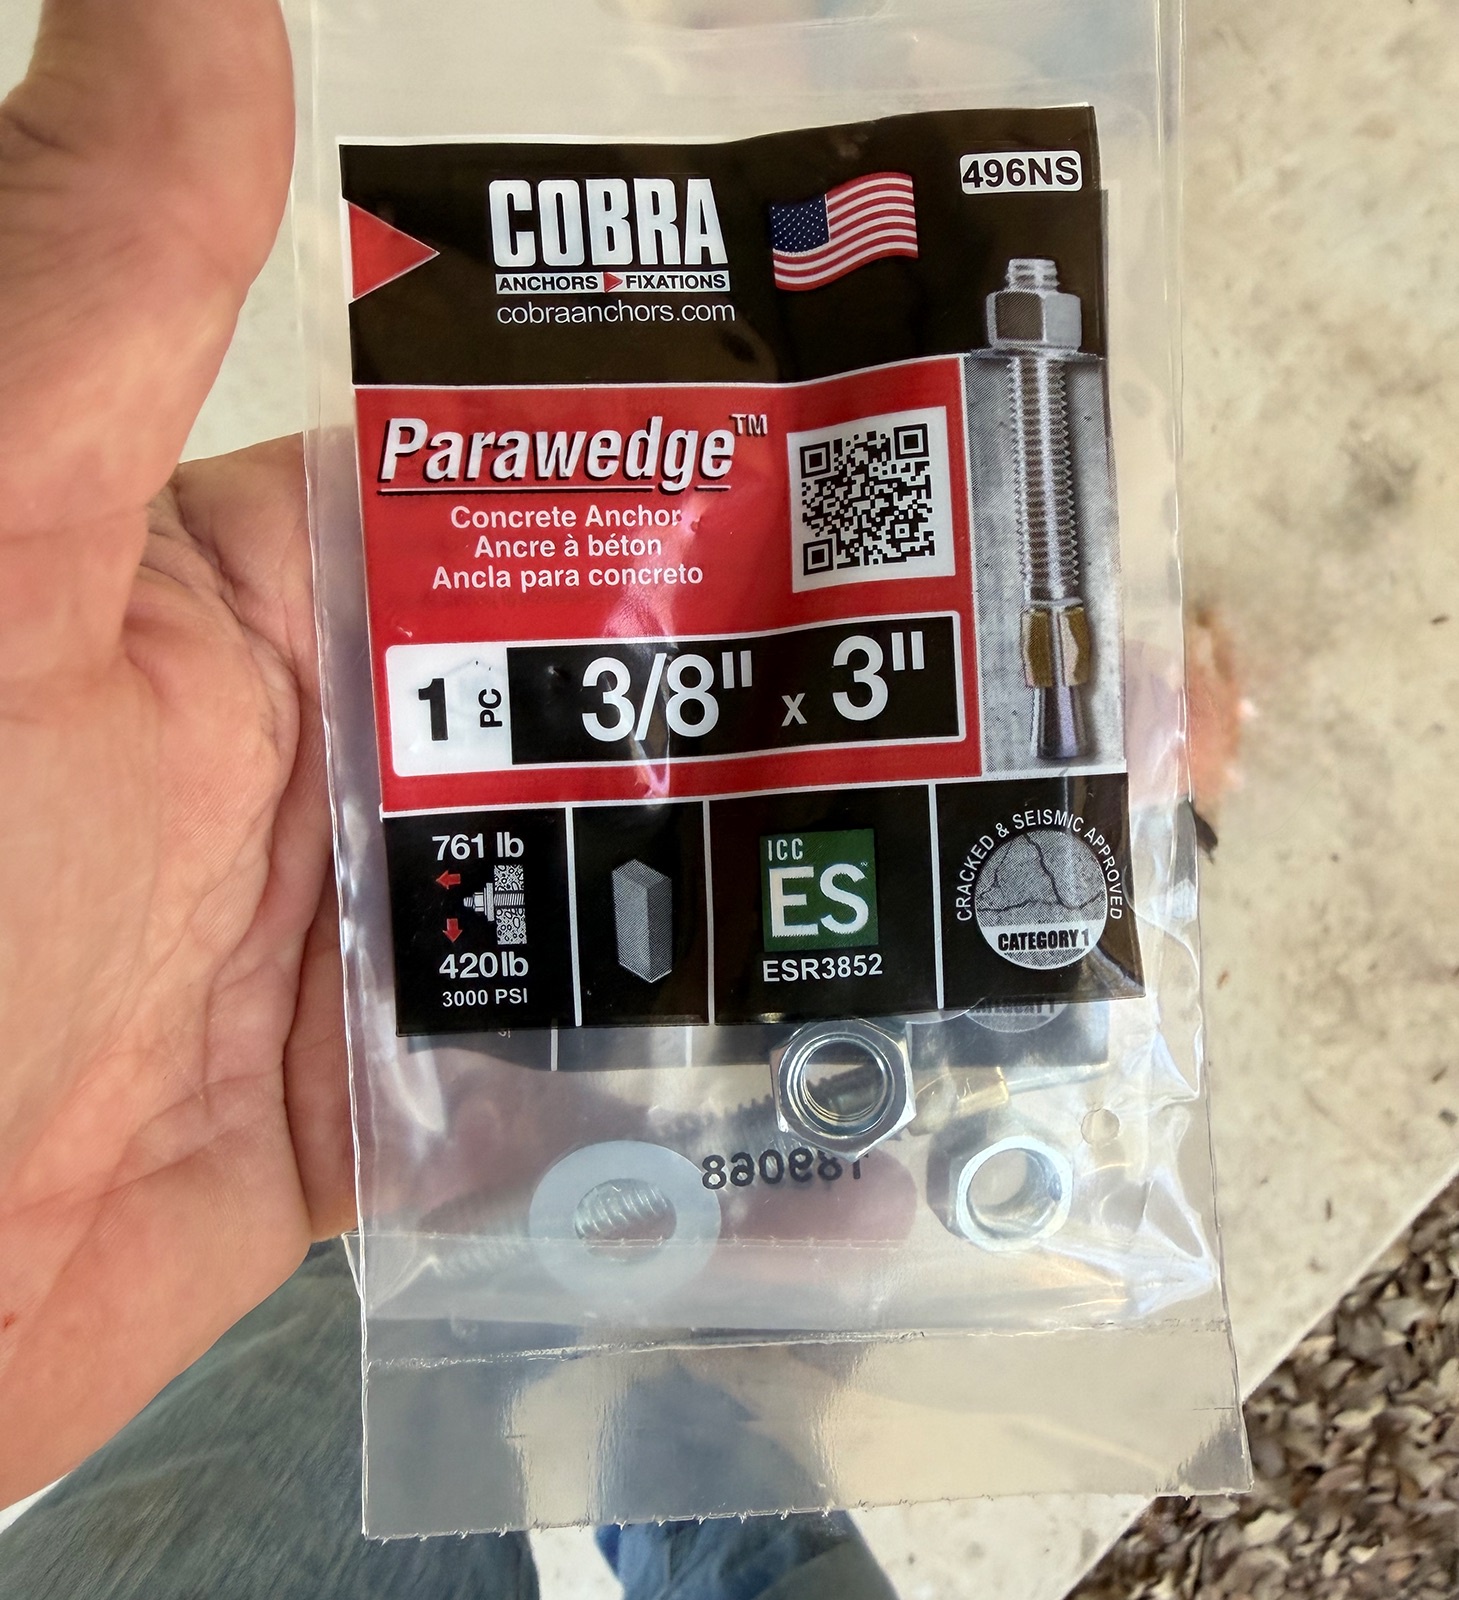
3” Concrete Wedge Anchors: Replace the lightweight stock hardware with proper concrete anchors.
Safety Gear: Protect yourself from all the exposure you face while coating, drilling, and cleaning up after the install:
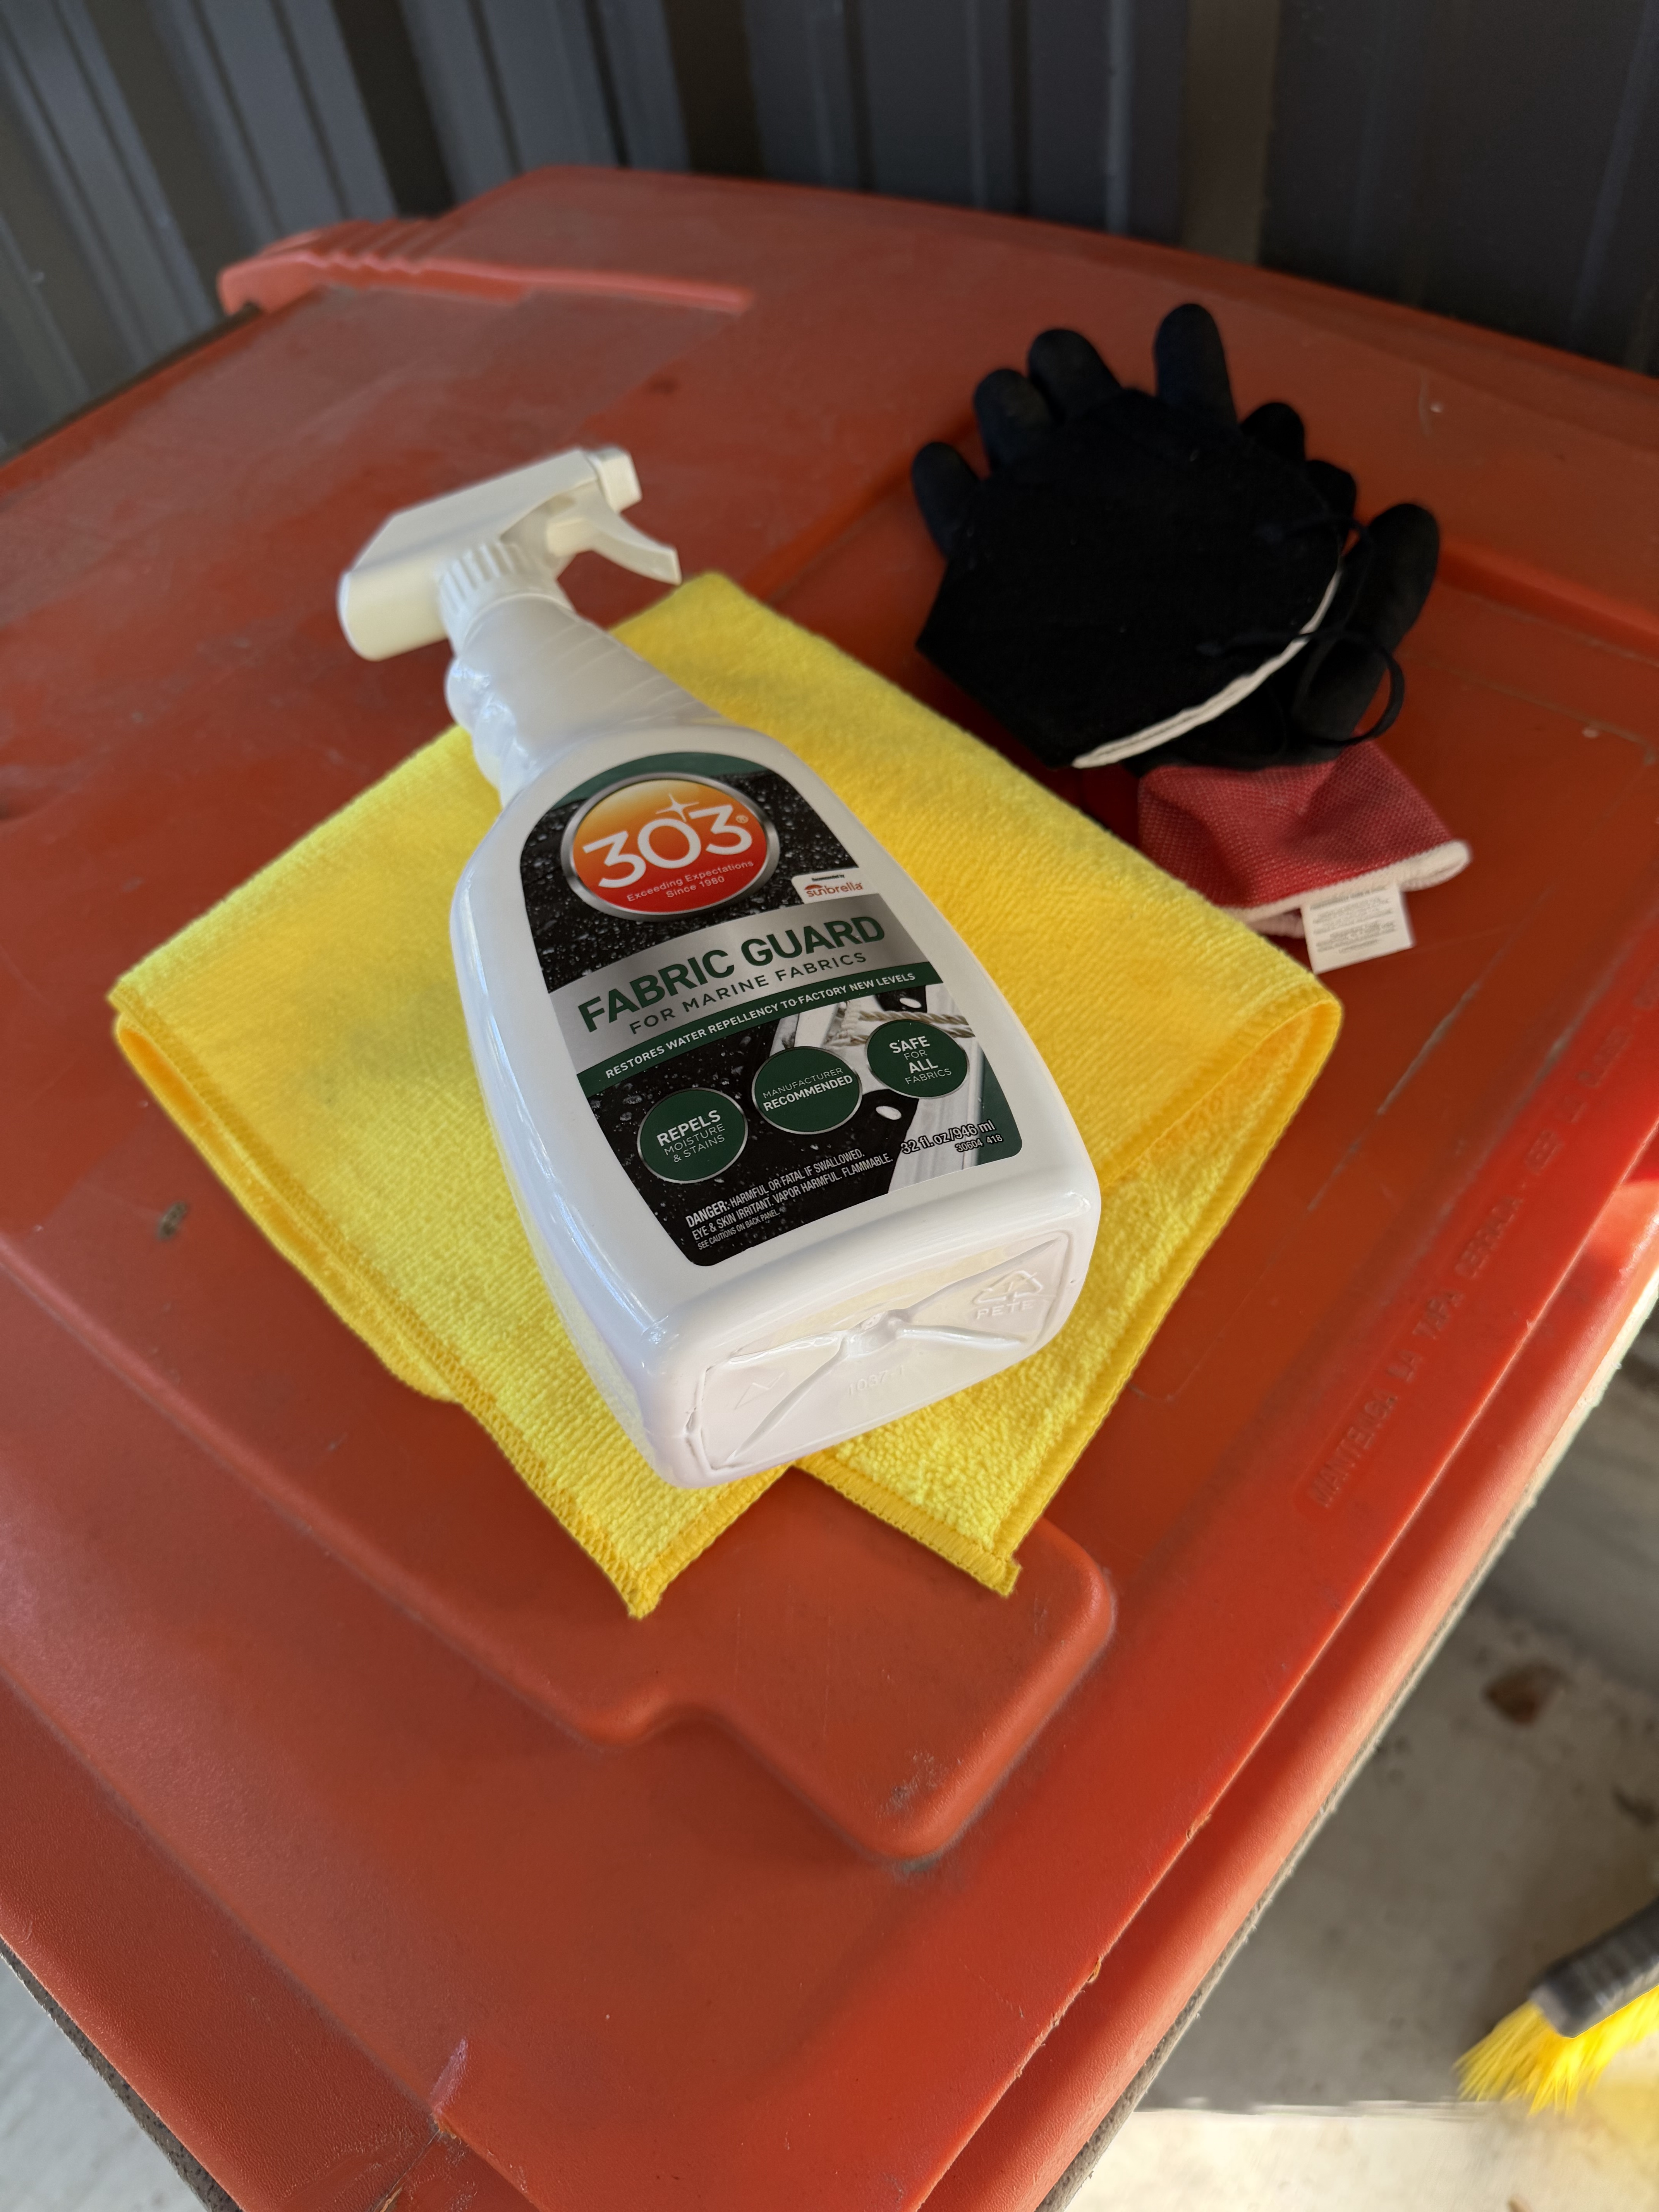
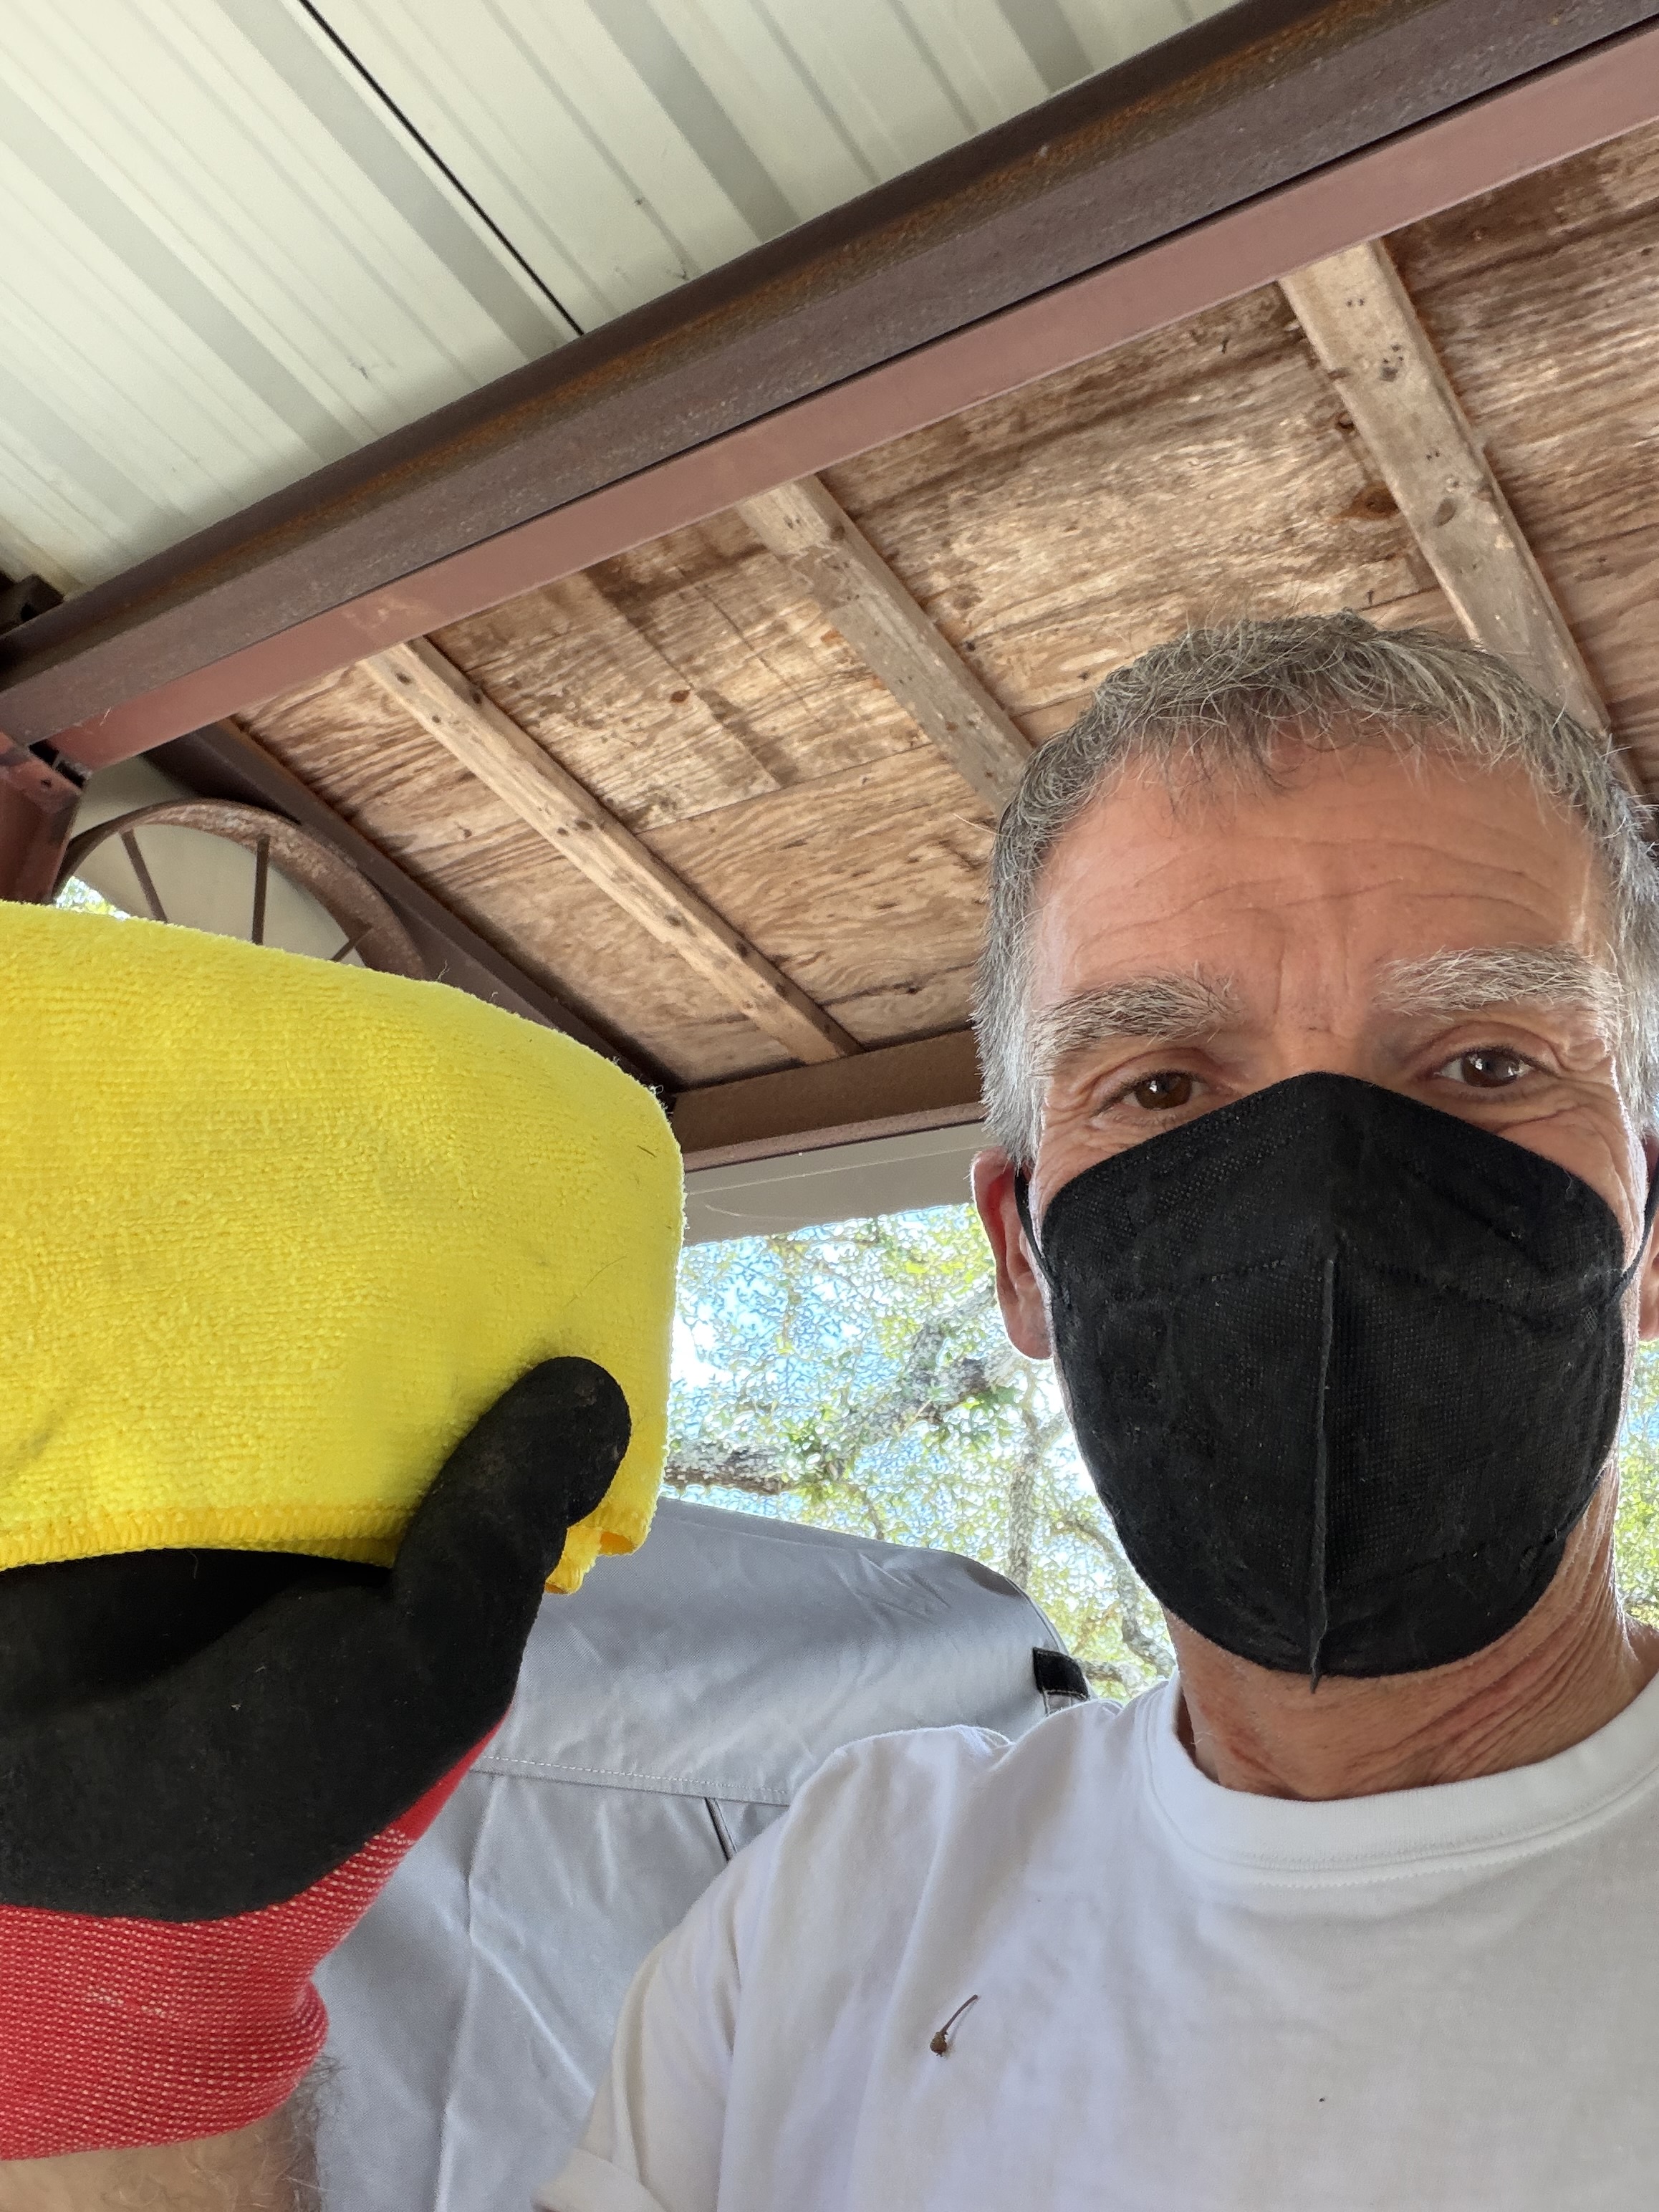
For many regions, the stock out-of-the-box installation would suffice. However, the Texas Hill Country can be a place of atmospheric extremes. Temperatures swing 40 degrees in an afternoon, humidity routinely starts above 80%, 40 MPH wind gusts arrive unannounced, and bright morning sunshine routinely surrenders to sideways thunderstorms. Bolted down with 3” anchors, the Bike Shield easily shrugs off the physical violence of Texas wind and rain. But ambient humidity inside an enclosed microclimate was an engineering challenge that passive mesh flaps alone could not conquer.
Here was my multi-tiered response:
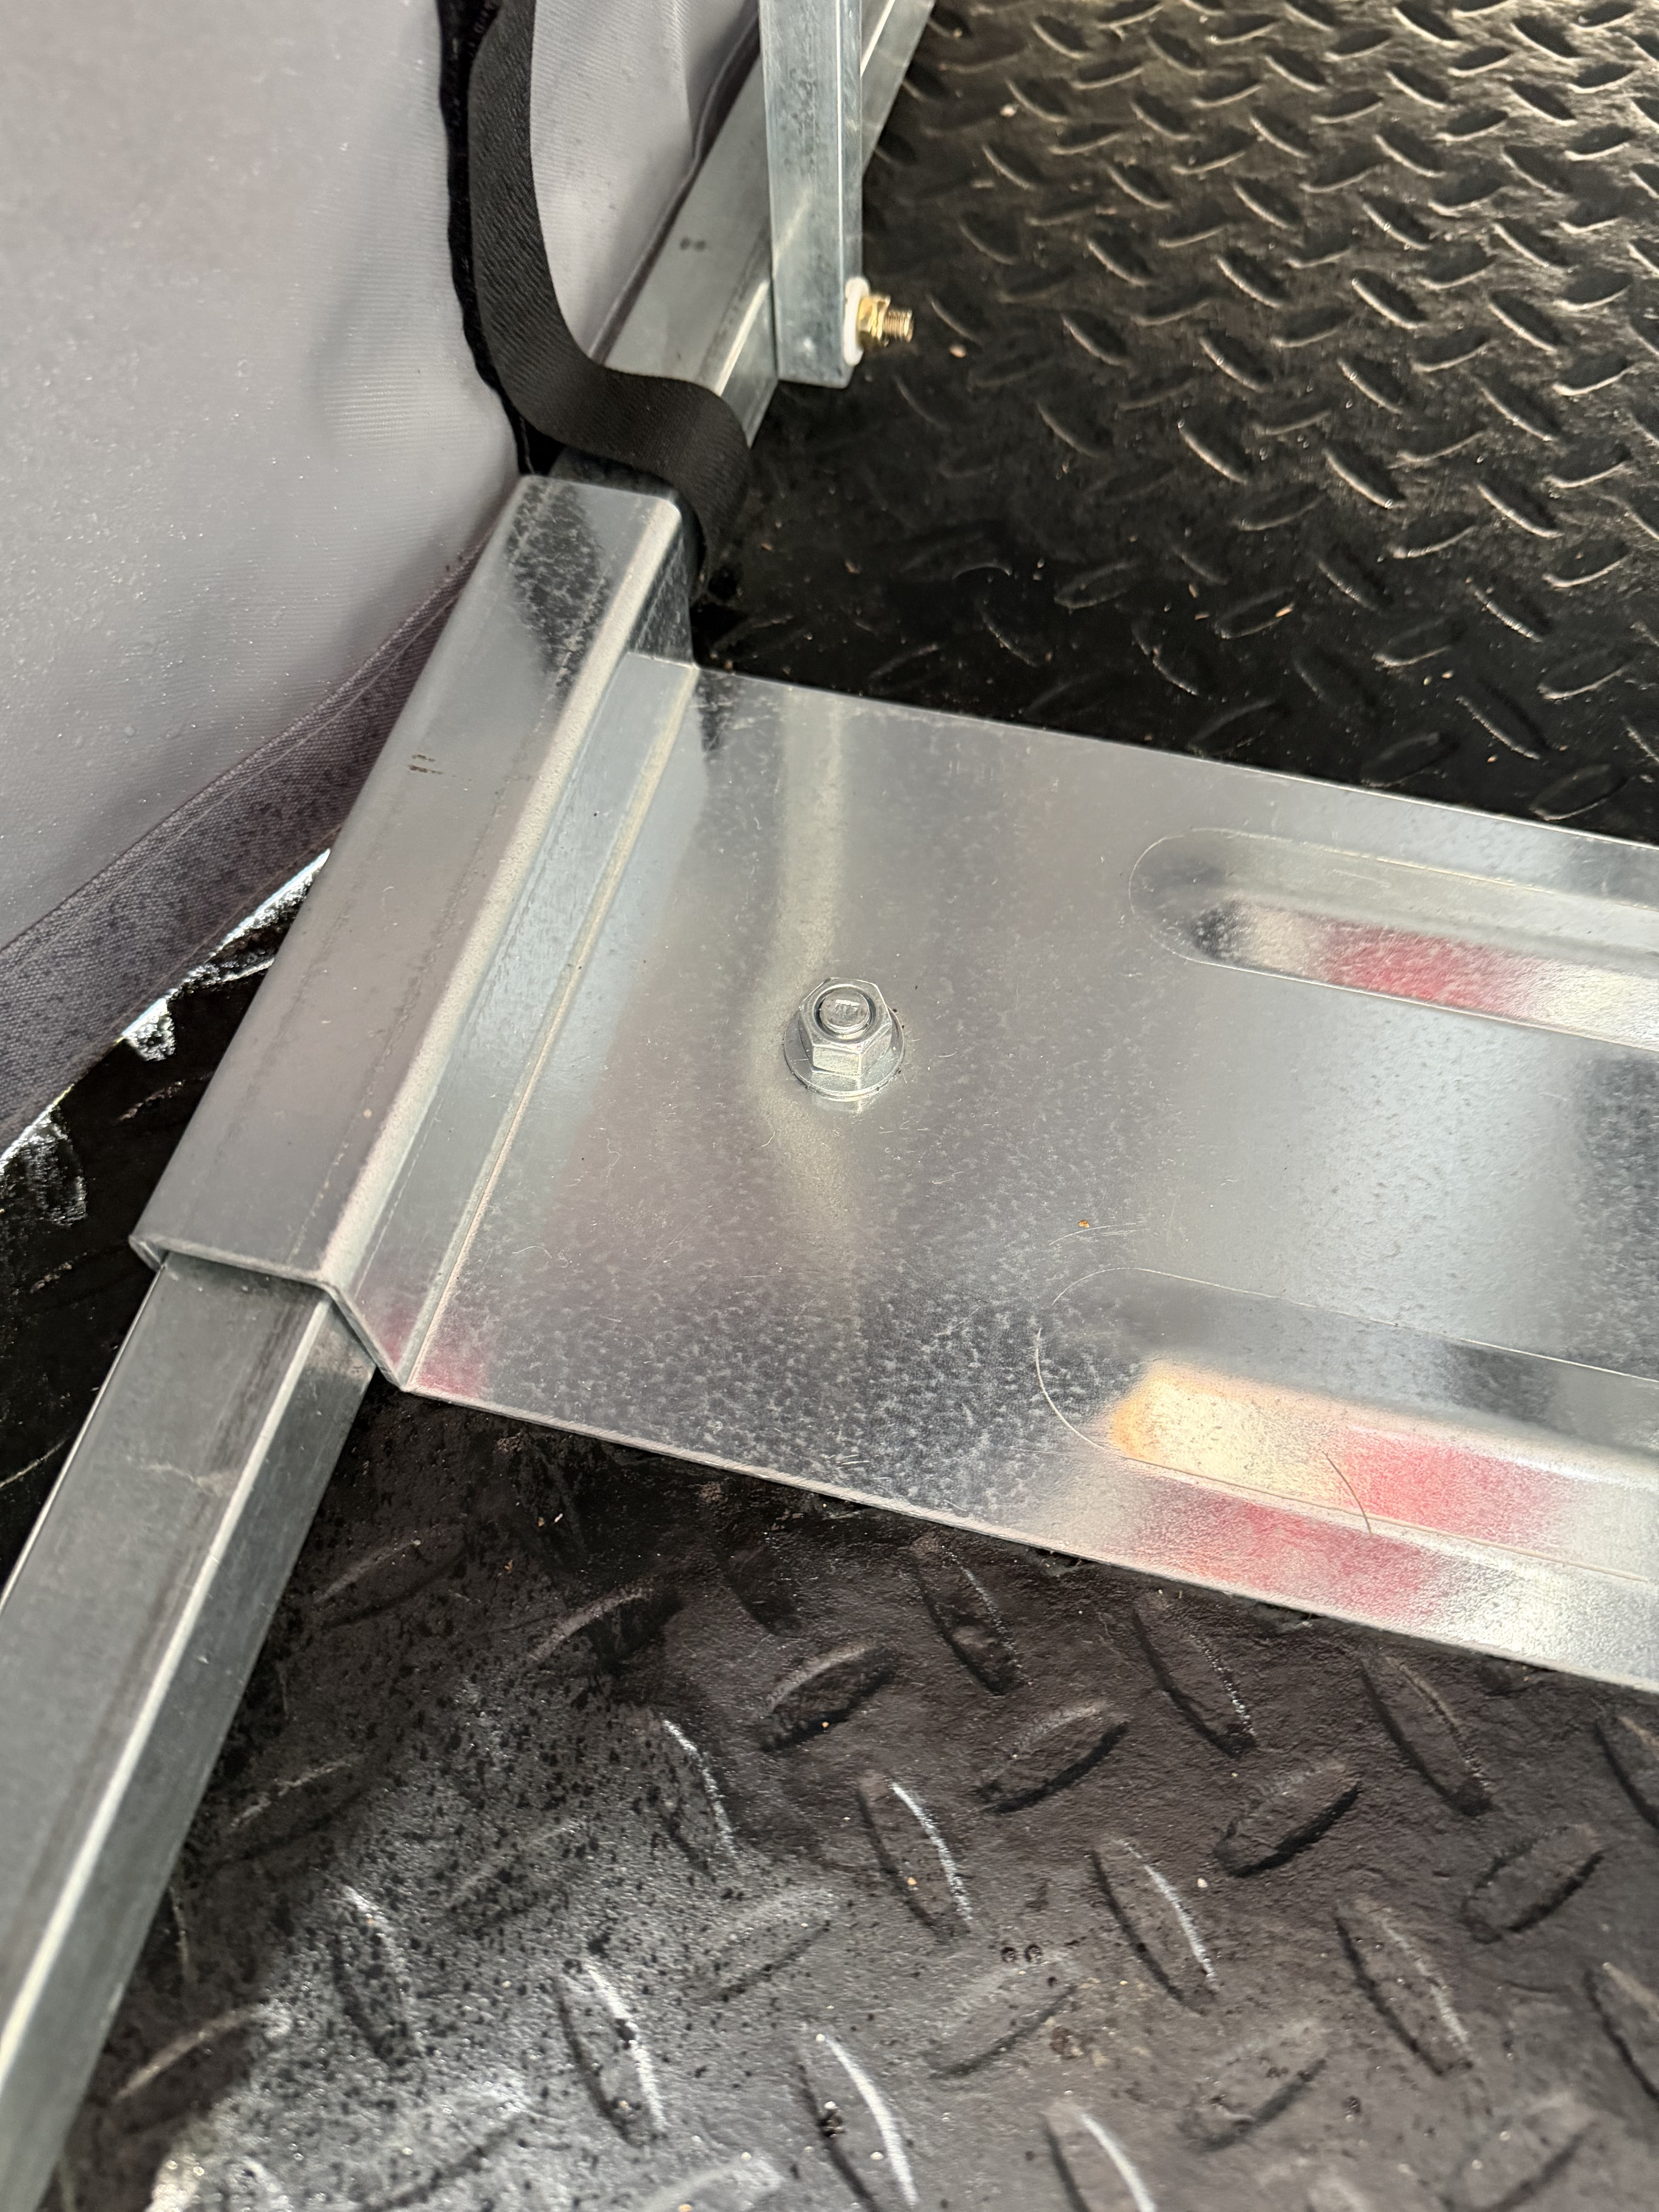
1” Heavy-Duty Rubber Stall Mat: Concrete slabs on grade are porous and constantly wick groundwater upward through capillary action, creating condensation directly beneath a parked vehicle. Installing a dense 1" rubber mat over the slab provides an impenetrable vapor barrier and thermal break before anchoring the shelter on top.
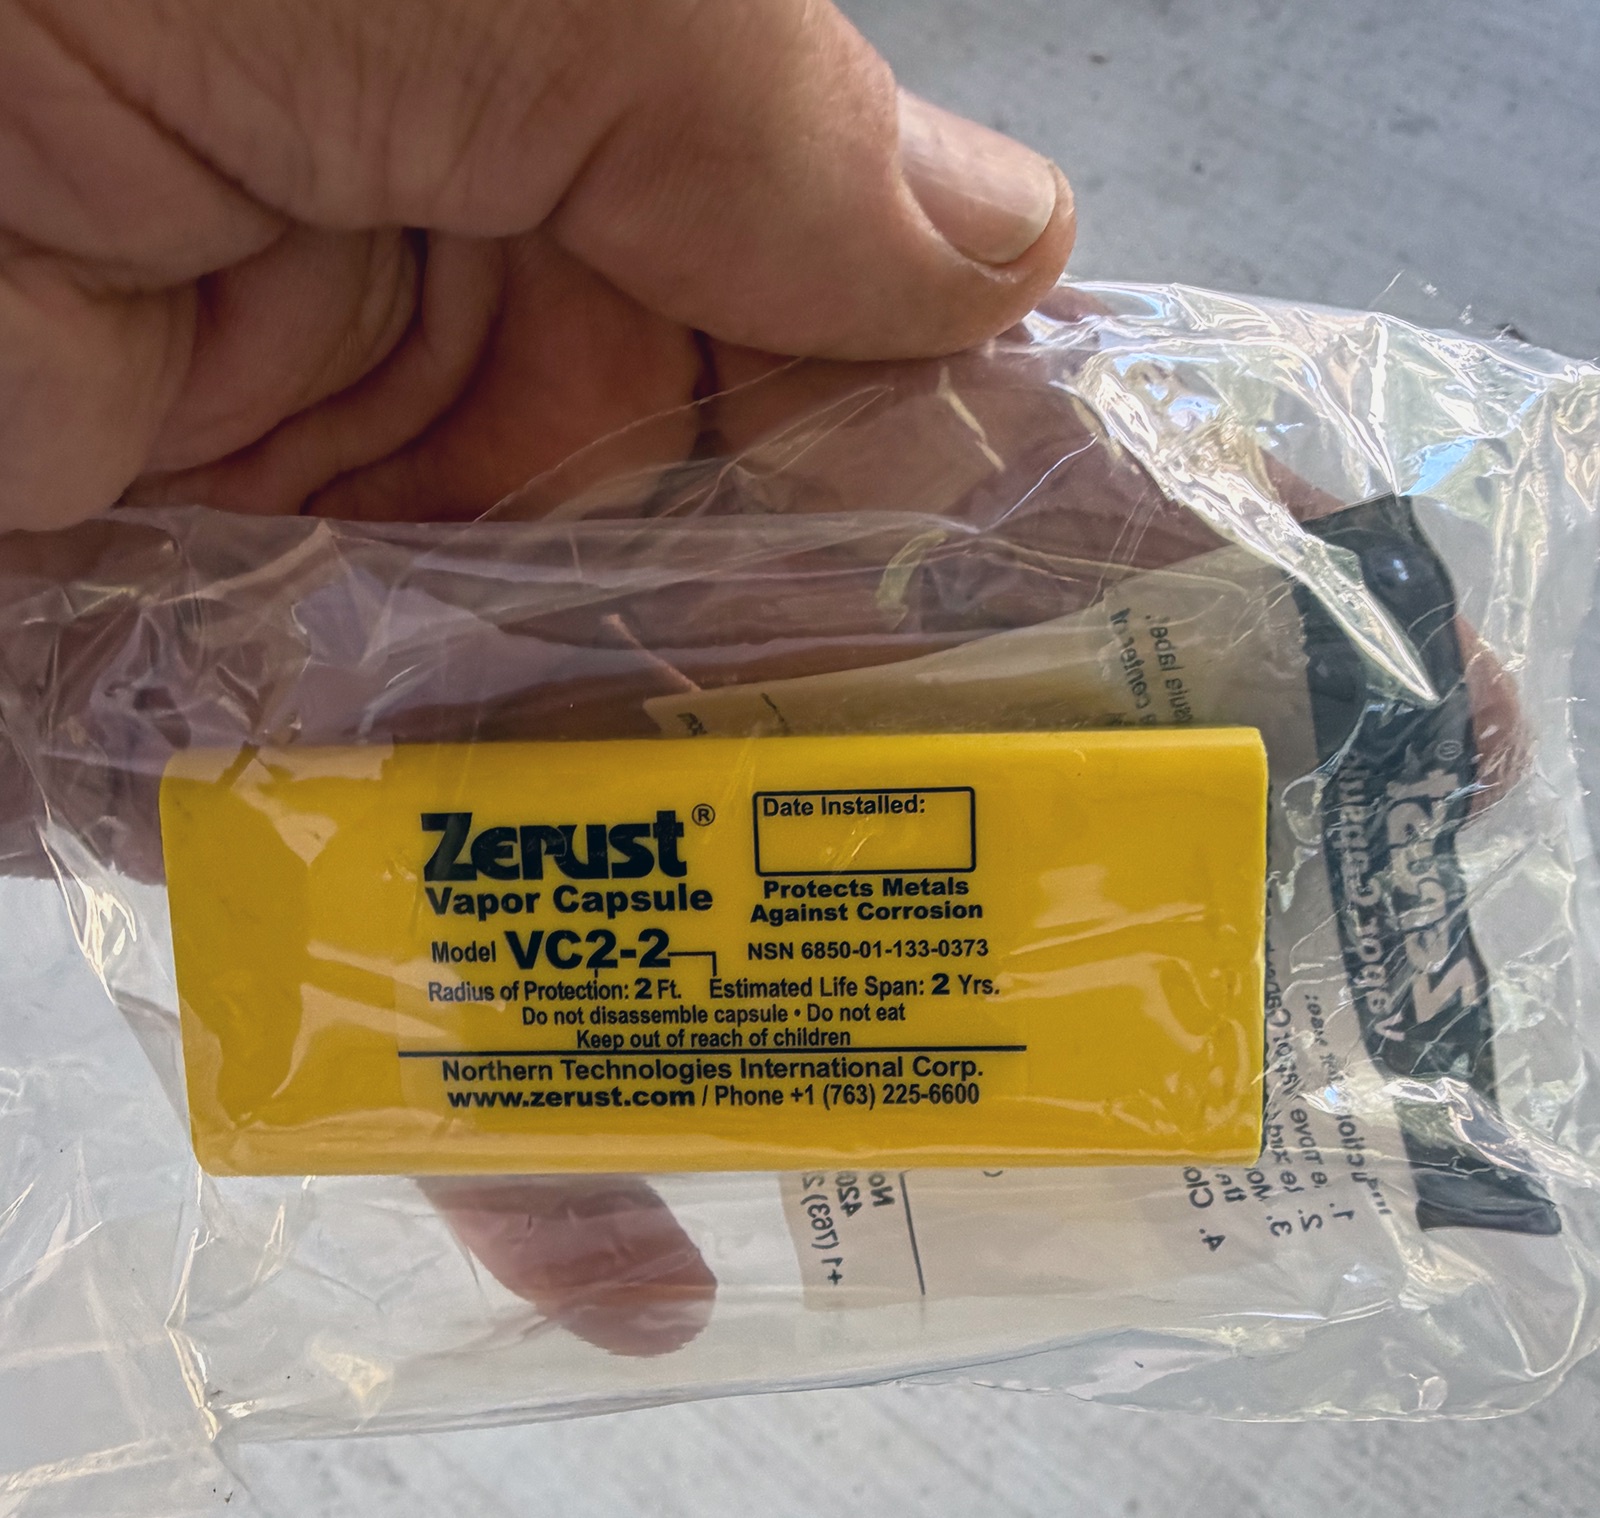
Vapor Corrosion Inhibitor (VCI) Capsules: Originally engineered for marine electronics and offshore oil platforms, these capsules slowly emit an invisible, odorless, non-toxic vapor that deposits a microscopic monomolecular layer over all exposed metal, passivating surfaces against rust and oxidation without leaving any greasy residue. They last 12 months and cost less per capsule than a Starbucks latte.
Environmental Differential Monitoring: I placed a dual-channel wireless sensor inside the shelter to log real-time temperature and relative humidity against the outside ambient climate.
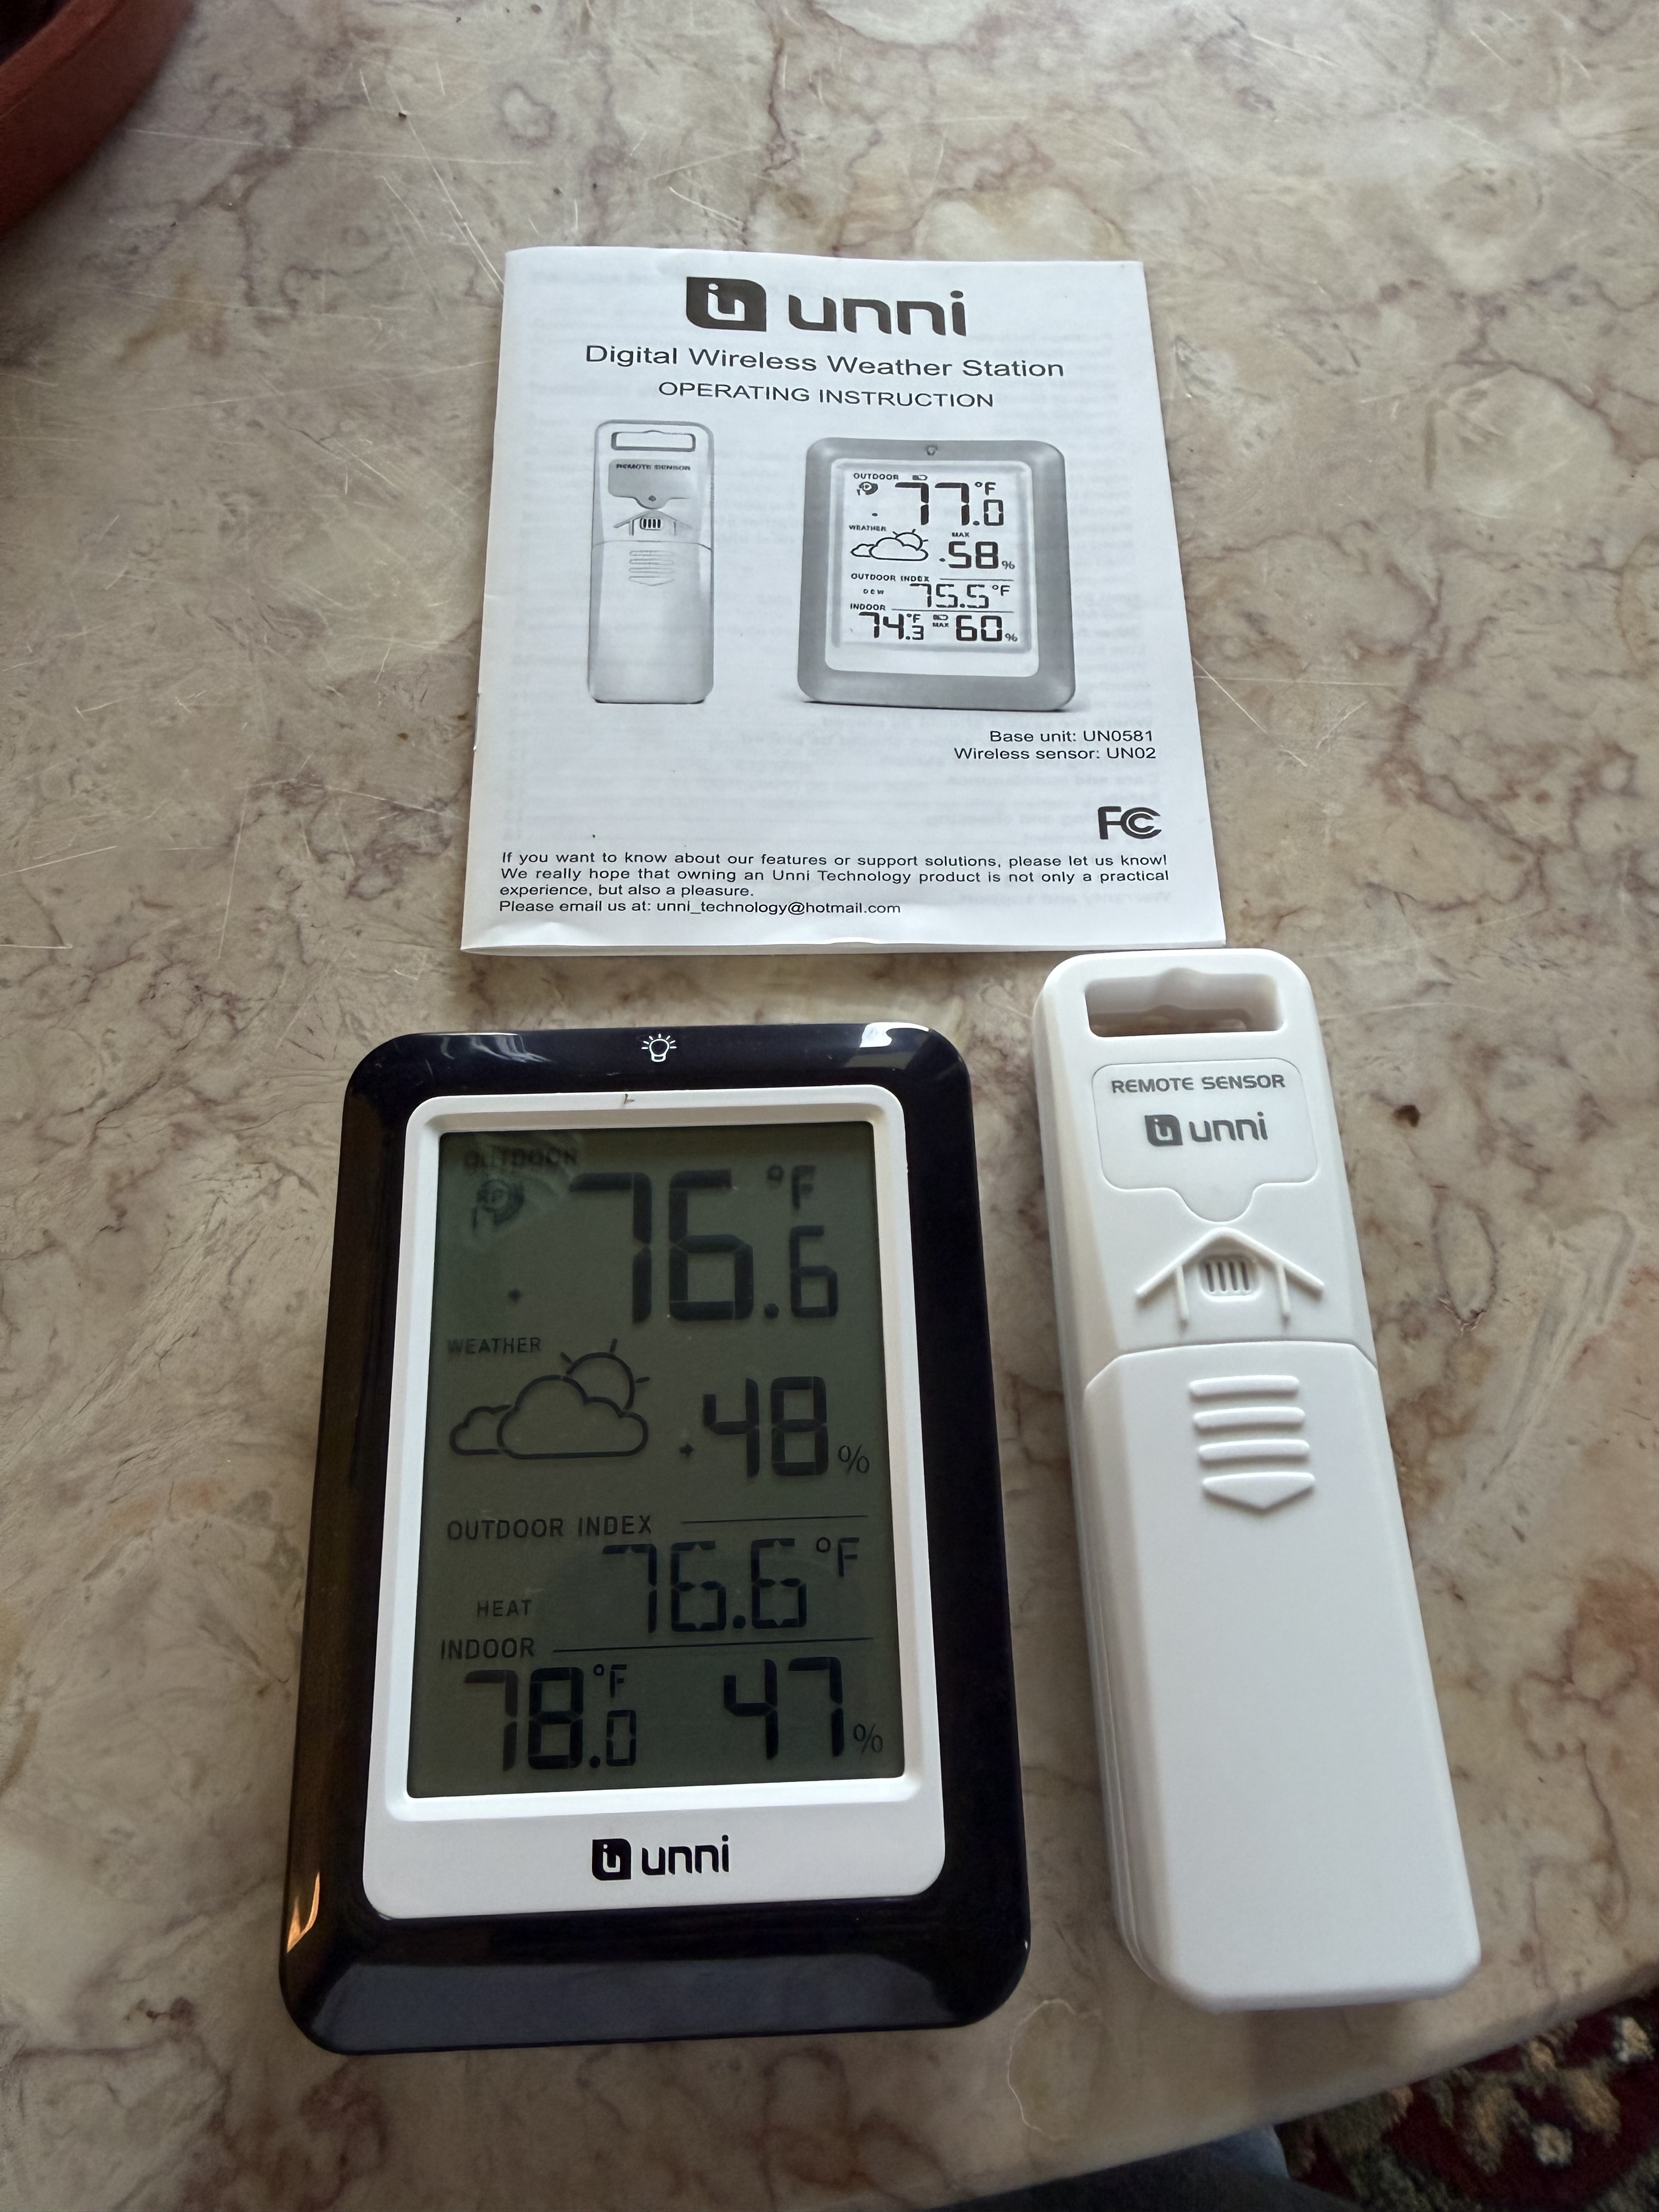
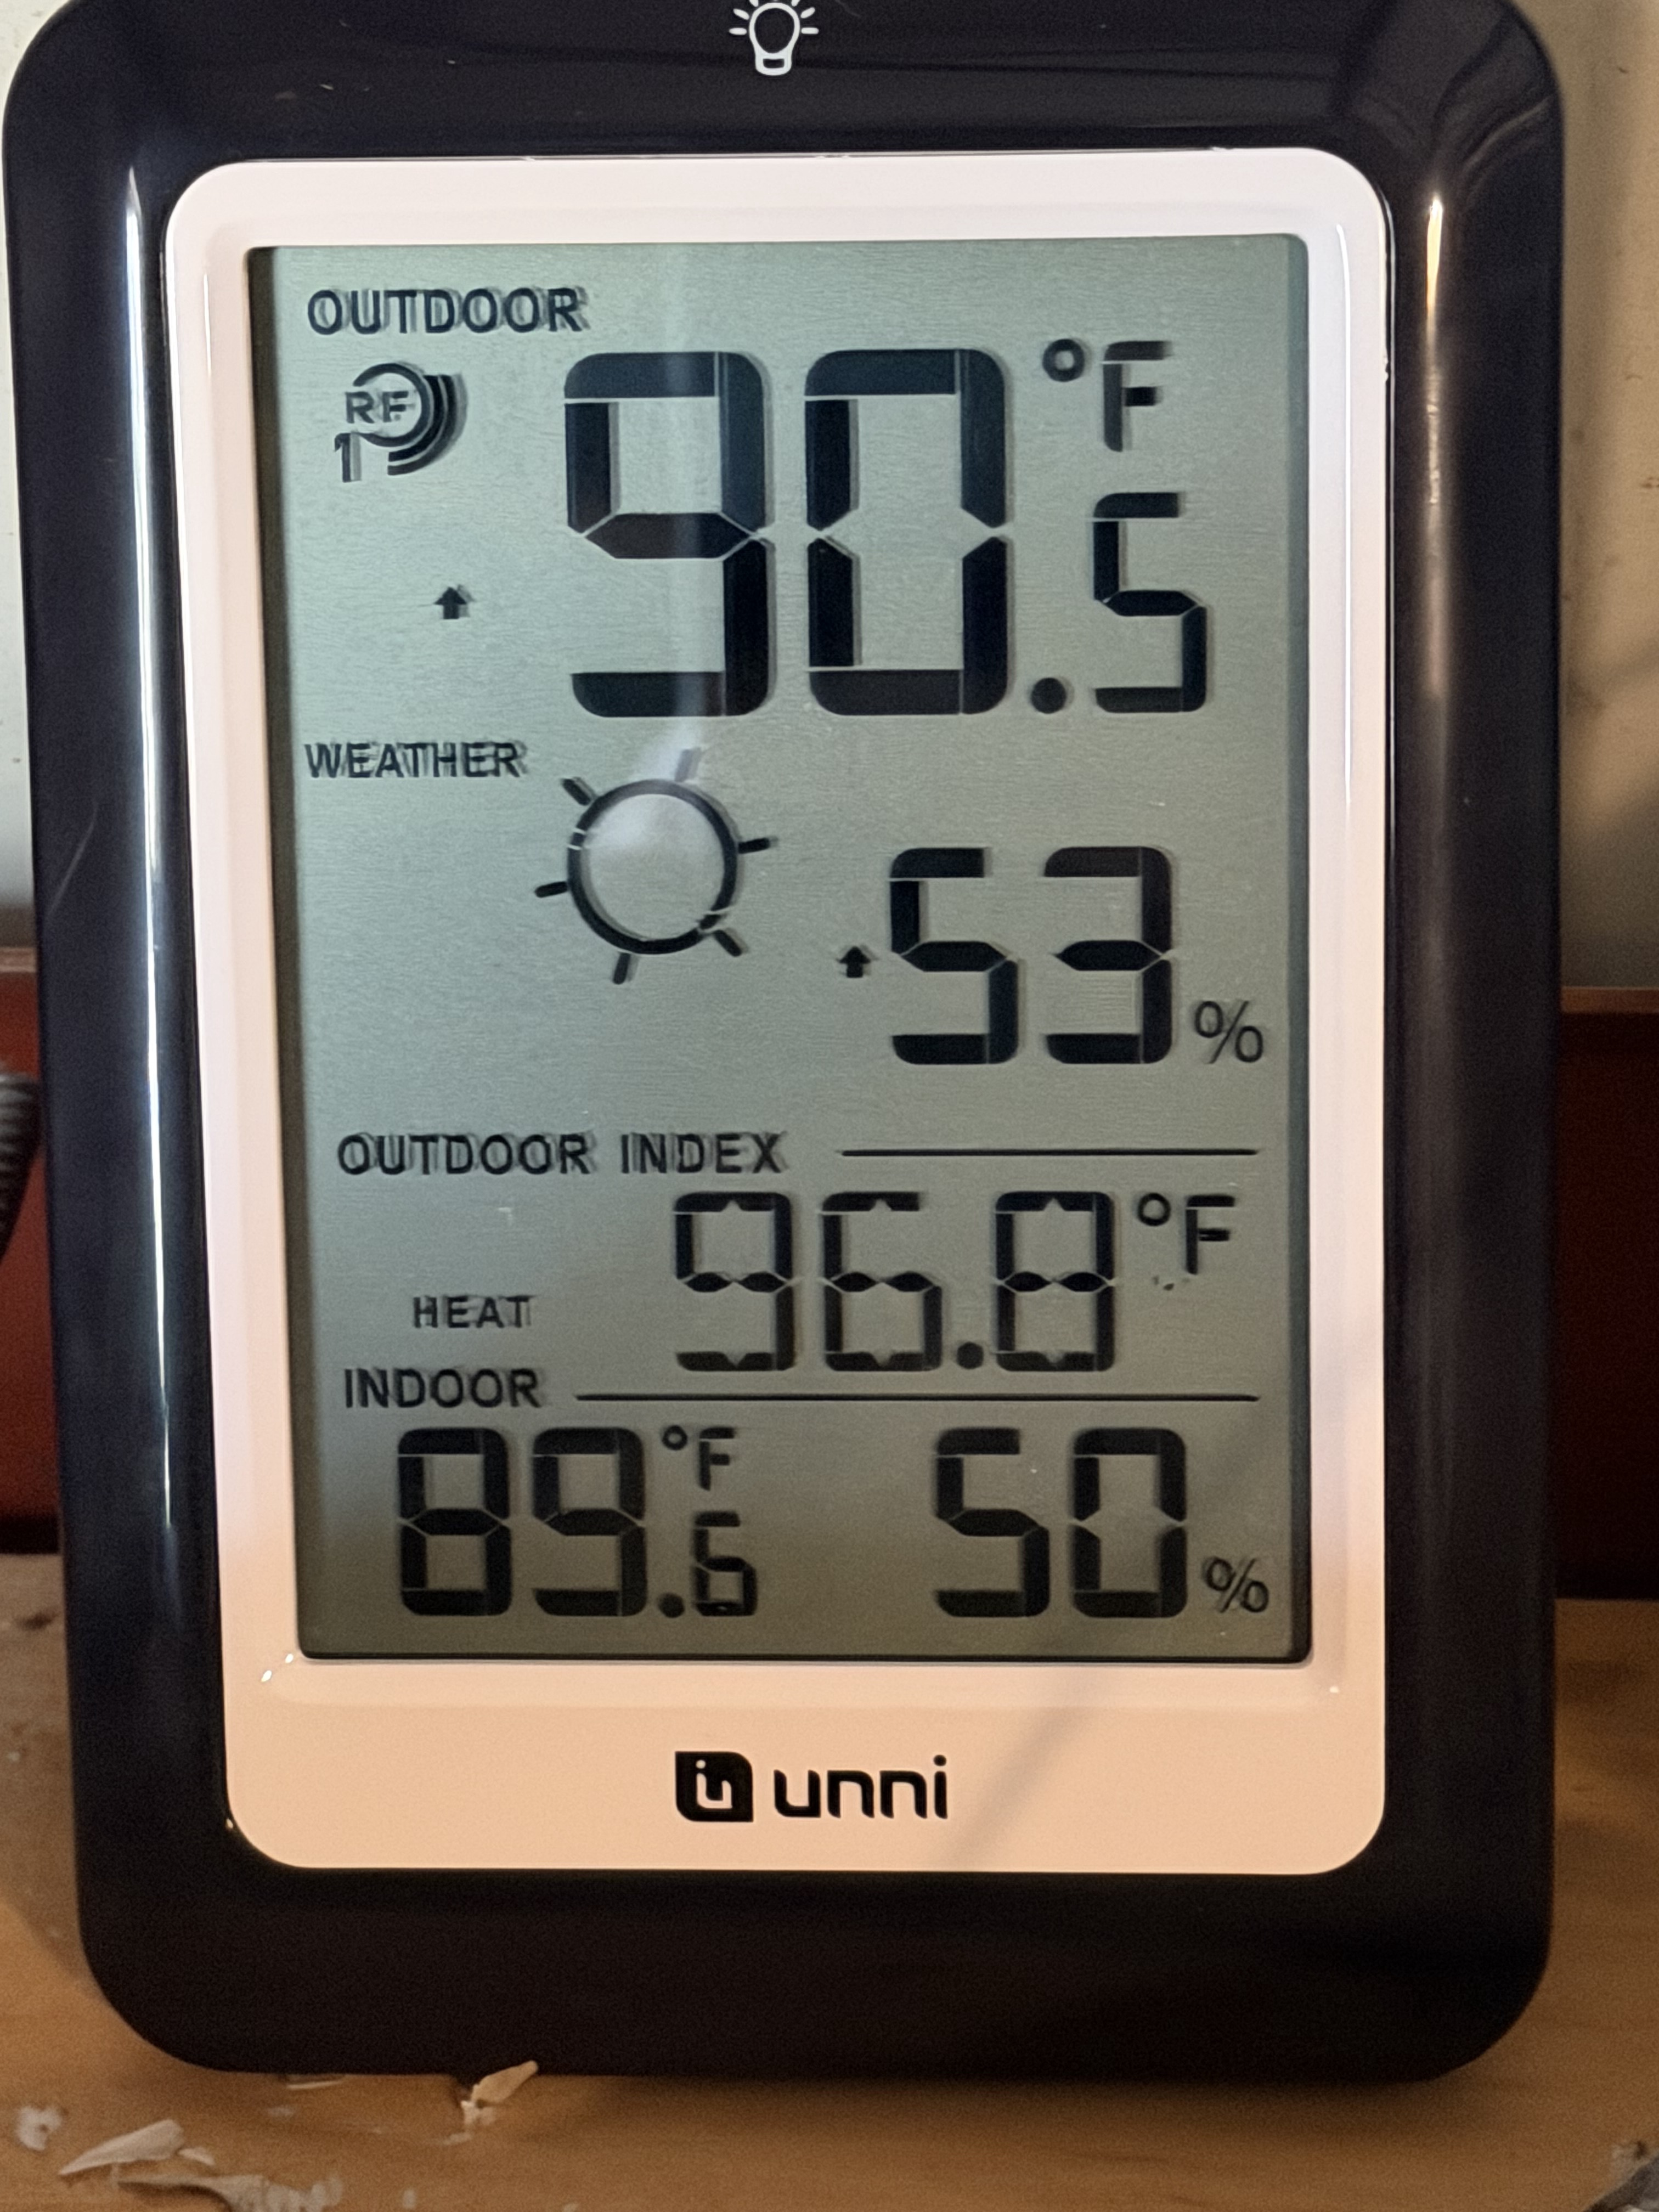
Automated Battery-Powered Exhaust Fan: To actively purge moist air before condensation forms on cold engine fins or chrome, I built a compact 12V exhaust fan mounted directly to the shelter frame and ducted out through the side flap. An automated humidistat controls it, set to actuate whenever interior humidity hits 60%. Working in tandem with the rubber vapor barrier, the active exhaust pulls humidity down by an average of 20% compared to outside air.
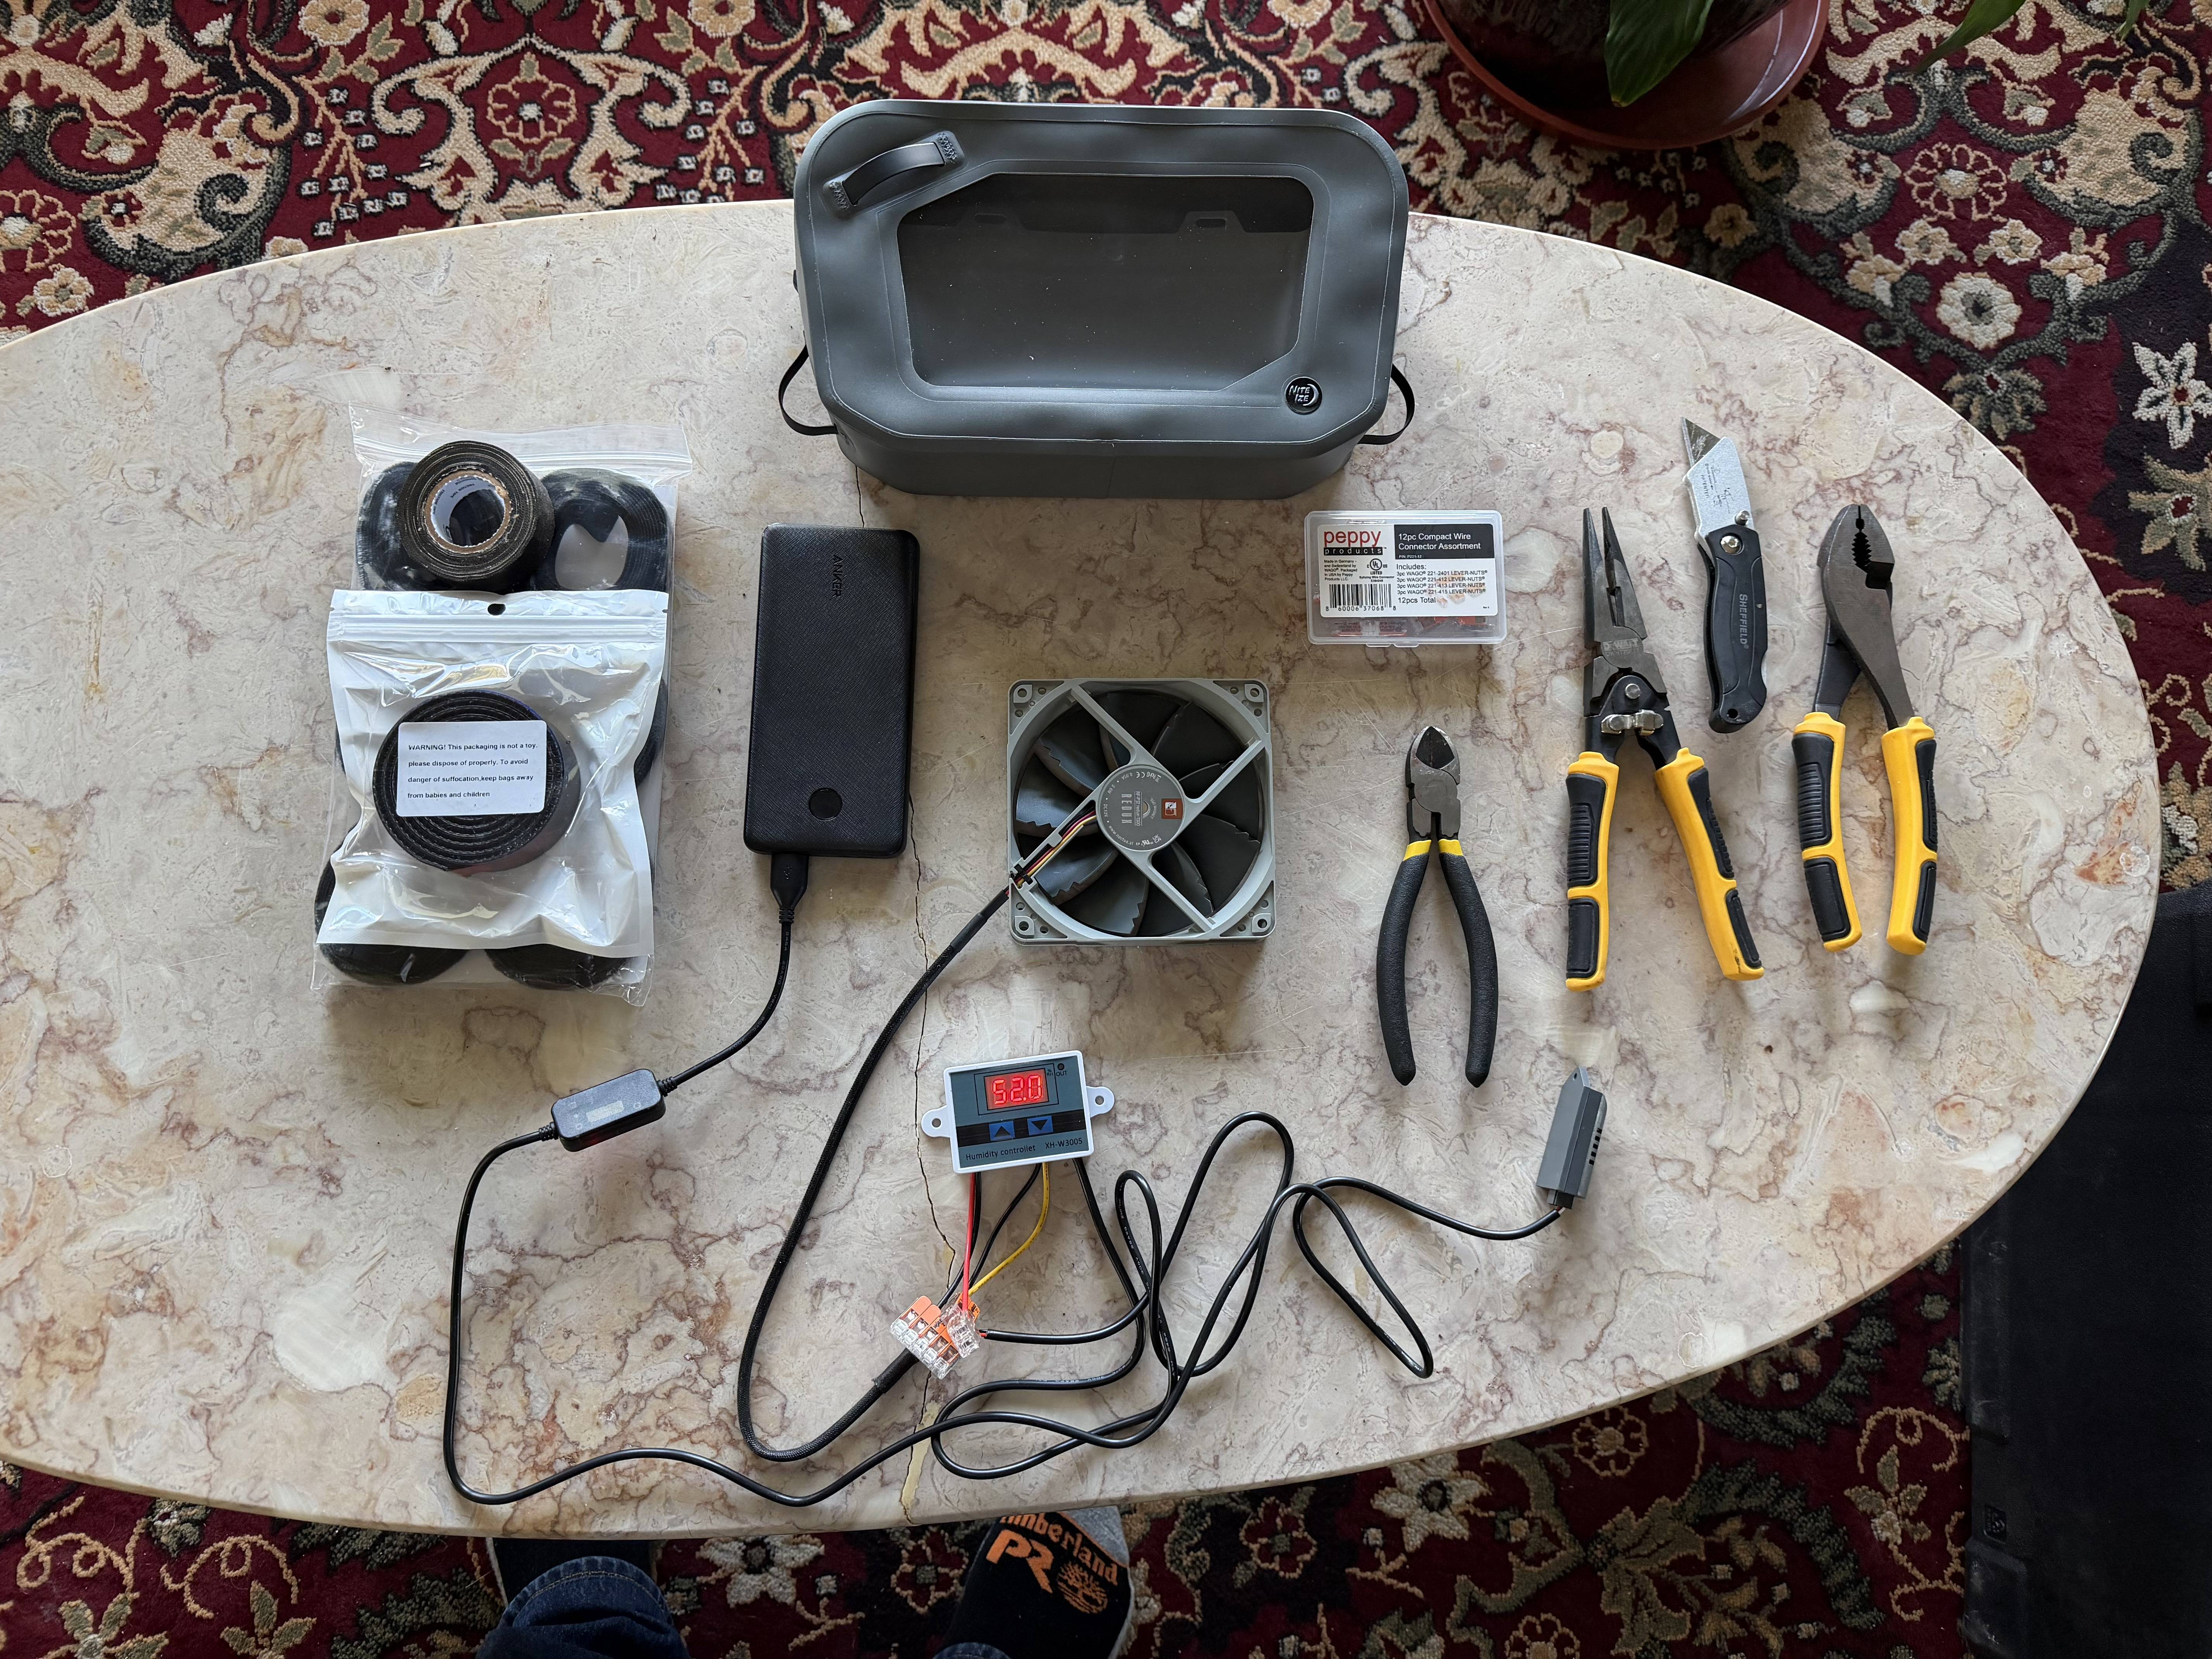
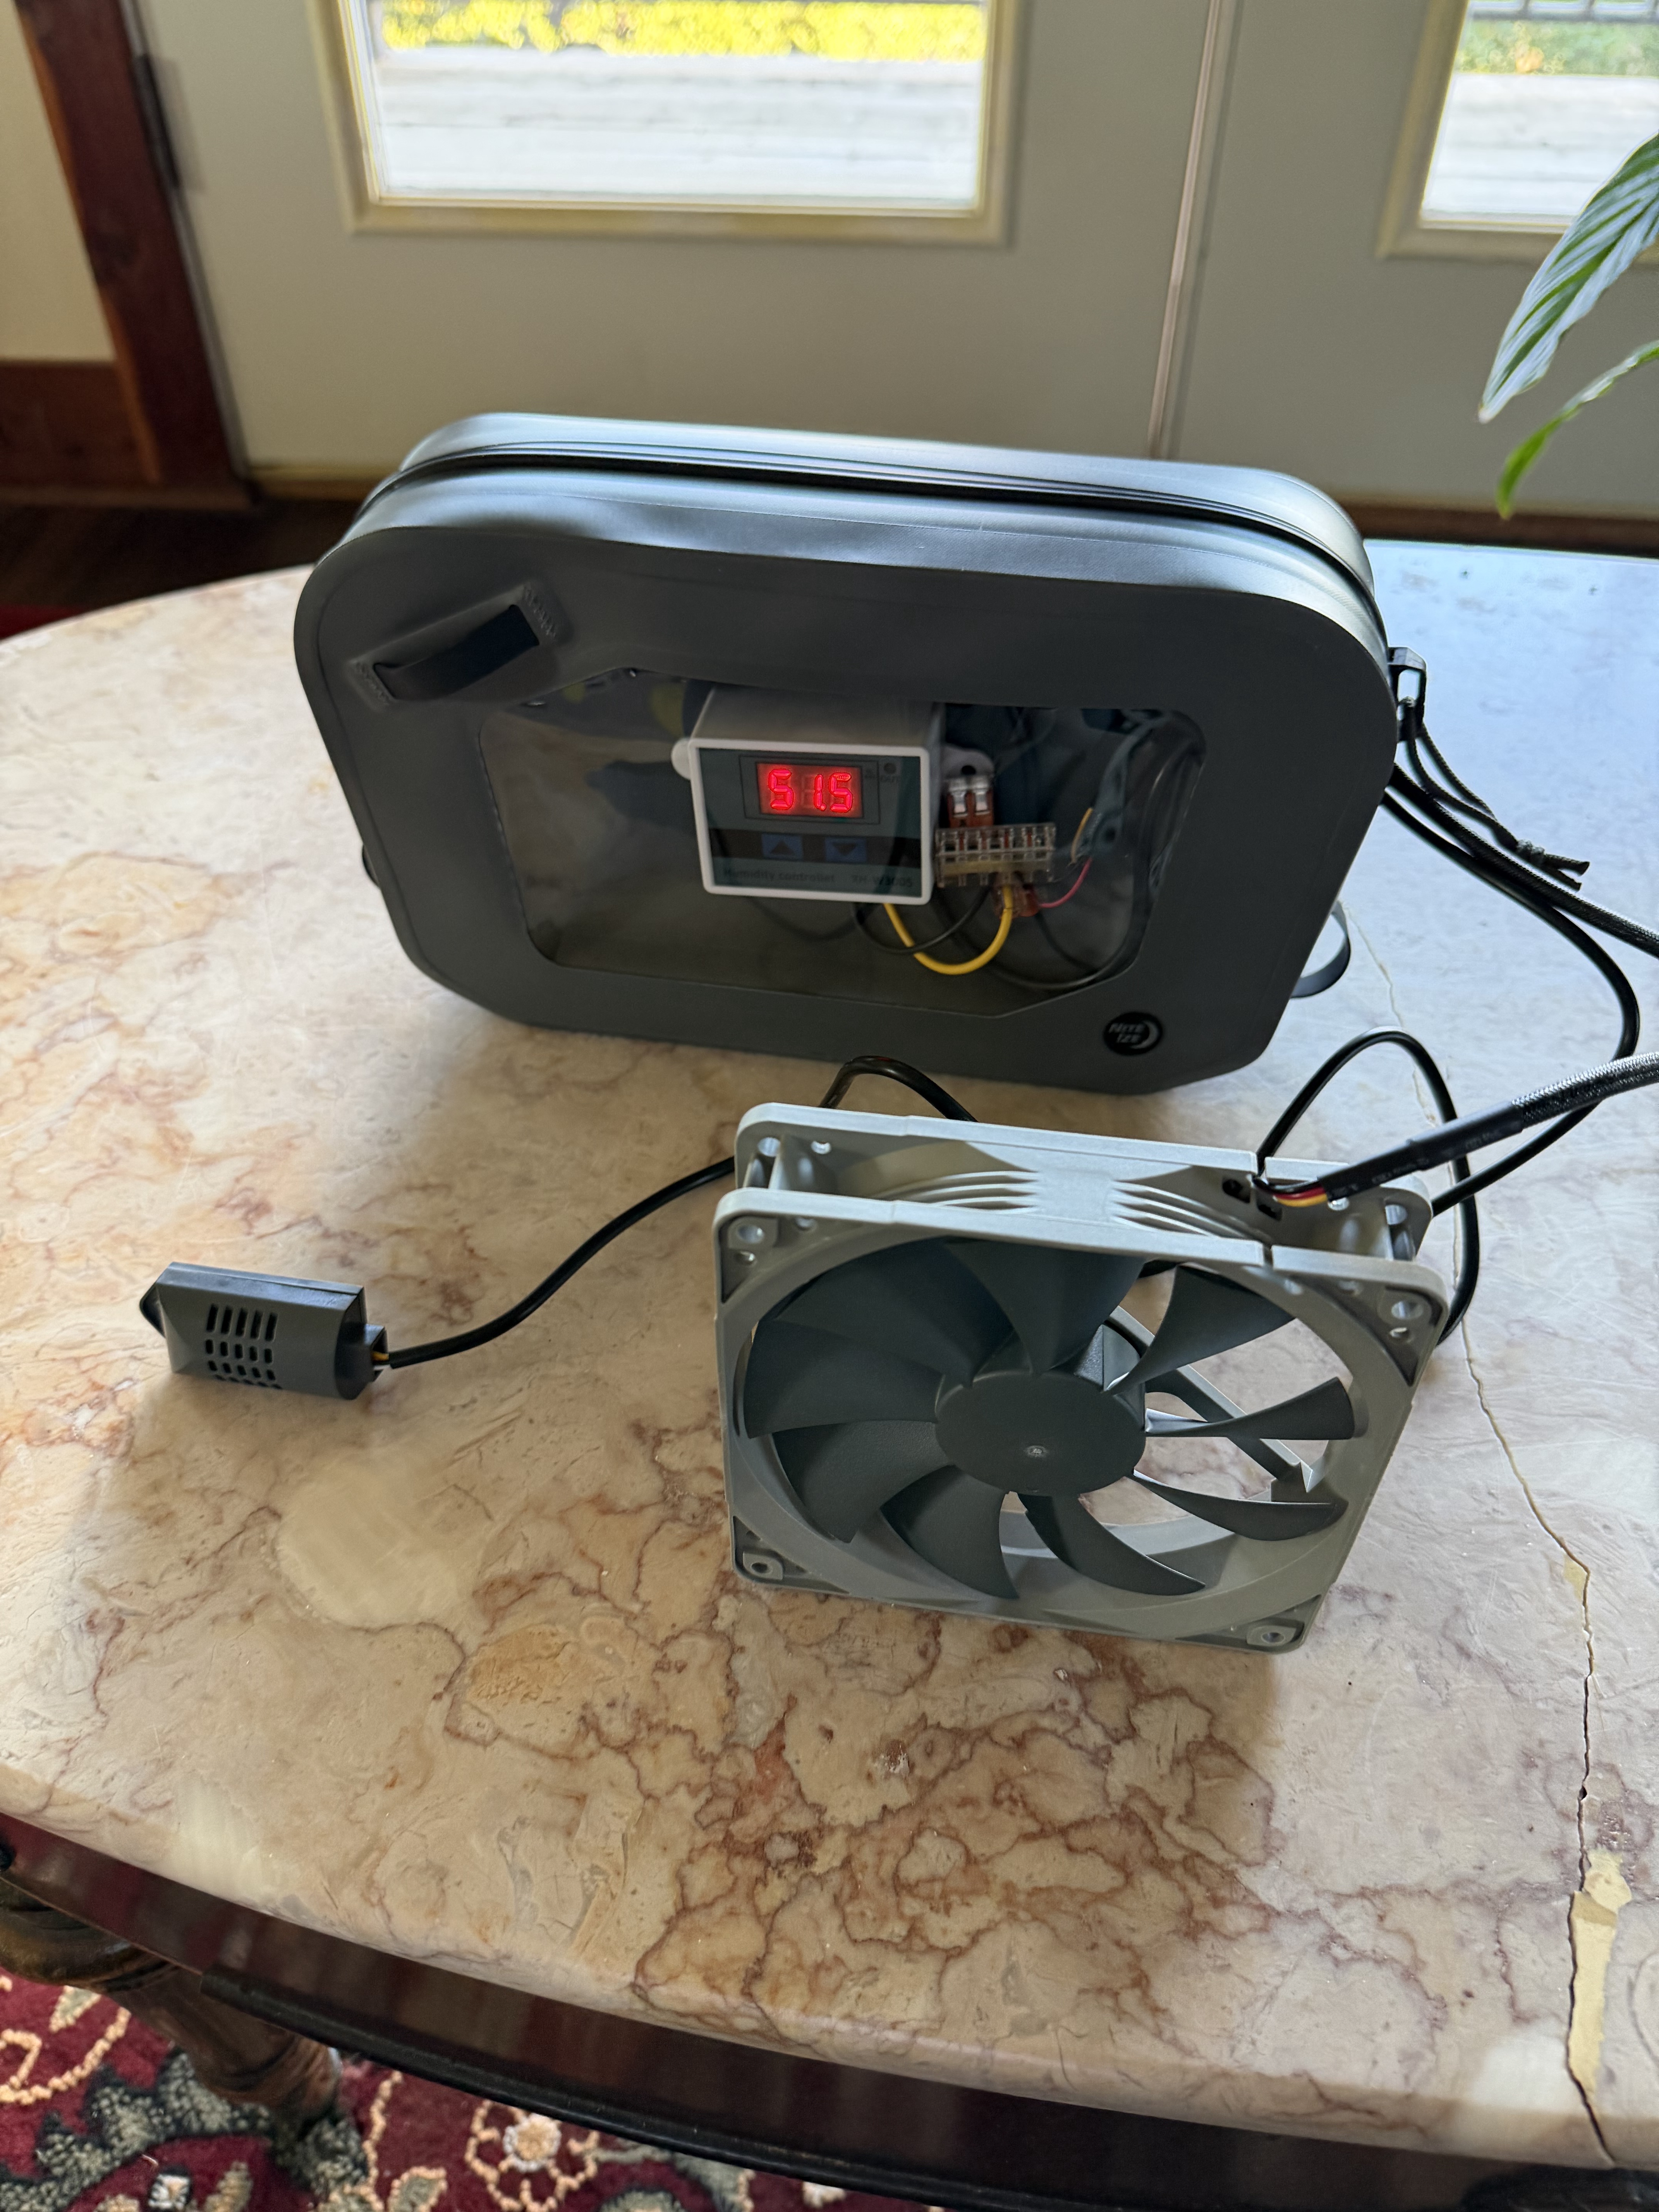
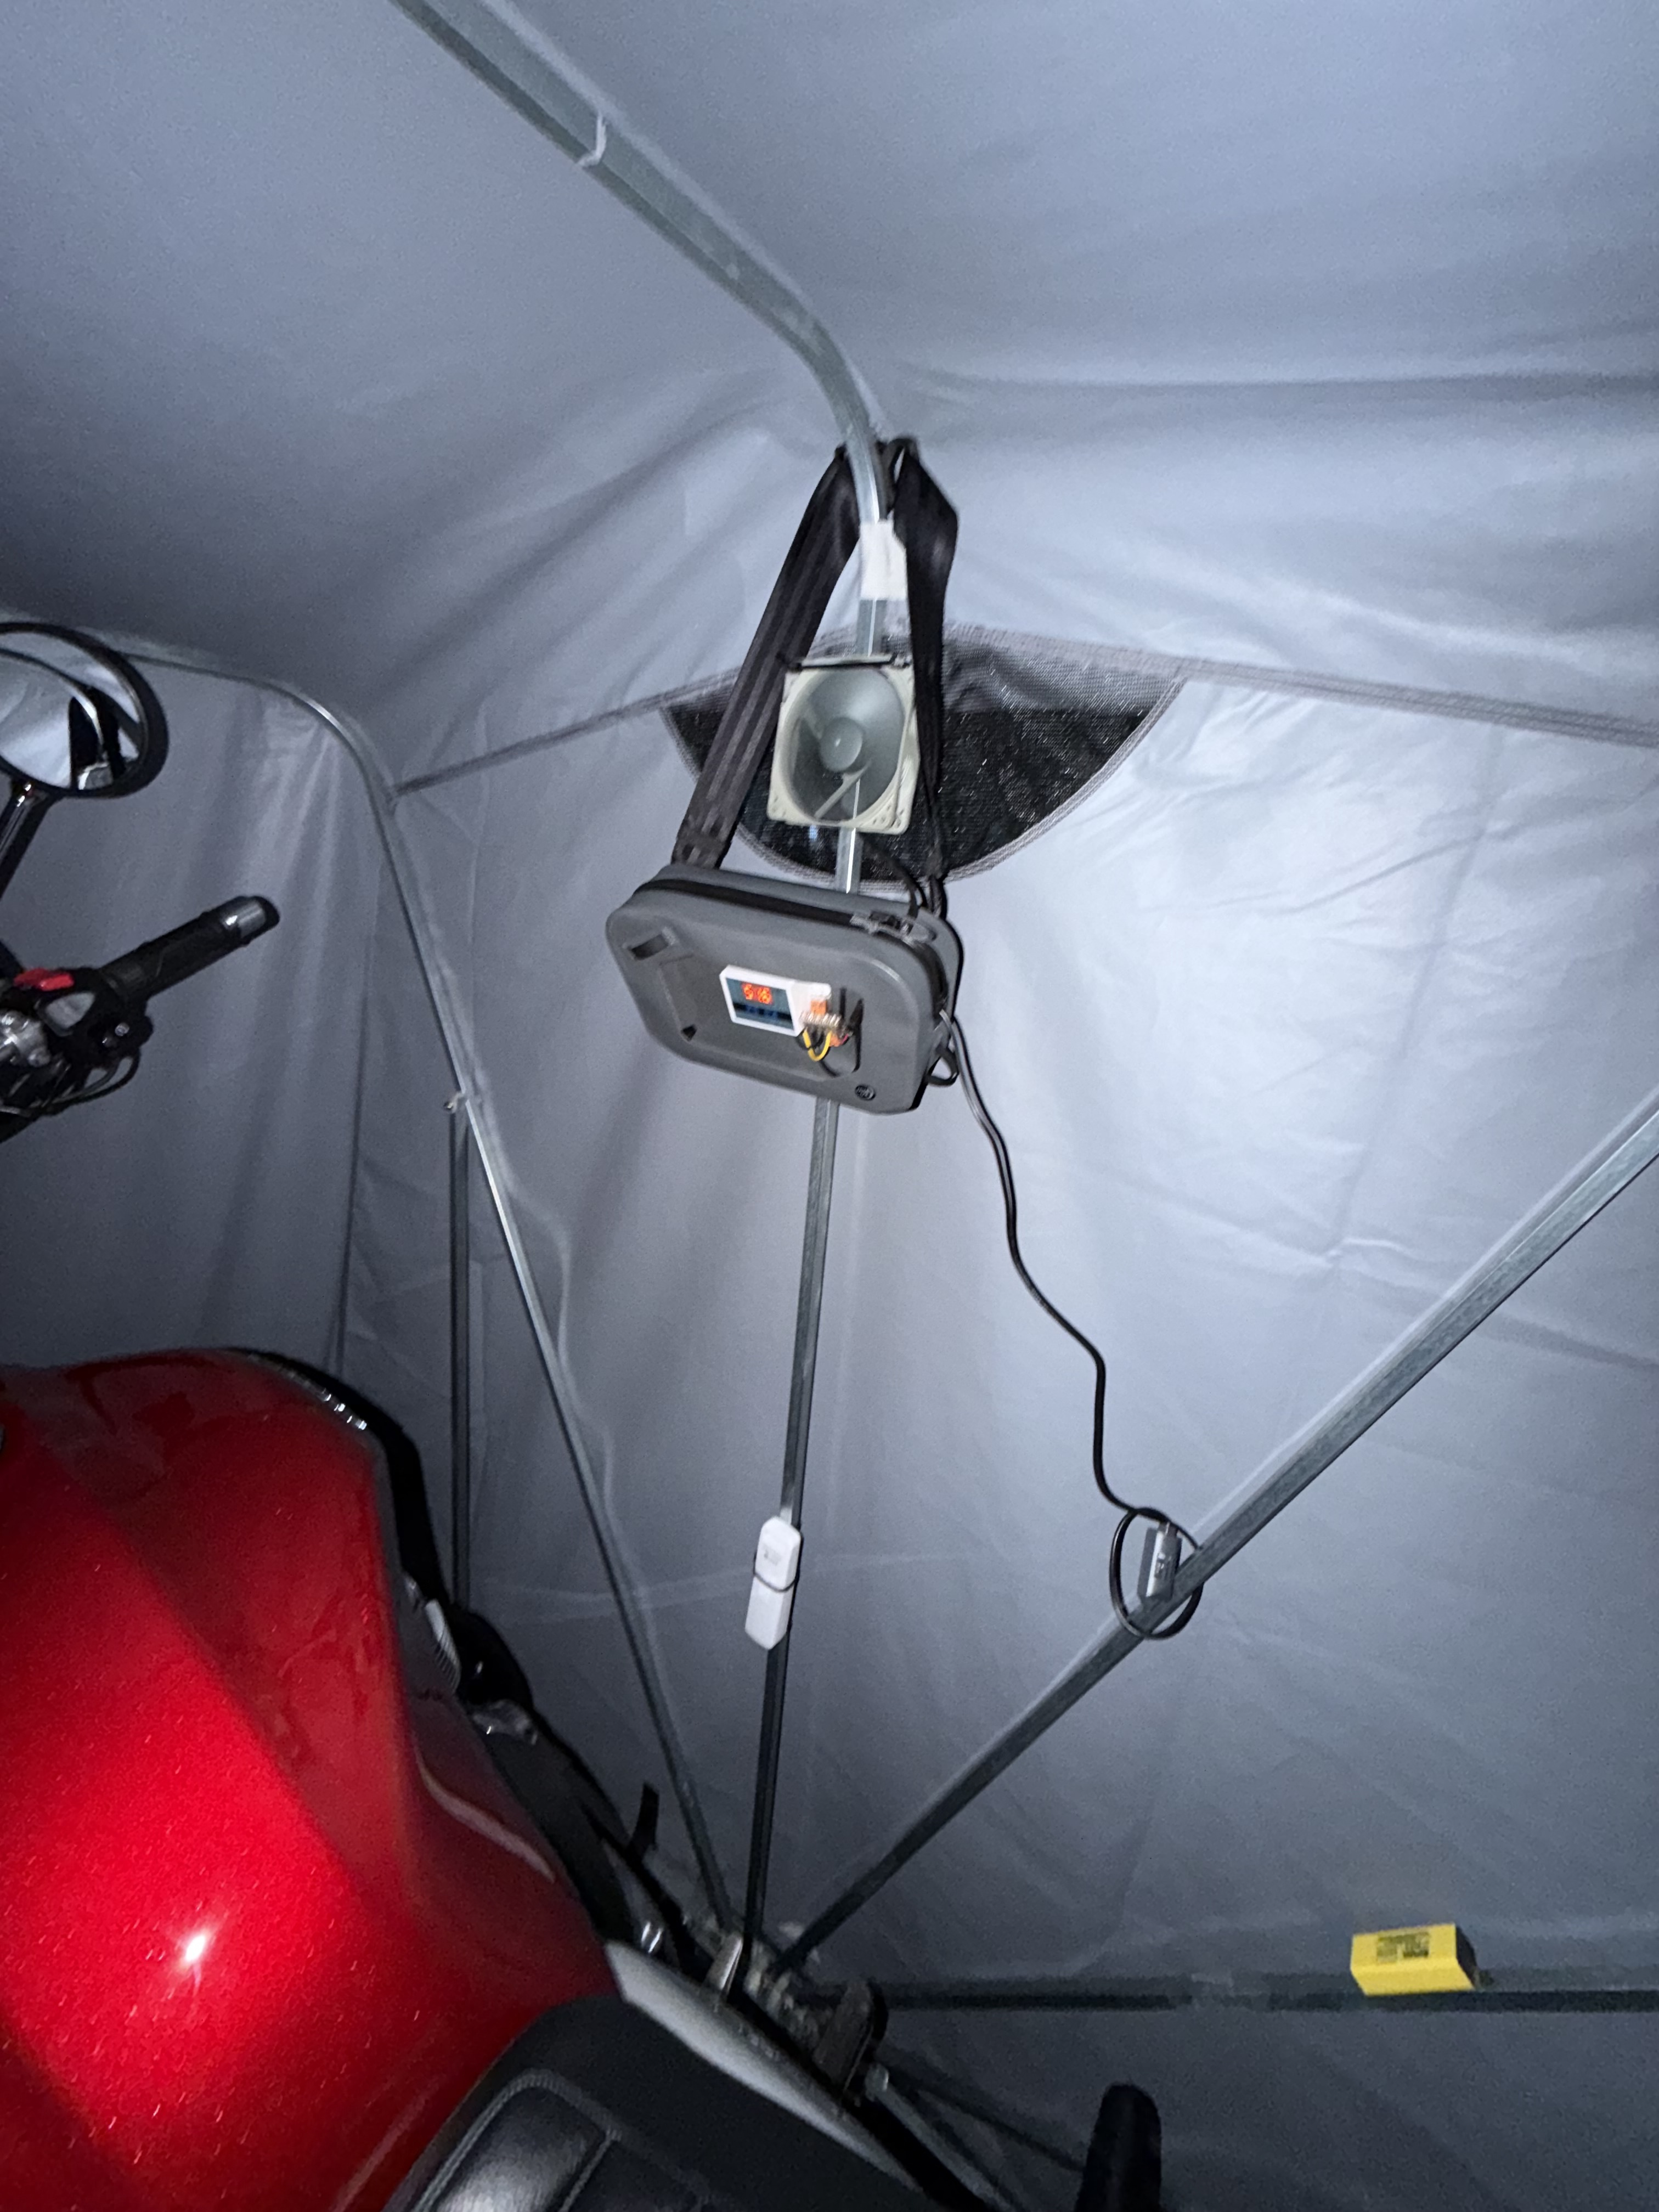
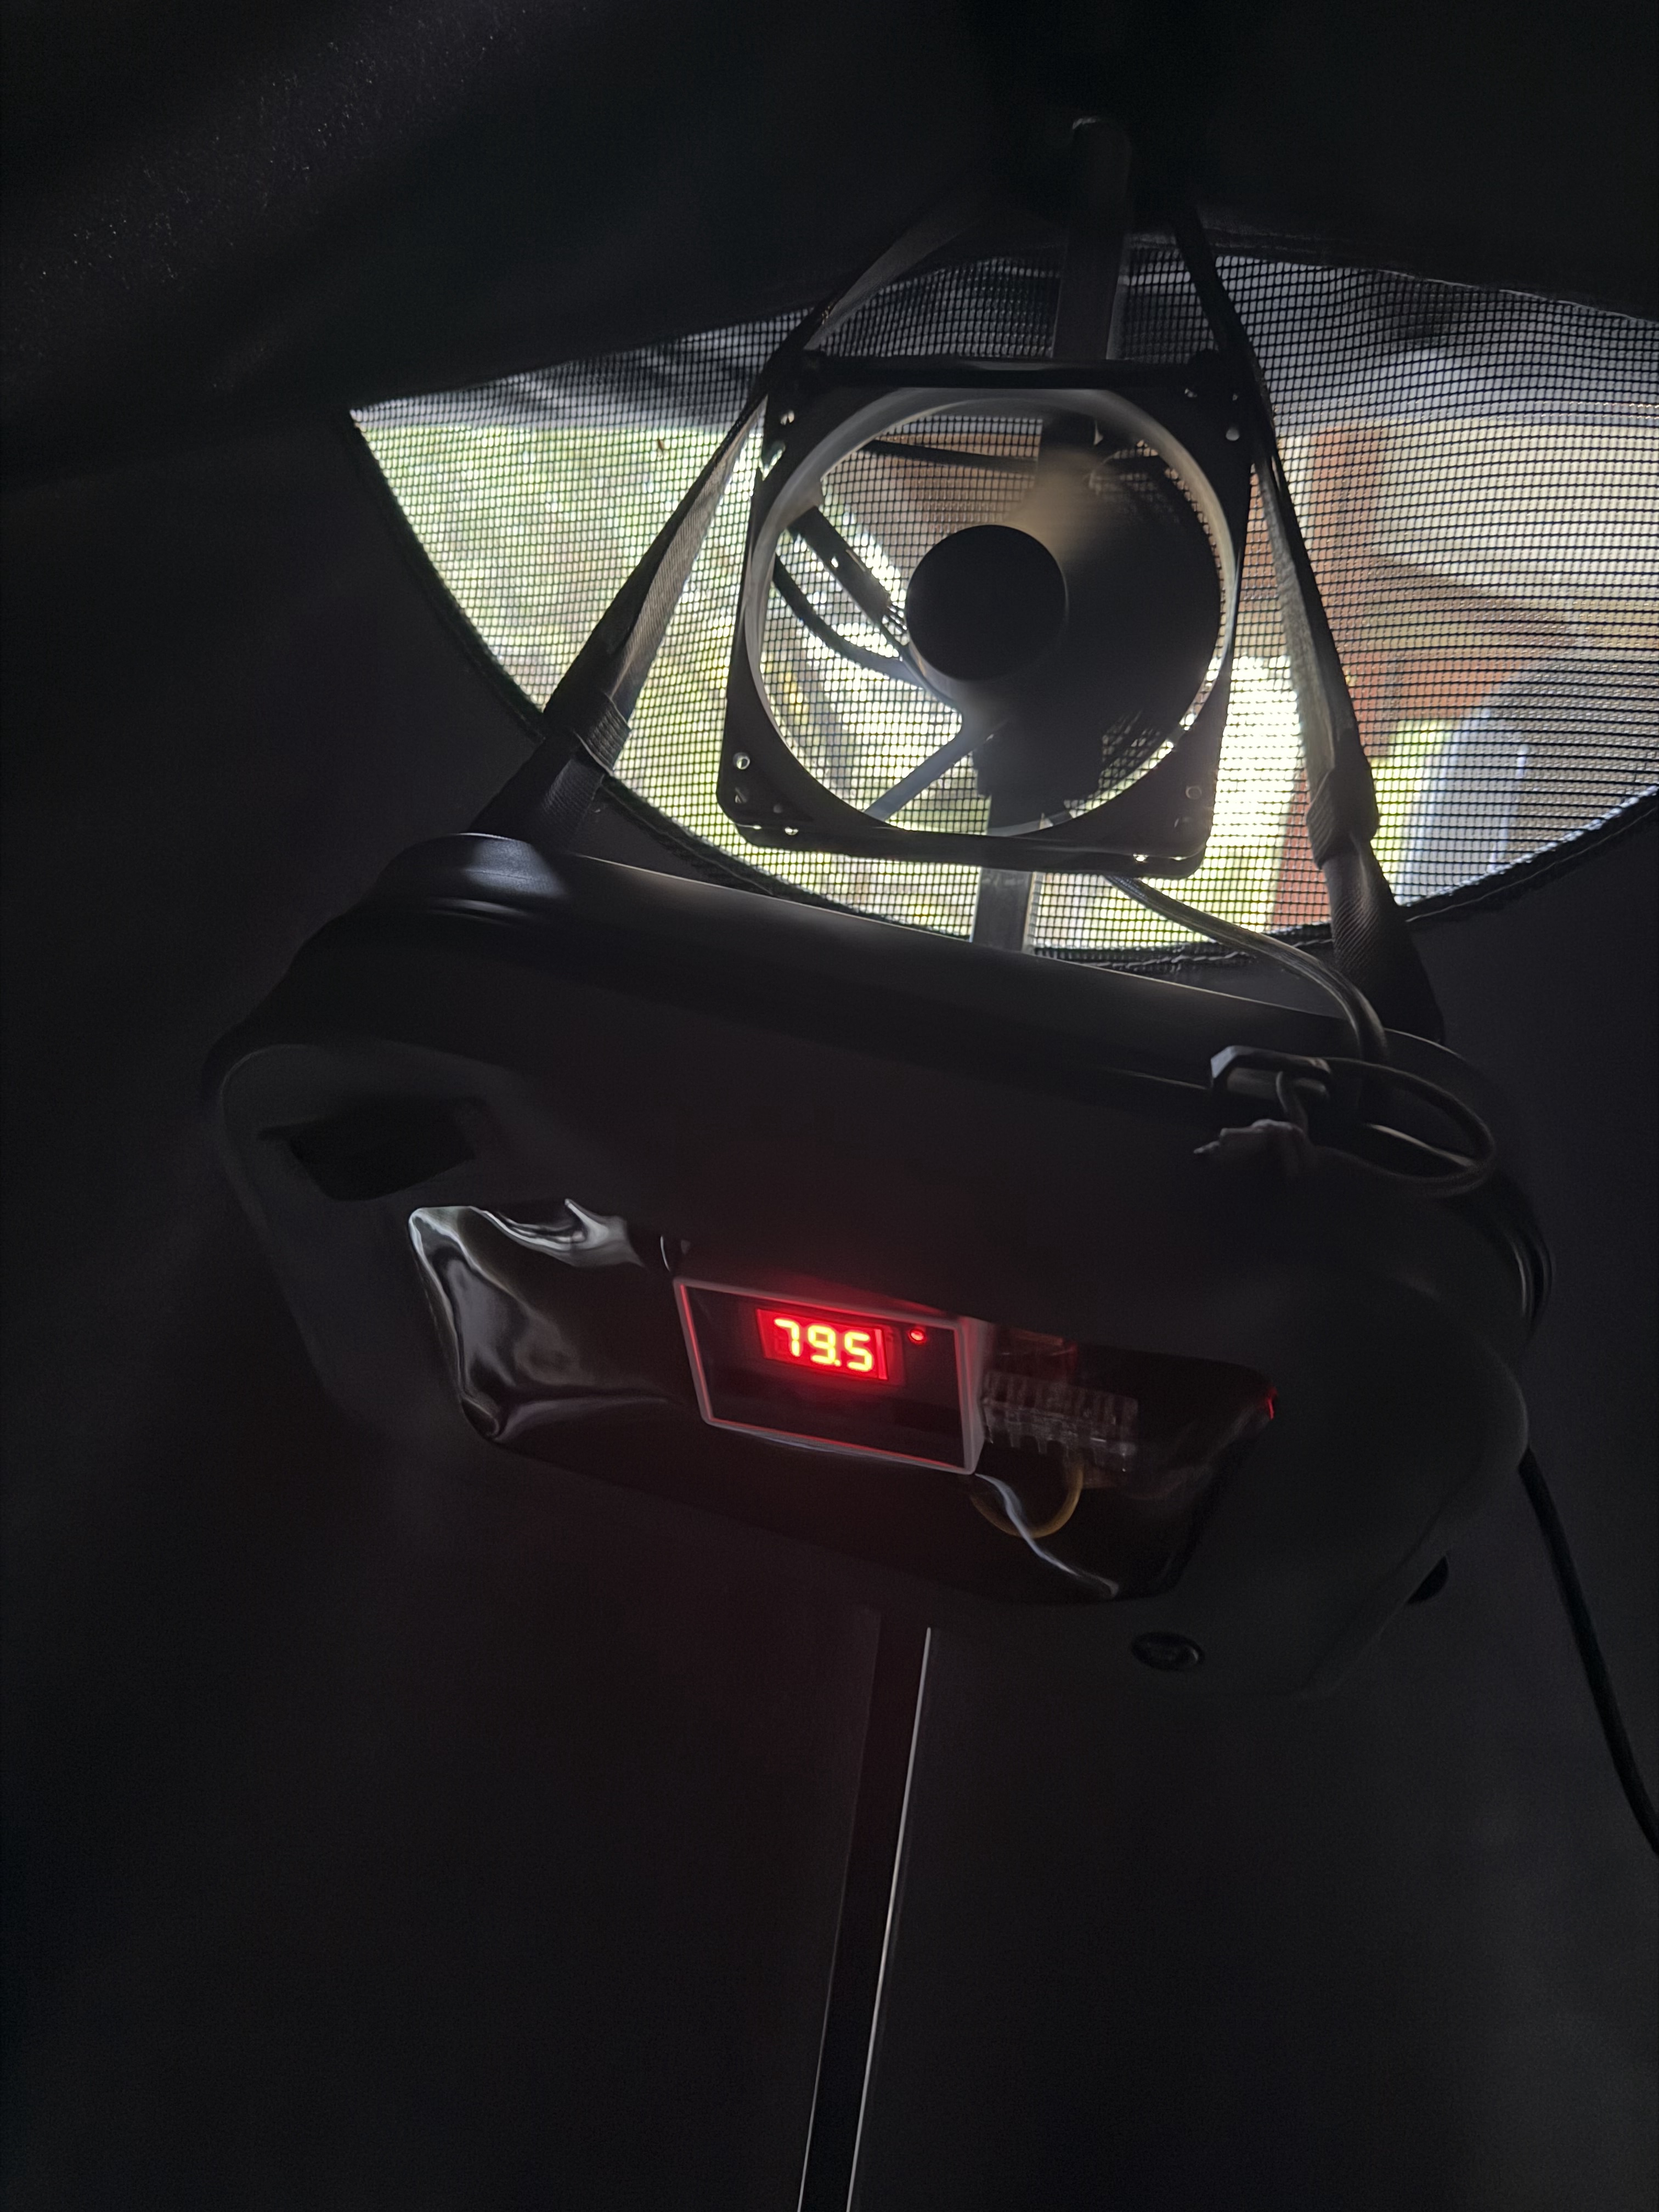
I am not entirely sure whether I should be proud or ashamed that 90% of the parts required to build the active exhaust system were already sitting in my shop spare-parts bin. What I do know with certainty is that this morning the pasture grass was dripping wet, but the CB1100 was bone-dry. Life is good.
If anyone wants deeper schematics, parts sources, or assembly tips, post below or send me a PM. Teasing about whether this is slightly over-engineered is fully expected and welcomed.
Enjoy your weekend, and make some time to get out and ride, which is exactly what I'm heading out to do right now. David
But motorcycle parking and storage was a real issue. I did not have an enclosed, climate-controlled place to park one of the most beautiful motorcycles ever manufactured, adorned with beaucoup chrome, incredible stainless steel, and flawless metallic paint. I have parked previous motorcycles outside using a traditional draped cover, but my CB1100EX deserved something far better.
With the zeal of an old nerd on an espresso binge, I began designing a proper shelter. I was constrained by dollars (a dedicated motorcycle shop was not financially feasible) and time (I had 30 days to complete everything). Bottom line: I needed something well-designed, built on a solid foundation, in stock, relatively inexpensive, capable of meeting the extreme weather conditions of the Texas Hill Country, and able to be assembled in a weekend.
Here is what I landed on for anyone else facing a similar problem. The best “system” I found for protecting and parking a CB1100 is the Bike Shield ($370 USD). It has a relatively small footprint and uses a sturdy galvanized tubular frame to support a robust tarp that repels water and dust. Crucially, the cover never touches the motorcycle, so it cannot abrade the finish when opened or closed, nor does it trap surface moisture against the metal. It is affordable, replacement tarps are readily available, and with proper UV/waterproofing care, I believe I can keep the shelter functional and looking sharp for at least a decade.
Please see it deployed under my carport below, along with the daily game of Tetris required to make everything fit.
Carport & Cover
For those asking why I don't simply park it in the 500-square-foot garage attached to the carport: that space houses a working ceramic studio, complete with a kiln, for an accomplished artist who remains perpetually anxious about me riding motorcycles. Notice was served early that two wheels would never cross the studio threshold, in the subtle hope that lack of parking might inspire retirement from two-wheeled life. Like all prior efforts, it failed miserably.
My lovely artist offered to reverse her ruling once the avalanche of Amazon delivery boxes began arriving, but I assured her I was on a mission and that everything was working out splendidly. I was subsequently sent to time-out for offering to find a support group to help her come to terms with loving a lifelong motorcyclist. Even after 40+ years together, I still manage to strike a nerve every now and then.
I will spare you the 100+ photos taken during assembly. See the manufacturer's installation manual (mediocre at best) along with a link to an installation video that rates a solid C-.
If this project sparks your interest, here is the hardware breakdown and lessons learned from spending eight hours making nearly every mistake possible. (I am also happy to hop on FaceTime or swap PMs with anyone planning a similar setup):
Assembly & Installation Tools: Source hammers, drills, sockets, wrenches, shop vac, and safety gear
10’ x 10’ Staging Area: Clear a space to lay out the various components.
Nylon Washers: Replace the brittle plastic washers supplied in the box with nylon washers.
3” Concrete Wedge Anchors: Replace the lightweight stock hardware with proper concrete anchors.
Safety Gear: Protect yourself from all the exposure you face while coating, drilling, and cleaning up after the install:
For many regions, the stock out-of-the-box installation would suffice. However, the Texas Hill Country can be a place of atmospheric extremes. Temperatures swing 40 degrees in an afternoon, humidity routinely starts above 80%, 40 MPH wind gusts arrive unannounced, and bright morning sunshine routinely surrenders to sideways thunderstorms. Bolted down with 3” anchors, the Bike Shield easily shrugs off the physical violence of Texas wind and rain. But ambient humidity inside an enclosed microclimate was an engineering challenge that passive mesh flaps alone could not conquer.
Here was my multi-tiered response:
1” Heavy-Duty Rubber Stall Mat: Concrete slabs on grade are porous and constantly wick groundwater upward through capillary action, creating condensation directly beneath a parked vehicle. Installing a dense 1" rubber mat over the slab provides an impenetrable vapor barrier and thermal break before anchoring the shelter on top.
Vapor Corrosion Inhibitor (VCI) Capsules: Originally engineered for marine electronics and offshore oil platforms, these capsules slowly emit an invisible, odorless, non-toxic vapor that deposits a microscopic monomolecular layer over all exposed metal, passivating surfaces against rust and oxidation without leaving any greasy residue. They last 12 months and cost less per capsule than a Starbucks latte.
Environmental Differential Monitoring: I placed a dual-channel wireless sensor inside the shelter to log real-time temperature and relative humidity against the outside ambient climate.
Automated Battery-Powered Exhaust Fan: To actively purge moist air before condensation forms on cold engine fins or chrome, I built a compact 12V exhaust fan mounted directly to the shelter frame and ducted out through the side flap. An automated humidistat controls it, set to actuate whenever interior humidity hits 60%. Working in tandem with the rubber vapor barrier, the active exhaust pulls humidity down by an average of 20% compared to outside air.
I am not entirely sure whether I should be proud or ashamed that 90% of the parts required to build the active exhaust system were already sitting in my shop spare-parts bin. What I do know with certainty is that this morning the pasture grass was dripping wet, but the CB1100 was bone-dry. Life is good.
If anyone wants deeper schematics, parts sources, or assembly tips, post below or send me a PM. Teasing about whether this is slightly over-engineered is fully expected and welcomed.
Enjoy your weekend, and make some time to get out and ride, which is exactly what I'm heading out to do right now. David
Last edited:

 this is more than p r o f e s s i o n a l