Carguy1959_imp
Been there
If you need to remove fluid, use a turkey baster. I use one when the fluid gets old, suck out the old put in the new. If it's real bad do it, wait about a week of use and do it again. Brake fluid does cycle thru the system.
Follow along with the video below to see how to install our site as a web app on your home screen.
Note: This feature may not be available in some browsers.

Rolls_imp said:A sudden burst of industriousness resulted in a quick pre-dawn change of rear pads by light of iPhone before heading over the mountains to my cars and coffee in Soquel near the ocean. I have the factory manual and I’ve done this job before, but I still found LR’s step by step most useful.
I was careful not to forget to transfer the two-piece backings from the old pads to the new.
I’ve been using EBC HH pads and remain pleased with them; a slight improvement in feel and grip over the already excellent Honda pads. This set of rears are my third (original plus a previous replacement, and now these) at about 39,700 miles.
Yep, easy. I agree. I cleaned the piston using brake cleaner and my fingers for scrubbing before pushing it back in the bore.easy_imp said:I don't want to ruin your complacence but BEFORE pressing the piston into the caliper you should clean them properly. Use small brush and breake fluid for the job then clean all residue with brake cleaner. Will prevent to damage pistons seal and enjoy safe ride in the future.
Hawk!
Sure was! Good eye, spotting it in that remote parking space. Saw your beautiful 2014 on the other side of the facility. Looking good!dsan1964_imp said:Rolls_imp said:A sudden burst of industriousness resulted in a quick pre-dawn change of rear pads by light of iPhone before heading over the mountains to my cars and coffee in Soquel near the ocean. I have the factory manual and I’ve done this job before, but I still found LR’s step by step most useful.
I was careful not to forget to transfer the two-piece backings from the old pads to the new.
I’ve been using EBC HH pads and remain pleased with them; a slight improvement in feel and grip over the already excellent Honda pads. This set of rears are my third (original plus a previous replacement, and now these) at about 39,700 miles.
Rolls I was at coffee and cars today was you're bike in the back on the left? Red one?
Sent from my iPad using Tapatalk


LongRanger_imp said:Thanks everyone. I was able to easily swap out the rear pads in about 15 minutes. Next time, it'll take 10 minutes.
My OE pads had about 12k miles on them and while they weren't worn to the limit, I was stunned at how damaged they were. The trailing edges were beveled and very rough and crumbly -- the material easily broke off in my fingers.
I replaced the pads with another set of OE pads (P/N 43105-MWD-425). I also replaced the rear caliper mounting bolt per Honda's recommendation (P/N 90180-MN8-006). The bolt comes with some thread lock on it. I could have reused the original bolt but didn't mind replacing it. Total cost of parts was $43.00.
Replacement is very straightforward:
1 - Press the piston into the caliper by pushing the caliper inwards, towards the wheel (the caliper only has one piston, on the outboard side).
2 - Loosen but do not remove the pad mounting pin (8mm head).
3 - Remove the rear caliper mounting bolt (12mm head).
4 - Remove the pad mounting pin.
5 - Rotate the caliper upwards, towards the front of the bike. If you've compressed the piston sufficiently, the pads will simply fall out.
6 - Clean up the inside of the caliper.
7 - With the caliper rotated upwards, slide in the new pads. Be sure they engage the spring on the upper surface of the caliper, and be sure the tangs on the pads hang on the front of the caliper. It's easy to see what's happening while the caliper is rotated upwards.
8 - Lower the caliper onto the rotor.
9 - Apply a tiny dab of grease to the tip of the pad mounting pin. Reinstall the pad mounting pin through the holes in the pads and the caliper. You'll need to press the pads up against the spring for the holes to line up. Don't fully tighten the pad mounting pin just yet.
10 - Install the (new) rear caliper mounting bolt. Torque to 16 lb-ft. My 1/2" drive torque wrench wouldn't fit, so I simply used an open-end 12mm wrench and did my best.
11 - Tighten the pad mounting pin. Torque to 13 lb-ft. Again, my torque wrench wouldn't fit, so I used an open-end 8mm wrench.
12- Press down on brake pedal to extend the piston and set the pads against the rotor.
[url=http://s1285.photobucket.com/user/ericlevy/media/Mobile%20Uploads/35A6A9E5-7515-45F7-ABE0-5110EE0B495B_zps8ob5rbtm.jpg.html]
[url=http://s1285.photobucket.com/user/ericlevy/media/Mobile%20Uploads/1C4F7274-5D2E-4BB9-A306-4C038090AF1F_zpsnlqlyh2z.jpg.html]


Delphisa_imp said:LongRanger_imp said:Thanks everyone. I was able to easily swap out the rear pads in about 15 minutes. Next time, it'll take 10 minutes.
My OE pads had about 12k miles on them and while they weren't worn to the limit, I was stunned at how damaged they were. The trailing edges were beveled and very rough and crumbly -- the material easily broke off in my fingers.
I replaced the pads with another set of OE pads (P/N 43105-MWD-425). I also replaced the rear caliper mounting bolt per Honda's recommendation (P/N 90180-MN8-006). The bolt comes with some thread lock on it. I could have reused the original bolt but didn't mind replacing it. Total cost of parts was $43.00.
Replacement is very straightforward:
1 - Press the piston into the caliper by pushing the caliper inwards, towards the wheel (the caliper only has one piston, on the outboard side).
2 - Loosen but do not remove the pad mounting pin (8mm head).
3 - Remove the rear caliper mounting bolt (12mm head).
4 - Remove the pad mounting pin.
5 - Rotate the caliper upwards, towards the front of the bike. If you've compressed the piston sufficiently, the pads will simply fall out.
6 - Clean up the inside of the caliper.
7 - With the caliper rotated upwards, slide in the new pads. Be sure they engage the spring on the upper surface of the caliper, and be sure the tangs on the pads hang on the front of the caliper. It's easy to see what's happening while the caliper is rotated upwards.
8 - Lower the caliper onto the rotor.
9 - Apply a tiny dab of grease to the tip of the pad mounting pin. Reinstall the pad mounting pin through the holes in the pads and the caliper. You'll need to press the pads up against the spring for the holes to line up. Don't fully tighten the pad mounting pin just yet.
10 - Install the (new) rear caliper mounting bolt. Torque to 16 lb-ft. My 1/2" drive torque wrench wouldn't fit, so I simply used an open-end 12mm wrench and did my best.
11 - Tighten the pad mounting pin. Torque to 13 lb-ft. Again, my torque wrench wouldn't fit, so I used an open-end 8mm wrench.
12- Press down on brake pedal to extend the piston and set the pads against the rotor.
[url=http://s1285.photobucket.com/user/ericlevy/media/Mobile%20Uploads/35A6A9E5-7515-45F7-ABE0-5110EE0B495B_zps8ob5rbtm.jpg.html]
[url=http://s1285.photobucket.com/user/ericlevy/media/Mobile%20Uploads/1C4F7274-5D2E-4BB9-A306-4C038090AF1F_zpsnlqlyh2z.jpg.html]
Thank you LongRanger for the detailed process! It helped me making the job, last week. I took some new photographs, as yours are no more available...
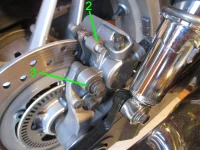
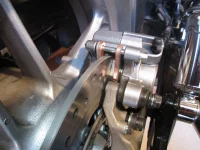
Step 2 and 3:
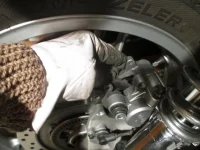
Step5:
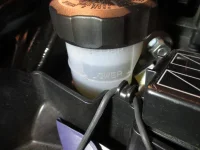
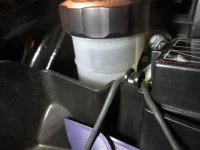
Before step 7 : I checked the brake fluid level was not too high in the reservoir:
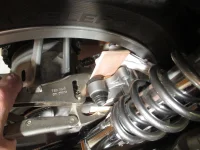
I used a large pair of clamps, with wooden tabs, for retracting the piston :
And checked again the brake fluid reservoir after piston retraction:
Then it's done
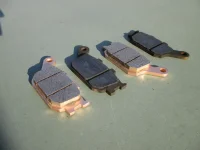
My rear brake tabs were really worth replacing, at about 27000 km (16700 miles):


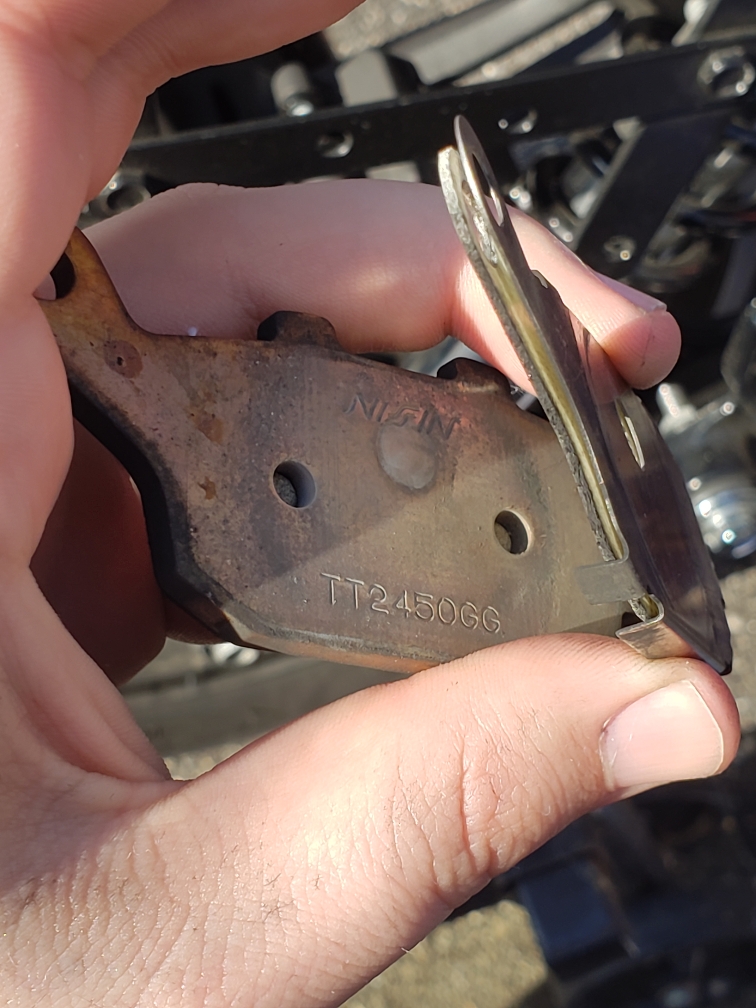
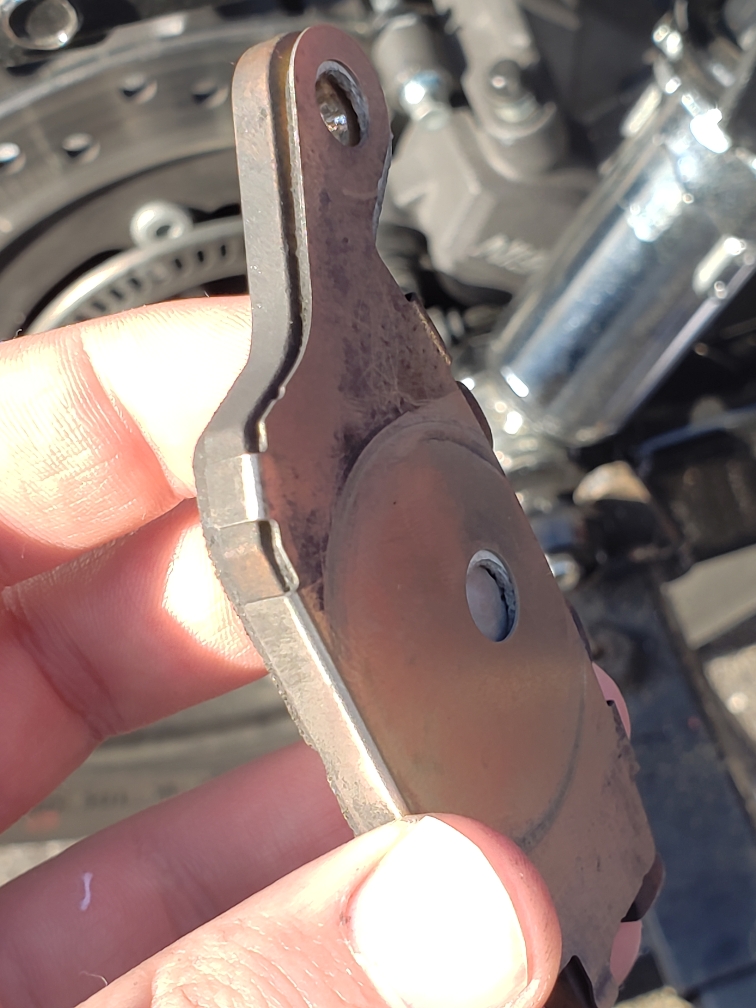
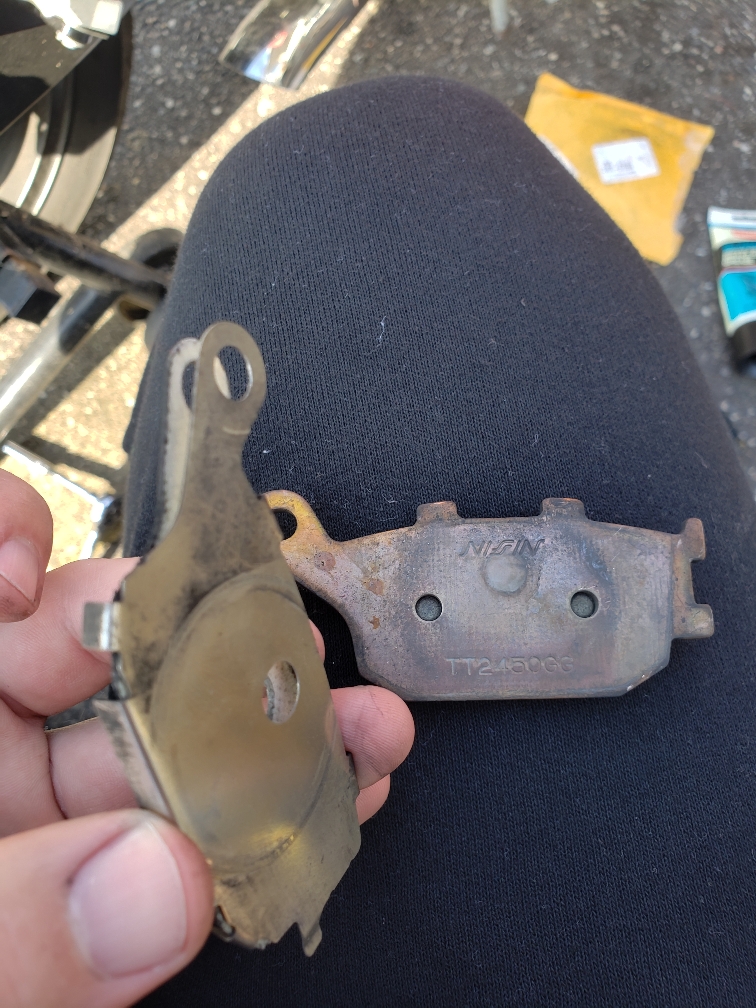

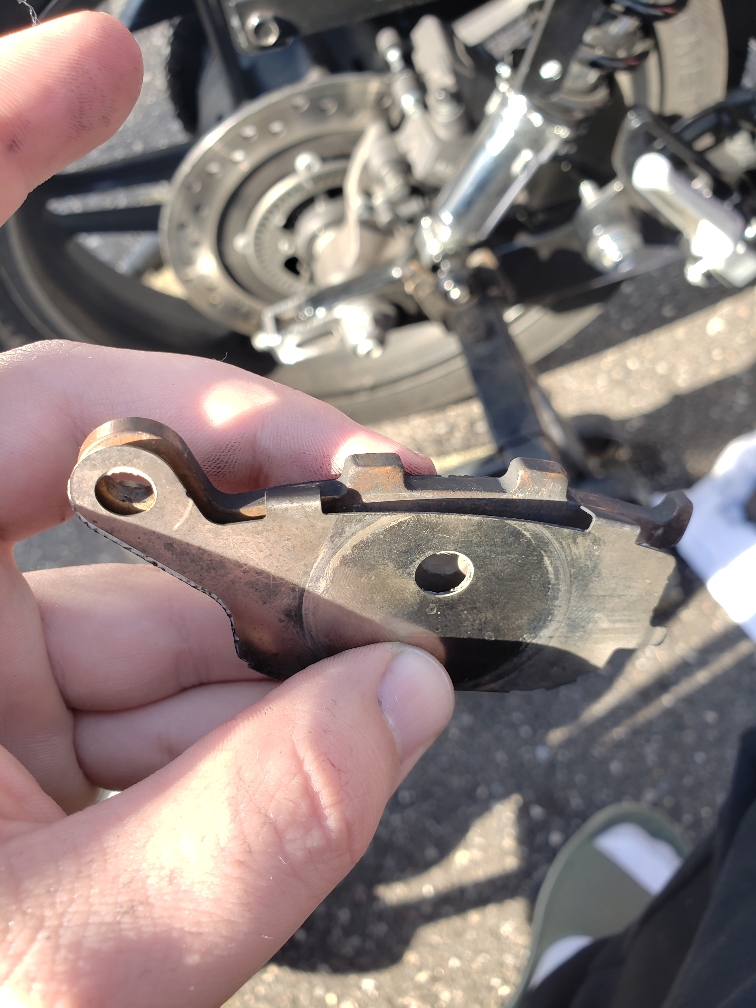
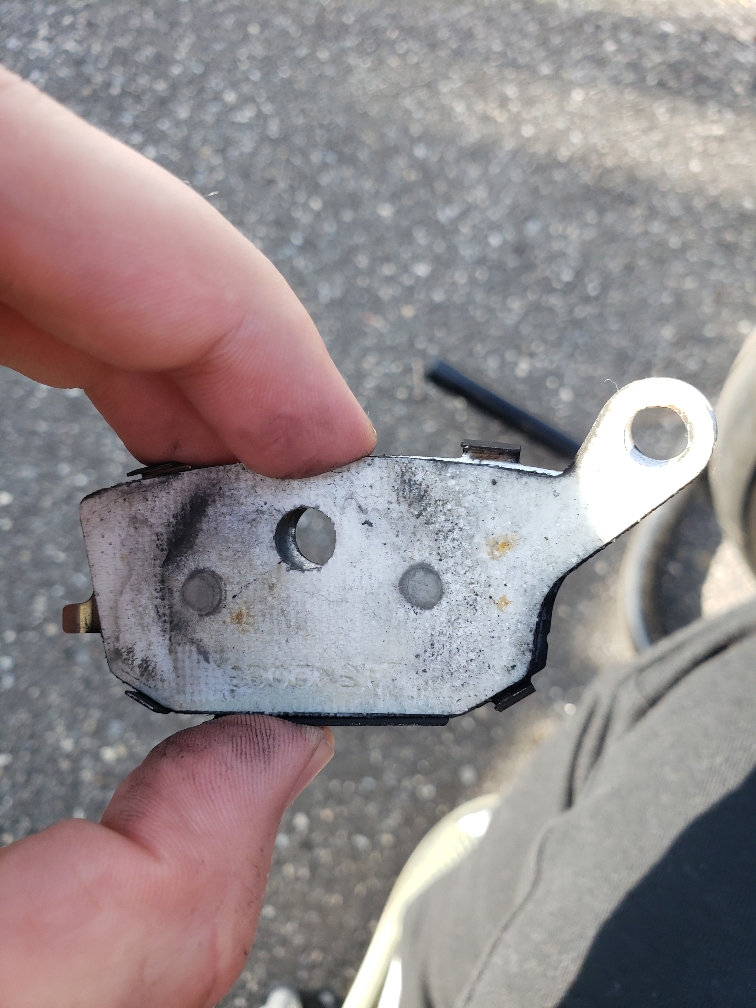
Good to know, I would have learned they didn't fit then if the new pads weren't already mounted when I discovered the plates haha.GoldOxide_imp said:Honda Africa Twin users of OEM brake pads are using the backing plate.
They are not for aftermarket because they won't fit.
Good to know also, my paranoia has me wanting to see if the plates will fit in the sixity pads for piece of mind. Feel like I'm lacking a spacer or something now hahaWRXer_imp said:I just replaced the pads on a 14. Moved the factory plates over to the new EBC pads on rear. Fronts do not have any. New OEM rears come with new plates but not available separate.

Good question. I cannot recall. My grey matter is telling me to save the originals just in case. I'll have to go through a set to determine myself - and that could be a long time.mvk24_imp said:Good to know, I would have learned they didn't fit then if the new pads weren't already mounted when I discovered the plates haha.GoldOxide_imp said:Honda Africa Twin users of OEM brake pads are using the backing plate.
They are not for aftermarket because they won't fit.
Thank you Gold
Do OE pads come with new backing plates or should I make sure I hold on to these for OE in the future?
2014 CB1100, 1981 KZ440 LTD, 1993 Yamaha XJ600 Seca, 1994 Yamaha XJ600 Seca
Yea thats what I saw in the factory service manual also it was just the set of pads. No separate backing plates in the schematics.Lord Popgun_imp said:They are not shown as separate items on the parts fiche.
Good question. I cannot recall. My grey matter is telling me to save the originals just in case. I'll have to go through a set to determine myself - and that could be a long time. Hey wrxer above mentioned new OEM pads come with the new plates to answer our question.GoldOxide_imp said:Good question. I cannot recall. My grey matter is telling me to save the originals just in case. I'll have to go through a set to determine myself - and that could be a long time.mvk24_imp said:Good to know, I would have learned they didn't fit then if the new pads weren't already mounted when I discovered the plates haha.GoldOxide_imp said:Honda Africa Twin users of OEM brake pads are using the backing plate.
They are not for aftermarket because they won't fit.
Thank you Gold
Do OE pads come with new backing plates or should I make sure I hold on to these for OE in the future?
2014 CB1100, 1981 KZ440 LTD, 1993 Yamaha XJ600 Seca, 1994 Yamaha XJ600 Seca
1 - Press the piston into the caliper by pushing the caliper inwards, towards the wheel (the caliper only has one piston, on the outboard side).
2 - Loosen but do not remove the pad mounting pin (8mm head).
3 - Remove the rear caliper mounting bolt (12mm head).
4 - Remove the pad mounting pin.
5 - Rotate the caliper upwards, towards the front of the bike. If you've compressed the piston sufficiently, the pads will simply fall out.
6 - Clean up the inside of the caliper.
7 - With the caliper rotated upwards, slide in the new pads. Be sure they engage the spring on the upper surface of the caliper, and be sure the tangs on the pads hang on the front of the caliper. It's easy to see what's happening while the caliper is rotated upwards.
8 - Lower the caliper onto the rotor.
9 - Apply a tiny dab of grease to the tip of the pad mounting pin. Reinstall the pad mounting pin through the holes in the pads and the caliper. You'll need to press the pads up against the spring for the holes to line up. Don't fully tighten the pad mounting pin just yet.
10 - Install the (new) rear caliper mounting bolt. Torque to 16 lb-ft. My 1/2" drive torque wrench wouldn't fit, so I simply used an open-end 12mm wrench and did my best.
11 - Tighten the pad mounting pin. Torque to 13 lb-ft. Again, my torque wrench wouldn't fit, so I used an open-end 8mm wrench.
12- Press down on brake pedal to extend the piston and set the pads against the rotor.