Rabaconda street tire changer: initial review

Thread starter
Cormanus_imp said:
A good story, pdedse. Look forward to hearing about tyre 2.
Thanks! I'll probably just go in "most worn" order: CB1100 rear, then back to W front, then CB front. But maybe one every month over the winter closing in.
 
Thread starter
Round 2...this time with the CB1100, rear. Last night I went slow as this is my first time with wheel removal on the Honda. Came off nicely thanks to some tire removal suggestions from the forums. Cleaned the chain and sprocket, then went all crazy clean and scoured all accessible areas with the wheel removed.

Tonight, I re-assembled the Rabaconda and went to work. Had the tire inside all day and with a little extra help from the space heater the tire was nice and warm.

Breaking the bead is frightfully easy. I mean, I barely pushed around the rim one entire turn and by the second it just peeled off.

eb810bb9159acaa7234fe955ffc27f31.jpg


The contact point of the wedge is easily adjustable to accomodate thin and wide tires.
98cb200cf70091c6d7413413d5cfa51b.jpg


But I was little too aggressive as I did the other side and forgot where the valve stem was and stripped it from the tube. Oh well, better to go with another.

And then on to tire removal:
ed52df6e430b7e97437a14611a6bf5c4.jpg


Rabaconda has a new tutorial video out that's more clear than the original, and the new info makes it easier to understand. So the first side came off easier than when I did the rear on the W800. I was hand holding the phone, so not the best video, but it gives you an idea how little effort is needed to get it over the rim:

Video


I messed up when doing the other side. I thought I had to flip the tire over, but you can get to the back side by pulling the tire forward. So I had the tire bead outside the rims on both sides and pulling the rim through was a a bit of a chore, but once I pulled the tube out then the rim slid through ok.

So far, so good; tomorrow I'll see if I can get the new tire on.
 
Good for you pdedse. That wheel looks sparkly clean!
 
Cormanus_imp said:
Good for you pdedse. That wheel looks sparkly clean!

Said no one ever to the Ferret :P
 
Nor to me, my lord.
 
Thread starter
Part of the wheel cleaning is per instructions...especialy the side and top of the rim where contact is made with the hard, plastic head that runs around the rim--it's what makes contact and if the rim is dirty it can drag that around and scuff/scratch the rim, and also rough up the plastic part itself...which can then scratch the rim on the next change.

Plus...I didn't have anything better to do. : )
 
uggghhh cleaning wheels...well cleaning anything on a motorcycle really
 
Thread starter
The ferret_imp said:
uggghhh cleaning wheels...well cleaning anything on a motorcycle really
It's fun! In a saddistic kind of way.

My son's cat is a heat-seaker. Warming up the tire to install and she goes wherever this heater is.
c46dedf52d7891099a089f6c631ba9c6.jpg
 
I had a cat like that once. She would even lay by it when it wasn’t even on!
 
The ferret_imp said:
uggghhh cleaning wheels...well cleaning anything on a motorcycle really
Why did you insert the superfluous words ‘on a motorcycle’?
 
Thread starter
Cormanus_imp said:
The ferret_imp said:
uggghhh cleaning wheels...well cleaning anything on a motorcycle really
Why did you insert the superfluous words ‘on a motorcycle’?
Oh my...when Gonein60 sees the above comments:exclamation:

My concern over buying the Chupacabra, er, I mean Rabaconda was that I wouldn't be able to make it work like I saw on the videos. But I have to say that this thing works!

After the cat let go of the space heater, back out to the garage with warm, pliable tire. Watched this video about 4 times.


He shows some good techniques that if ignored will make life difficult. Got the first side up and over the rim w/out much difficulty:
7727744a8fc4bdaf17e334424dda84ad.jpg


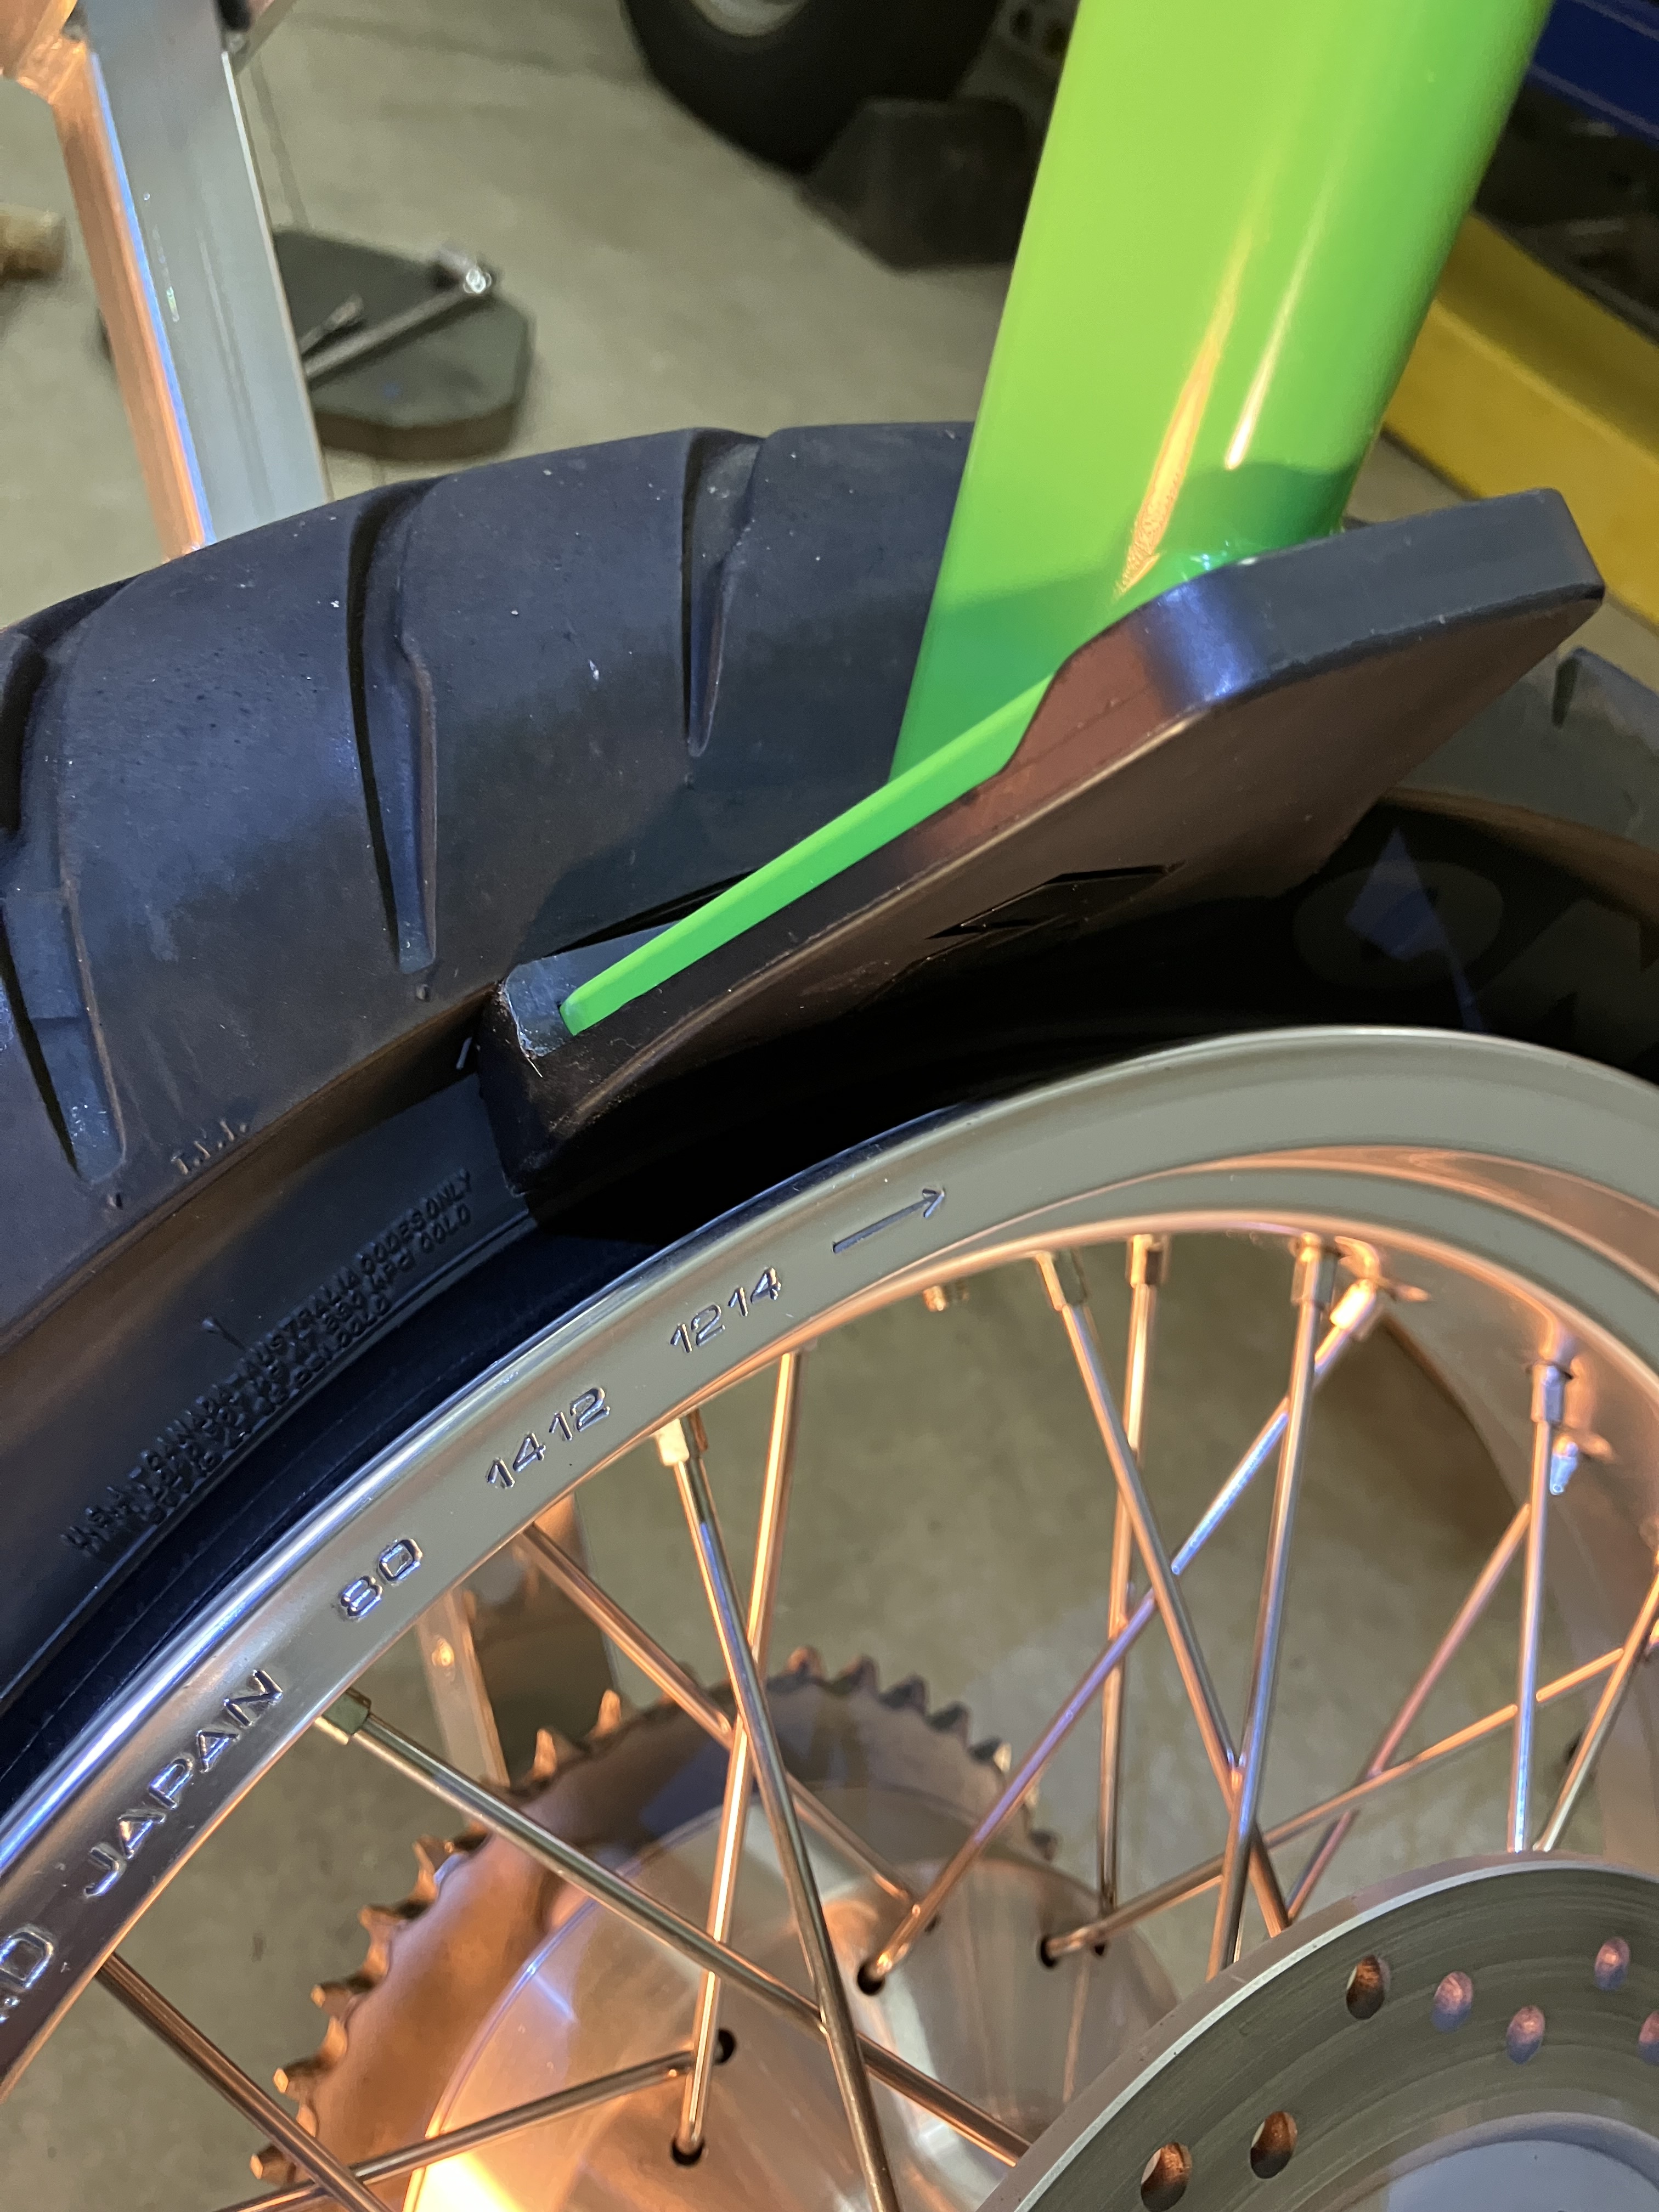
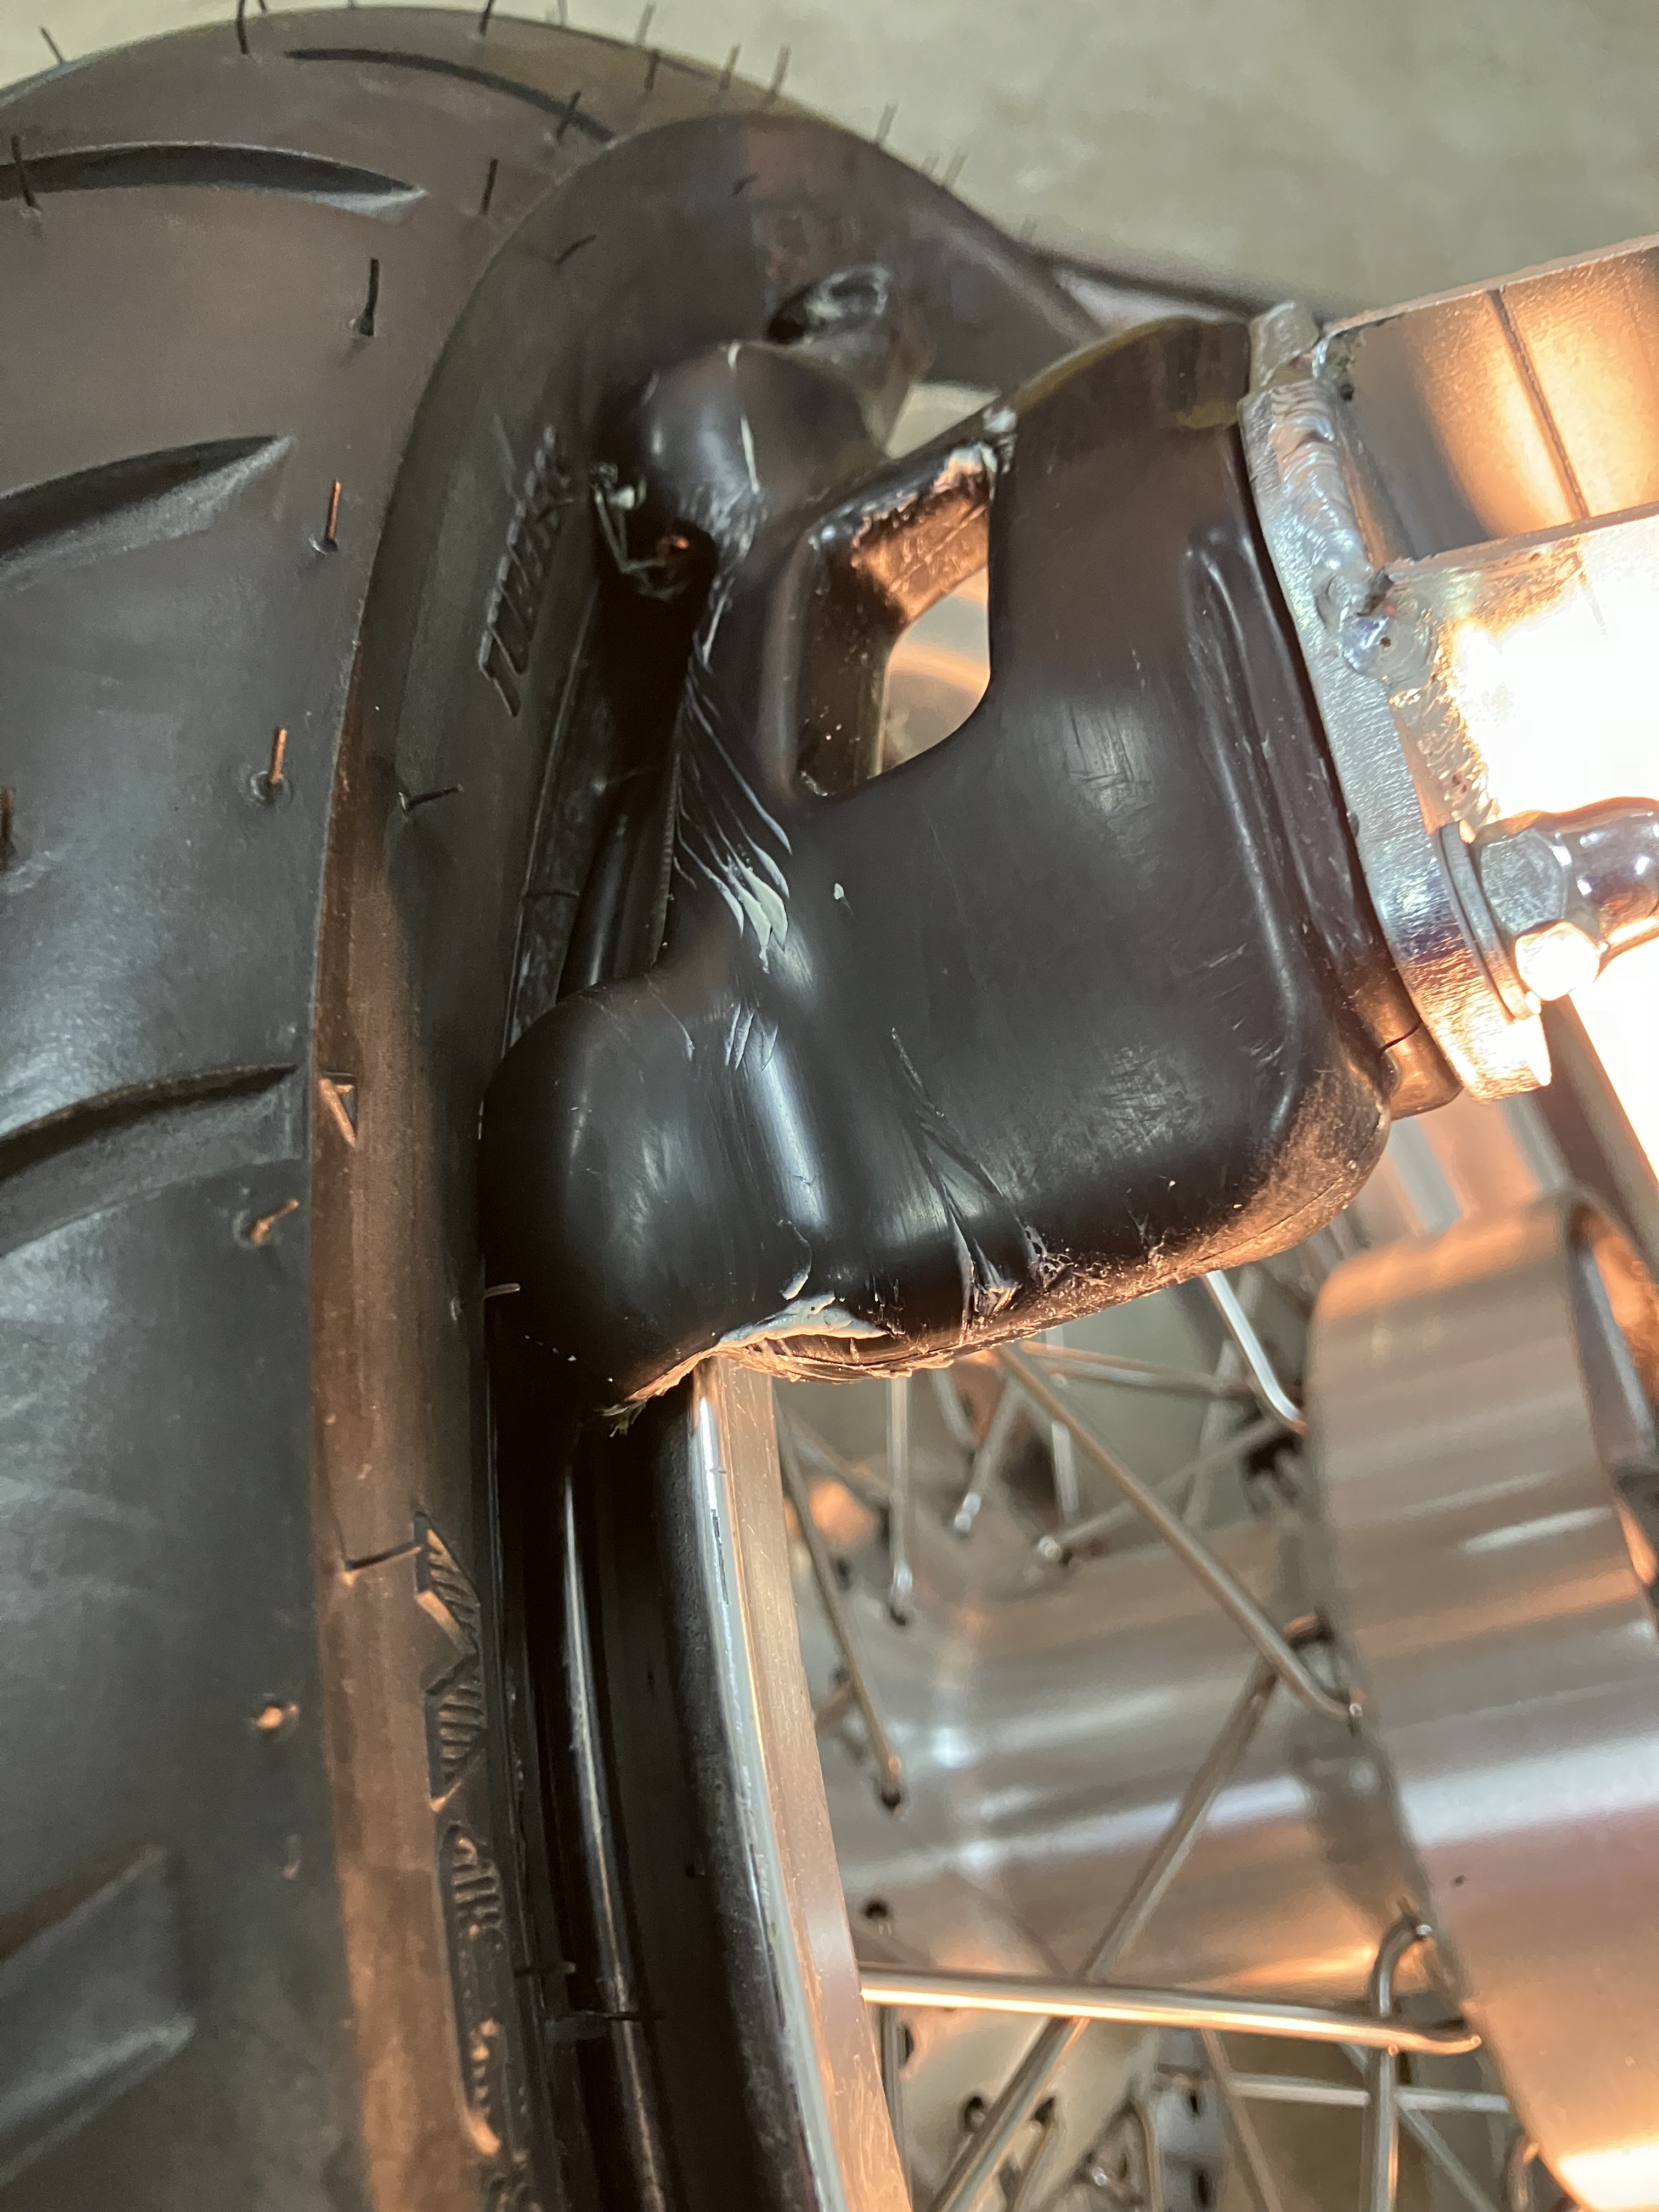
The second bead goes on ok to begin with. You have to make sure the front half of the black, plastick apparatus is behind the bead and the other back half (foreground, lower left) is what sits on the rim, and it must be visible.
0b88bce2eb74a8d62ae6b5b55b379399.jpg


You use a tire iron to lift the bead over the top of the plastic part. Then ratchet it around...until you get about half way, then it gets tight.

But this cool tool keeps the bead down in the wheel well and frees up your hands:
1ef1f18850002dea4e07079feab55baf.jpg


Slather on more bead grease and, although you have to use a little more umph at this point, at no time did I get stuck where I had to start over. The tire didn't fuss any, the tube stays out of the way. No scratches on rim. Suddenly,...it's on!
ed3b13bb57e395d1c7e1d8329f31f36d.jpg


At this point you can use the wedge to push the side of the tire in and extract the tool. All done:
8848f3f4d0b21365e879116ce2c3ebf4.jpg


Aired up to 42psi and I'll wait awhile to see if that holds ok. It's easy to use the wedge to pry the tire away from the rim a bit to make sure the tube isn't pinched.

Overall, a very nice product that's worked well on 2 rear tire changes. Still need to balance the tire, change brake pads and get it all together, but I like it. It may not be for everybody but I like 1) doing this whenever I want 2) I learn more about the bike 3) after a few more changes I'll break even and then I can save a few $$ and 4) gives me the chance to make the back end squeaky clean!

 
Congrats pdedse. There is something to be said for accomplishing a new skill on your own.

Tomorrow I'm going to try and stick a headlight bulb in my wife's Highlander
 
:rofl:

But, yes, well done, pdedse. The additional cost of having tyres fitted when the wheel is off the bike is not exorbitant here, particularly when you buy the tyre where you have it changed means a Rabaconda is not likely in my future, but I can see the appeal for the same reasons as you've outlined.
 
Thread starter
The ferret_imp said:
Congrats pdedse. There is something to be said for accomplishing a new skill on your own.

Tomorrow I'm going to try and stick a headlight bulb in my wife's Highlander
That's the type of simple sounding thing that I'll manage to turn into a 3-4 hour job.
 
I heard the word “clean”…

This tool looks very cool, but until I can magically make my garage bigger, I’ll have to stick with irons and plastic rim protectors.
 
Thread starter
Gone in 60_imp said:
I heard the word “clean”…

This tool looks very cool, but until I can magically make my garage bigger, I’ll have to stick with irons and plastic rim protectors.
My friend bought a tire changer that bolts to his garage floor. Part of what sold me on the Rabaconda was that it breaks down in a couple of minutes and comes with a nice storage bag...about 3' long and 10"h x 12"w.
707e998abc3be36cfe26be9f14486249.jpg

4b66fbd255aa81256d18c3e917160557.jpg
 
Yeah, that’s not bad!

About to host a Gone Jacketpalooza to shed a few that are too big for me now, that’ll help finance one.
 
Thread starter
misterprofessionality_imp said:
Ok fine. I'm sold. Next time any of my bikes are up from r tires I'm ordering one of these.
I think it's important that one really wants to do this. If a local shop charged $25-35 per tire mounted and balanced with me taking them off, I'd go that route, but $75 off the bike / $100 on...that was too much.

I'll add one detail thing if anyone ends up buying this. Of concern to me was that while it seemed to work ok from the videos, would I end up scratching the rims? I'm happy to report that not at all, once I realized how to use the supplied tire iron.

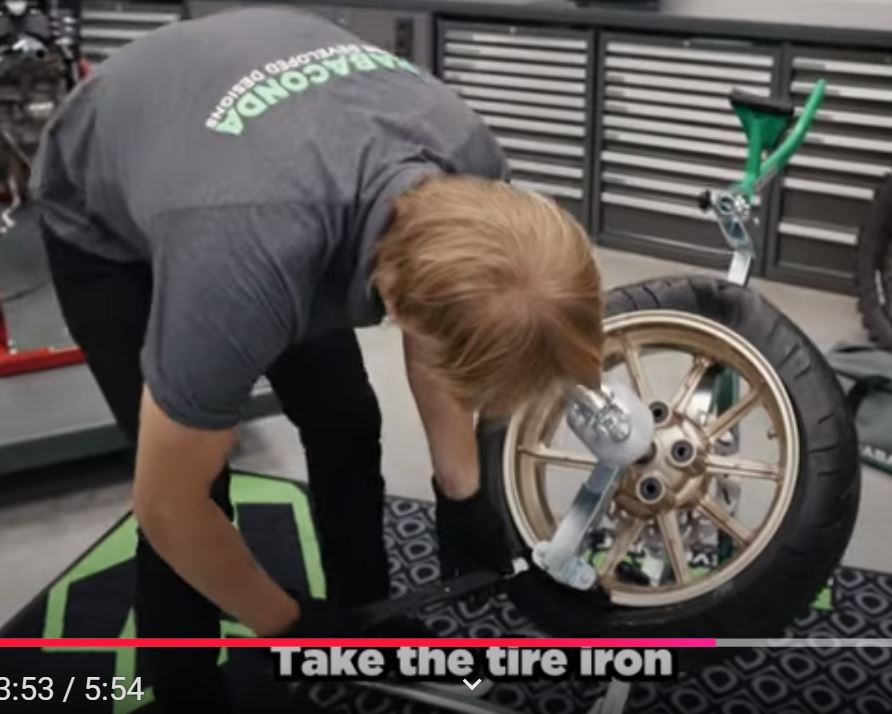
Rabaconda has some videos, and you can find plenty more on youtube. But there's one little detail that wasn't obvious, and it has to do with the very first step at removing the tire where you have to use the tire iron to pry the bead over what's called "the duck head" apparatus (the hard plastic black part--it actually looks like a duck's head / bill). In Rabaconda's original video, when the guy inserts the tire iron, you can't see what he's doing because of the angle. I thought he was using a separate rim protector and the tire iron over it. I did this but my rim protector separated open and I scratched the lip of the rim a bit. It sanded out just fine, but rewatching videos, re-reading instructions I realized that the tire iron is placed on top of the duck head apparatus itself--you don't need a rim protector, that's part of the job the duck head.

Rabaconda got some feedback on this because between my first tire change and the second, they updated their tire removal video and they make this detail much more obvious.

Here are some stills from the video:
9696b6a95c6bd829f897bc844c729677.jpg


692a5bcd6b37c00ebca52e2b7a3dd217.jpg


9863862f2bd48232dfa70a356bf1c470.jpg


52e0f9b97172e04cf4d298a3c9908d29.jpg


And here's the updated video, this one for a tubeless tire.


I think the above steps were the only confusing part. It helped to watch a few non-produced Rabaconda videos, read and re-read the fairly clear instructions. I've read others saying that after several attempts they can break the bead, remove the tire and install a new one just as quickly as they can set up the tire changer. While I think that's an exaggeration, I can see that from set-up to braking the bead, tire removal, balancing, and mounting new tire will be done faster than I can remove / install the wheel/tire from the bike. But...by the time I get to the front tires I'll probably have forgotten everything and have to start over.

:cool:

But I've enjoyed learning how to do this, and just in time as it looks like beginning Tuesday we will miraculously have a dry week into next weeend.
 
Back
Top