scottoiler. I have this on another bike. it's a vacuum switched oil reservoir and piping that routes oil drops onto the drive chain while you ride and keeps the chain lubed and cleaned. a little bit messy, but I hate the work of cleaning and lubing the chain. this takes care of it for you as long as you keep the reservoir topped off.
the scotoiler package contained some stick on plastic tubing routers plus a plastic stick on bracket for pointing the plastic tubing spout at the rear gear. I prefer using old aluminum arrow shaft tubing (i find them in the woods when out hiking. bowhunters lose them when they miss) and epoxying it to the bottom of the swing arm. so the order is roughly
1. cut arrow shaft into sections of various lengths.
2. on the long one, heat up the tube to soften it prior to bending it.
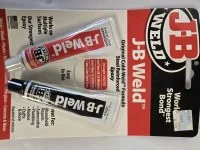
3. bend the long tube with the fuel tubing bender and with the spring inserted on the inside to keep the tube from collapsing.
4. clean the underside of the swing arm (brake cleaner) and epoxy the tubing in place.
5. after epoxy cures, paint the tubing gloss black to match the swing arm.
6. route the tubing and nozzle so that the tip of the nozzle is a hair from touching the rear gear so the oil will drip onto the rear gear near the teeth.
7. hook up the tubing to the reservoir.
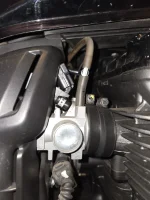
8. hook up the vacuum source (the skinny hose at the top of the reservoir is the vacuum hose that opens the oil valve in the reservoir when the motor is running). I used the right hand outboard throttle body port.
9. adjust the rate of oil dripping onto the rear gear to 1 drop every 50 to 60 seconds.
10. button it all back up.
some more photos.
-tdbru
the scotoiler package contained some stick on plastic tubing routers plus a plastic stick on bracket for pointing the plastic tubing spout at the rear gear. I prefer using old aluminum arrow shaft tubing (i find them in the woods when out hiking. bowhunters lose them when they miss) and epoxying it to the bottom of the swing arm. so the order is roughly
1. cut arrow shaft into sections of various lengths.
2. on the long one, heat up the tube to soften it prior to bending it.
3. bend the long tube with the fuel tubing bender and with the spring inserted on the inside to keep the tube from collapsing.
4. clean the underside of the swing arm (brake cleaner) and epoxy the tubing in place.
5. after epoxy cures, paint the tubing gloss black to match the swing arm.
6. route the tubing and nozzle so that the tip of the nozzle is a hair from touching the rear gear so the oil will drip onto the rear gear near the teeth.
7. hook up the tubing to the reservoir.
8. hook up the vacuum source (the skinny hose at the top of the reservoir is the vacuum hose that opens the oil valve in the reservoir when the motor is running). I used the right hand outboard throttle body port.
9. adjust the rate of oil dripping onto the rear gear to 1 drop every 50 to 60 seconds.
10. button it all back up.
some more photos.
-tdbru
Attachments
-
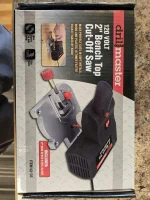 tubing cutter_small.webp398.8 KB · Views: 26
 -
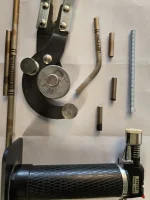 tubing_bending_tools_small.webp240.9 KB · Views: 25
 -
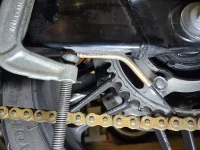 arrw_tube_w_epoxy_clamp_small.webp489.3 KB · Views: 25
 -
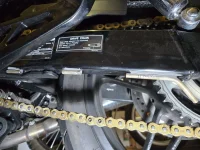 arrw_shfts_epoxied_on_before_paint_small.webp460.1 KB · Views: 25
 -
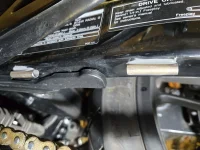 arrw_shfts_epx_b4_paint_forward_small.webp315 KB · Views: 25
 -
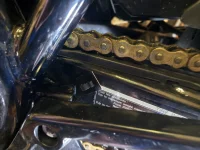 scolr_stickon_tubeanchor_small.webp236.9 KB · Views: 25
 -
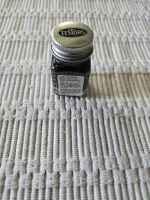 testors_gloss_black_small.webp466.1 KB · Views: 25
 -
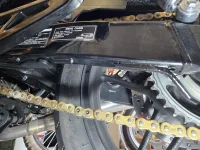 arrw_shfts_after_paint_small.webp454.9 KB · Views: 26
 -
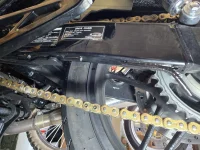 arrw_shfts_post_paint_forward_small.webp473.6 KB · Views: 26
 -
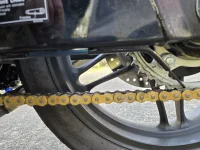 painted_arrowshafts_scolr_line_wlube_small.webp330 KB · Views: 26
 -
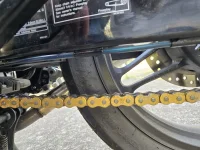 painted_arsh_scolr_line_wlube_forward_small.webp439.2 KB · Views: 25
 -
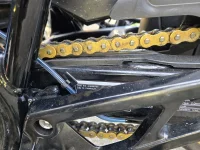 stick_on_scolr_line_wlube_up_small.webp511.9 KB · Views: 25
 -
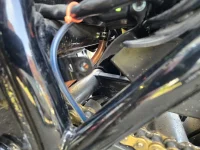 scolr_wlube_headed_to_tray_small.webp321.5 KB · Views: 26
 -
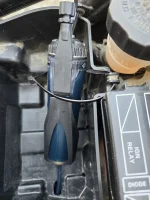 scolr_disp_wlube_small.webp319.6 KB · Views: 25
 -
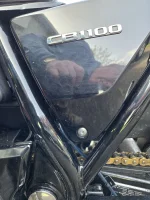 sctolr_wblue_wsidecover_small.webp464.2 KB · Views: 25
 -
 vacuum_pickoff_small.webp207.9 KB · Views: 25